
Stunning Photo-real Salon Stripes Nails - Stripes nail art - featuring nail art, red - nail art inspiration and design ideas
Stunning Photo-real Salon Stripes Nails
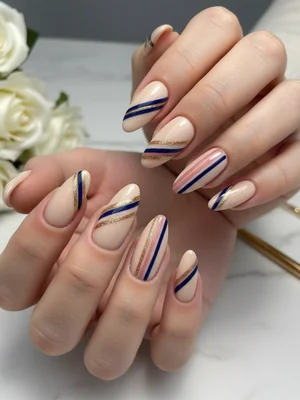
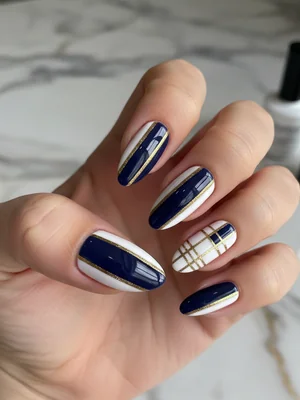
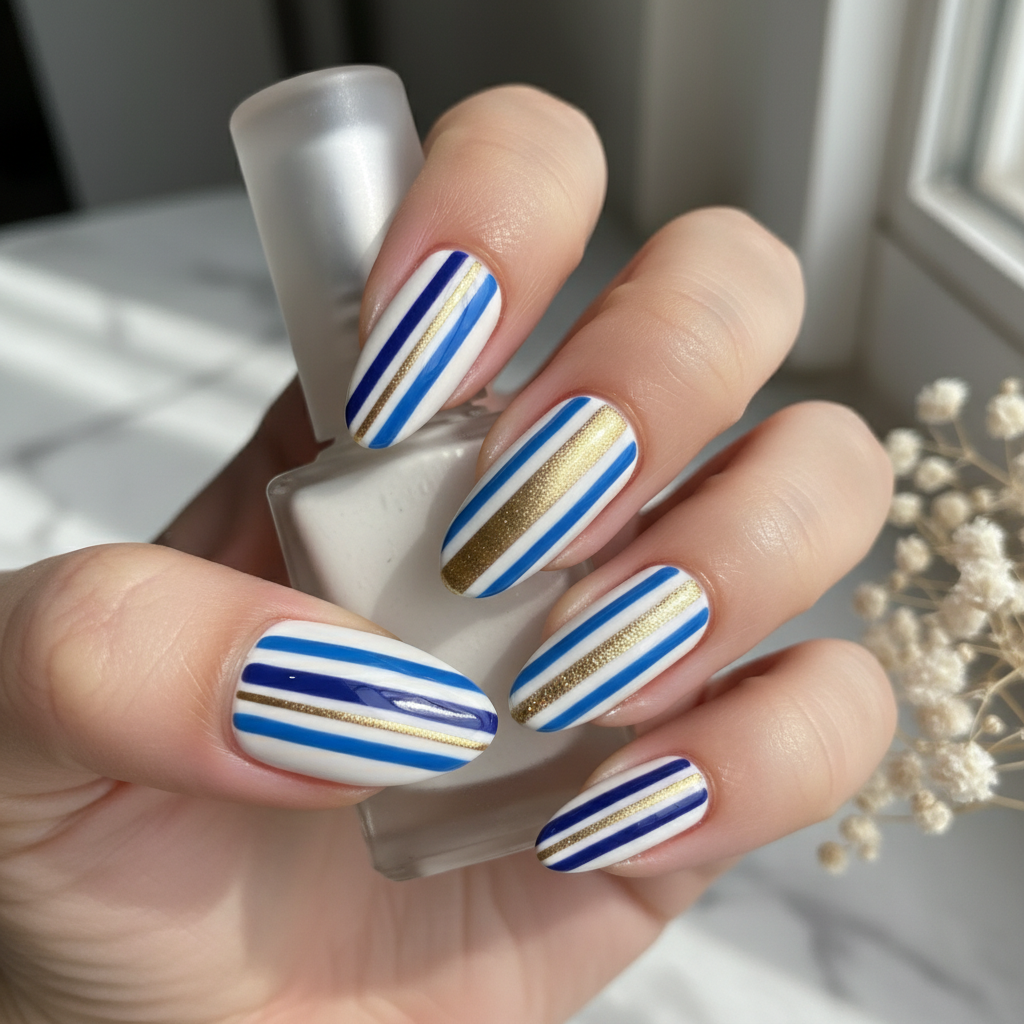
Photo-Real Precision Salon Stripes Nails: Flawless Finish
Experience the epitome of nail artistry with our Photo-Real Precision Salon Stripes. This design features ultra-crisp, perfectly straight lines that create a stunning visual impact, boasting a flawless, professional salon-quality finish that looks impeccable from every angle. It's a testament to meticulous detail and refined elegance, turning your nails into a canvas of modern sophistication.
- Gel Base Coat
- Nude/Pale Pink Gel Polish
- Black Gel Polish
- White Gel Polish
- Fine Liner Nail Art Brush (000 or similar)
- Gel Top Coat (No-Wipe recommended)
- LED/UV Curing Lamp
- Prep nails by shaping, buffing, and applying a dehydrator/primer. Apply a thin layer of gel base coat and cure.
- Apply 2-3 thin, even coats of your chosen nude/pale pink base color, curing each layer thoroughly.
- Using a fine liner brush, dip into the black gel polish and carefully draw ultra-thin, perfectly straight lines. Cure immediately after each stripe to prevent bleeding.
- Repeat with white gel polish or a metallic accent, adding a second set of stripes parallel to the first, ensuring symmetry and crispness. Cure each line.
- Seal the entire design with a generous, even layer of high-gloss gel top coat, ensuring it caps the free edge to prevent chipping, then cure for the recommended time.
- Cleanse the sticky inhibition layer (if using a wipe-off top coat) and apply cuticle oil for a flawless finish.
Expert Tip
Achieving photo-real stripes demands a steady hand and thin, controlled applications. Cure each stripe individually for a few seconds ('flash cure') before moving to the next to prevent polish from spreading and maintain razor-sharp edges.
Similar Styles
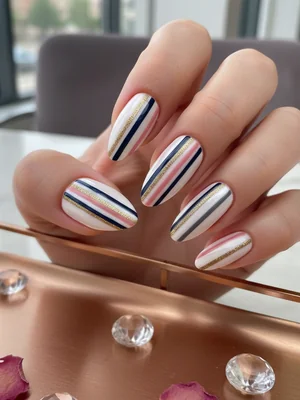
Beautiful Photo-real Salon Stripes Nails
Stripes inspired nail art with beautiful, photo-real finish and professional salon quality

Beautiful Photo-real Salon Stripes Nails
Stripes inspired nail art with beautiful, photo-real finish and professional salon quality

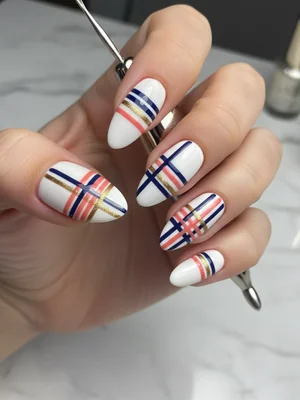
Gorgeous Photo-real Salon Stripes Nails
Stripes inspired nail art with gorgeous, photo-real finish and professional salon quality
Gorgeous Photo-real Salon Stripes Nails
Stripes inspired nail art with gorgeous, photo-real finish and professional salon quality
Beautiful Photo-real Salon Stripes Nails
Stripes inspired nail art with beautiful, photo-real finish and professional salon quality
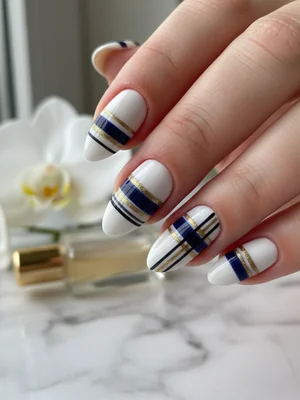
Stunning Photo-real Salon Stripes Nails
Stripes inspired nail art with stunning, photo-real finish and professional salon quality
Stunning Photo-real Salon Stripes Nails
Stripes inspired nail art with stunning, photo-real finish and professional salon quality

Gorgeous Photo-real Salon Stripes Nails
Stripes inspired nail art with gorgeous, photo-real finish and professional salon quality
Sophisticated Photo-real Salon Stripes Nails
Stripes inspired nail art with sophisticated, photo-real finish and professional salon quality
Sophisticated Photo-real Salon Stripes Nails
Stripes inspired nail art with sophisticated, photo-real finish and professional salon quality

Photo-real Salon Stripes Nails
Stripes inspired nail art with elegant, photo-real finish and professional salon quality
Sophisticated Photo-real Salon Stripes Nails
Stripes inspired nail art with sophisticated, photo-real finish and professional salon quality
Explore Similar Designs
Colors in this Design
Techniques Used
Perfect For
Frequently Asked Questions
How long do photo-real salon stripes last?
With proper application and aftercare, this gel design can last 2-3 weeks without chipping or fading, maintaining its photo-real quality.
Can I get this design done at home?
While possible, achieving true 'photo-real' salon quality requires advanced skill, specialized tools like fine liner brushes, and professional gel polishes and lamps. A salon visit is recommended for the best results.
Are the stripes painted freehand or with tape?
For the highest precision and photo-real effect, a combination of fine liner brushwork is essential. Sometimes striping tape can be used as a guide, but the final, crisp lines are typically achieved with a steady hand and precise brushwork.
What base colors work best with this stripe design?
Neutral bases like nude, pale pink, or white create the most striking contrast for the photo-real stripes. However, any smooth, solid base color can be used, depending on your desired aesthetic.
Will the stripes smudge easily?
No, because each stripe layer is individually cured under an LED/UV lamp, they are fully hardened and resistant to smudging, ensuring a long-lasting, crisp finish.
Aftercare Tips
- ✓Avoid exposing nails to excessive moisture or extreme temperatures immediately after your appointment.
- ✓Do not pick, peel, or bite your nails, as this can damage your natural nail and the design.
- ✓Apply hand cream regularly to maintain skin hydration around your beautiful new stripes design.
Safe Removal
- 1.Gently file off the top coat layer using a fine-grit nail file to break the seal.
- 2.Soak nails in acetone-soaked cotton pads, wrapped in foil, for 10-15 minutes.
- 3.Carefully push off the softened gel with an orange wood stick, avoiding scraping your natural nail.