
Photo-real Salon Stripes Nails - Stripes nail art - featuring nail art, elegant, red - nail art inspiration and design ideas
Photo-real Salon Stripes Nails
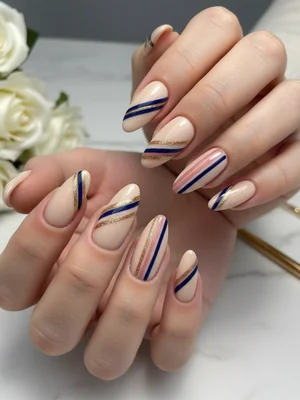
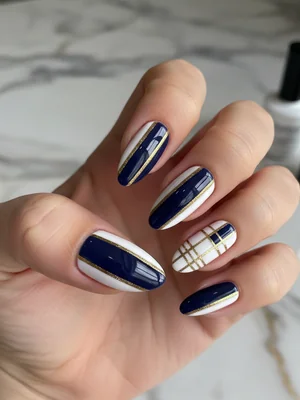
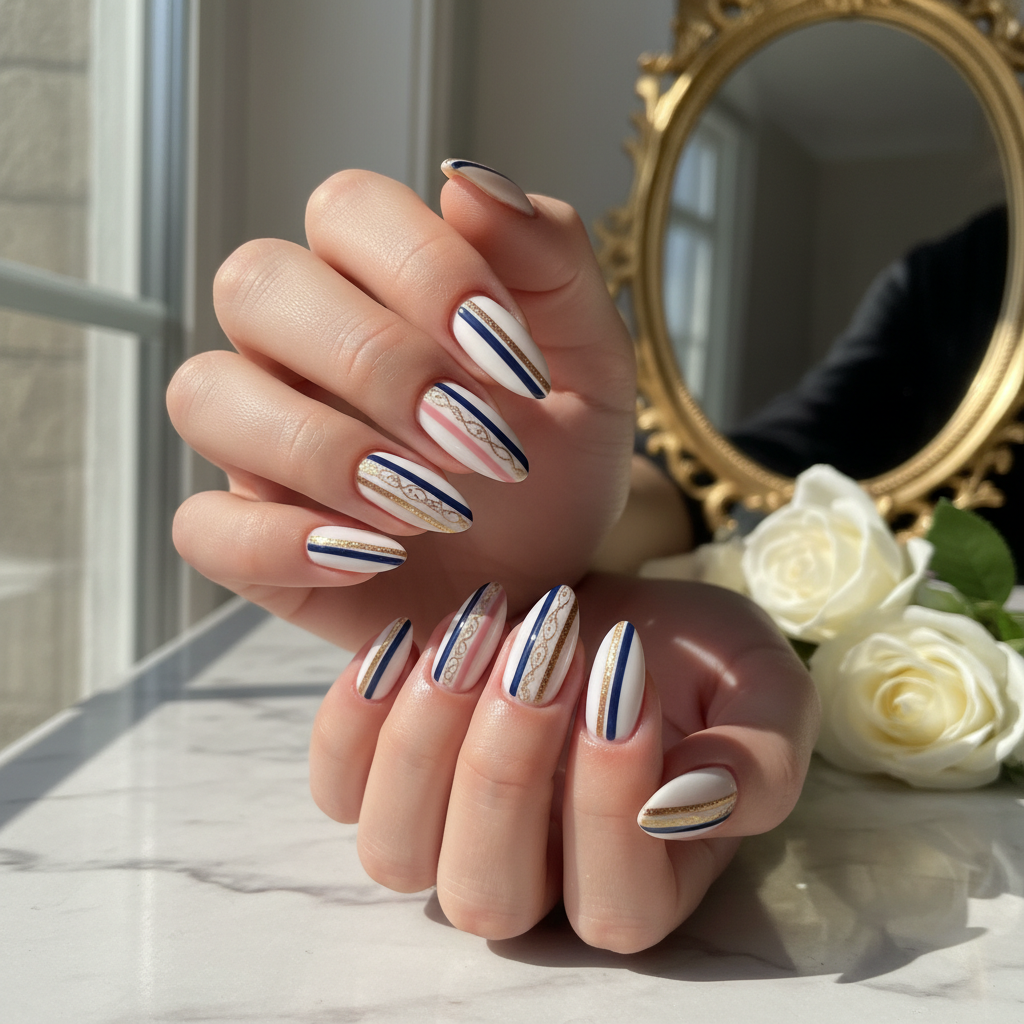
Elegant Salon Stripes: Photo-Real Precision Nail Art
Experience the epitome of nail sophistication with our Salon Stripes design, featuring razor-sharp lines and a photo-real finish. This design elevates classic stripes to a professional, high-fashion statement, perfect for those who appreciate meticulous detail and polished elegance.
- Base Coat
- Two Contrasting Gel Polishes (e.g., Black & White)
- Ultra-Thin Striping Tape
- Fine Liner Nail Art Brush
- High-Gloss No-Wipe Top Coat
- LED/UV Curing Lamp
- After prepping nails, apply a thin layer of base coat and cure. Apply two thin coats of your primary base color (e.g., White gel polish), curing each layer thoroughly.
- Once the base is completely cured and tack-free, carefully apply ultra-thin striping tape in your desired pattern (e.g., parallel vertical lines), pressing firmly to prevent bleed.
- Using a fine liner brush, apply your contrasting stripe color (e.g., Black gel polish) precisely over the exposed areas between the tape lines. Ensure even, thin coats.
- Immediately after applying the stripe color (and before curing), *carefully* peel off the striping tape using tweezers to reveal sharp, clean lines. Cure this layer fully.
- Repeat stripe application for additional layers or colors if desired, always curing after tape removal. Ensure each stripe is razor-sharp for the photo-real effect.
- Finish with a generous layer of high-gloss no-wipe top coat, ensuring it encapsulates the entire design smoothly. Cure for the final, brilliant finish.
Expert Tip
Achieving photo-real stripes demands patience and precision. Ensure your base color is fully cured and tack-free before applying striping tape to prevent lifting and ensure the sharpest possible lines. Work on one nail at a time for optimal results.
Similar Styles
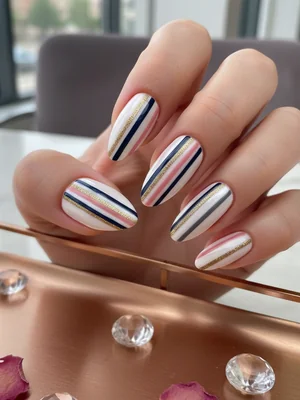
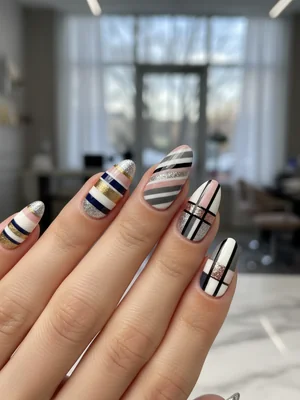
Beautiful Photo-real Salon Stripes Nails
Stripes inspired nail art with beautiful, photo-real finish and professional salon quality

Beautiful Photo-real Salon Stripes Nails
Stripes inspired nail art with beautiful, photo-real finish and professional salon quality

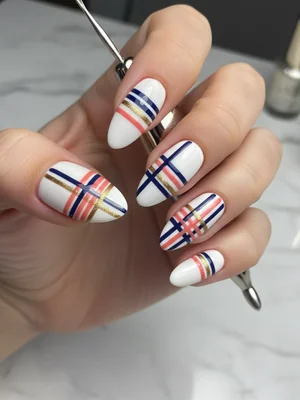
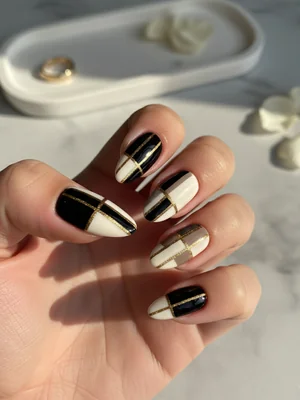
Gorgeous Photo-real Salon Stripes Nails
Stripes inspired nail art with gorgeous, photo-real finish and professional salon quality
Gorgeous Photo-real Salon Stripes Nails
Stripes inspired nail art with gorgeous, photo-real finish and professional salon quality
Beautiful Photo-real Salon Stripes Nails
Stripes inspired nail art with beautiful, photo-real finish and professional salon quality
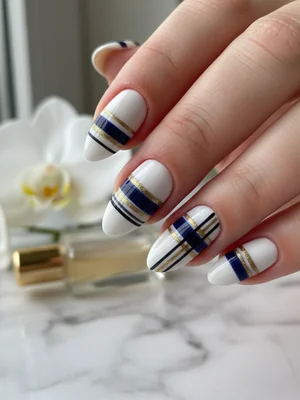
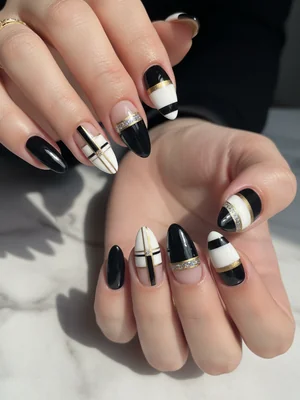
Stunning Photo-real Salon Stripes Nails
Stripes inspired nail art with stunning, photo-real finish and professional salon quality
Stunning Photo-real Salon Stripes Nails
Stripes inspired nail art with stunning, photo-real finish and professional salon quality

Gorgeous Photo-real Salon Stripes Nails
Stripes inspired nail art with gorgeous, photo-real finish and professional salon quality
Sophisticated Photo-real Salon Stripes Nails
Stripes inspired nail art with sophisticated, photo-real finish and professional salon quality

Stunning Photo-real Salon Stripes Nails
Stripes inspired nail art with stunning, photo-real finish and professional salon quality
Sophisticated Photo-real Salon Stripes Nails
Stripes inspired nail art with sophisticated, photo-real finish and professional salon quality
Sophisticated Photo-real Salon Stripes Nails
Stripes inspired nail art with sophisticated, photo-real finish and professional salon quality
Explore Similar Designs
Perfect For
Nail Shapes
Frequently Asked Questions
Aftercare Tips
- ✓Hydrate hands and cuticles with a rich moisturizer.
- ✓Avoid harsh chemicals or excessive heat for the first 24 hours.
- ✓Schedule infills every 2-3 weeks to maintain fresh growth and design.
Safe Removal
- 1.Gently file off the top coat to break the seal.
- 2.Soak cotton pads in acetone, place on nails, and wrap with foil for 10-15 minutes.
- 3.Carefully push off softened gel with a wooden stick, never force or peel.