3D Glossy Gore Nails: how to build dimensional Halloween drips
Built-up gel drips with a domed, jelly-like top coat that catch the light and look genuinely three-dimensional. For more inspiration, see our 30+ Halloween nail ideas.
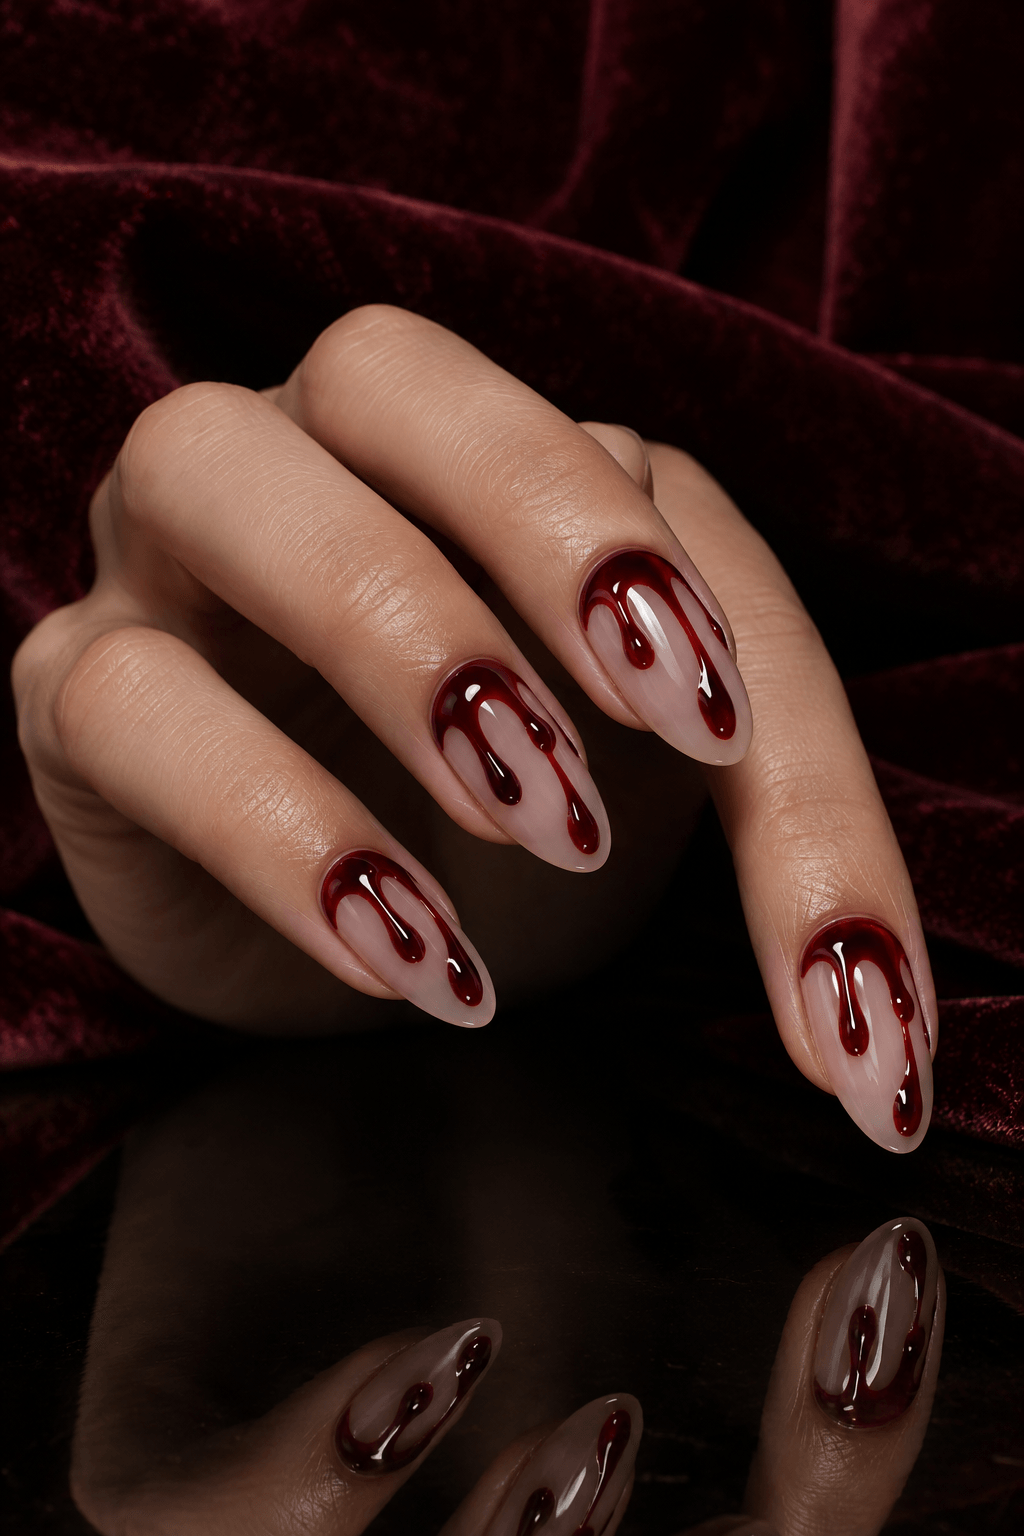
At a glance
- Difficulty
- Intermediate
- Time
- 45–60 min
- Finish
- Jelly gloss
- Best on
- Medium to long
Nail Art AI picks
Halloween press-on nails


As an Amazon Associate, Nail Art AI earns from qualifying purchases. This comes at no additional cost to you.
What you need
- Clear base
- Deep red
- Glass clear
- A fine detail brush or dotting tool for the artwork
- A glossy or matte top coat, depending on the finish you want
Use what you already own where possible. The key details matter more than a large kit.
How to create the look
Step 1
Prepare a smooth base
Start on a fully dry or cured base color. Any texture underneath will show through the raised detail.
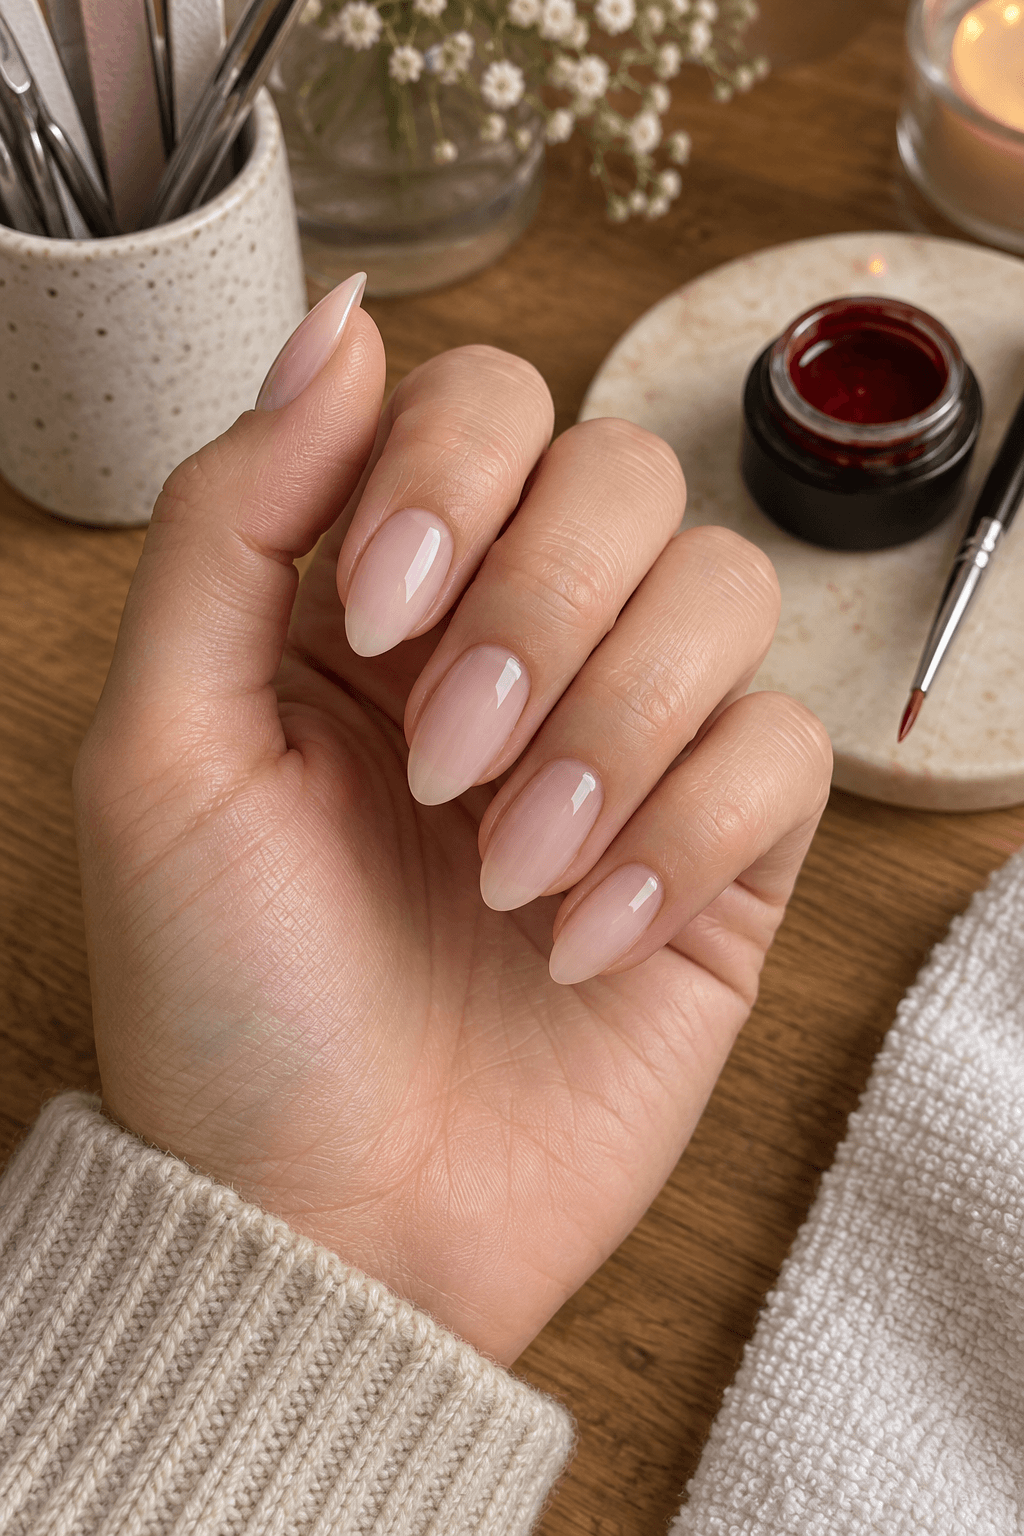
Step 2
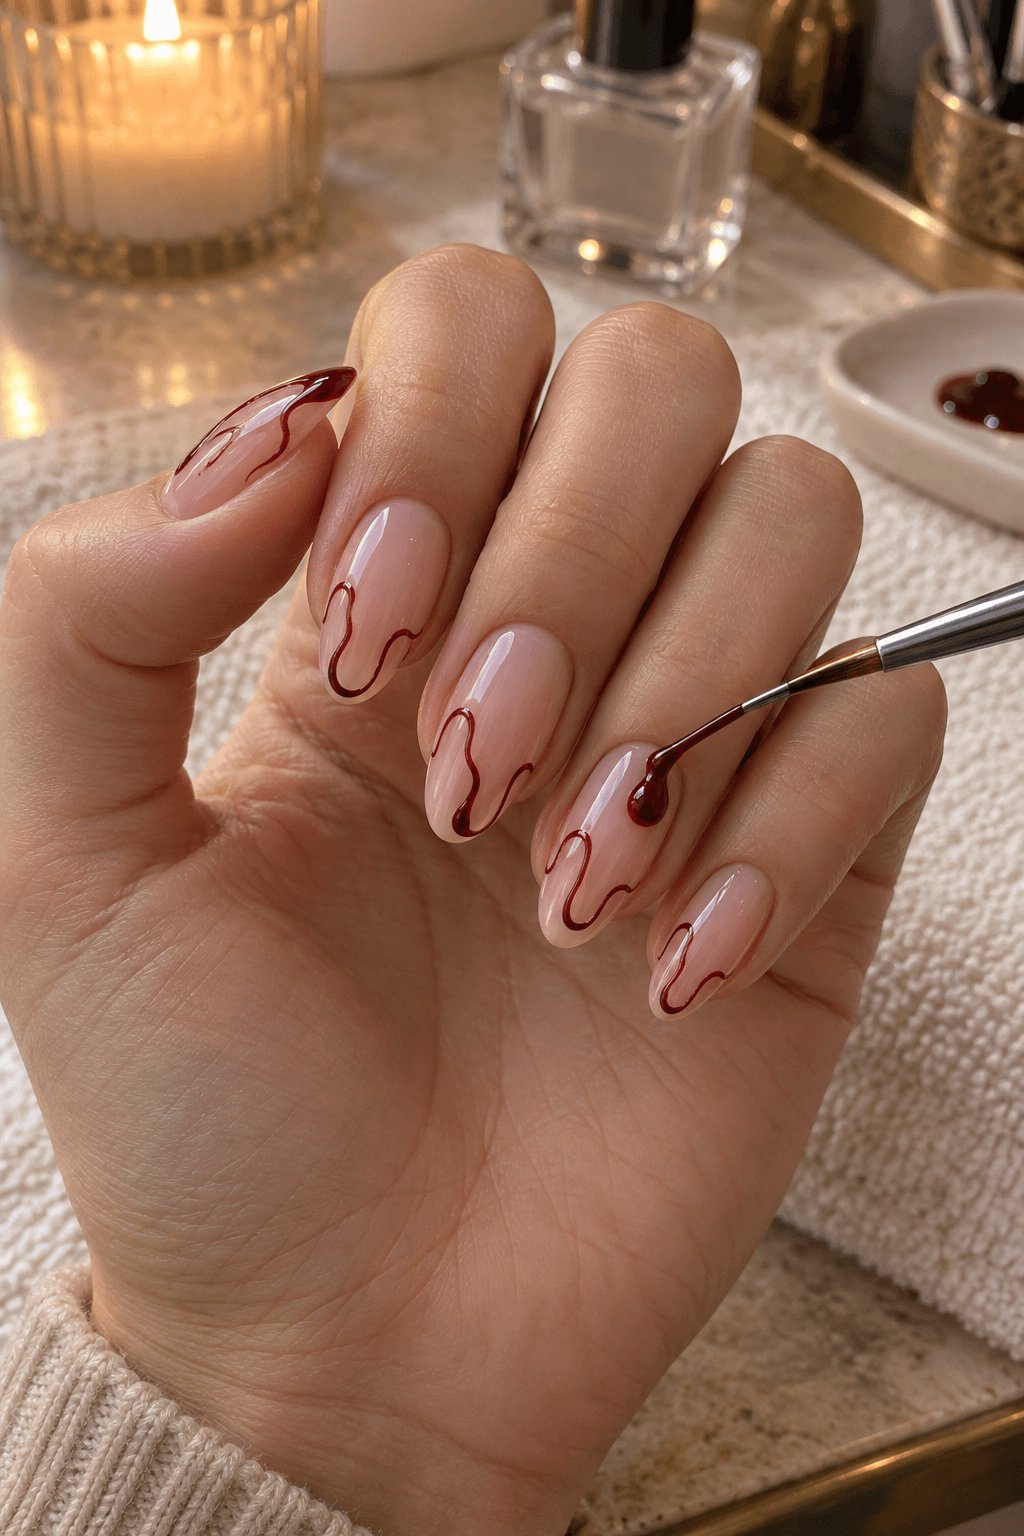
Sketch the drip shape thinly
Use a fine layer of red to map where each drip will go before you build any volume.
Step 3
Build the shape slowly
Add small amounts of thicker gel or builder gel over the mapped drips, keeping the edges rounded. If you need a fine tool, this nail art brush and dotting-tool set covers the small details.
Step 4
Set between layers
Cure or set each thin layer as required by your product so the shape stays controlled rather than flooding.
Step 5
Add the jelly-like shine
Finish with a clear glossy layer that makes the red look domed and light-catching.
Keep it intentional
Color formula
Clear base
A clean base that lets the built-up red detail stand out.
Deep red
The core color for the domed drip effect.
Glass clear
A clear glossy layer that amplifies the dimension.
Help it last
- Keep the raised areas away from the cuticle and sidewalls.
- Use the curing or drying instructions for your specific product.
- Avoid catching raised details on hair or fabric while they are fresh.
Remove it gently
- Follow the recommended removal process for the gel system you used.
- Never force off built-up gel or scrape the nail plate.
- Moisturize nails and surrounding skin after removal.
Nail Art AI picks
Tools for this look


As an Amazon Associate, Nail Art AI earns from qualifying purchases. This comes at no additional cost to you.
Three easy variations
- Use clear jelly gel over a dark red base for a subtler raised look.
- Create one dimensional accent nail and keep the rest flat.
- Use pastel pink or lilac gel for a softer gore remix.
More ways to wear it
Explore a few related designs before you choose your final Halloween manicure.
See it on your own hand first
A color and shape can look different on every hand. Try this idea on your own hand before you paint it or take it to an appointment.
Questions people ask
Can I make this with regular nail polish?
Regular polish can create the drip shape, but thicker gel or builder products are better for a truly raised result.
How high should the drips be?
Keep them modest. The goal is a rounded highlight, not a thick bump on the nail.
Why did my gel spread?
There was likely too much product in one layer. Build smaller amounts and set between layers.
Can I wear 3D details every day?
You can, but keep the design smooth and low-profile for a more practical finish.