Candy Corn Ombré Melt Nails: a soft Halloween gradient guide
A buttery-yellow base that fades through pumpkin orange to a milky white tip, blurred softly enough to feel like candy corn melting into the nail. For more inspiration, see our 30+ Halloween nail ideas.
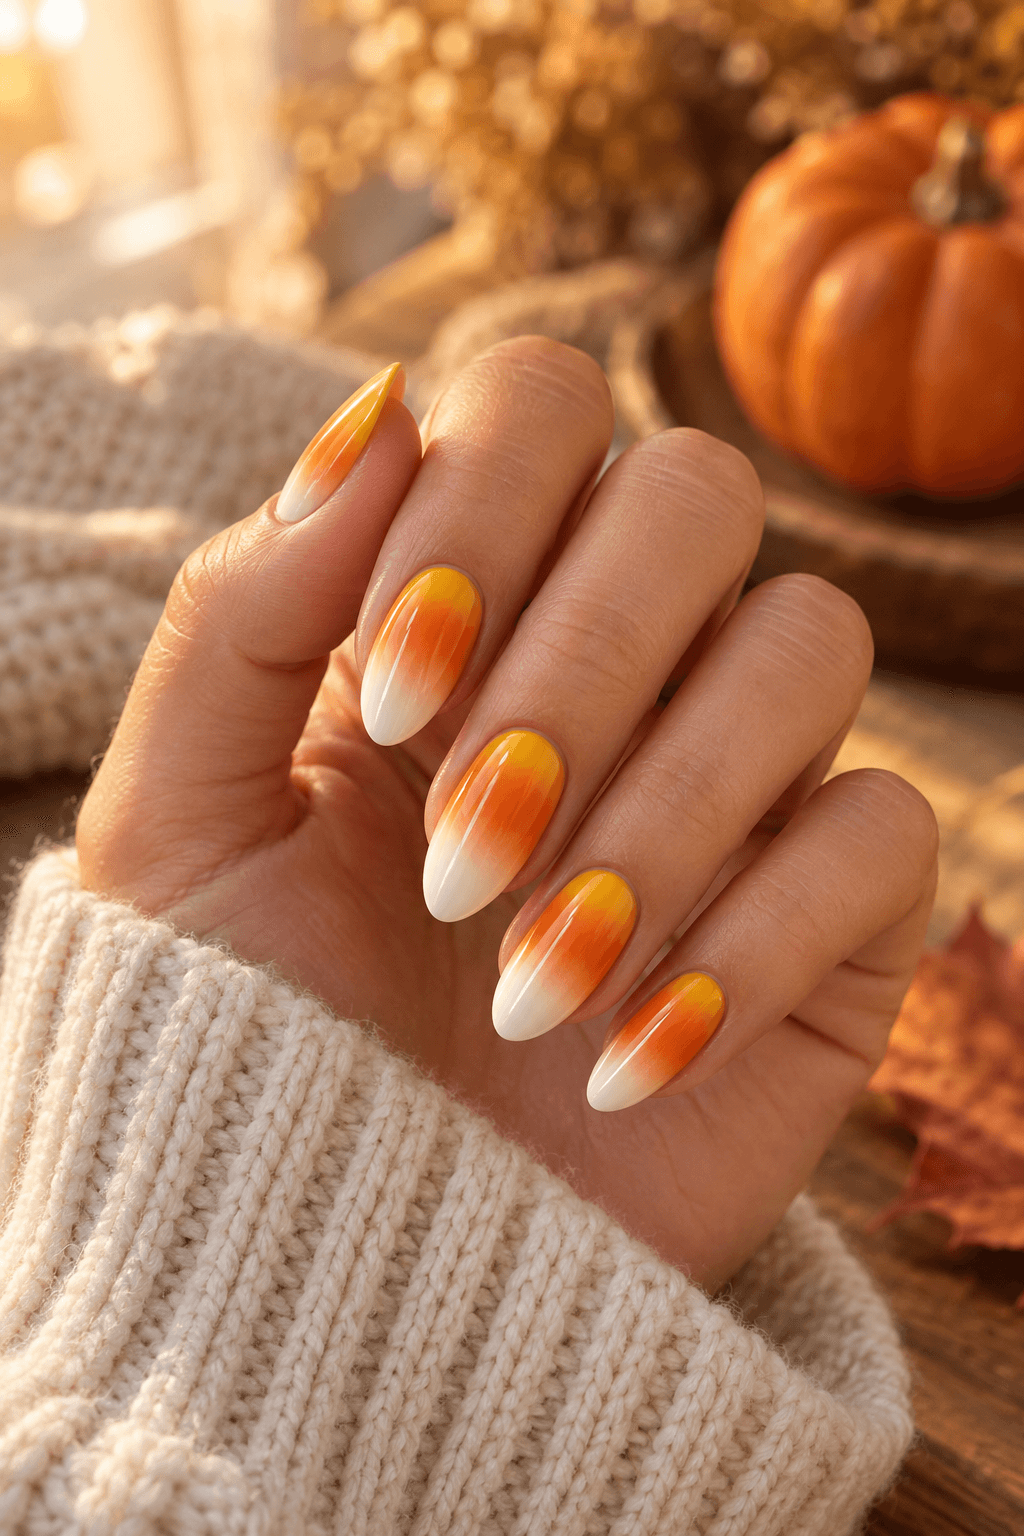
At a glance
- Difficulty
- Easy
- Time
- 30–40 min
- Finish
- Glossy
- Best on
- Almond or oval
Nail Art AI picks
Halloween press-on nails


As an Amazon Associate, Nail Art AI earns from qualifying purchases. This comes at no additional cost to you.
What you need
- Buttery yellow
- Pumpkin orange
- Milky white
- A fine detail brush or dotting tool for the artwork
- A glossy or matte top coat, depending on the finish you want
Use what you already own where possible. The key details matter more than a large kit.
How to create the look
Step 1
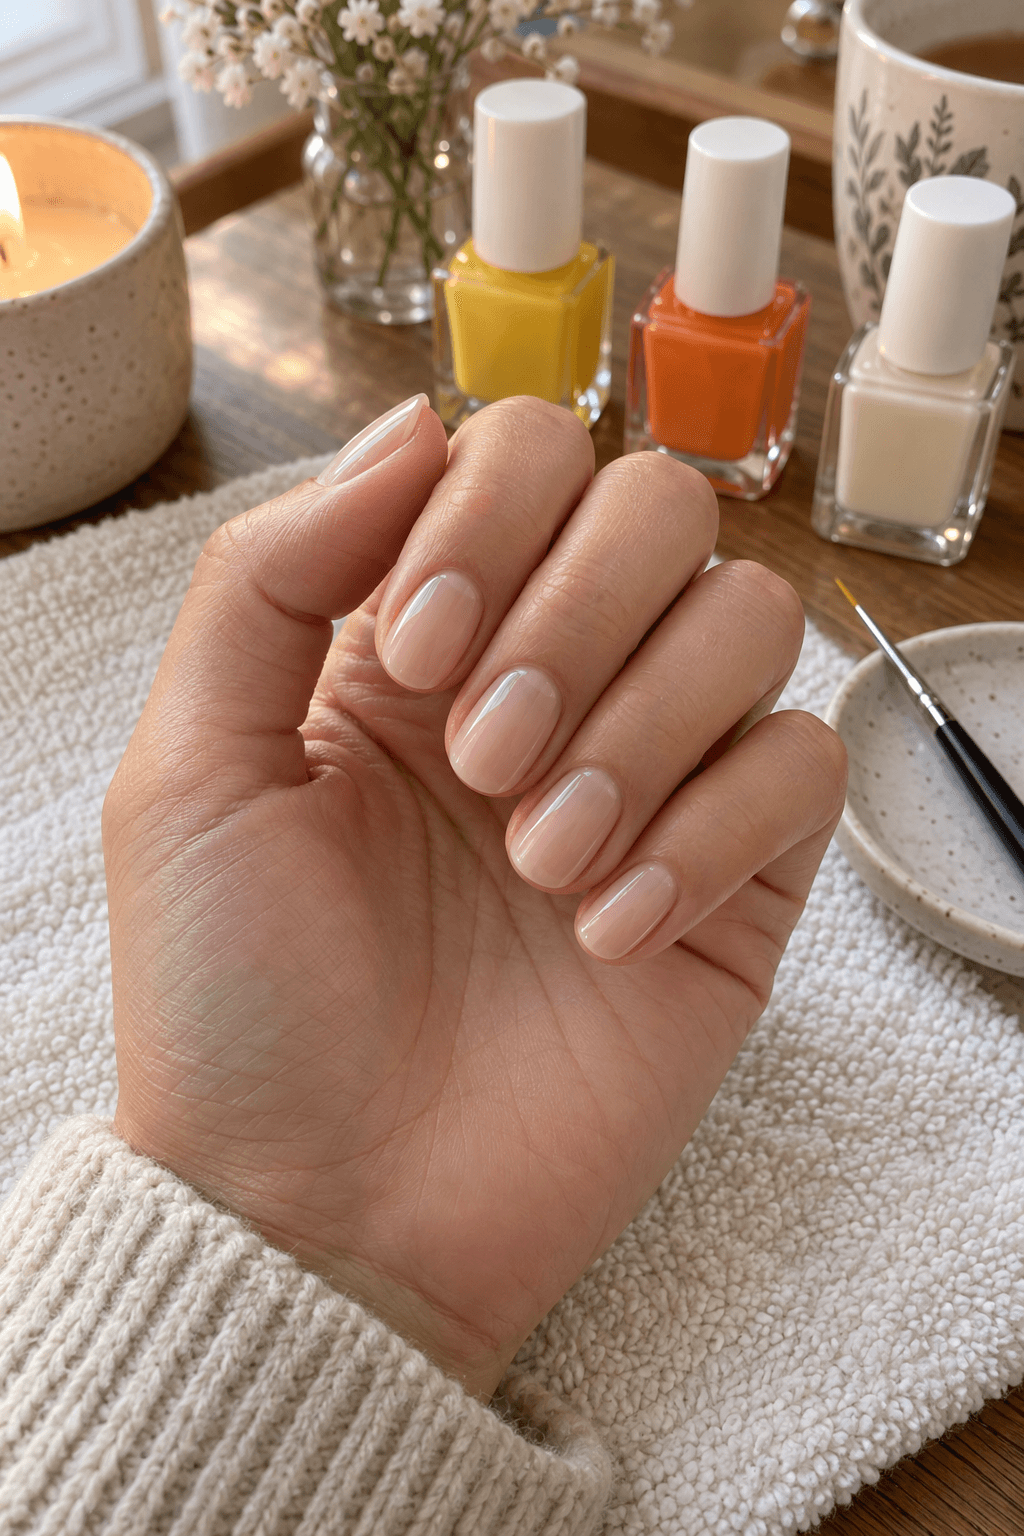
Start with a smooth base
Shape the nails, apply a thin base coat, and let it set. A pale neutral underneath helps the yellow read evenly.
Step 2
Lay out the three shades
Paint or sponge yellow closest to the cuticle, orange through the center, and milky white at the free edge.
Step 3
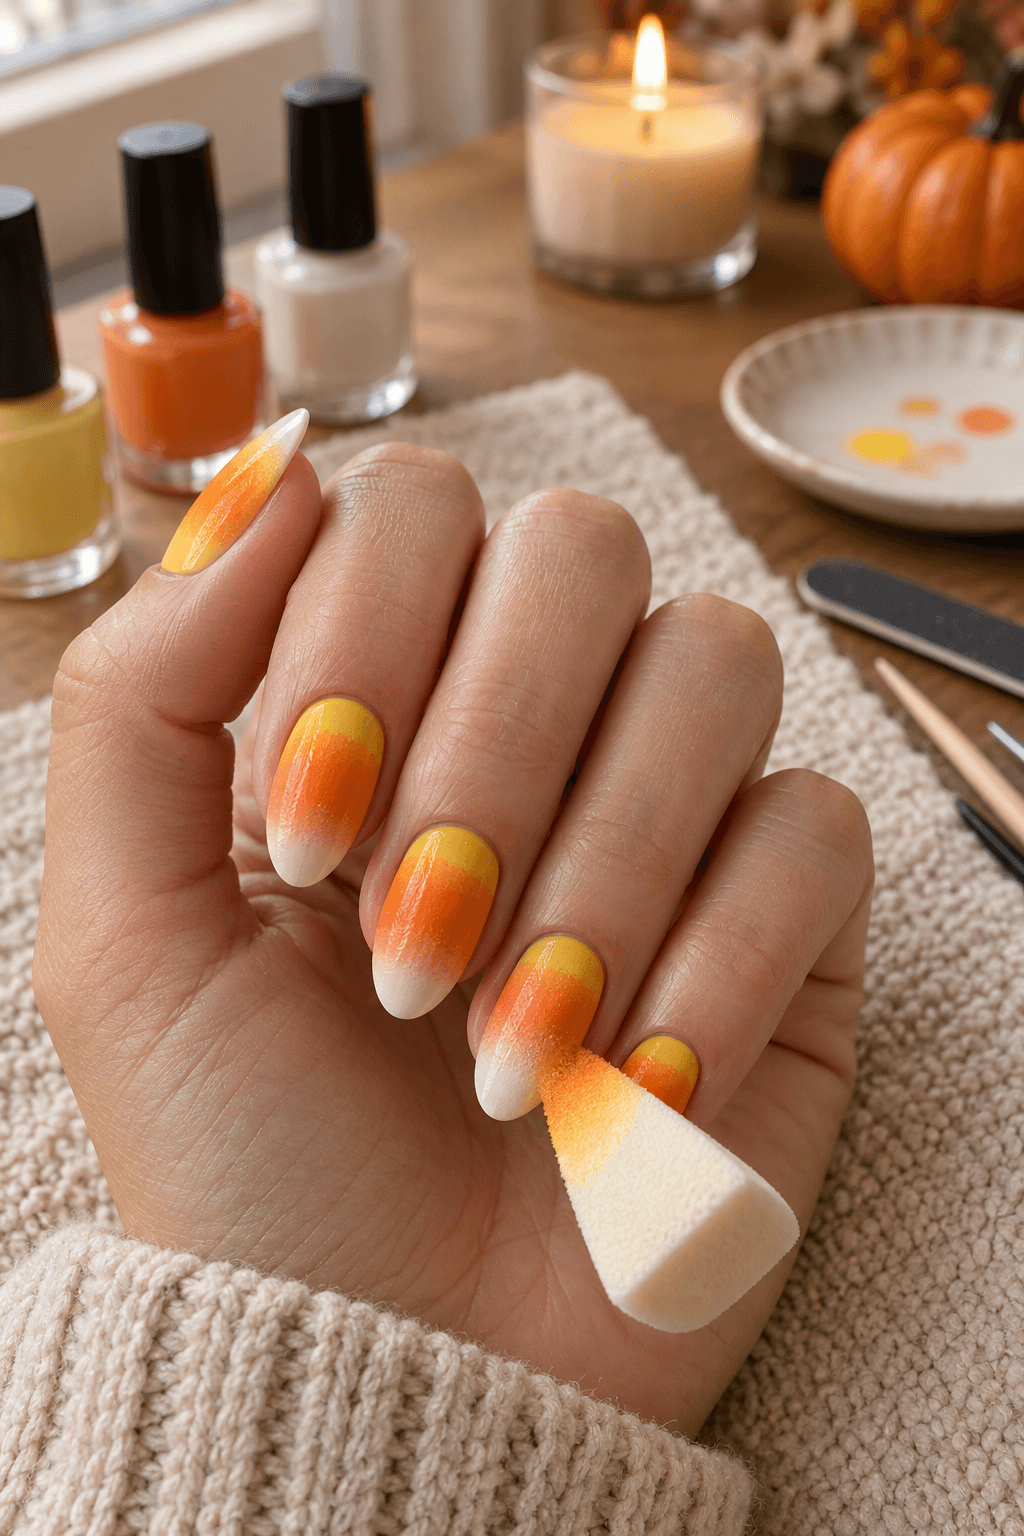
Soften the joins
Use very light tapping motions with a makeup sponge. Build the color in thin passes instead of trying to blend it in one go. If you need a fine tool, this nail art brush and dotting-tool set covers the small details.
Step 4
Clean the sidewalls
Use a small cleanup brush around the skin before the polish has a chance to dry there.
Step 5
Seal the melt
Finish with a glossy top coat. It slightly softens the transition and gives the design its candy-like finish.
Keep it intentional
Color formula
Buttery yellow
A warm, soft yellow for the lower part of the fade.
Pumpkin orange
The middle shade that gives the blend its Halloween warmth.
Milky white
A creamy white that keeps the tip gentle rather than stark.
Help it last
- Cap the free edge with top coat to help keep the white tip tidy.
- Let each thin gradient layer set before sponging another pass over it.
- Use cuticle oil around the nail once the manicure is fully dry.
Remove it gently
- Use the removal method recommended for the polish or gel system you chose.
- Do not peel off polish or gel; it can take surface layers from the natural nail.
- Finish with hand cream and cuticle oil after removal.
Nail Art AI picks
Tools for this look


As an Amazon Associate, Nail Art AI earns from qualifying purchases. This comes at no additional cost to you.
Three easy variations
- Use a sheer nude base and leave the color just at the tips.
- Swap the white for a soft cream for a warmer, vintage candy feel.
- Make one nail solid orange and keep the rest ombré for a quieter set.
More ways to wear it
Explore a few related designs before you choose your final Halloween manicure.
See it on your own hand first
A color and shape can look different on every hand. Try this idea on your own hand before you paint it or take it to an appointment.
Questions people ask
Do I need a sponge for candy corn ombré nails?
A small makeup sponge makes the fade easier, but you can also work with a very soft brush and several thin coats.
Why does my gradient look striped?
Usually the layers are too opaque or too dry. Use less polish on the sponge and add several light passes.
Can I do this on short nails?
Yes. Keep the bands slim and let the orange take up less space so the three colors do not feel crowded.
Should I use a matte top coat?
You can, but gloss is the better match for the soft, melting-candy effect in this version.