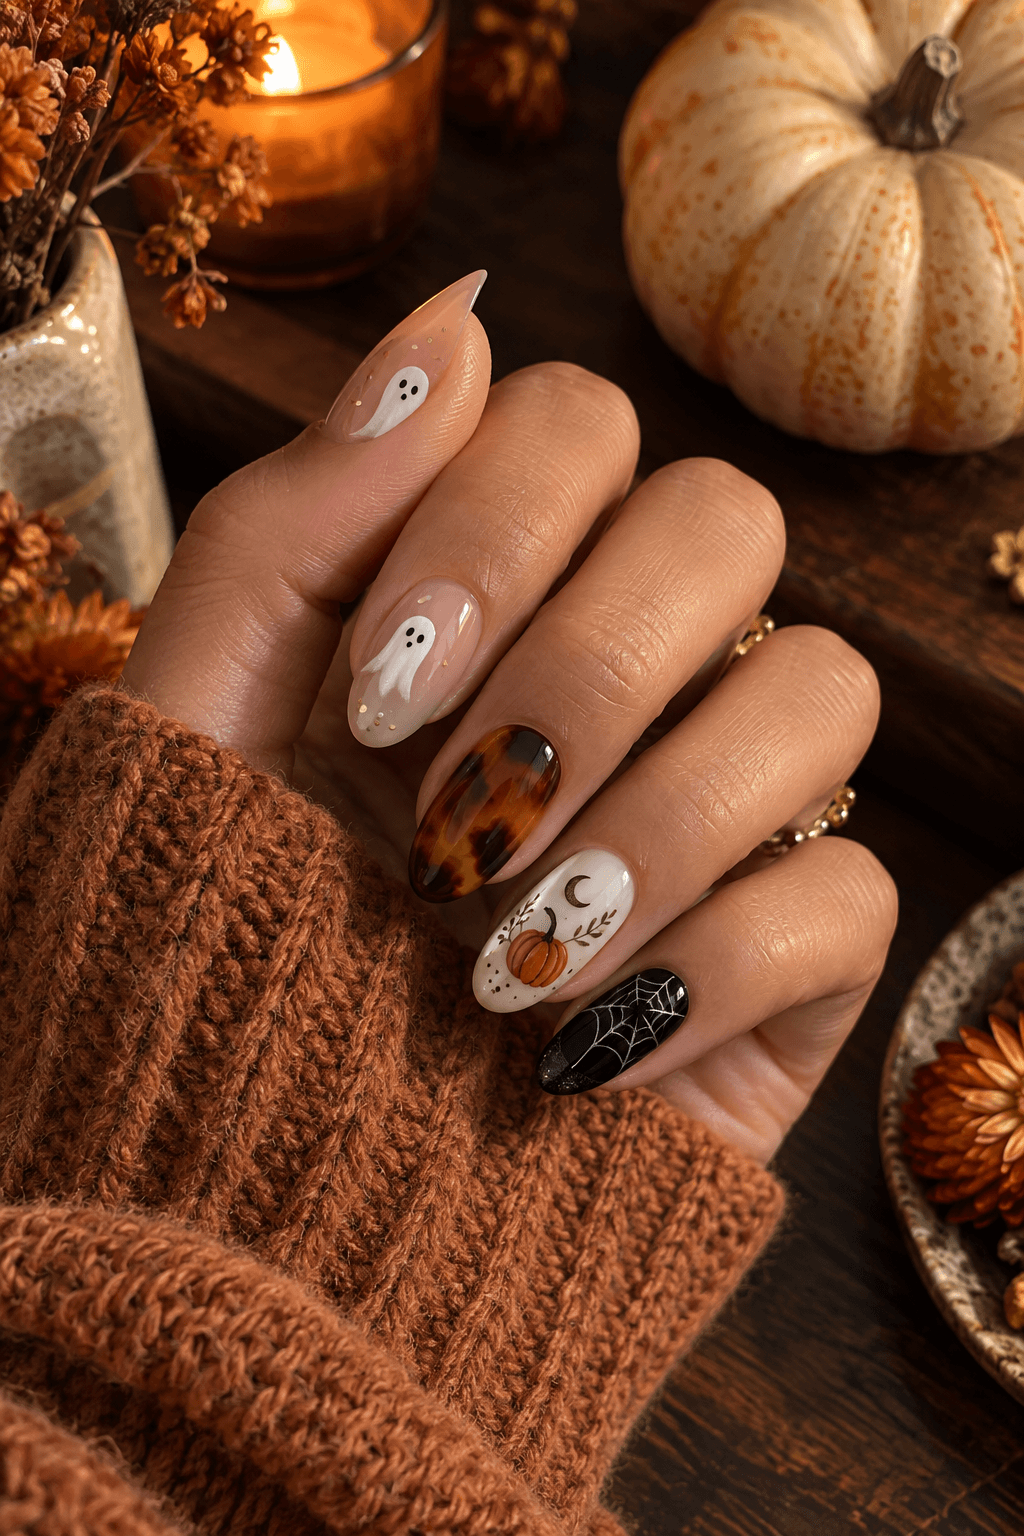
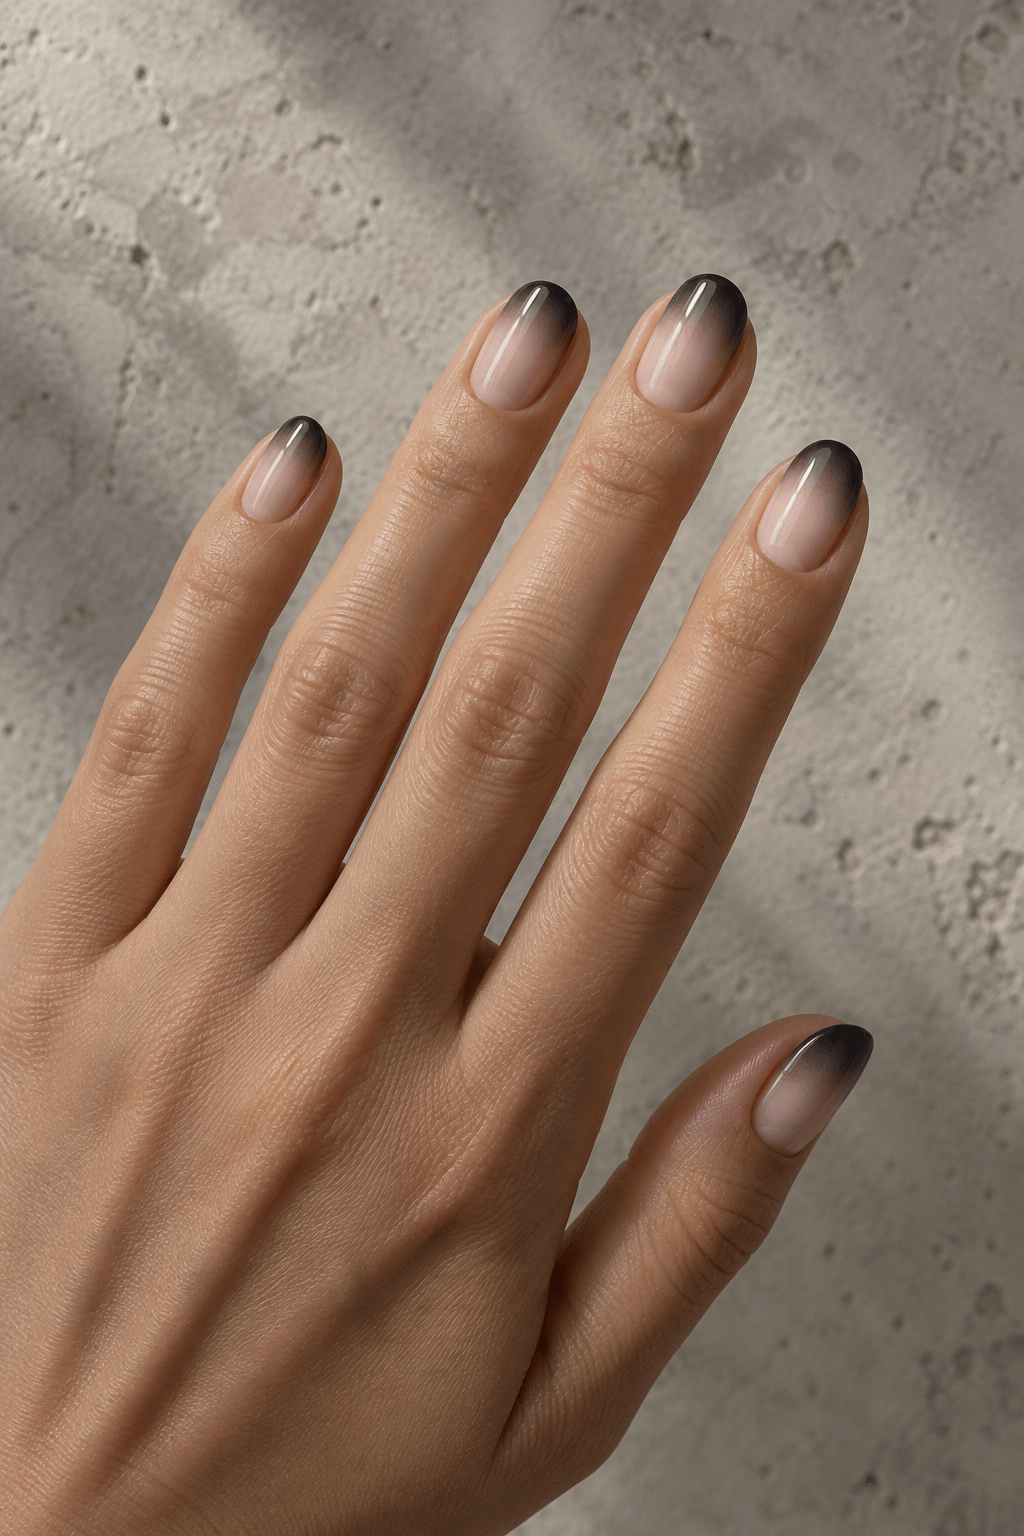
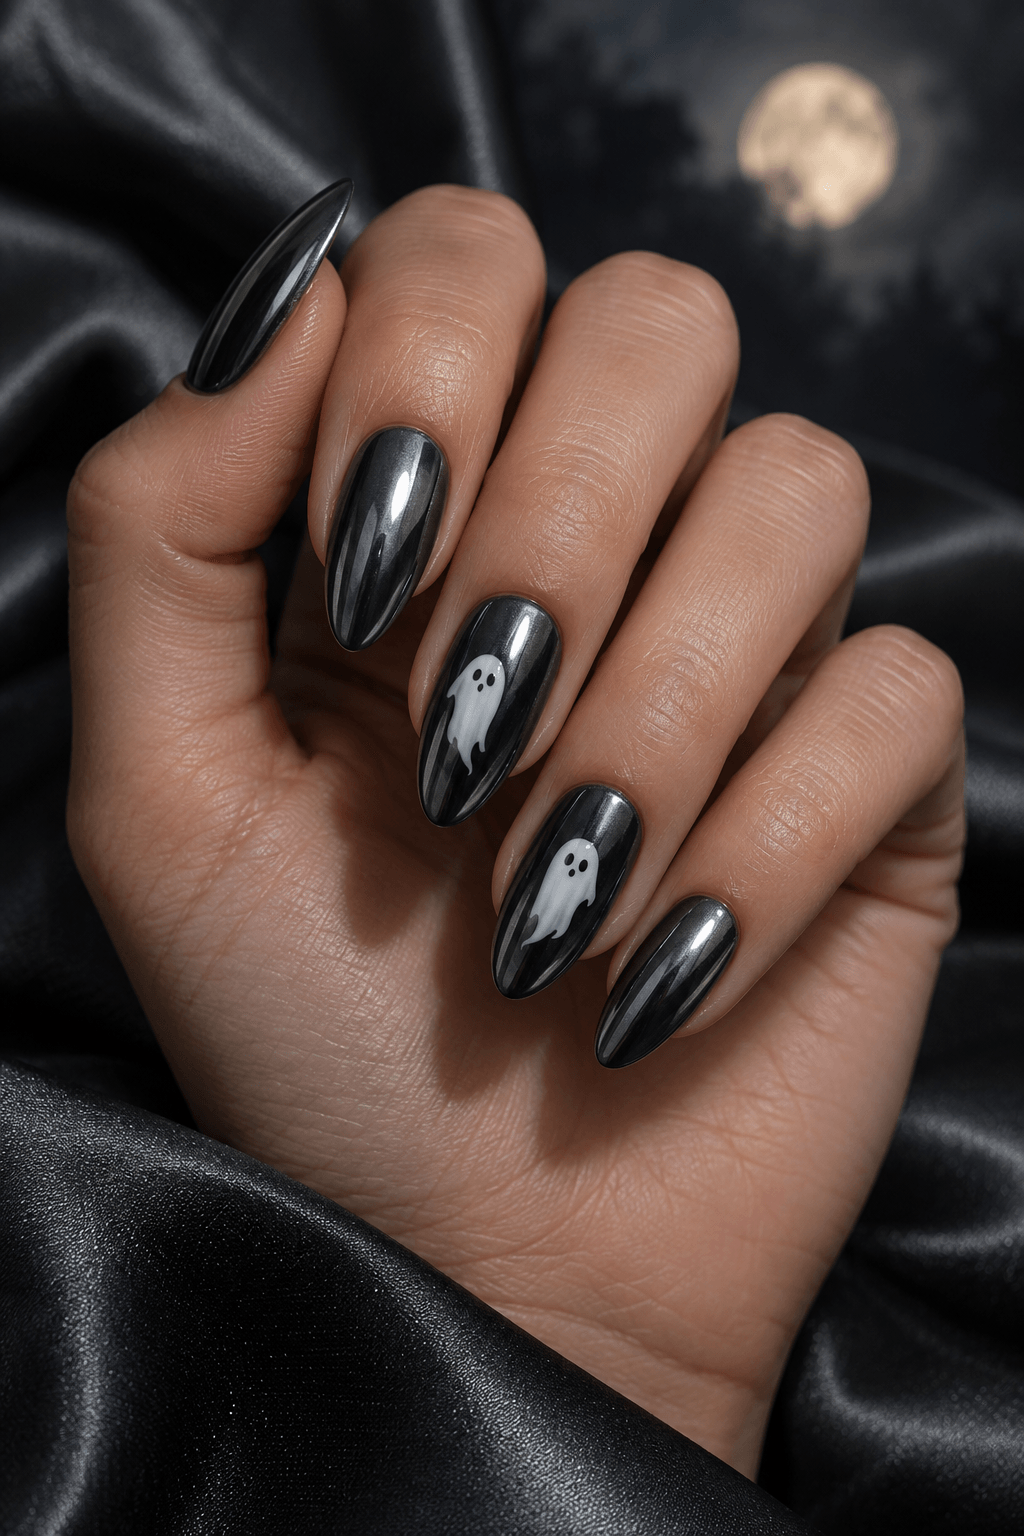
Halloween nails in 2026 are either sweet-spooky or quietly gothic. Save a few looks below, then use the quick notes under each image to decide which one you want to try.
Halloween Nail Art Ideas 2026: 30+ Spooky Designs (Image: Nail Art AI)
The 2026 Halloween Nail Trends Actually Worth Copying
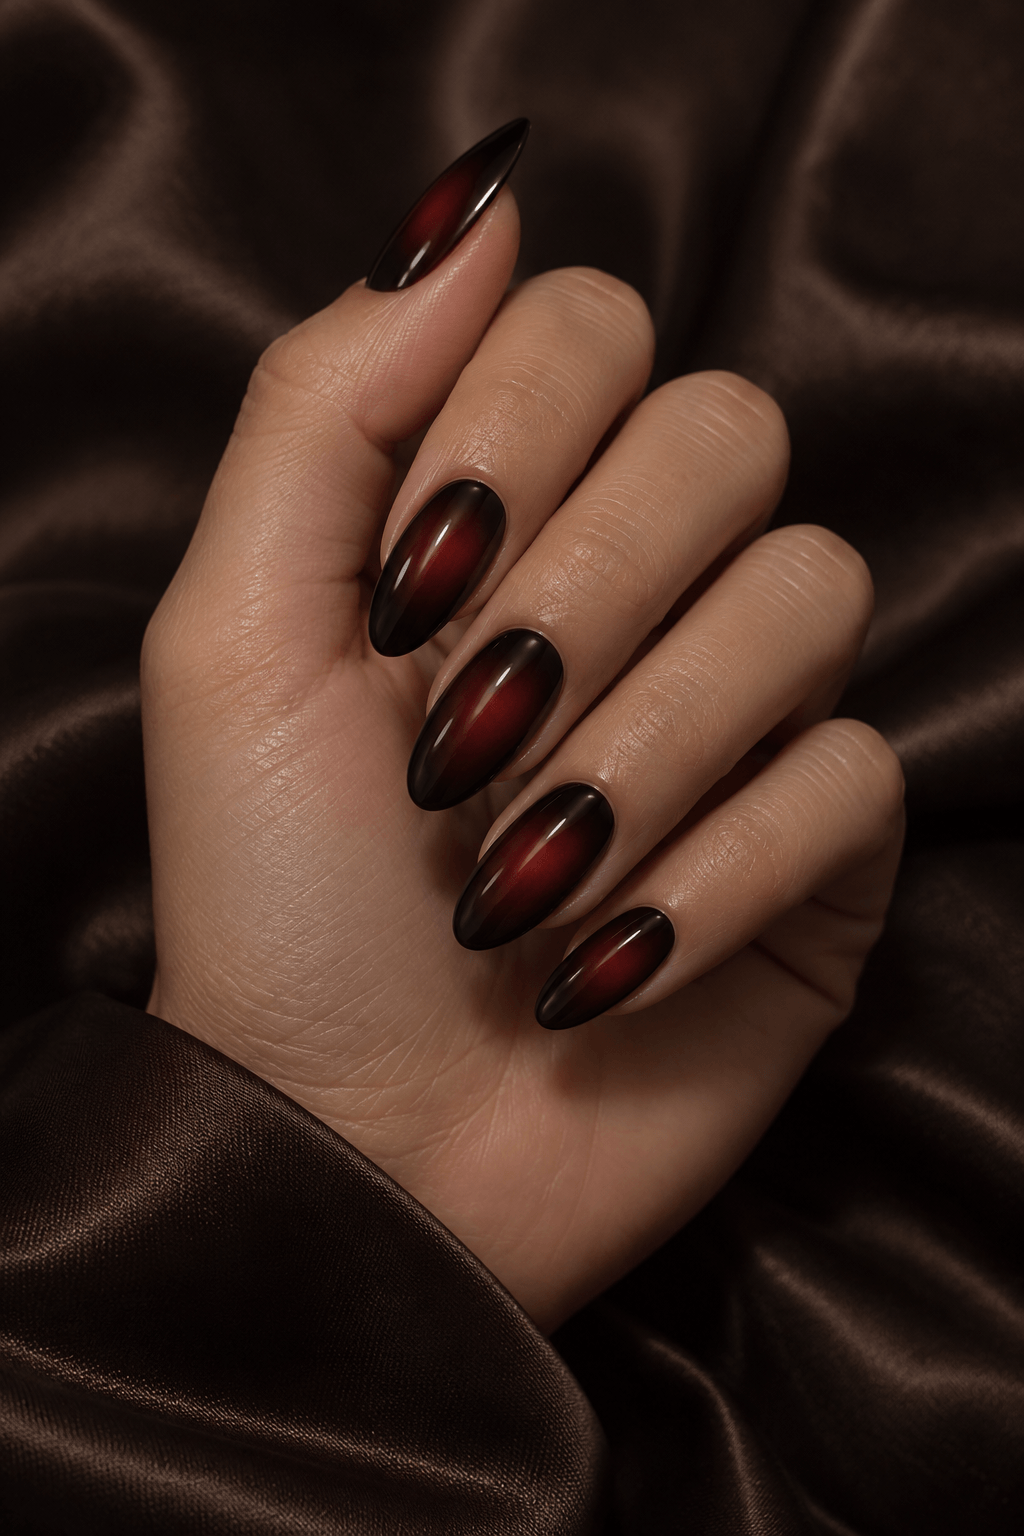
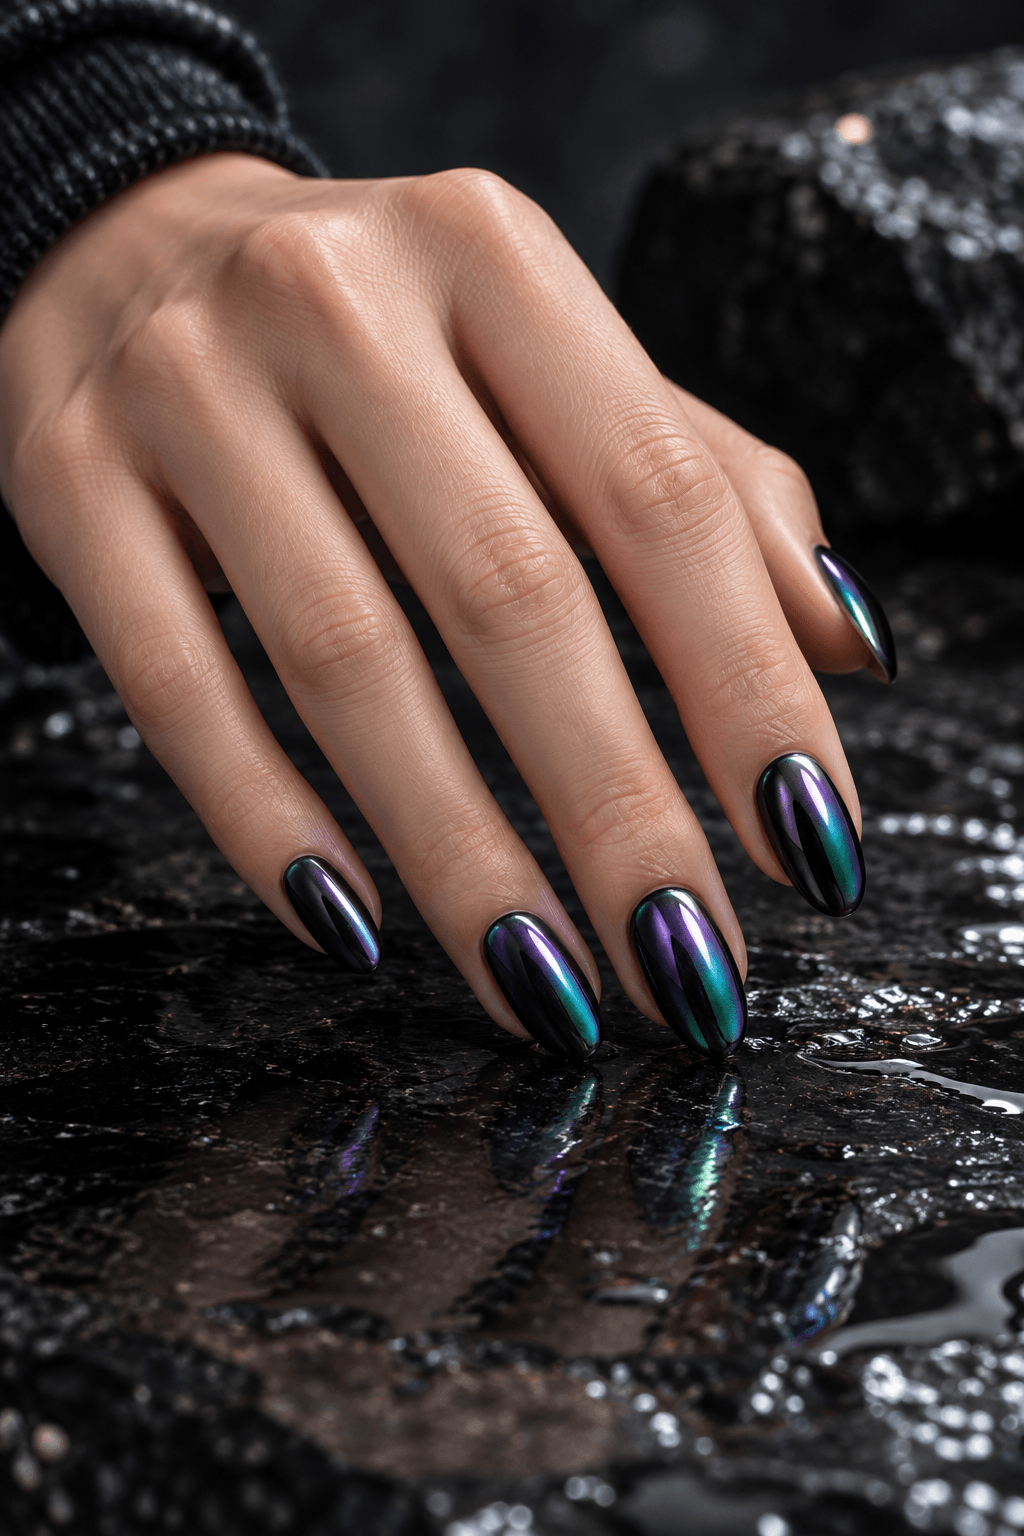
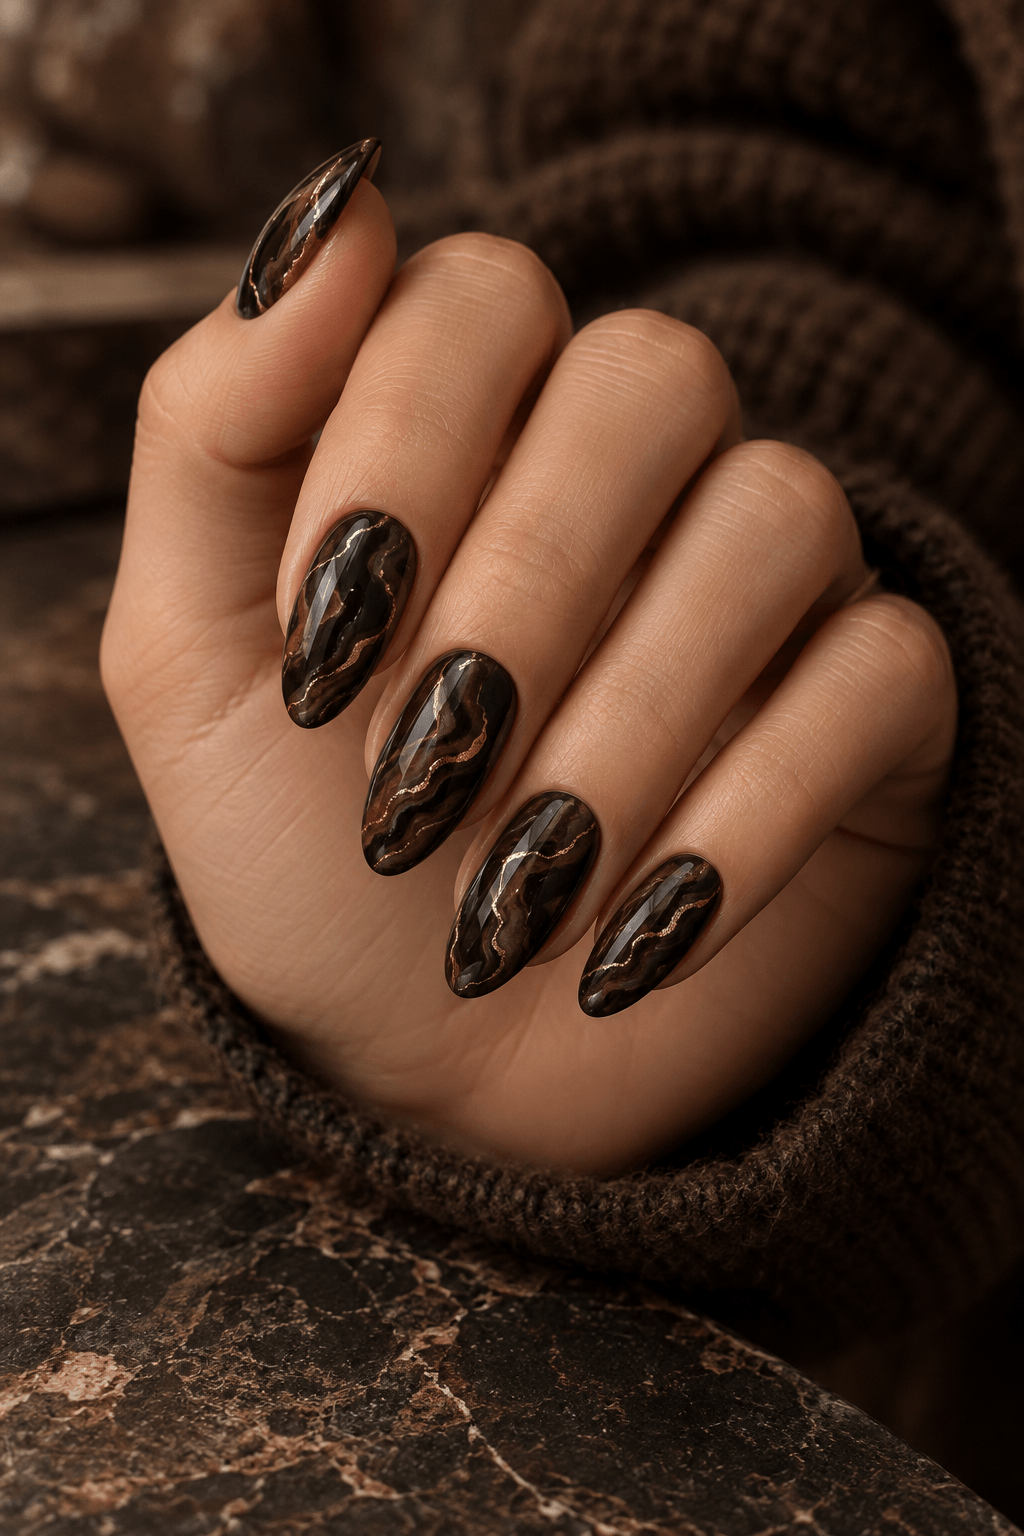
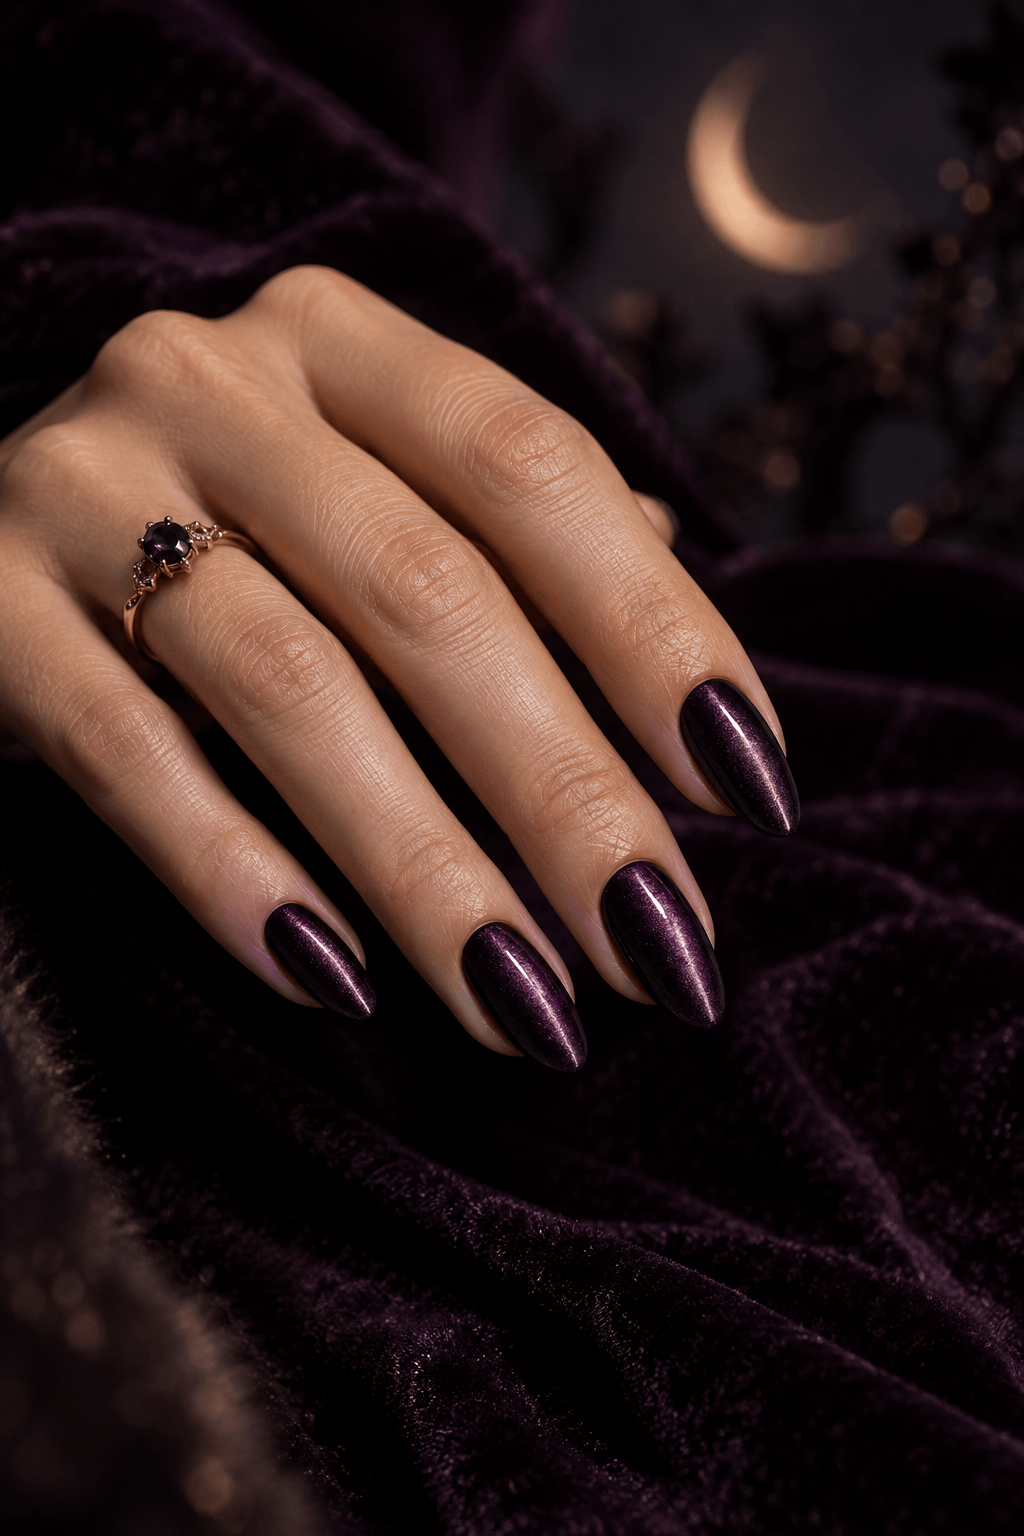
Here's the honest read on this year: Halloween nails split into two camps, and both are valid. The sweet-spooky camp is all candy corn ombré, cartoon ghosts, and pastel bats — playful, low-commitment, great for anyone who wants festive without scary. The vampy camp is where the real 2026 shift lives: dark chrome, blood-red aura fades, oil-slick finishes, and marble in moody browns and blackberry. What makes the second group so smart is that it barely reads as ‘costume' at all, so it keeps looking chic long after October 31st.
The single biggest engine this year is chrome. Mirror finishes, oil-slick multi-tones, and tonal chrome spiderwebs are everywhere because they photograph like jewelry and pair with literally any spooky motif. If you only learn one new skill this season, make it chrome powder — our chrome technique guide walks through the buffing-and-sealing steps so it comes out glassy instead of patchy. Layer a fine web or a single 3D spider on top and you've got a look that's trendy first, creepy second.
The other thing to know is that texture contrast is doing a lot of heavy lifting. Matte black against a glossy outline, crushed-velvet cat-eye against flat polish, a domed jelly blood drip against a bare nail — the friction between finishes is what makes these designs look intentional rather than homemade. Browse the full Halloween collection to see how the pros are stacking matte and shine, then steal the combos that suit your nail length.
The 2026 Halloween Nail Trends Actually Worth Copying (Image: Nail Art AI)
30+ Halloween Designs to Save
Grouped by vibe so you can jump to yours. Screenshot the ones you love — or try them on your own hand first.
Candy Corn & Sweet-Spooky
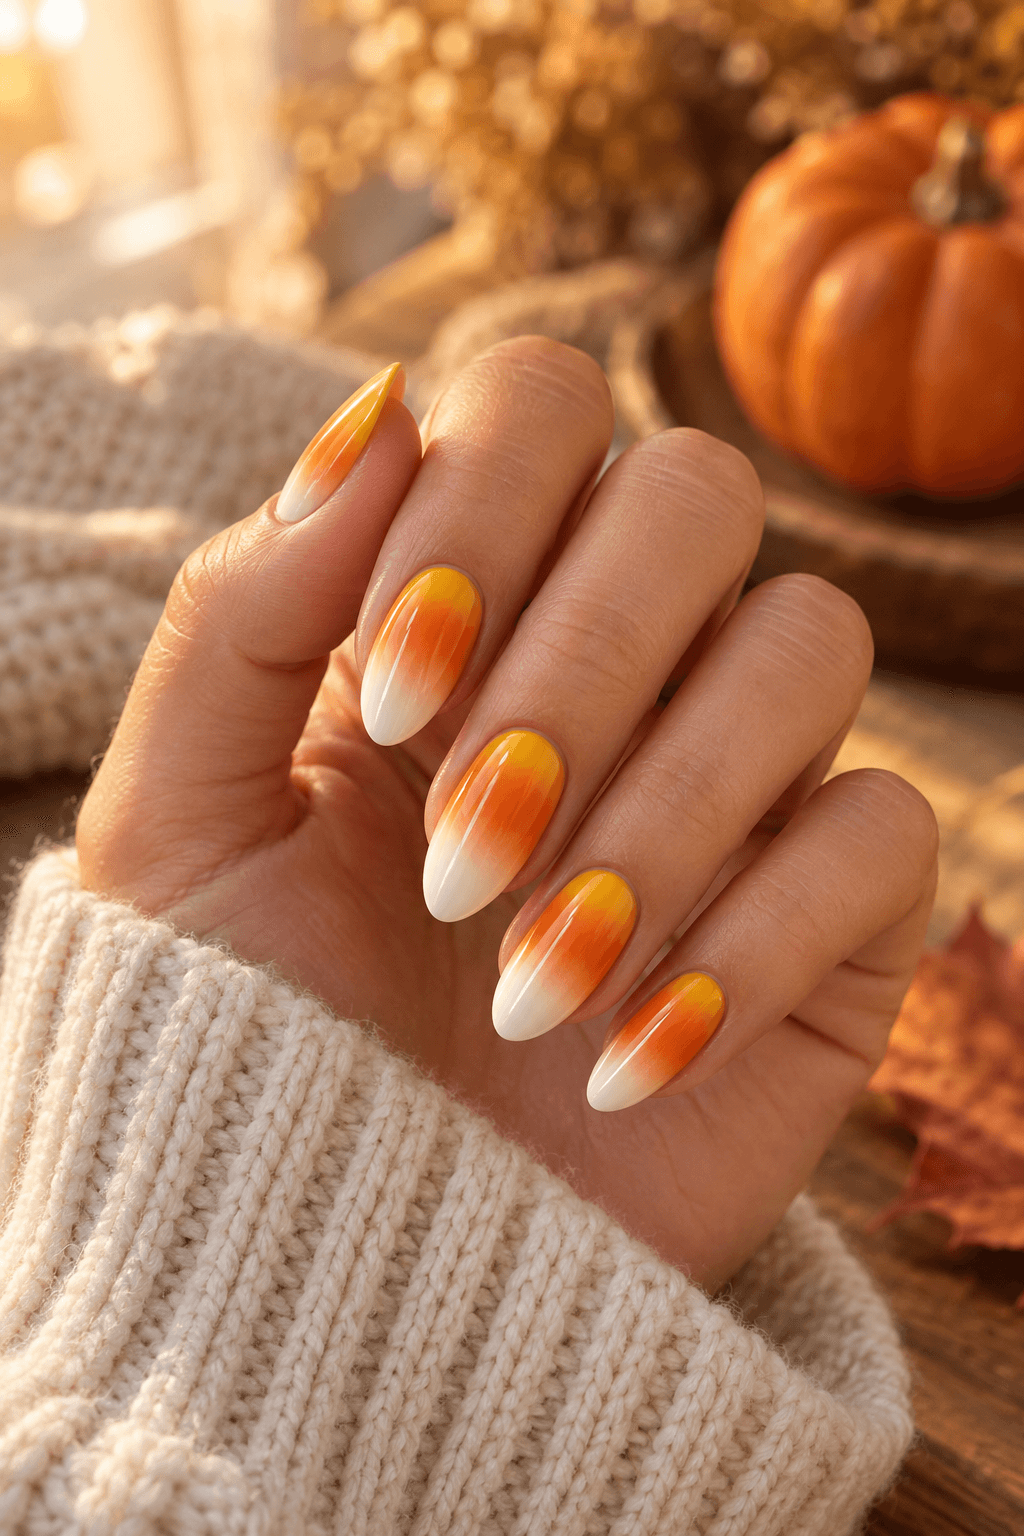
Candy Corn Ombré Melt
What it is:A buttery-yellow base that fades up through pumpkin orange to a milky white tip, blurred so smoothly it looks like the candy is actually melting into your nail.
How to create it: Sponge yellow, orange, and white in thin layers, then finish with a glossy top coat to soften the blend.
Best for: Best for a cute, daytime Halloween look or a low-key themed manicure.
Candy Corn Ombré Melt — Candy Corn & Sweet-Spooky (Image: Nail Art AI)
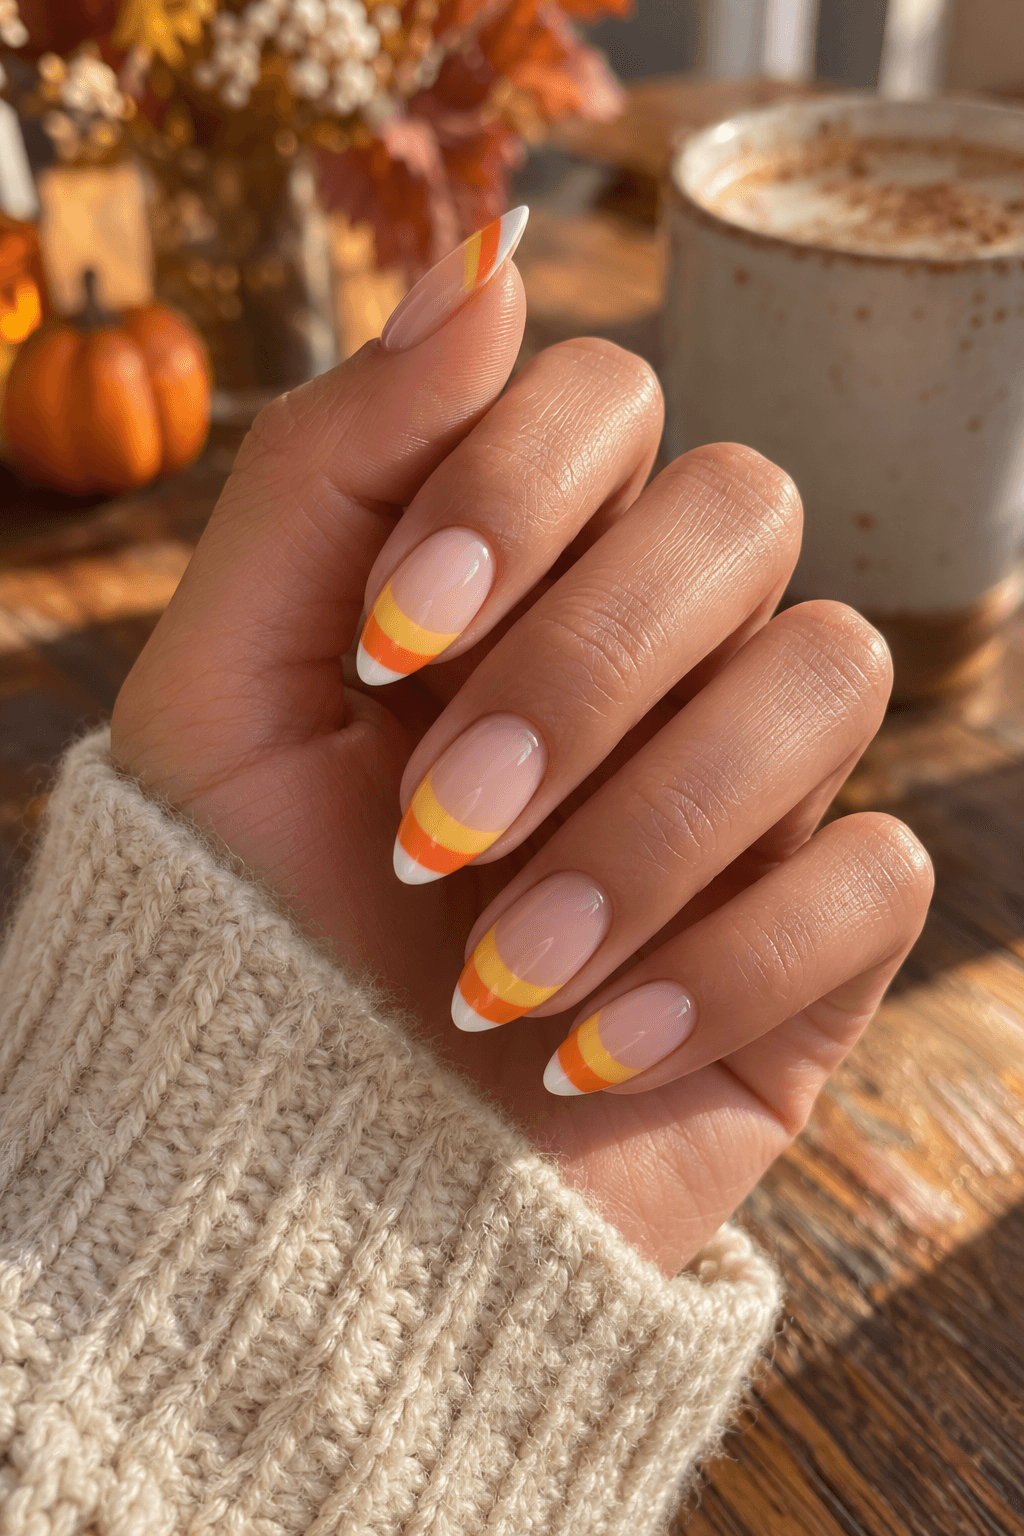
Milky Candy Corn French
What it is:A sheer milk-glass base with a tri-color candy-corn tip painted right where a classic French line would sit — sweet, wearable, and office-safe until you get closer.
How to create it: Paint a sheer nude base, map a slim three-color French tip, and clean the curve with a detail brush.
Best for: Best for a cute, daytime Halloween look or a low-key themed manicure.
Milky Candy Corn French — Candy Corn & Sweet-Spooky (Image: Nail Art AI)
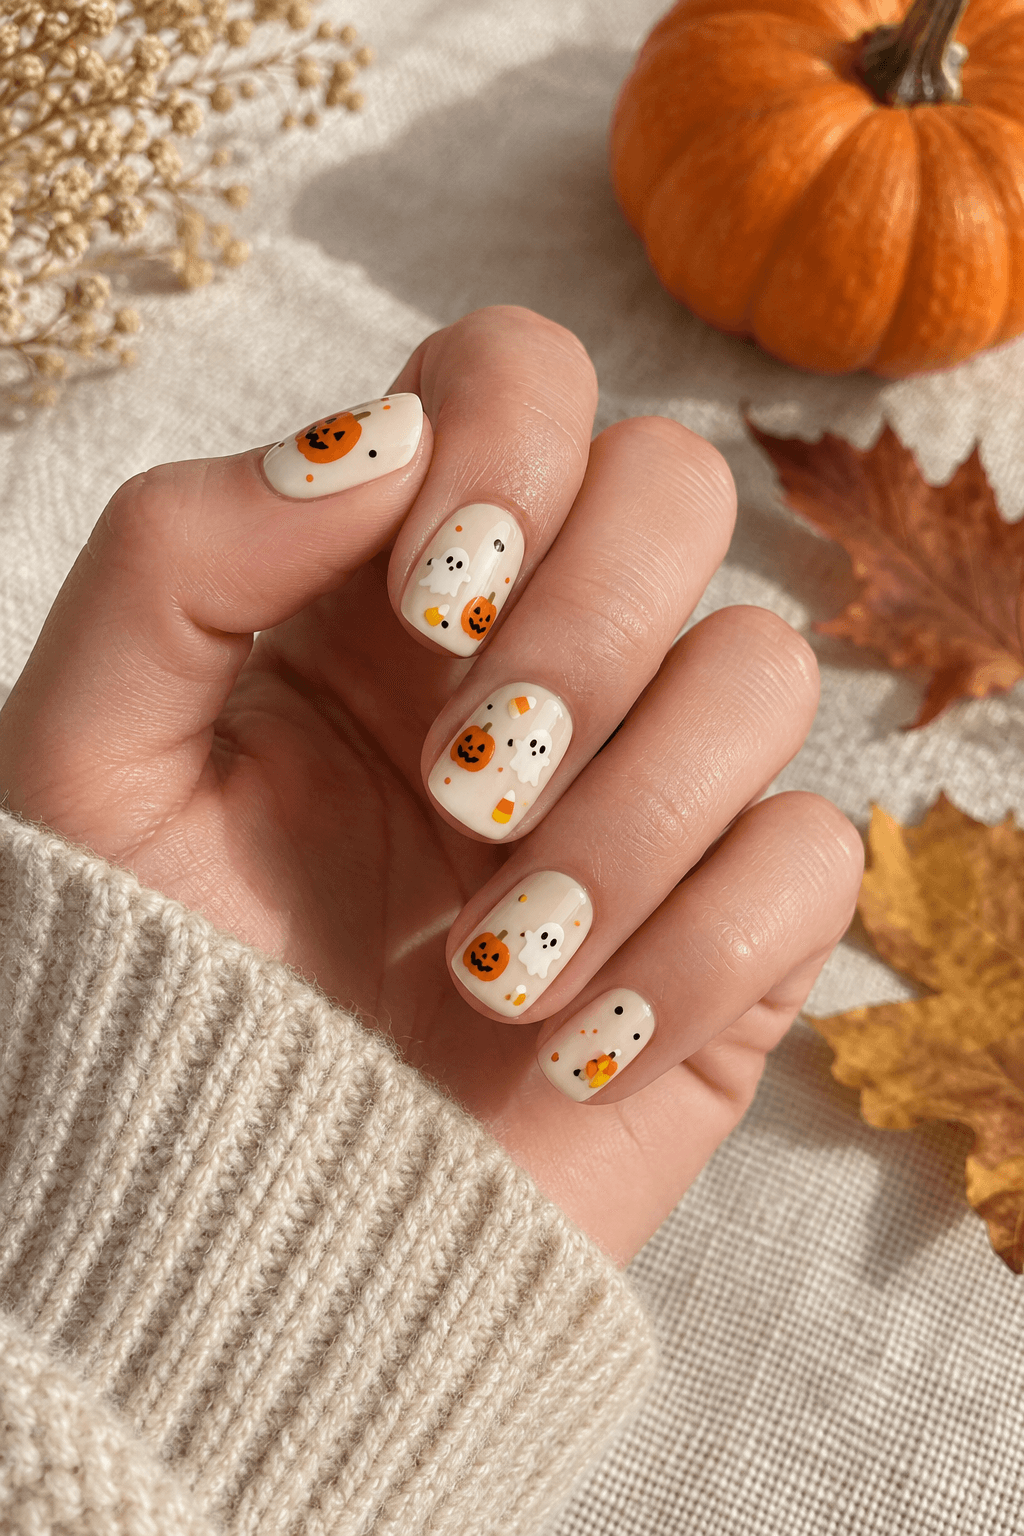
Pumpkin Patch Confetti
What it is:Tiny hand-painted jack-o'-lanterns, ghosts, and candy corn scattered mismatched across a warm cream base like a tossed handful of trick-or-treat loot.
How to create it: Use a warm cream base, then add only two or three tiny motifs per hand so the artwork stays readable.
Best for: Best for a cute, daytime Halloween look or a low-key themed manicure.
Pumpkin Patch Confetti — Candy Corn & Sweet-Spooky (Image: Nail Art AI)
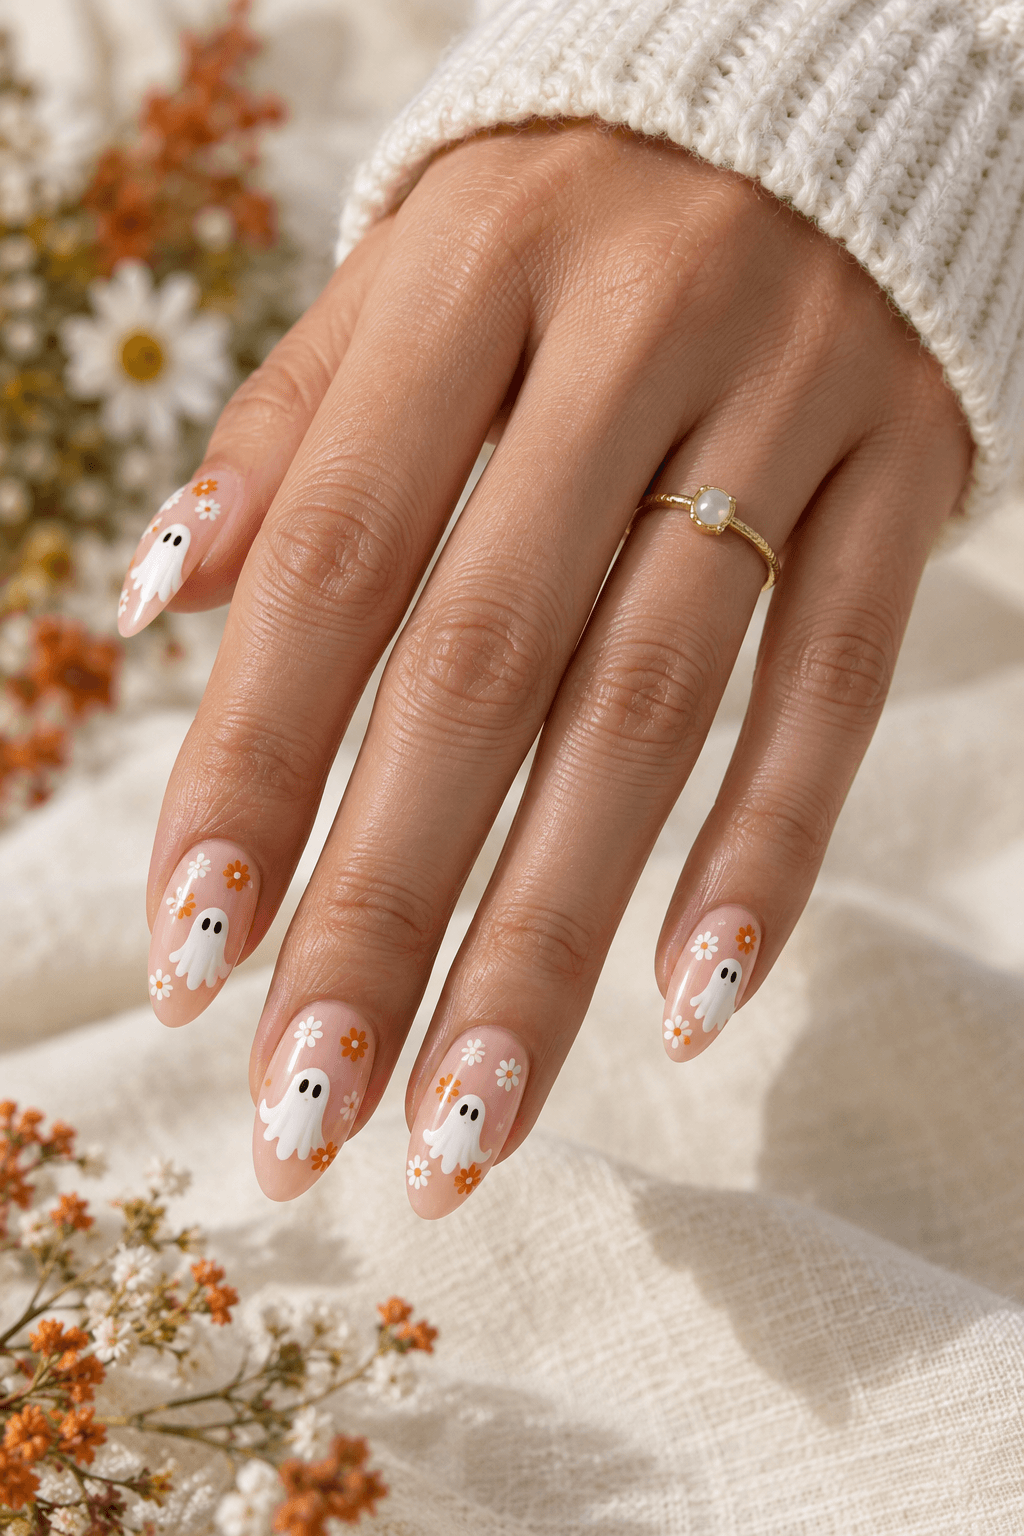
Ghost in the Daisies
What it is:Little white sheet ghosts peeking out from a meadow of orange and white daisies — the cottage-core Halloween mani for people who want cute over creepy.
How to create it: Start with a sheer blush base; use a dotting tool for the daisies and a fine brush for the small ghost shapes.
Best for: Best for a cute, daytime Halloween look or a low-key themed manicure.
Ghost in the Daisies — Candy Corn & Sweet-Spooky (Image: Nail Art AI)
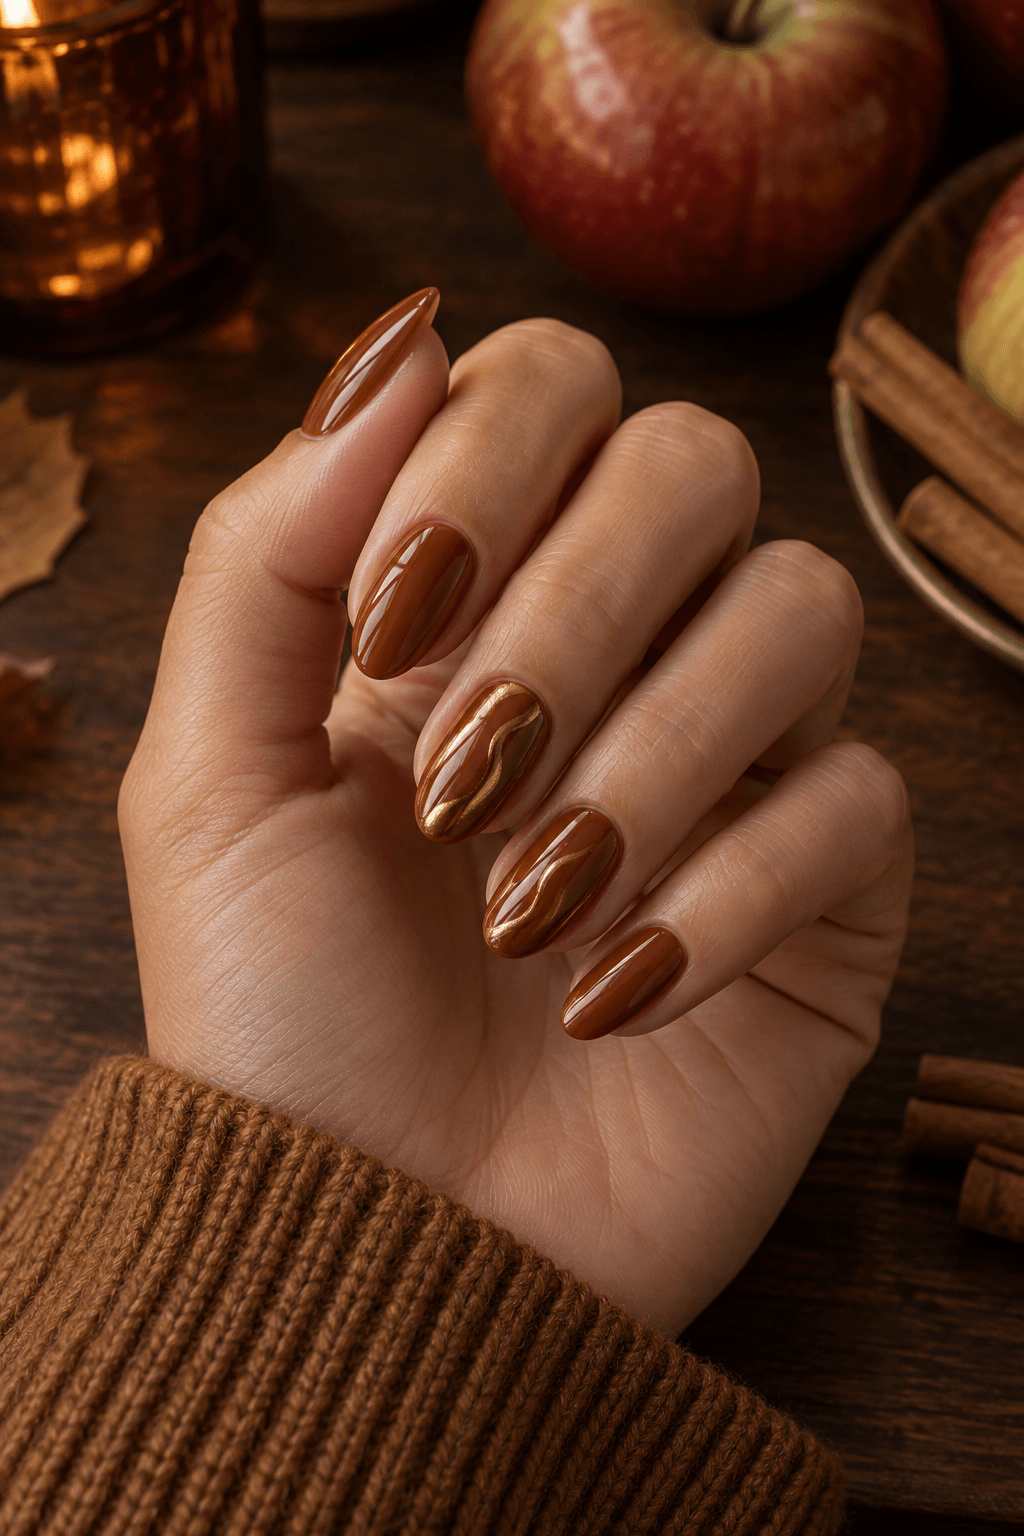
Caramel Apple Chrome
What it is:A glossy toffee-brown base wrapped in a warm gold chrome drip that mimics caramel sliding down a candy apple, finished with one glittery ‘bite' accent.
How to create it: Lay down a translucent toffee base, rub gold chrome over selected areas, and seal it with a glassy top coat.
Best for: Best for a cute, daytime Halloween look or a low-key themed manicure.
Caramel Apple Chrome — Candy Corn & Sweet-Spooky (Image: Nail Art AI)
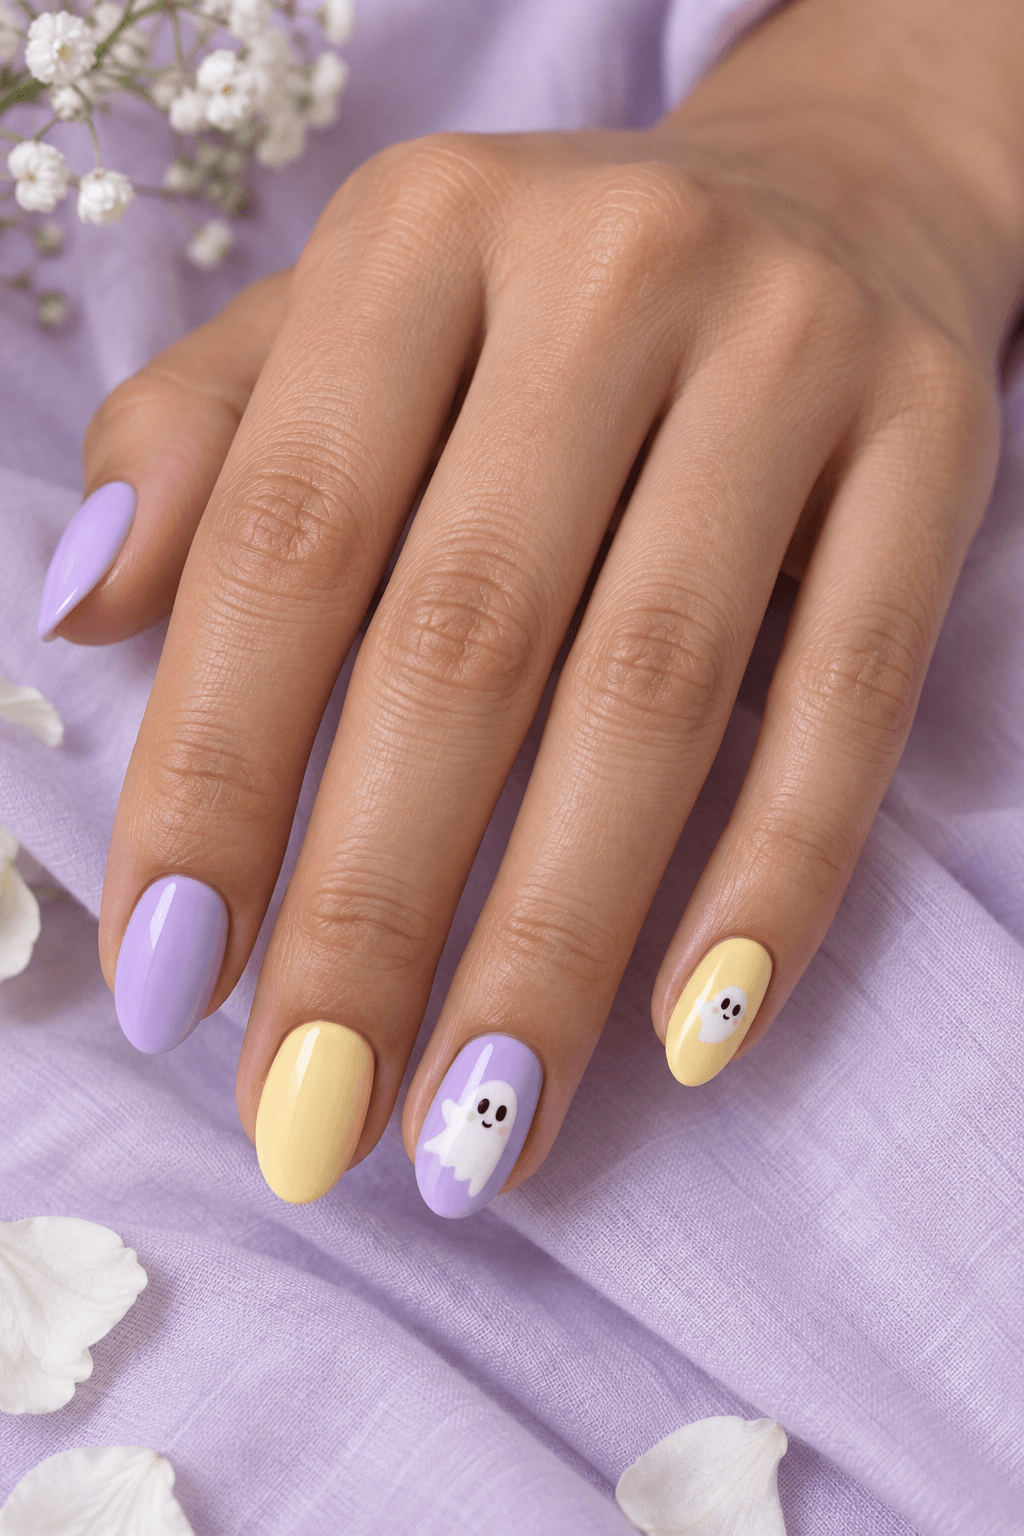
Boo-quet Pastels
What it is:Baby-lilac and butter-yellow nails dotted with wide-eyed cartoon ghosts, proving spooky season doesn't have to mean black-and-orange at all.
How to create it: Alternate soft pastel shades and reserve the ghosts for one or two accent nails instead of every nail.
Best for: Best for a cute, daytime Halloween look or a low-key themed manicure.
Boo-quet Pastels — Candy Corn & Sweet-Spooky (Image: Nail Art AI)
Blood Drip & Gothic Gore
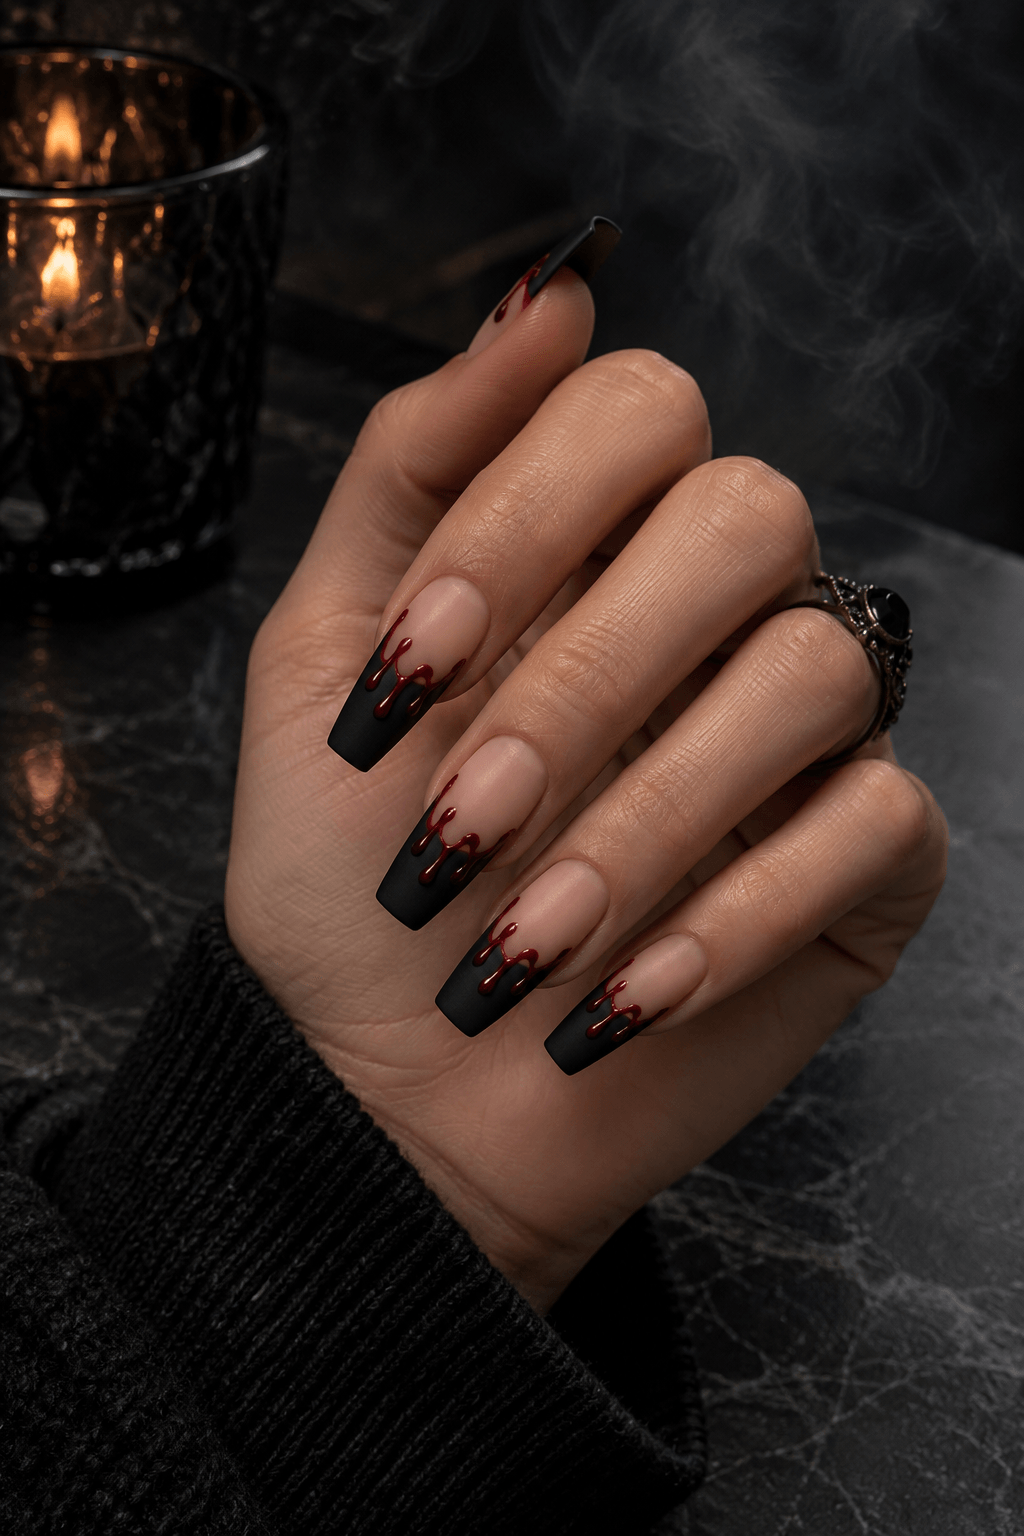
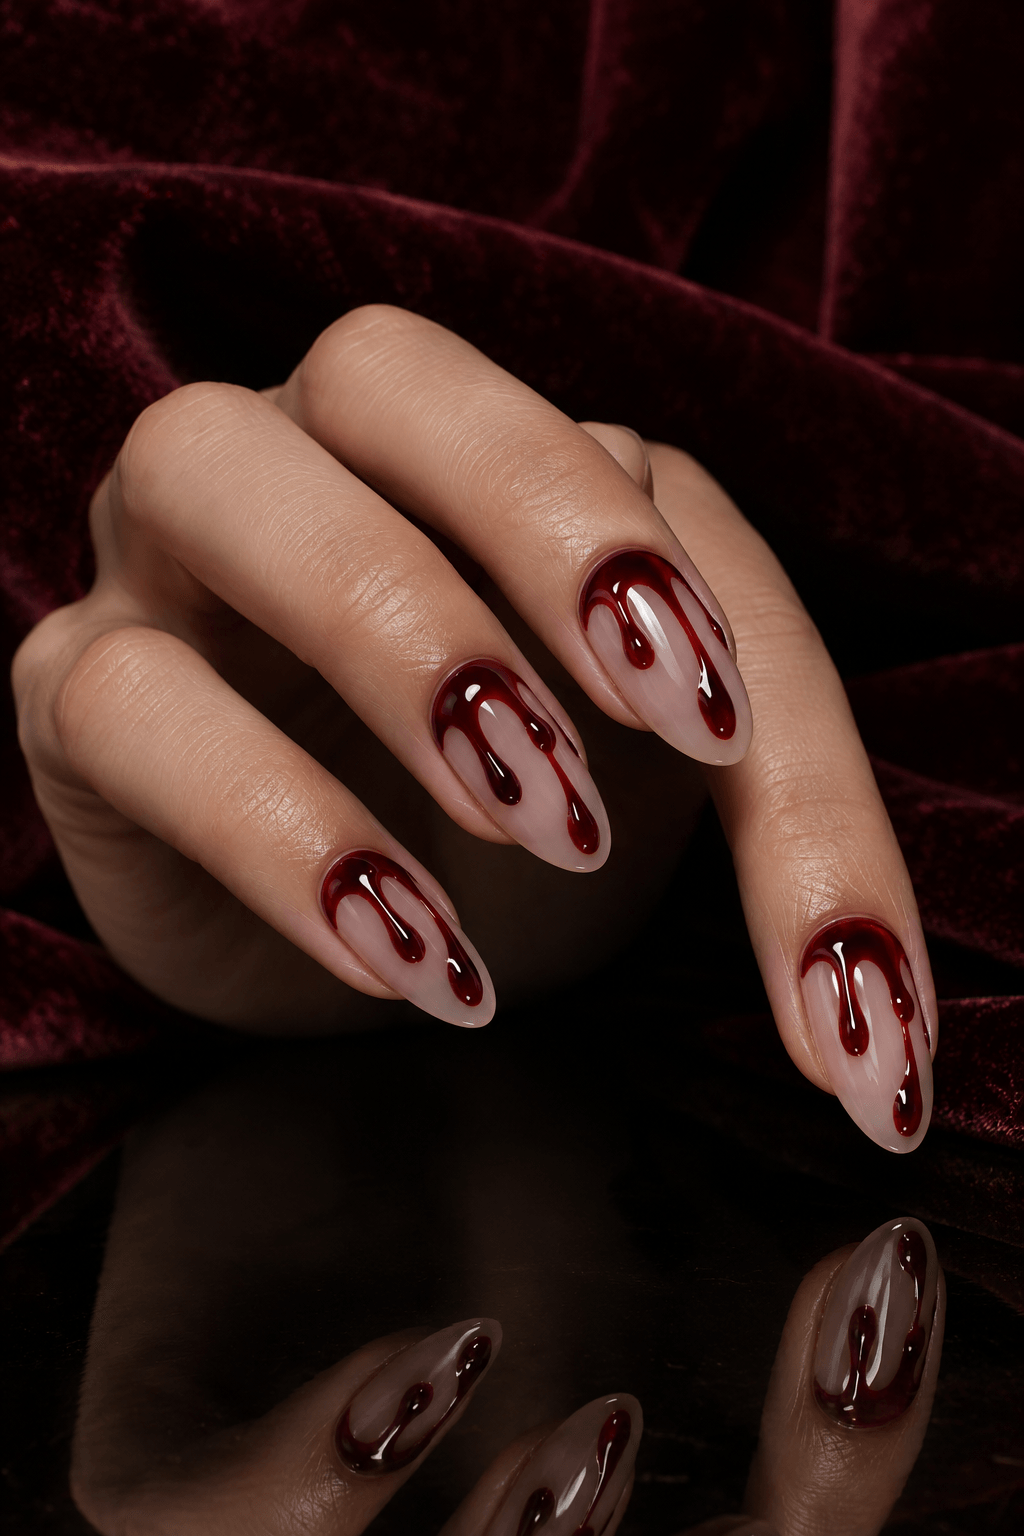
Classic Crimson Drip
What it is:Glossy blood-red oozing down from the cuticle over a bare nude nail — the most iconic Halloween look there is, and shockingly easy once you learn the dot-and-drag trick.
How to create it: On a nude base, place red dots near the cuticle and pull each one downward with a fine brush before top coating.
Best for: Best for parties, costume weekends, or anyone who wants a bolder Halloween detail.
Black-Tip Blood Bath — Blood Drip & Gothic Gore (Image: Nail Art AI)
3D Glossy Gore
What it is:Built-up gel drips with a domed, jelly-like top coat that catch the light and look genuinely three-dimensional, like fresh blood you could smudge.
How to create it: Build the drips slowly with clear builder gel or thick gel polish, curing between thin layers to keep the shape rounded.
Best for: Best for parties, costume weekends, or anyone who wants a bolder Halloween detail.
3D Glossy Gore — Blood Drip & Gothic Gore (Image: Nail Art AI)
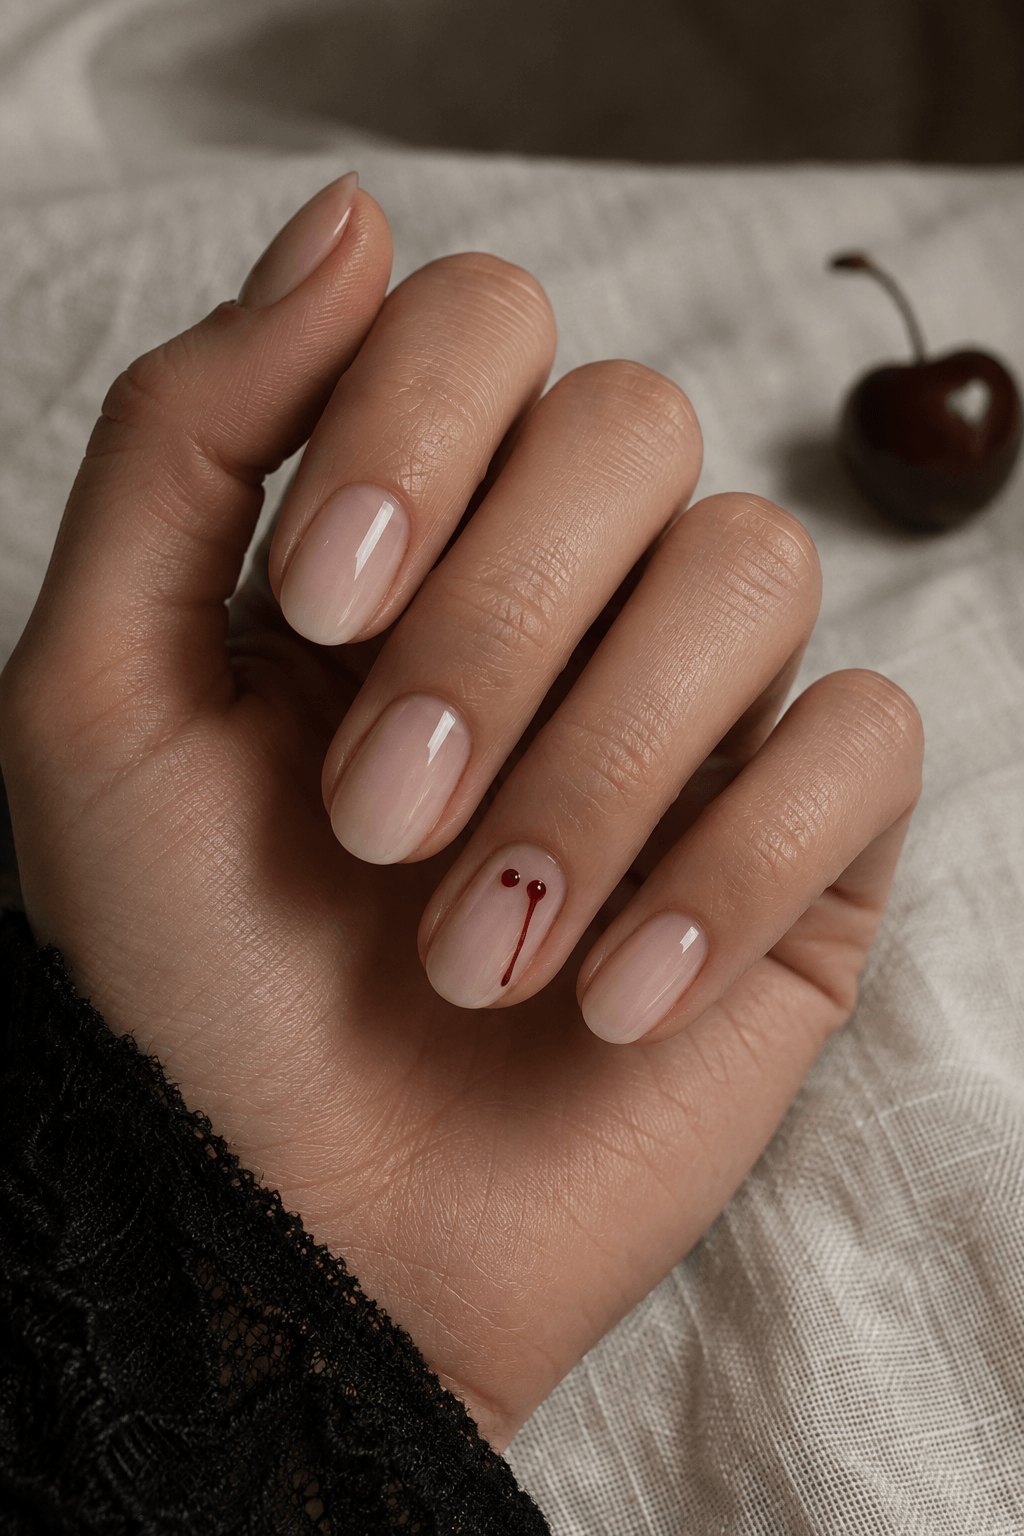
Vampire's Kiss
What it is:A sheer milky base with two tiny fang-bite dots and a single thin trickle of red, playing the whole horror story out on one restrained accent nail.
How to create it: Keep the base sheer, add two tiny bite dots on one accent nail, and pull one dot into a very fine red trail.
Best for: Best for parties, costume weekends, or anyone who wants a bolder Halloween detail.
Vampire's Kiss — Blood Drip & Gothic Gore (Image: Nail Art AI)
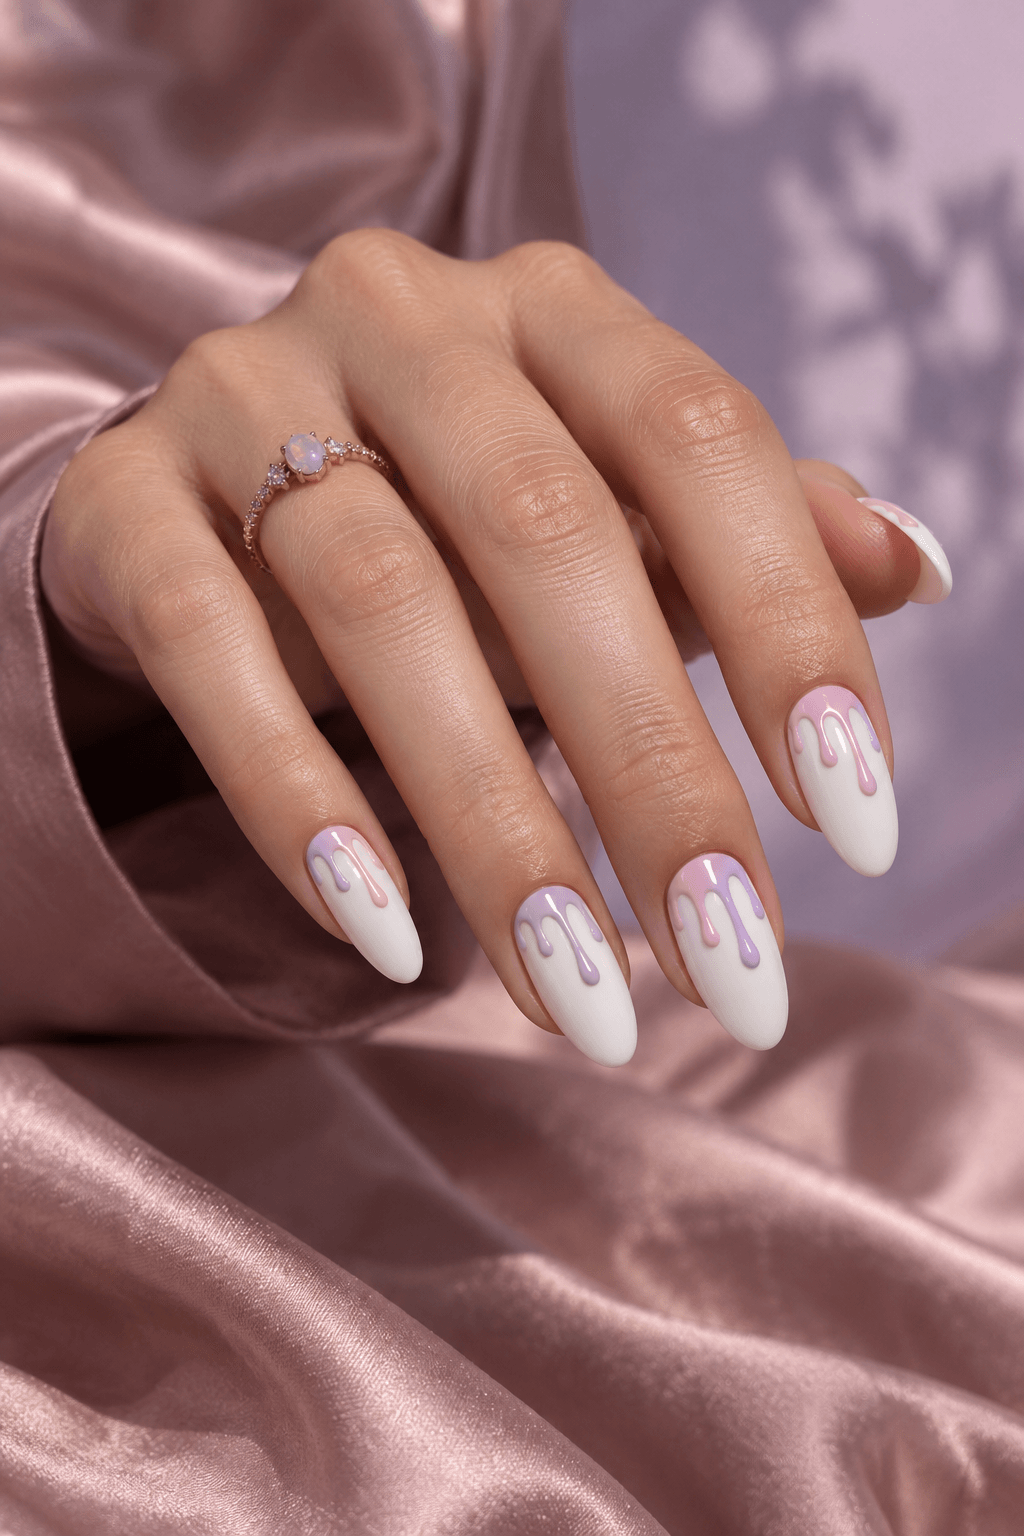
Pastel Blood Drip
What it is:The pastel-goth remix — soft pink or lilac ‘blood' dripping over a white base, spooky enough for the theme but sweet enough for your coquette era.
How to create it: Use white as the base, then swap true red for pink or lilac gel so the drips feel soft rather than graphic.
Best for: Best for parties, costume weekends, or anyone who wants a bolder Halloween detail.
Pastel Blood Drip — Blood Drip & Gothic Gore (Image: Nail Art AI)
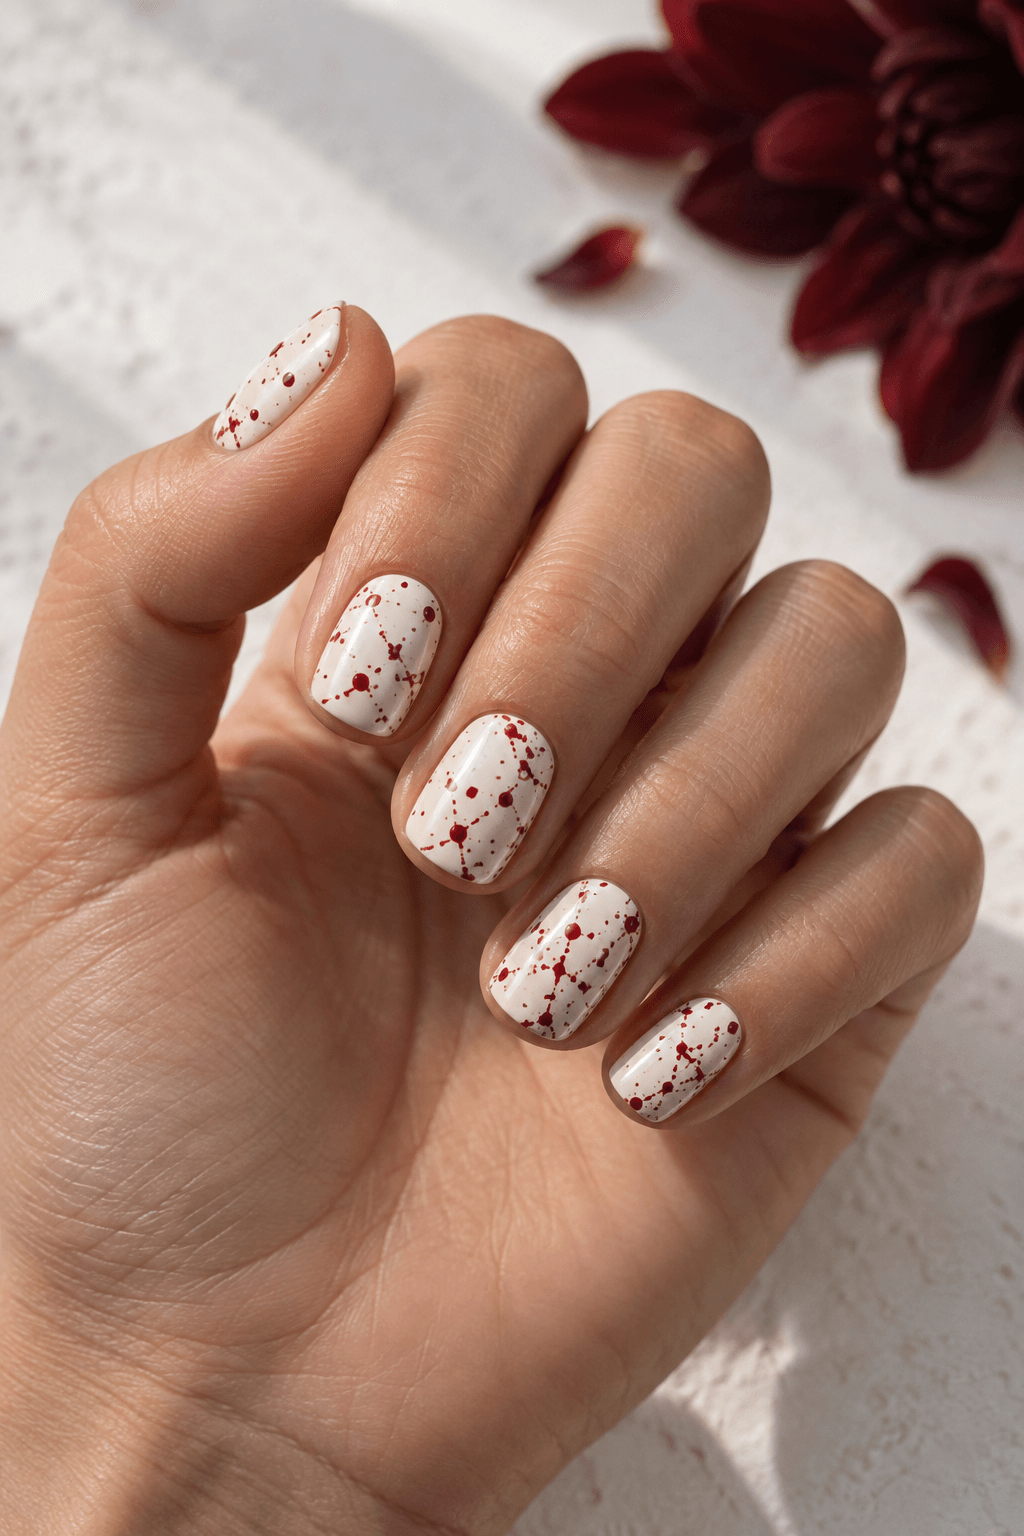
Splatter Room
What it is:Flicked-on crimson speckles over a stark white base for that crime-scene, Dexter-plastic-sheeting energy — chaotic, fast, and impossible to mess up.
How to create it: Protect the surrounding surface, then flick a nearly dry fine brush over a fully cured white base and seal the result.
Best for: Best for parties, costume weekends, or anyone who wants a bolder Halloween detail.
Splatter Room — Blood Drip & Gothic Gore (Image: Nail Art AI)
Spiderwebs, Bats & Creepy Crawlies
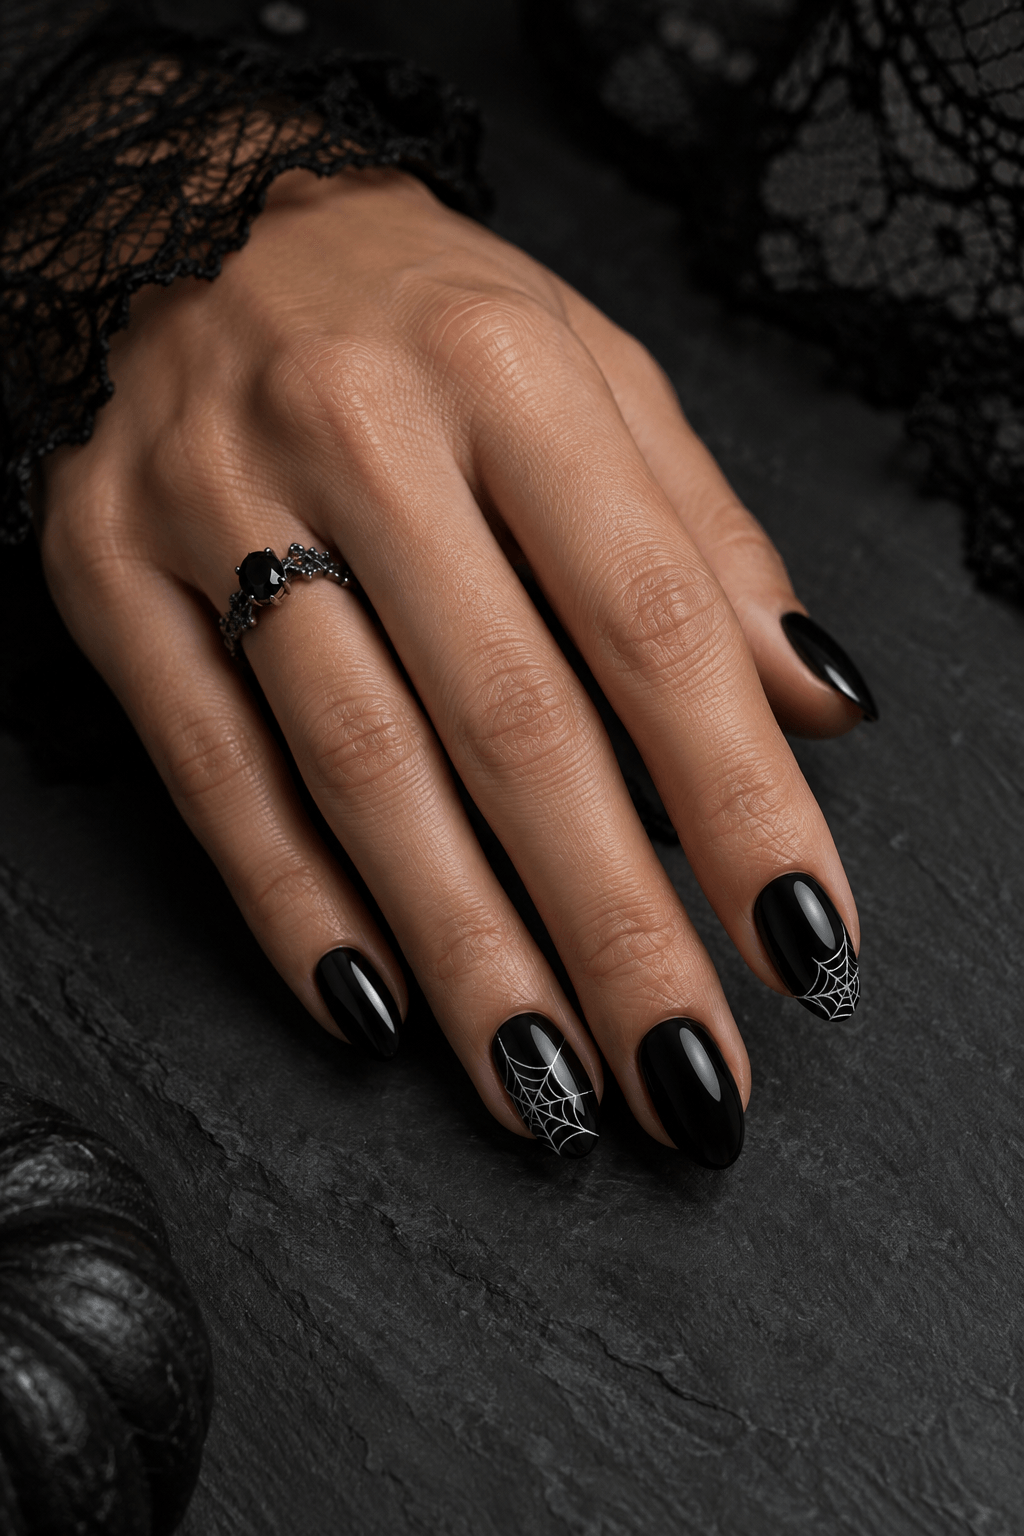
Corner Cobweb Tip
What it is:Fine white webbing radiating from one corner of a black or nude nail — the five-minute beginner design that still looks intentional and clean.
How to create it: Draw three thin spokes from one nail corner, join them with small curved lines, and stop before the web fills the whole nail.
Best for: Best for graphic nail art lovers who want a clear Halloween reference without full costume nails.
Corner Cobweb Tip — Spiderwebs, Bats & Creepy Crawlies (Image: Nail Art AI)
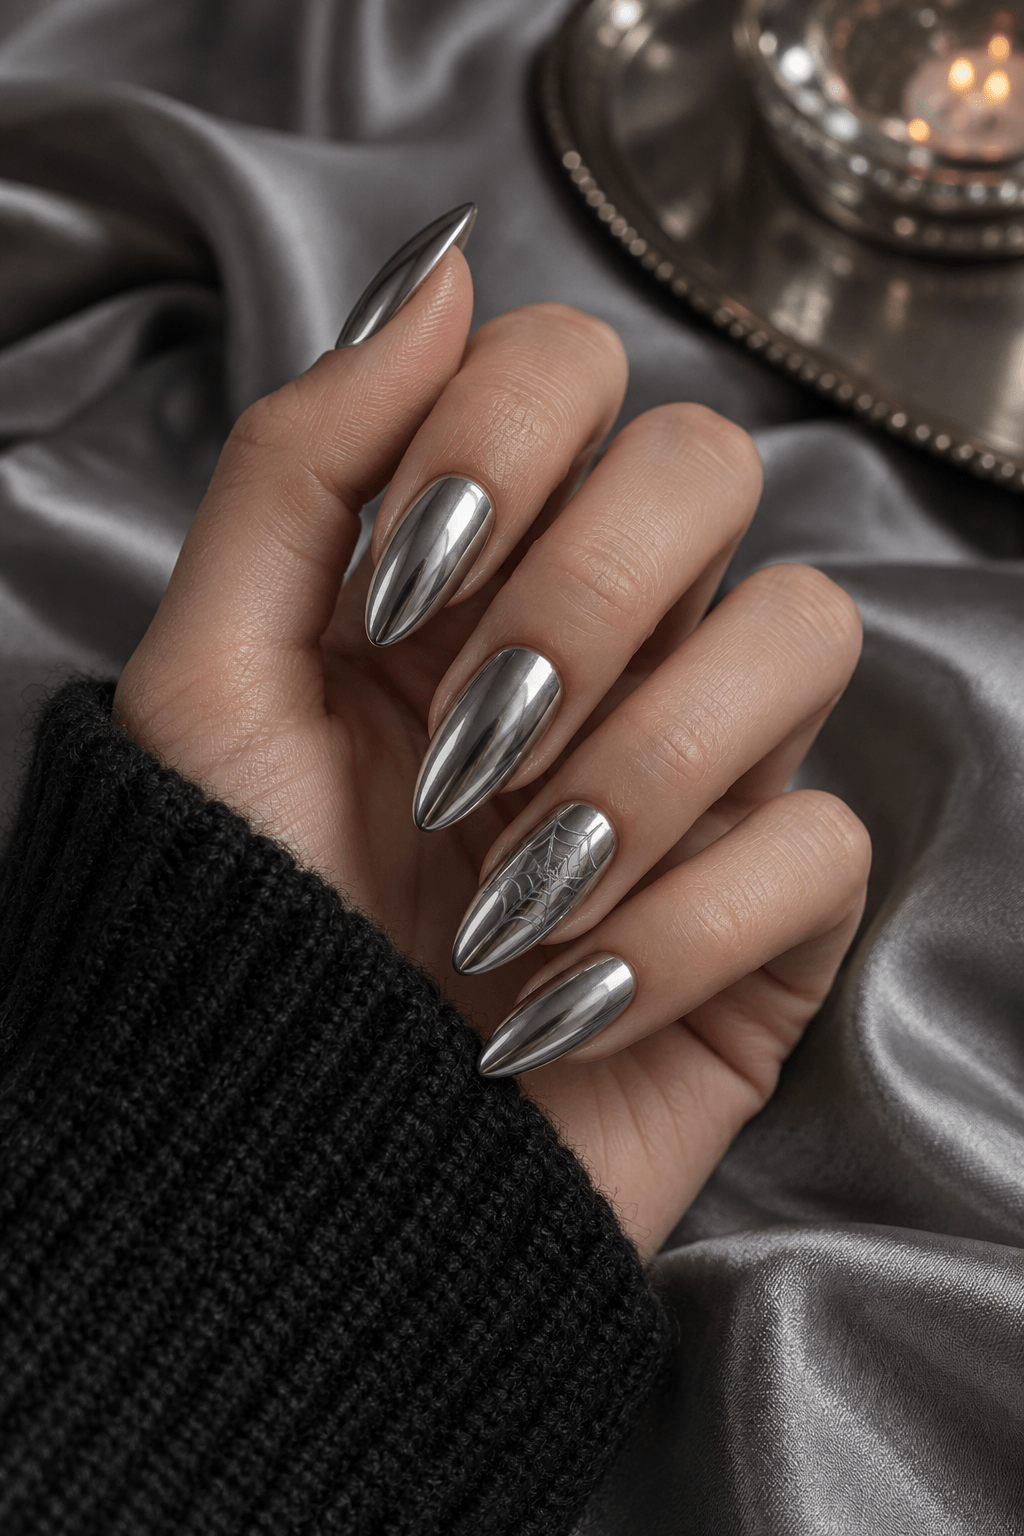
Chrome Web Whisper
What it is:A mirror-silver chrome base with a barely-there tone-on-tone spiderweb and one tiny 3D spider, so it shimmers first and reveals the creep second.
How to create it: Apply chrome over a smooth dark base, seal it, then use a fine liner for a quiet tonal web on one accent nail.
Best for: Best for graphic nail art lovers who want a clear Halloween reference without full costume nails.
Chrome Web Whisper — Spiderwebs, Bats & Creepy Crawlies (Image: Nail Art AI)
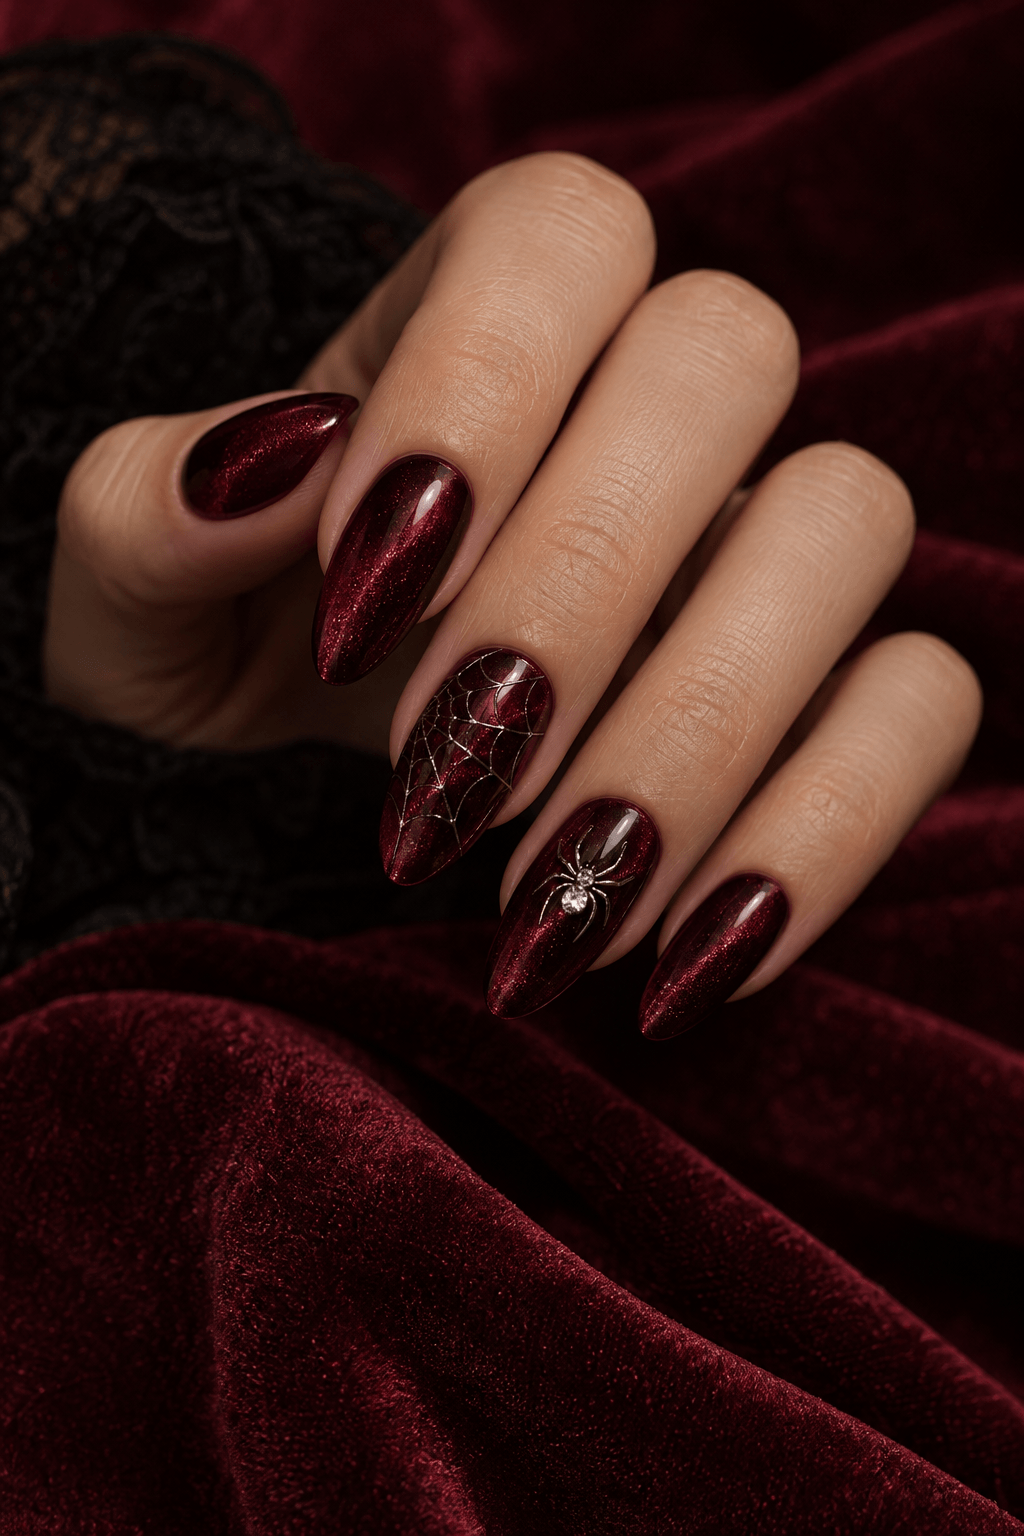
Velvet Web & Spider
What it is:A crushed-velvet cat-eye base in oxblood or black with a glossy raised web and a bejeweled spider sitting dead center — pure drama-queen energy.
How to create it: Create the cat-eye flash first, cure it, then add a raised glossy web only where it will catch the light.
Best for: Best for graphic nail art lovers who want a clear Halloween reference without full costume nails.
Bat Signal French — Spiderwebs, Bats & Creepy Crawlies (Image: Nail Art AI)
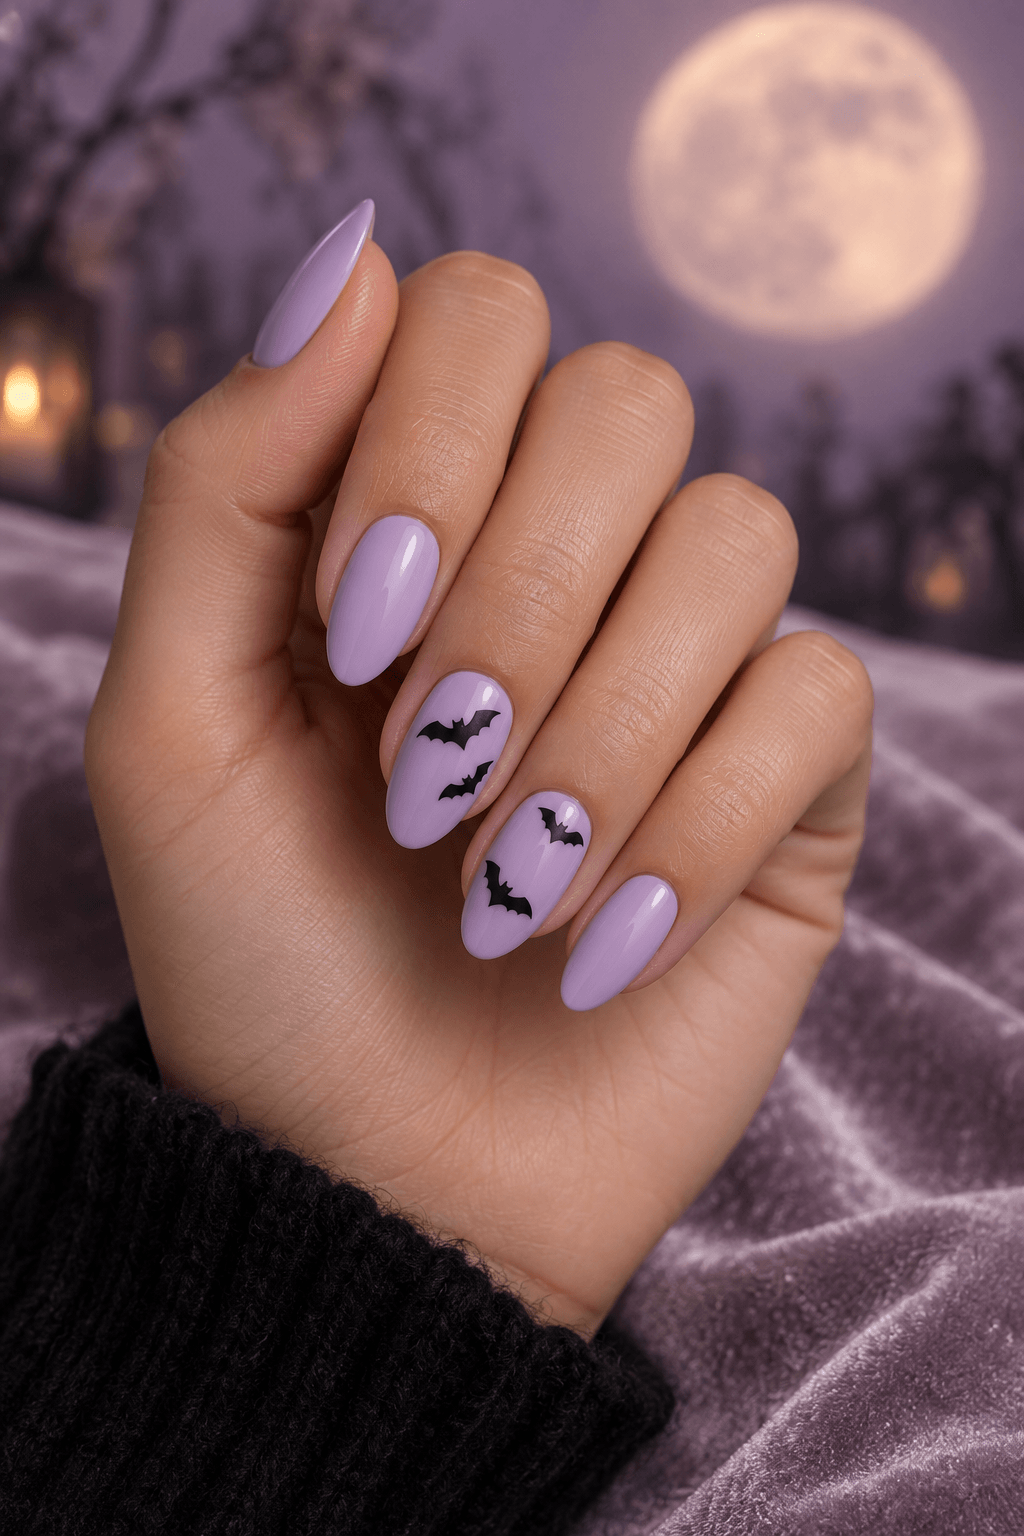
Soft-Girl Bat Flutter
What it is:Miniature matte-black bats fluttering over a glossy lilac base — the ‘soft girl meets spooky' combo that quietly took over the whole season.
How to create it: Use a glossy lilac base and keep the bat silhouettes tiny, sparse, and slightly uneven like they are in flight.
Best for: Best for graphic nail art lovers who want a clear Halloween reference without full costume nails.
Soft-Girl Bat Flutter — Spiderwebs, Bats & Creepy Crawlies (Image: Nail Art AI)
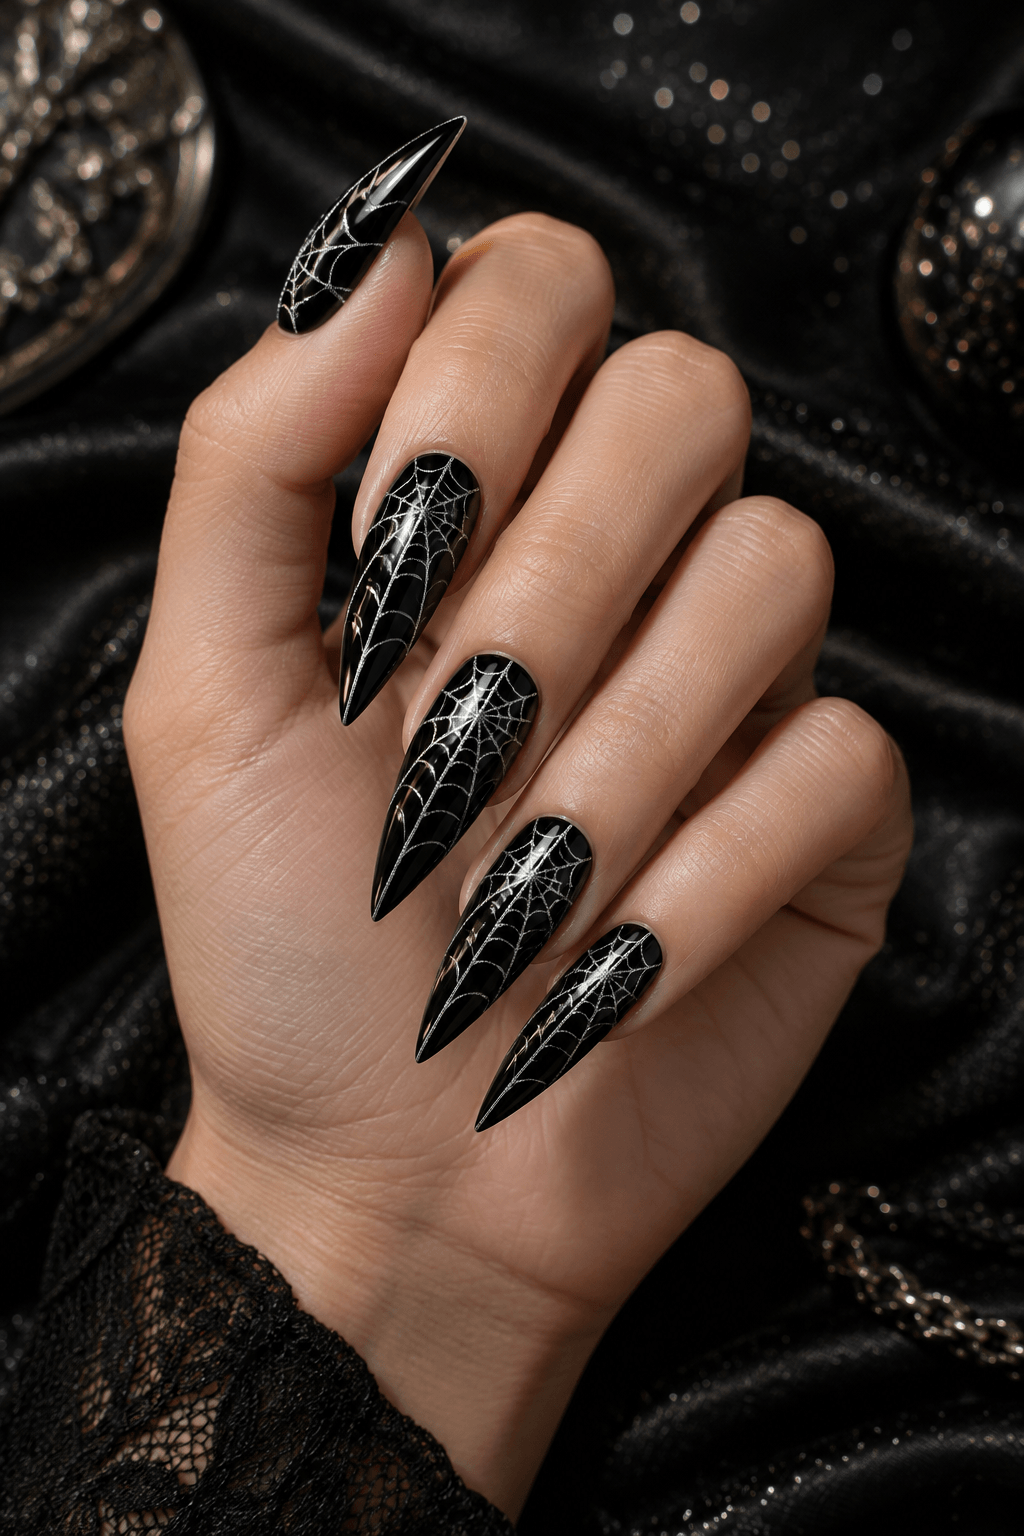
Web-Slinger Stiletto
What it is:Long stiletto nails in glittery jet black with silver webs stretching tip-to-cuticle, built for maximum reach and maximum Halloween commitment.
How to create it: Work one stiletto nail at a time with a long liner brush, using silver gel for clean webs over black polish.
Best for: Best for graphic nail art lovers who want a clear Halloween reference without full costume nails.
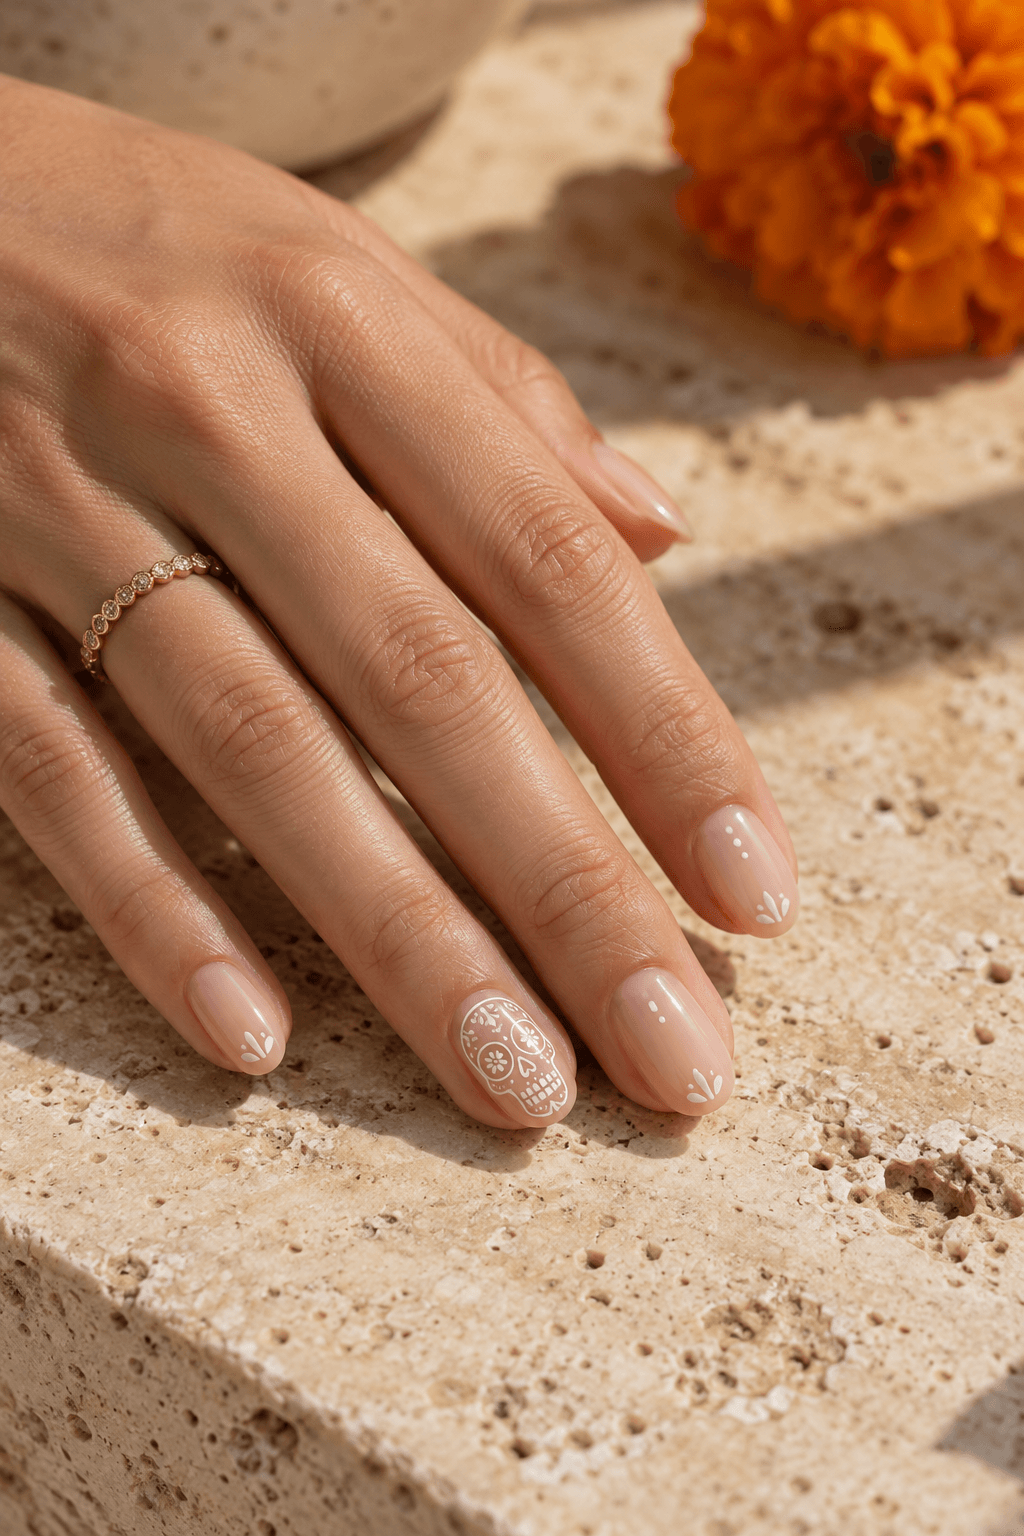
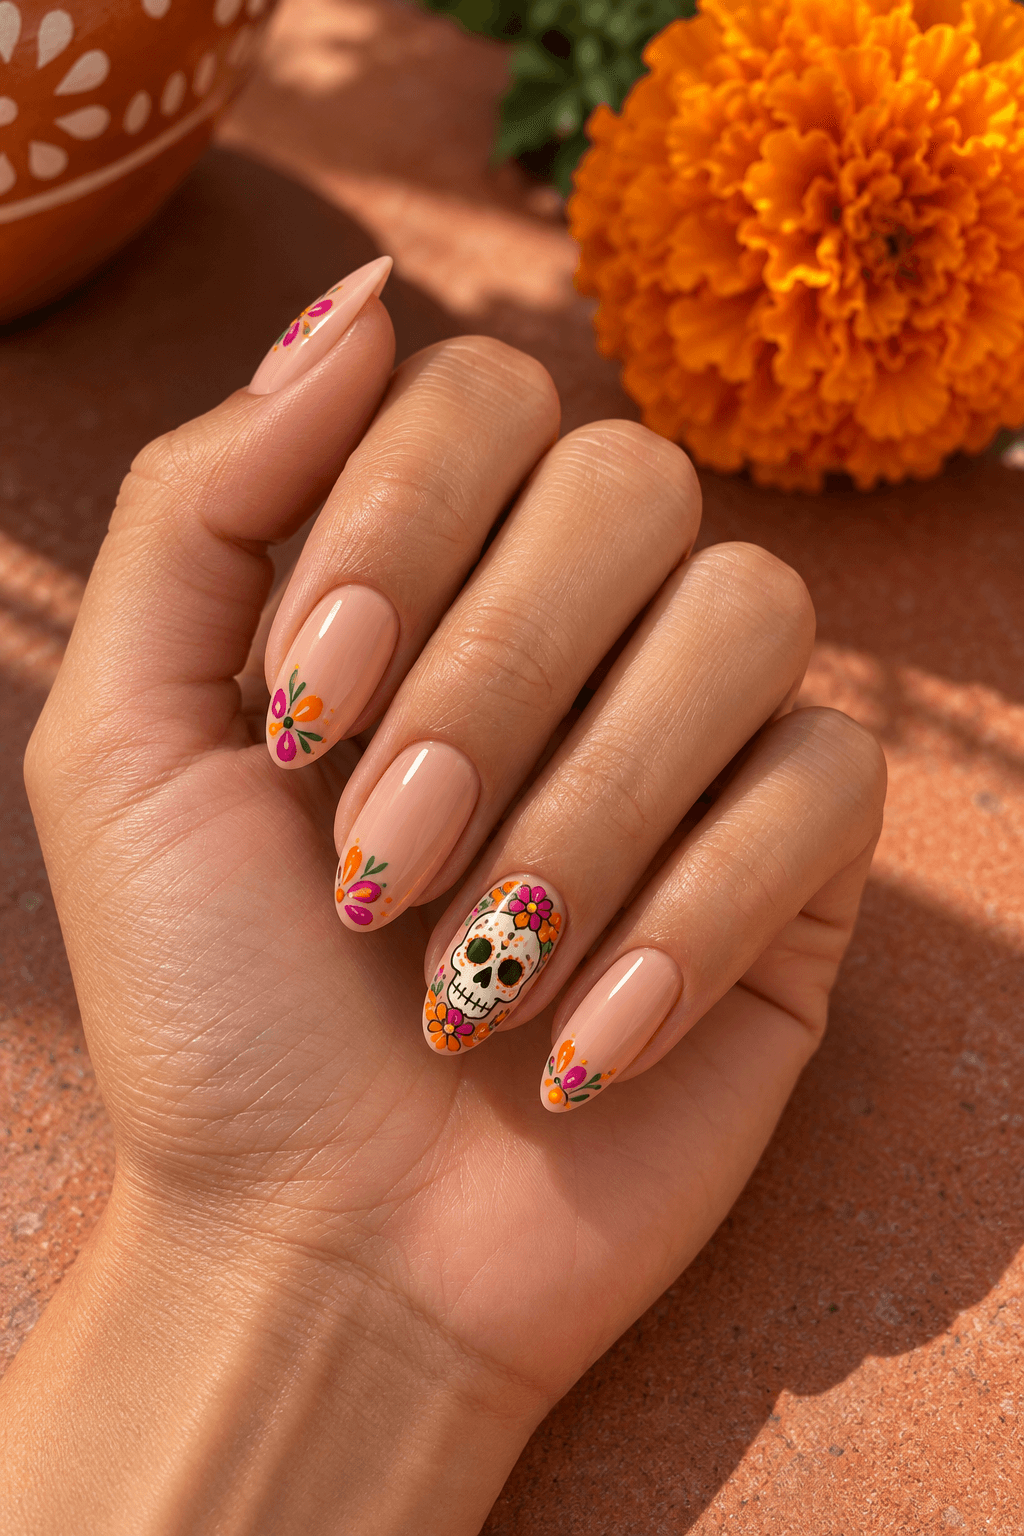
Día de los Muertos Bloom — Skulls, Skeletons & Gothic Line Art (Image: Nail Art AI)
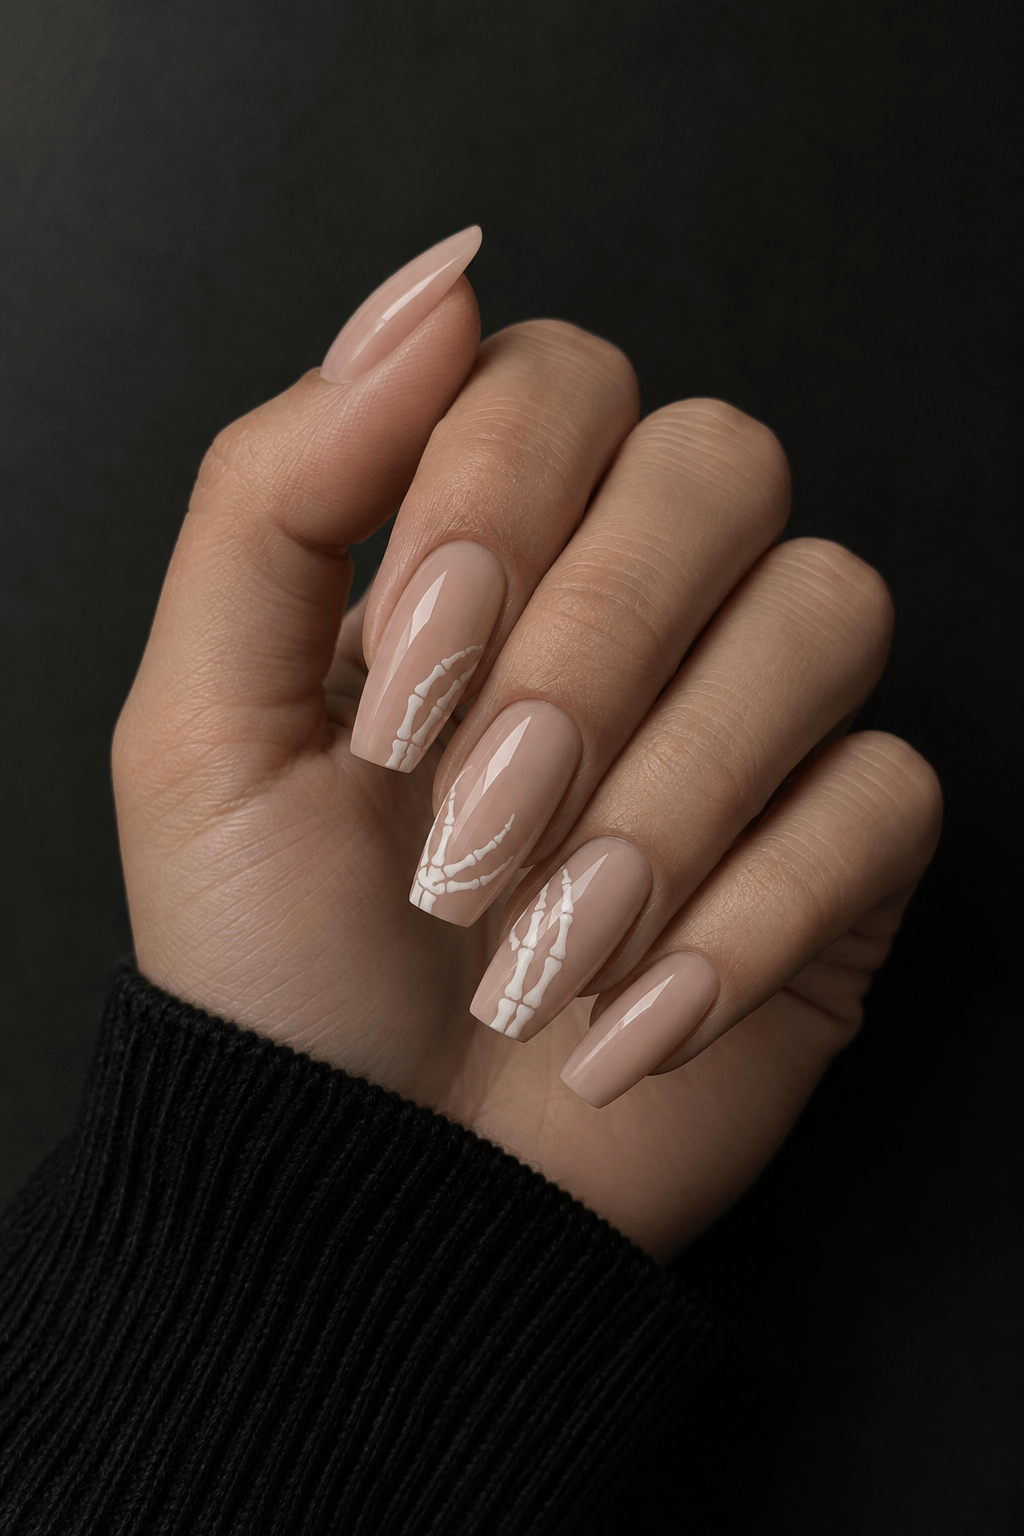
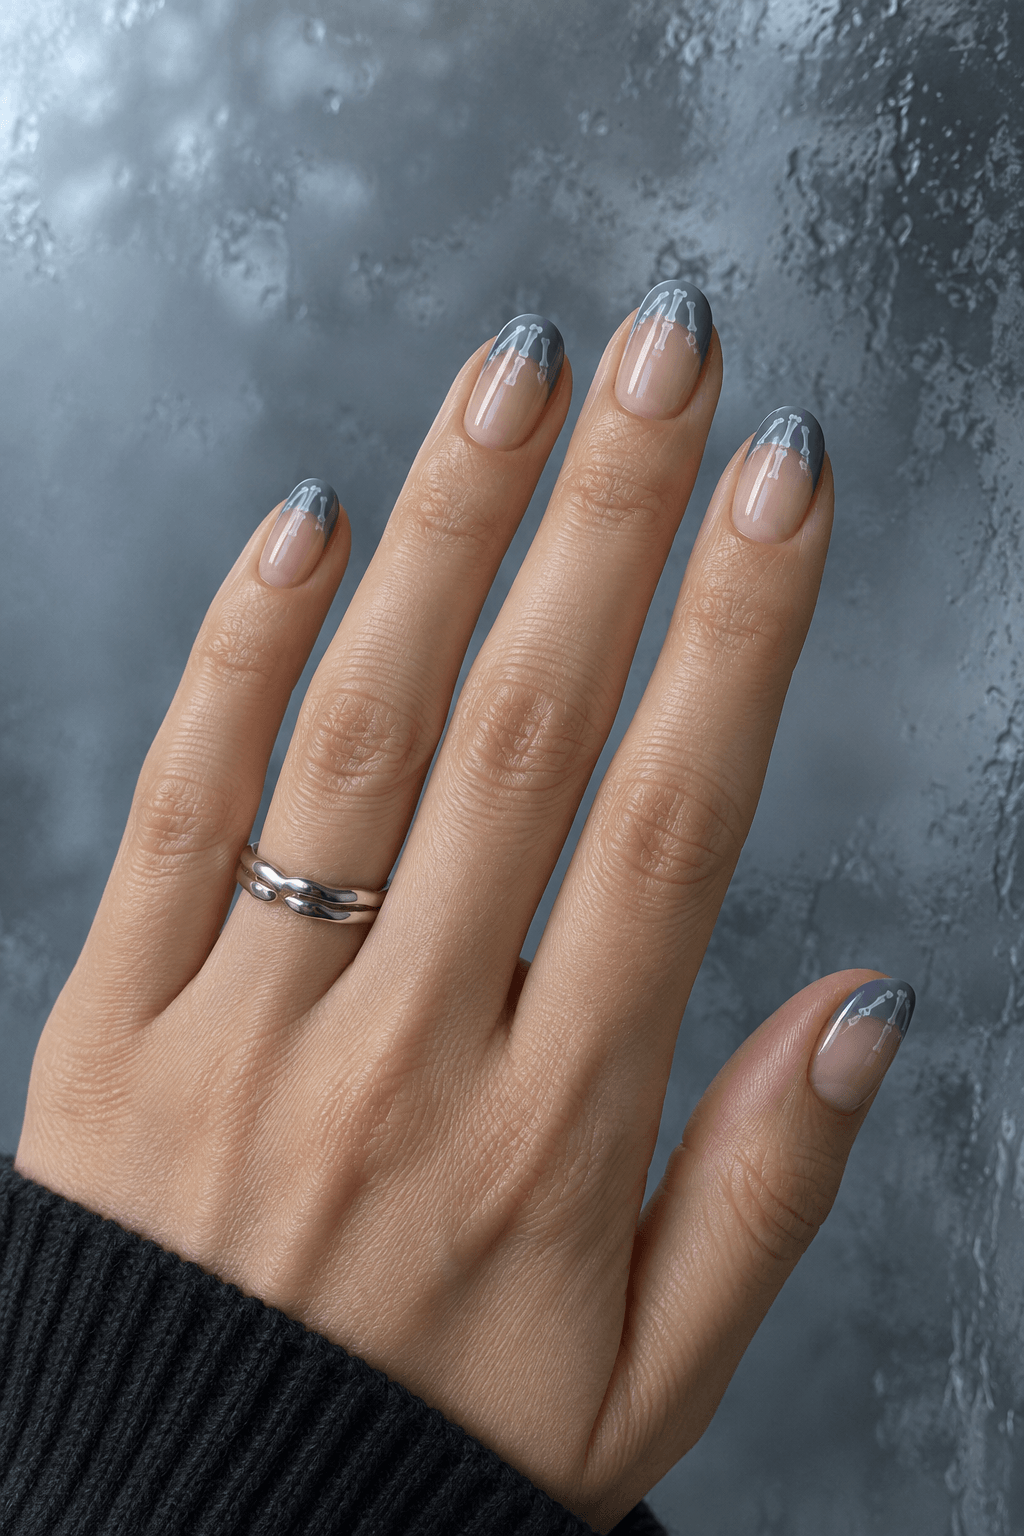
X-Ray Bones French
What it is:A ghostly grey-blue French tip with white phalanges painted through it, like an x-ray of your own hand — subtle from a distance, unsettling close up.
How to create it: Fade a sheer grey-blue French tip, then add the white bone lines with a detail brush while the center stays translucent.
Best for: Best for an editorial, illustrated manicure where one accent nail can carry the theme.
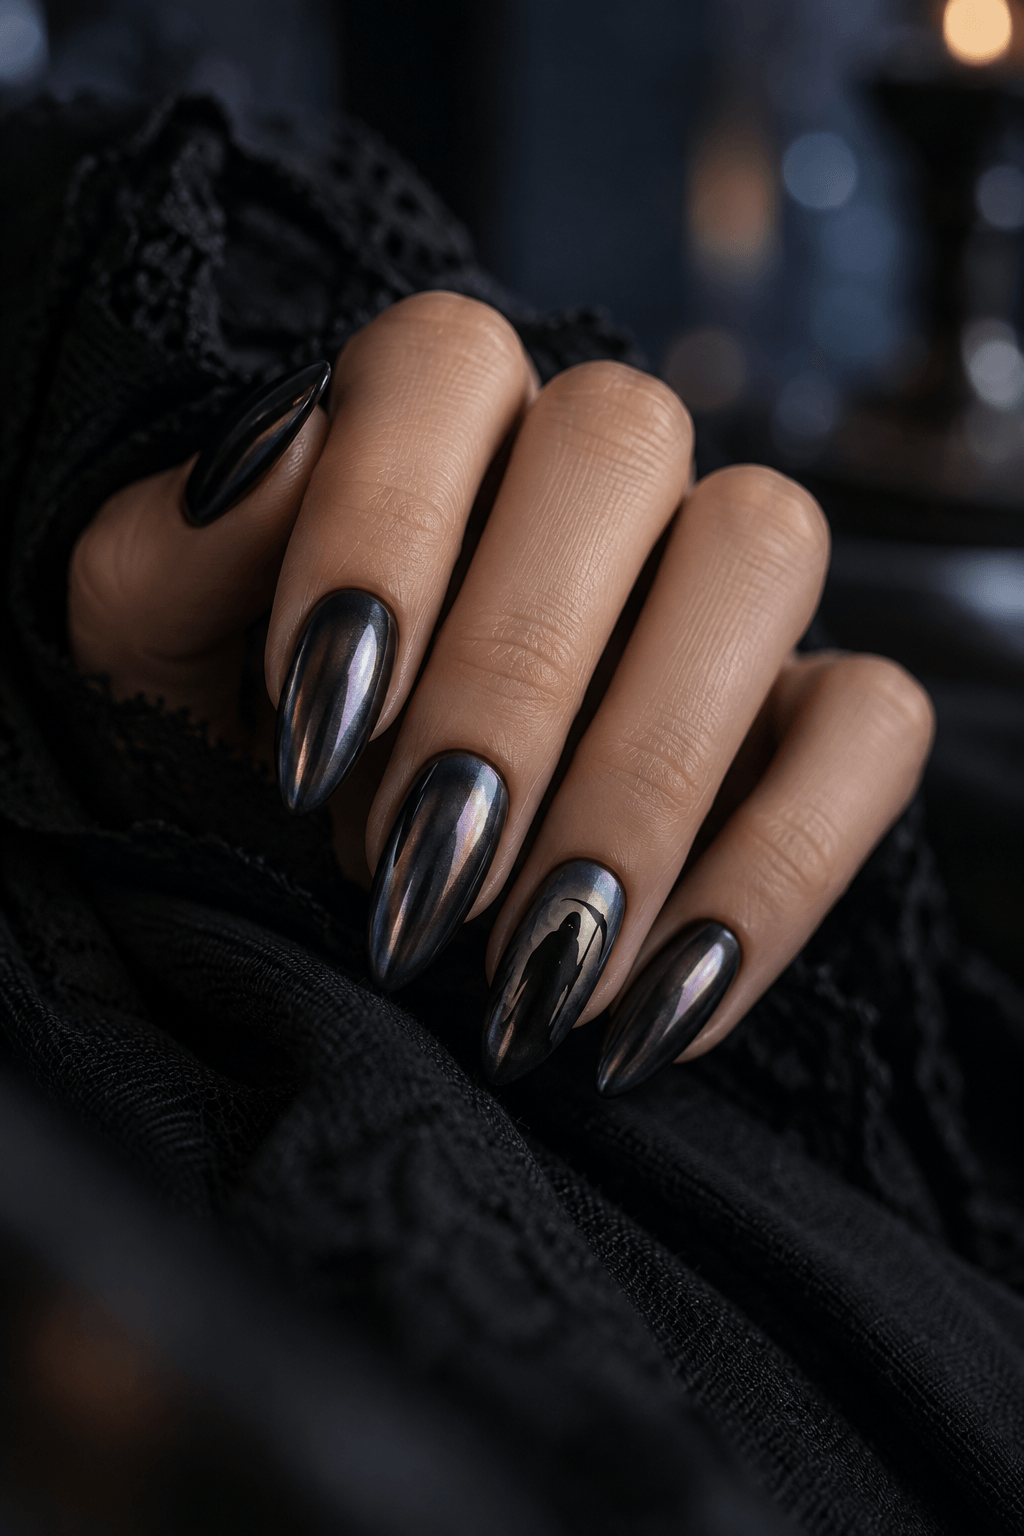
Grim Reaper Chrome — Skulls, Skeletons & Gothic Line Art (Image: Nail Art AI)
Dark Chrome, Vampy & Chic 2026
Vampy Blood Aura
What it is:A soft airbrushed halo of deep blood-red glowing from the center of each nail over a sheer black wash — the 2026 aura trend at its moodiest.
How to create it: Airbrush or sponge a deep red halo over a sheer dark base, building the color slowly so the center stays luminous.
Best for: Best for a Halloween look that can still work through the rest of autumn.
Glow-Ghost Chrome — Dark Chrome, Vampy & Chic 2026 (Image: Nail Art AI)
How to Paint Blood Drip & Spiderweb Nails at Home
Blood drips look intimidating and are secretly one of the easiest designs you can DIY. Prep and base-coat your nails, then paint a bare nude or milky base and let it fully dry. Load a dotting tool (a bobby pin or empty ballpoint works in a pinch) with a true blood-red polish and place three little dots near the cuticle. Then take a thin brush and drag each dot downward into a teardrop point — the trailing line is always thinner than the dot, which is exactly what sells the ooze. Go slow, do one nail at a time, and seal with a glossy top coat so it looks wet.
Spiderwebs are the same idea in reverse: structure first, then fill. Start from one corner of the nail and pull three or four straight thin lines fanning outward like spokes, then connect them with gentle curved arcs between each spoke. Use white over a black base for classic contrast, or go tone-on-tone with silver over chrome for the subtle 2026 version. A steady hand matters more than a fancy brush, so rest your painting elbow on the table and breathe. If the web gets messy, a single tiny 3D spider conveniently covers the busiest intersection.
A few durability notes so your effort survives the party: always cap the free edge (swipe your top coat across the very tip of the nail) to stop chipping, and let each layer dry properly before adding detail — rushing is the number one reason home art smudges. Detailed art like a realistic spider or a full skeleton hand is genuinely hard, so those are worth booking a nail artist for, but candy corn ombré, cobweb tips, and blood drips are 100% doable on your couch. Preview the finished look on your hand with our virtual try-on before you invest an hour in it.
Candy Corn Ombré & French-Tip Spooky Remixes
Candy corn ombré is the crowd-pleaser of the whole season, and almond or short-square nails are the perfect canvas because the tapered shape shows off the color melt. The technique is a sponge job: paint the whole nail yellow, then dab orange across the middle and white at the tip onto a makeup sponge and press it over the nail while the colors are still wet, bouncing gently to blur the seams. Two or three light passes beat one heavy one every time. Finish with a thick glossy top coat to melt any leftover sponge texture into a smooth gradient.
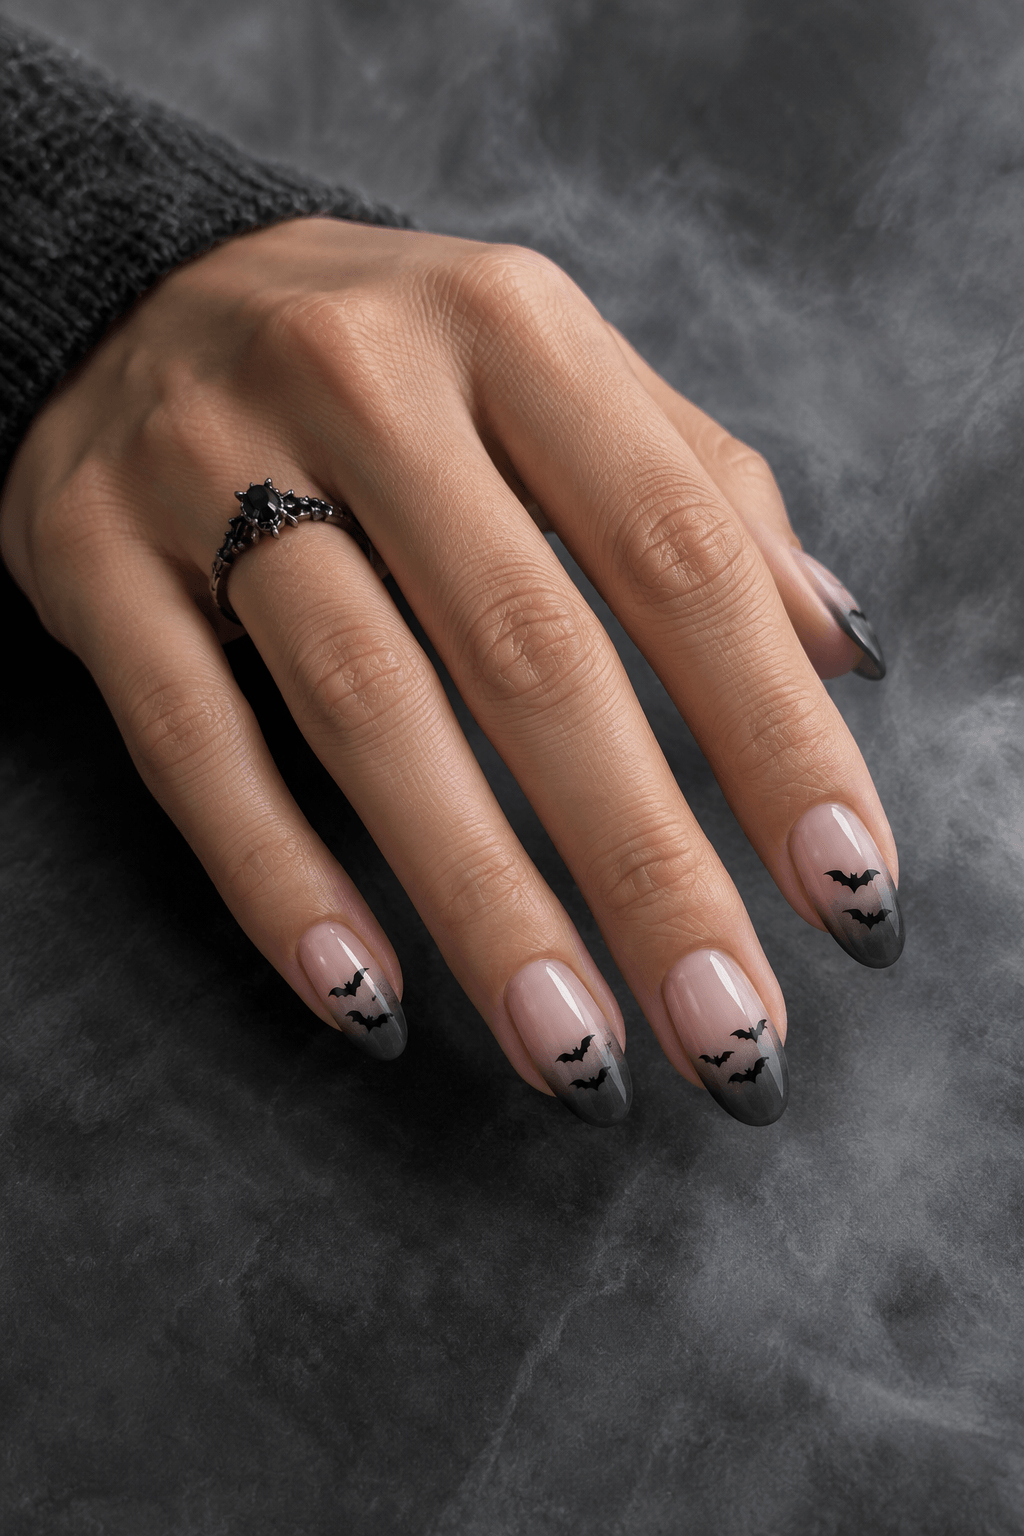
If full-nail color feels like too much, the French tip is your cheat code for tasteful spooky. The classic French manicure takes a Halloween remix beautifully — swap the white tip for a candy-corn gradient, a matte black bat silhouette, dripping red edges, or a milky ghost curve. Because the base stays bare and neutral, these read as elegant even with a creepy tip, which is exactly why they dominate ‘spooky but make it work-appropriate' searches. Checkerboard tips and asymmetric orange-and-gold tips are the other two remixes worth trying.
Color strategy is what separates a modern set from a 2015 one. Straight orange-and-black still works, but 2026 wants you to warm it up — deep chocolate, burnt sienna, mocha, and oxblood read cozy and current, and they bridge perfectly into fall. You won't find dedicated slugs for those muddier browns, so dig through the full nail art gallery for shade inspiration, then anchor the look with one confident accent in glitter or gold so the whole hand doesn't go flat.
Making Halloween Nails Last — & Styling Them Into Fall
The saddest thing you can do is spend an hour on gorgeous spooky nails and have them chip by the weekend. Longevity starts before color: push back cuticles, lightly buff the shine off the nail plate, and wipe with alcohol so nothing lifts. Use thin coats rather than thick ones, cap every free edge, and if you're using regular polish, a quick-dry top coat re-applied every two or three days will noticeably extend the life. Gel and builder-gel sets last longest and are worth it for anything with 3D drips or heavy detail you don't want to redo.
The smartest move is choosing designs that graduate into the rest of the season instead of dying on November 1st. Anything in the vampy-chrome and marble camp — oil-slick chrome, blackberry cat-eye, mocha marble, smoked-out French — quietly transitions into autumn nail looks without a single spiderweb in sight. Deep reds, warm browns, and chrome are exactly what fall wants, so you're not repainting, you're just retiring the literal Halloween motifs.
And if you love a themed nail, ride the momentum straight into the next holiday. A blood-red or oxblood base restyles effortlessly into Thanksgiving nail ideas with a swap from bats to a single gold leaf or a warm plaid accent. Bookmark the nail art hub as your home base for the whole fall-through-winter run, and use the try-on to test each seasonal switch on your own hand before you commit polish to it.
As an Amazon Associate, Nail Art AI earns from qualifying purchases. This comes at no additional cost to you.
Preview It On Your Hand, Then Save & Shop the Look
A shade that looks perfect on someone else can read totally different on you. Upload a photo of your hand to the AI try-on, apply any of these looks, and see it on your real nails before you book or buy — then browse the design gallery for hundreds more.
Free account required, with your results saved privately.
What are the biggest Halloween nail trends for 2026?
Dark chrome, vampy blood-red aura fades, oil-slick and marble finishes, and sweet-spooky candy corn ombré. The season splits into cute (ghosts, pastels, candy corn) and grown-up gothic (chrome, skulls, blood drips), and mixing both on one hand is completely on-trend.
Are blood drip nails hard to do at home?
No — they look harder than they are. Paint a nude base, place three red dots near the cuticle with a dotting tool, then drag each into a thin teardrop point with a fine brush. The trailing line reads as the drip. Seal with glossy top coat and go one nail at a time.
How do I paint candy corn ombré nails?
Use the sponge method. Coat the nail yellow, then dab orange across the middle and white at the tip onto a makeup sponge and press it over the nail while wet, bouncing lightly to blur the seams. Two or three thin passes, then a thick glossy top coat to smooth the texture.
What nail shape is best for Halloween designs?
Almond and short square are the most versatile — almond flatters ombré fades and spiderweb tips, while short square gives clean space for ghosts and candy corn. Long stiletto and coffin are best for dramatic full-nail art like webs stretching tip-to-cuticle.
How do I make a spiderweb on my nails?
Start from one corner and pull three or four thin straight lines fanning outward, then connect them with small curved arcs between each line. White over black is the classic contrast; silver over chrome is the subtle 2026 version. A tiny 3D spider hides any messy center.
What colors are trending for spooky nails in 2026?
Beyond classic orange and black, warm it up with chocolate brown, burnt sienna, mocha, oxblood, and blackberry purple. Chrome and gold accents keep it modern. These moody, cozy shades also transition into fall, so the set lasts past Halloween.
Which Halloween nail designs should I book a salon for?
Highly detailed art — realistic spiders, full skeleton hands, intricate sugar skulls, and built-up 3D gel drips — is worth a pro. Candy corn ombré, cobweb corner tips, blood drips, and simple French remixes are all beginner-friendly and easy to DIY at home.
How can I preview a Halloween nail design before committing?
Use our virtual try-on to see any look on your own hand, skin tone, and nail length in seconds. Spooky designs photograph very differently than they wear in real life, so previewing first saves you from booking or painting something that feels off.
How do I make Halloween nail polish last longer?
Prep matters: buff the nail, wipe with alcohol, and use thin coats. Always cap the free edge by swiping top coat across the tip. Re-apply quick-dry top coat every few days for regular polish, or choose gel and builder-gel for anything with 3D detail.
Can Halloween nails work for Thanksgiving too?
Yes — that's the smart play. A blood-red, oxblood, or chrome base restyles into Thanksgiving with a swap from bats to a gold leaf or plaid accent, and vampy chrome and marble looks flow straight into autumn with no repaint needed.