Vampire's Kiss Nails: a minimal fang-bite accent tutorial
A sheer milky base with two tiny fang-bite dots and one thin red trickle, telling a whole horror story on a restrained accent nail. For more inspiration, see our 30+ Halloween nail ideas.
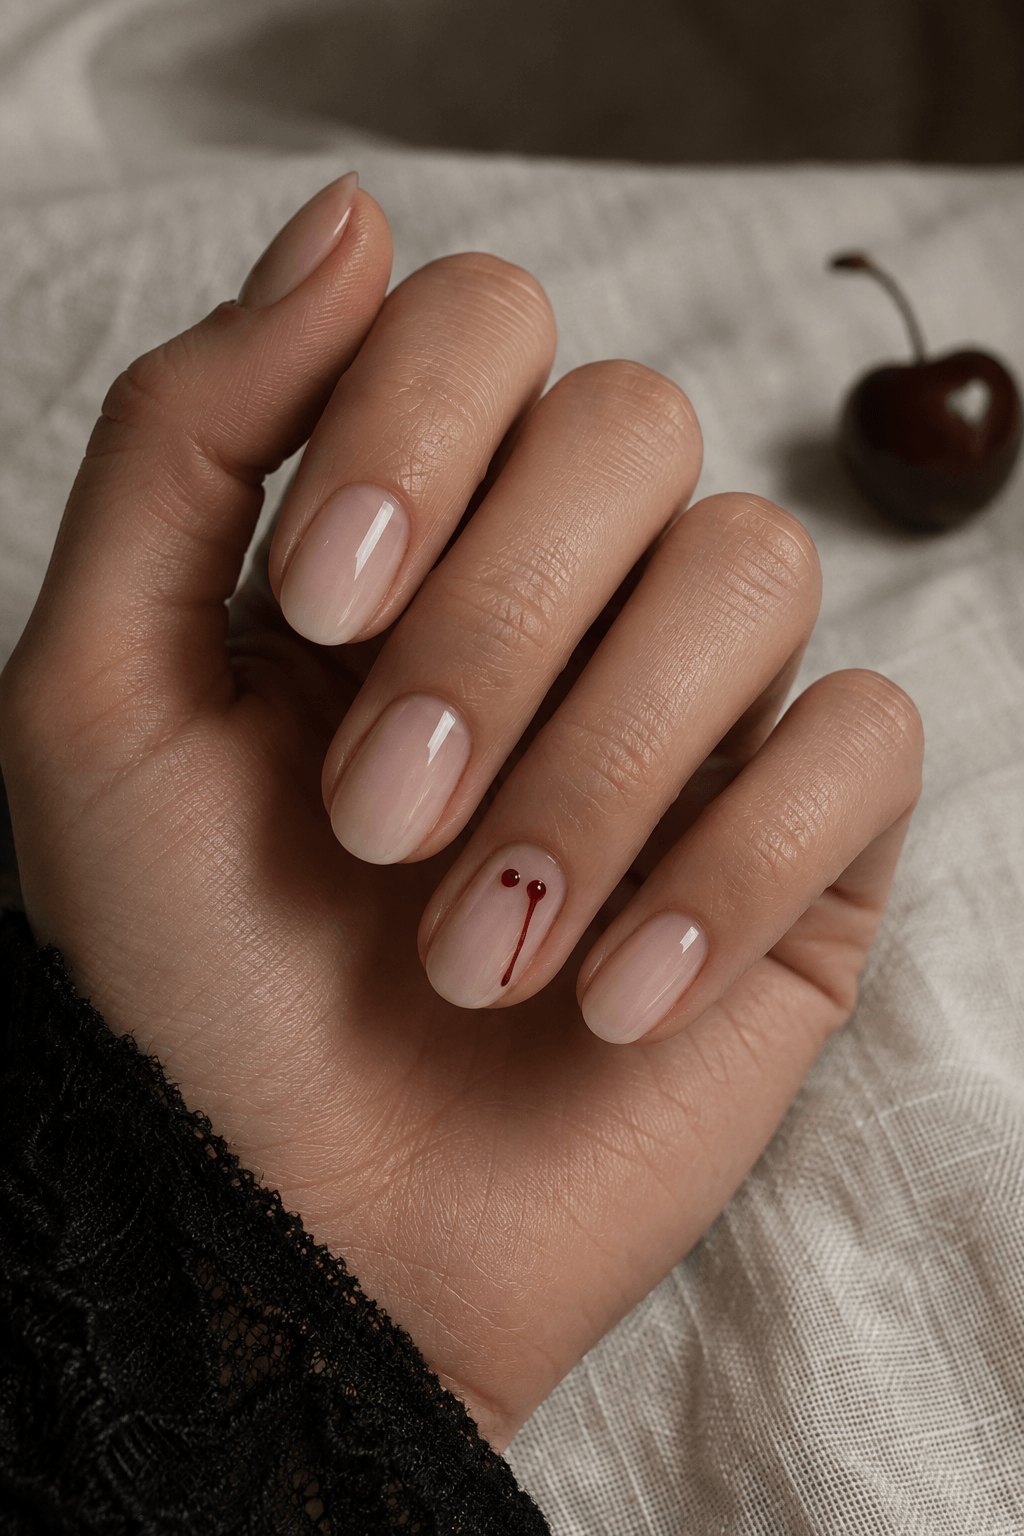
At a glance
- Difficulty
- Easy
- Time
- 20–30 min
- Finish
- Glossy
- Best on
- Any length
Nail Art AI picks
Halloween press-on nails


As an Amazon Associate, Nail Art AI earns from qualifying purchases. This comes at no additional cost to you.
What you need
- Milky sheer
- Bite red
- Clear gloss
- A fine detail brush or dotting tool for the artwork
- A glossy or matte top coat, depending on the finish you want
Use what you already own where possible. The key details matter more than a large kit.
How to create the look
Step 1
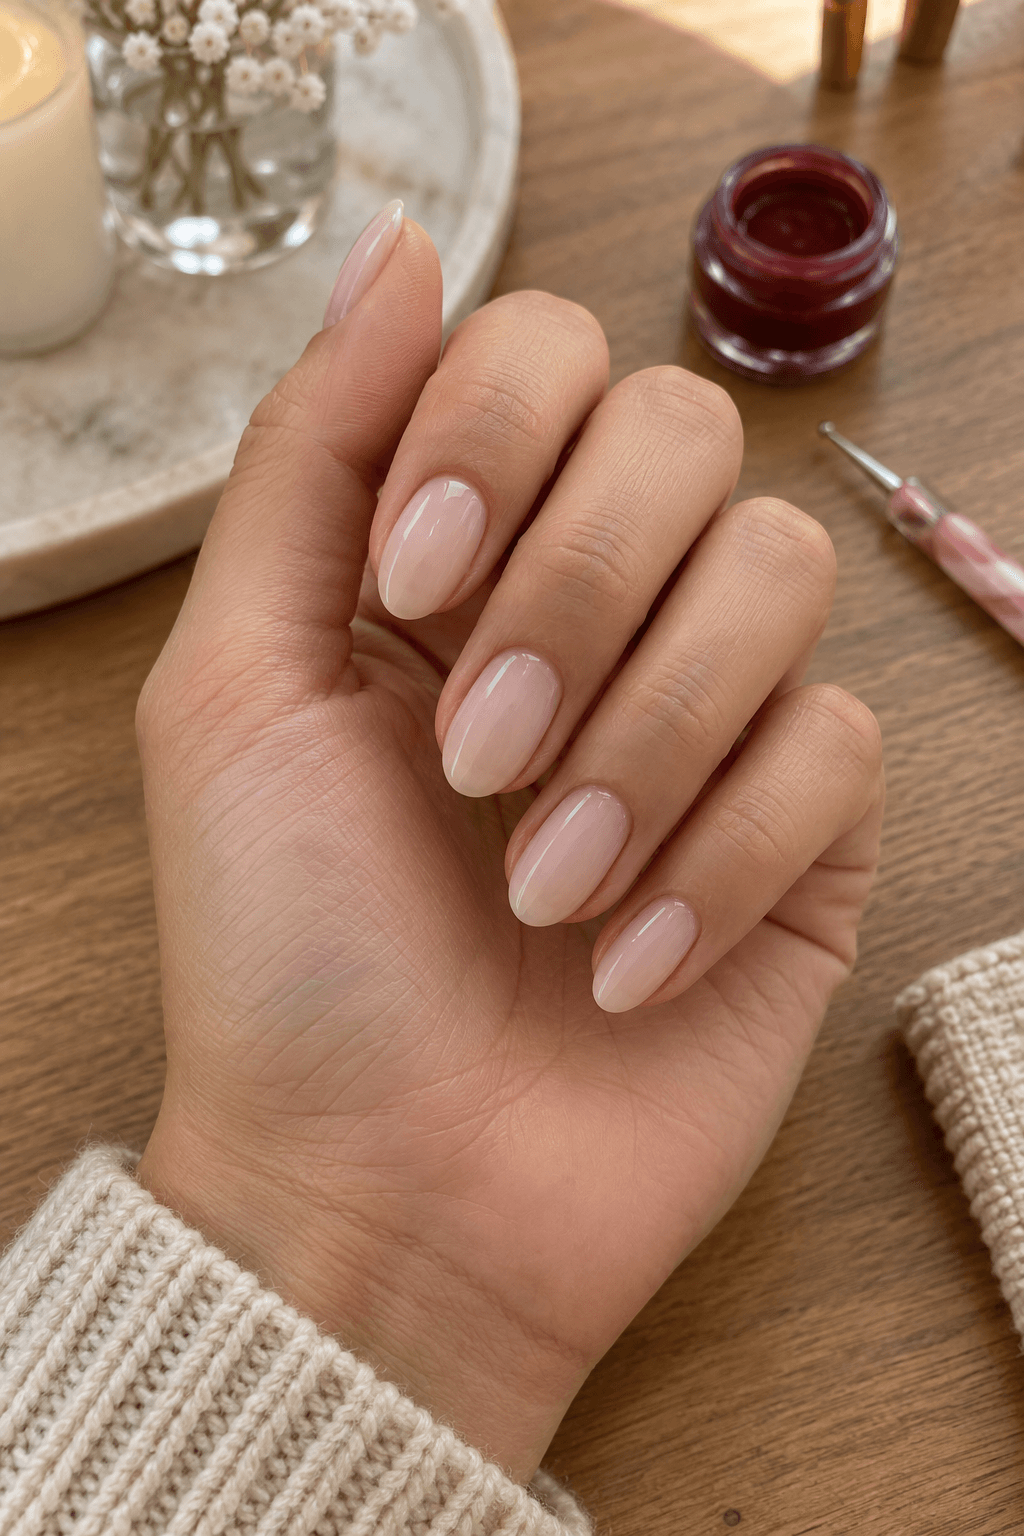
Apply a sheer milky base
Use one or two thin coats of a milky nude or soft sheer base, then let it dry completely.
Step 2
Choose an accent nail
Pick one nail for the bite detail. Leaving the rest clean is what keeps this version restrained.
Step 3
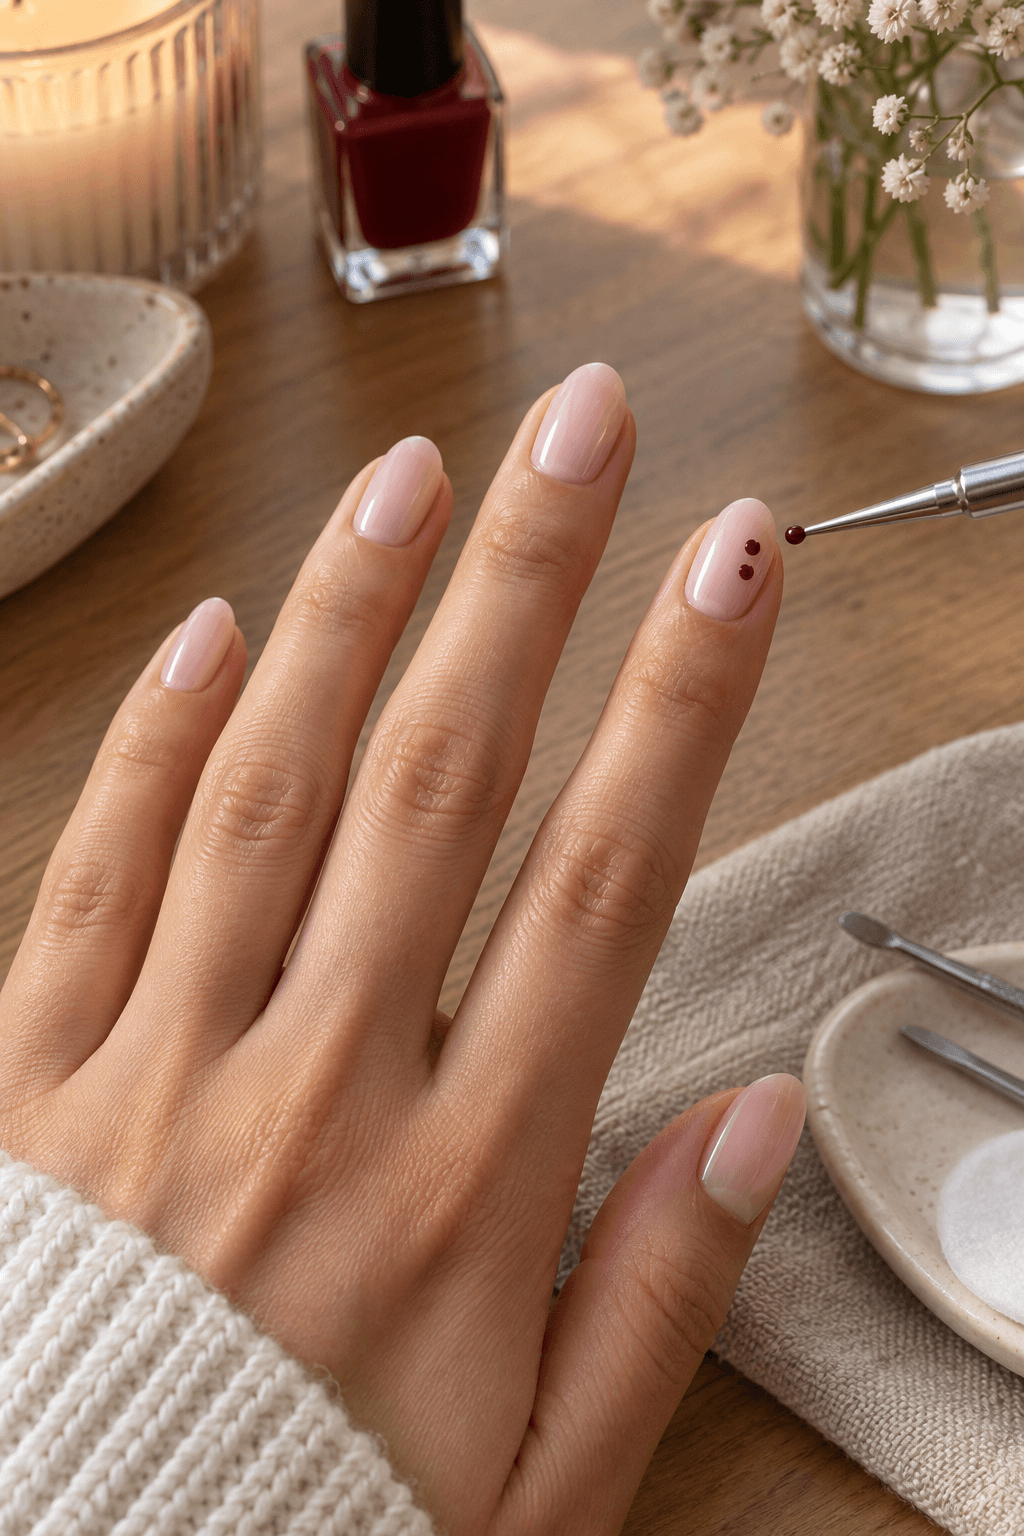
Place two bite dots
Use a dotting tool or fine brush to place two tiny red dots close together. If you need a fine tool, this nail art brush and dotting-tool set covers the small details.
Step 4
Pull one dot into a trail
With a fine brush, draw a very thin red line from only one of the dots. Keep it short and delicate.
Step 5
Seal it clear
Top coat after the red has set so the small bite detail stays crisp.
Keep it intentional
Color formula
Milky sheer
A clean, translucent base for the understated design.
Bite red
A concentrated deep red for the two dots and trail.
Clear gloss
A high-shine seal to keep the accent refined.
Help it last
- Make the bite dots smaller than you think at first.
- Use a fine brush for just one short trail, not several drips.
- Glossy top coat helps the red detail look clean and deliberate.
Remove it gently
- Remove using the method recommended for your polish or gel.
- Avoid peeling at the small red detail as it wears.
- Use cuticle oil after removal to soften the surrounding skin.
Nail Art AI picks
Tools for this look


As an Amazon Associate, Nail Art AI earns from qualifying purchases. This comes at no additional cost to you.
Three easy variations
- Put the bite detail over a soft pink rather than a milky base.
- Add a tiny black heart on a second accent nail.
- Use a darker berry red for a quieter gothic version.
More ways to wear it
Explore a few related designs before you choose your final Halloween manicure.
See it on your own hand first
A color and shape can look different on every hand. Try this idea on your own hand before you paint it or take it to an appointment.
Questions people ask
How do I make the bite dots even?
Place both dots with the same dotting tool and use very little polish so they begin at a similar size.
Which nail should be the accent?
The ring finger is an easy choice, but any nail works as long as the rest of the set stays simple.
Can I use a toothpick for the trail?
Yes. It can pull a fine line from one dot if you work gently and use only a little polish.
Is this a good beginner Halloween design?
Yes. It uses a sheer base, two dots, and one small line rather than a full illustrated scene.