Gorgeous Photo-real Salon Sponge Nails - Sponge nail art - featuring nail art, red - nail art inspiration and design ideas
Gorgeous Photo-real Salon Sponge Nails
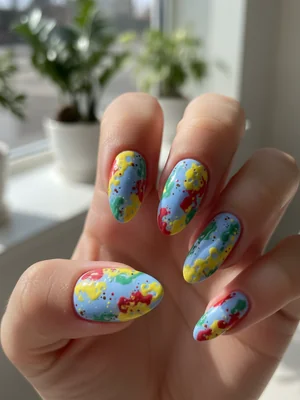
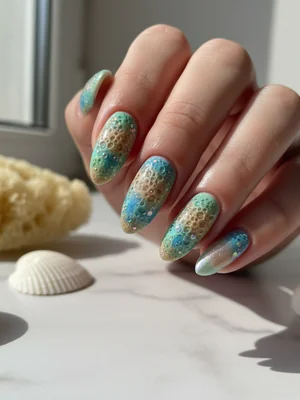
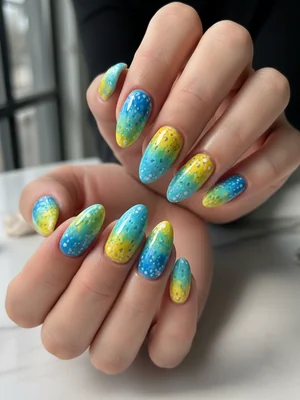
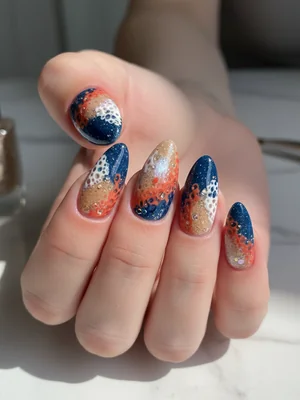
Photo-Real Galaxy Sponge Nails: Salon Quality Finish
Experience the depth of the cosmos with our Photo-Real Galaxy Sponge Nails. This stunning design captures a multi-dimensional, blended effect, creating a mesmerizing look that mimics professional airbrushing with its seamless color transitions and high-gloss finish. Each nail becomes a miniature masterpiece, showcasing a true salon-quality artistry.
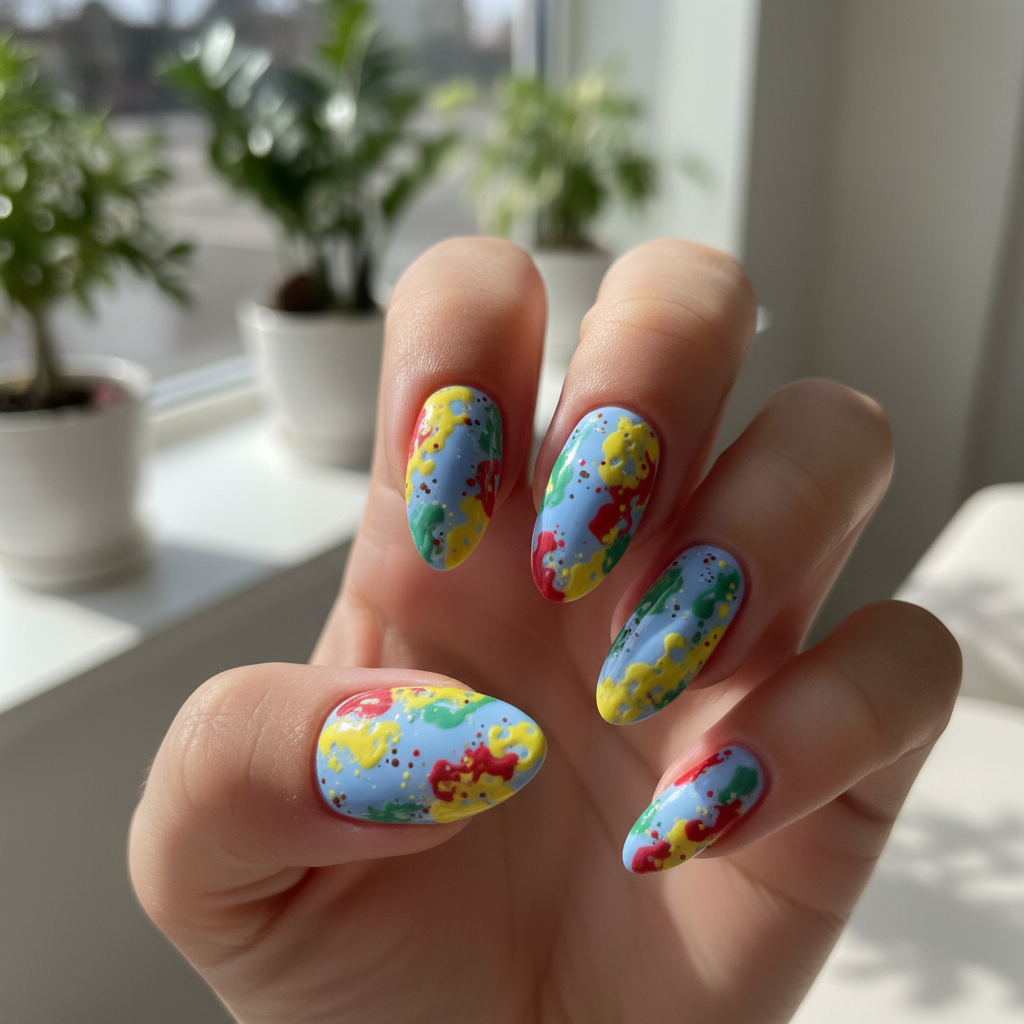
- Fine-celled makeup sponges (wedge or round)
- Gel Base Coat
- Gel Polishes (Deep Midnight Blue, Cobalt Blue, Rich Violet, Iridescent Silver)
- Non-Wipe Gel Top Coat
- LED/UV Curing Lamp
- Cleanup brush & Acetone
- Prep nails (file, push cuticles, buff) and apply a thin layer of gel base coat, curing under LED/UV lamp.
- Apply one to two thin coats of Deep Midnight Blue gel polish, curing each layer for a solid, dark base.
- On a small palette, dab a little Cobalt Blue gel polish onto a wedge sponge, blot excess, then gently dab and roll onto the nail, starting mid-nail upwards, creating a soft transition. Cure.
- Repeat with Rich Violet and then Iridescent Silver, layering and blending for desired depth and 'galaxy' effect. Cure each layer thoroughly.
- Clean up any polish on skin or cuticles using a cleanup brush dipped in acetone for a sharp, 'salon-quality' edge.
- Apply a generous, even layer of Non-Wipe Gel Top Coat for maximum shine and smoothness, ensuring complete encapsulation of the design. Cure for the recommended time.
Expert Tip
For that truly 'photo-real' finish, use very thin layers of gel polish when sponging and always blot excess polish off your sponge. This prevents a bulky look and ensures smooth, transparent color transitions, giving you that gorgeous depth.
Similar Styles
Beautiful Photo-real Salon Sponge Nails
Sponge inspired nail art with beautiful, photo-real finish and professional salon quality

Beautiful Photo-real Salon Sponge Nails
Sponge inspired nail art with beautiful, photo-real finish and professional salon quality
Gorgeous Photo-real Salon Sponge Nails
Sponge inspired nail art with gorgeous, photo-real finish and professional salon quality
Stunning Photo-real Salon Sponge Nails
Sponge inspired nail art with stunning, photo-real finish and professional salon quality
Stunning Photo-real Salon Sponge Nails
Sponge inspired nail art with stunning, photo-real finish and professional salon quality
Sophisticated Photo-real Salon Sponge Nails
Sponge inspired nail art with sophisticated, photo-real finish and professional salon quality
Sophisticated Photo-real Salon Sponge Nails
Sponge inspired nail art with sophisticated, photo-real finish and professional salon quality
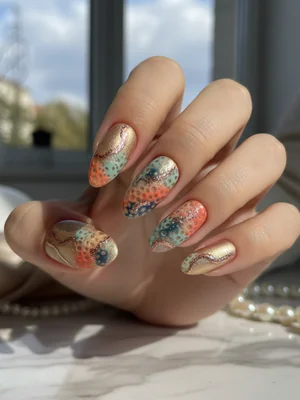
Photo-real Salon Sponge Nails
Sponge inspired nail art with elegant, photo-real finish and professional salon quality
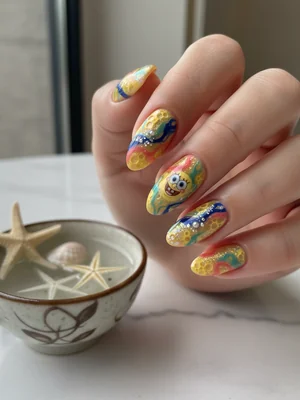
Photo-real Salon Sponge Nails
Sponge inspired nail art with elegant, photo-real finish and professional salon quality

Photo-real Salon Sponge Nails
Sponge inspired nail art with clean, photo-real finish and professional salon quality

Photo-real Salon Sponge Nails
Sponge inspired nail art with clean, photo-real finish and professional salon quality

Photo-real Salon Sponge Nails
Sponge inspired nail art with clean, photo-real finish and professional salon quality
Explore Similar Designs
Colors in this Design
Techniques Used
Perfect For
Nail Shapes
Frequently Asked Questions
What makes this sponge design 'photo-real'?
The 'photo-real' quality comes from layering multiple, carefully selected gel polish colors with precise sponging techniques to create seamless, deep, and multi-dimensional gradients that mimic natural textures or cosmic scenes, finished with a high-gloss top coat.
Can I achieve this look with regular nail polish?
While you can attempt a sponge gradient with regular polish, achieving the 'photo-real' depth, smooth finish, and salon-quality durability is best done with gel polishes, which allow for controlled layering and a durable, glossy seal.
How long does this Photo-Real Sponge.Design typically last?
When applied professionally with gel polish, this design can last 3-4 weeks without chipping, provided proper nail preparation and aftercare are followed.
What type of sponge is best for this design?
Fine-celled makeup sponges, especially wedge-shaped ones, are ideal as they allow for precise application and smooth blending without creating large, noticeable pores in the polish.
Is this design hard to maintain?
No, once cured, the gel polish design is quite durable. Regular cuticle oil application and protection from harsh chemicals are generally all that's needed to maintain its beauty.
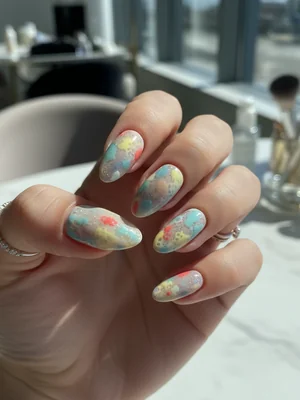
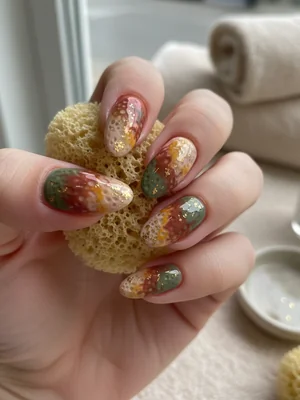
Can I customize the colors for this 'Galaxy' design?
Absolutely! The beauty of this technique is its versatility. You can choose any color palette to create your unique 'photo-real' gradient, from fiery sunsets to serene ocean waves.
Aftercare Tips
- ✓Avoid using your nails as tools to prevent damage to the design and natural nail.
- ✓Keep nails moisturized; dry nails are more prone to lifting or breakage.
- ✓If any lifting occurs, refrain from picking and seek professional repair to prevent further damage.
Safe Removal
- 1.Gently buff off the top layer of the gel polish to break the seal.
- 2.Soak cotton balls in pure acetone, place them on each nail, and wrap tightly with foil for 10-15 minutes.
- 3.Carefully push off the softened gel using a cuticle pusher, being gentle to avoid scraping the natural nail.