
Photo-real Salon Sponge Nails - Sponge nail art - featuring nail art, red - nail art inspiration and design ideas
Photo-real Salon Sponge Nails
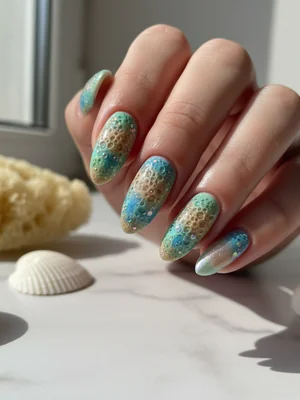
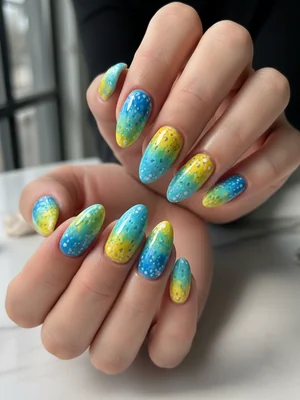
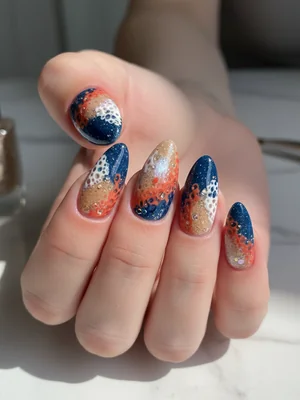
Salon Sponge Nails: Photo-Real & Professional Finish
Achieve a flawless, airbrushed look with this salon-worthy sponge nail art design. This technique uses layering and blending to create a smooth, gradient effect, perfect for a polished and professional appearance.
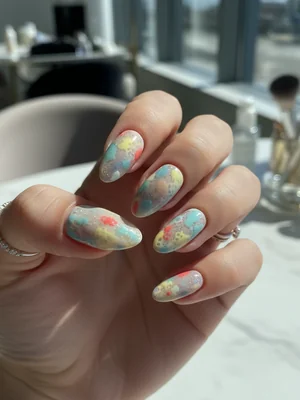
Salon Sponge Nails: Photo-Real & Professional Finish
Achieve a flawless, airbrushed look with this salon-worthy sponge nail art design. This technique uses layering and blending to create a smooth, gradient effect, perfect for a polished and professional appearance.
- Base coat
- Multiple nail polish colors (3-4)
- Cosmetic sponge (wedge-shaped)
- Top coat
- Liquid latex or tape (for cuticle protection)
- Nail polish remover
- Apply a base coat to protect your nails.
- Apply liquid latex or tape around your cuticles to prevent polish from getting on your skin.
- Apply stripes of your chosen nail polish colors onto the cosmetic sponge, slightly overlapping.
- Dab the sponge onto your nails, layering the colors to create a gradient effect. Repeat until desired opacity is achieved.
- Clean up any polish on your skin with nail polish remover.
- Apply a top coat for shine and protection.
Expert Tip
Dampen the sponge slightly before applying polish to prevent it from absorbing too much product, ensuring a smoother and more even application. Also, practice on a piece of paper first to get the hang of the technique.
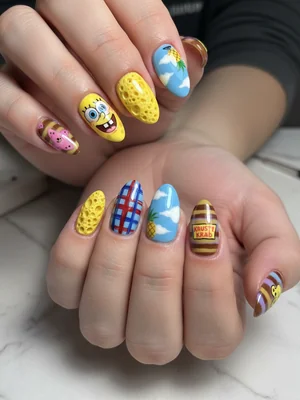
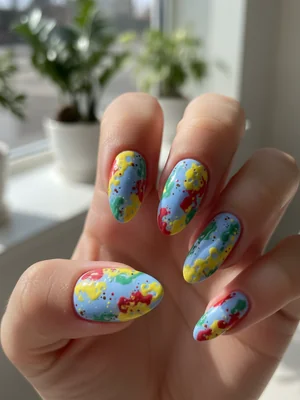
Similar Styles
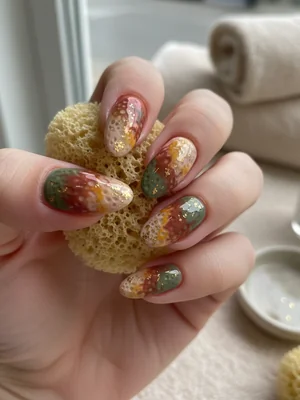
Beautiful Photo-real Salon Sponge Nails
Sponge inspired nail art with beautiful, photo-real finish and professional salon quality

Beautiful Photo-real Salon Sponge Nails
Sponge inspired nail art with beautiful, photo-real finish and professional salon quality
Gorgeous Photo-real Salon Sponge Nails
Sponge inspired nail art with gorgeous, photo-real finish and professional salon quality
Gorgeous Photo-real Salon Sponge Nails
Sponge inspired nail art with gorgeous, photo-real finish and professional salon quality
Stunning Photo-real Salon Sponge Nails
Sponge inspired nail art with stunning, photo-real finish and professional salon quality
Stunning Photo-real Salon Sponge Nails
Sponge inspired nail art with stunning, photo-real finish and professional salon quality
Sophisticated Photo-real Salon Sponge Nails
Sponge inspired nail art with sophisticated, photo-real finish and professional salon quality
Sophisticated Photo-real Salon Sponge Nails
Sponge inspired nail art with sophisticated, photo-real finish and professional salon quality
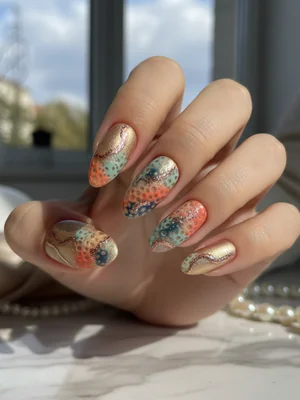
Photo-real Salon Sponge Nails
Sponge inspired nail art with elegant, photo-real finish and professional salon quality
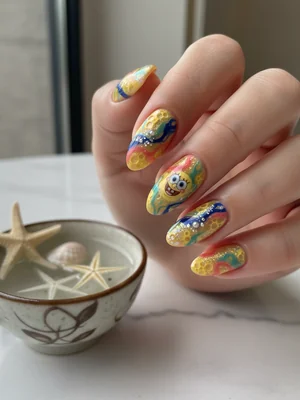
Photo-real Salon Sponge Nails
Sponge inspired nail art with elegant, photo-real finish and professional salon quality

Photo-real Salon Sponge Nails
Sponge inspired nail art with clean, photo-real finish and professional salon quality

Photo-real Salon Sponge Nails
Sponge inspired nail art with clean, photo-real finish and professional salon quality
Explore Similar Designs
Colors in this Design
Nail Shapes
Frequently Asked Questions
What kind of sponge should I use?
A cosmetic wedge sponge works best for creating a smooth gradient.
Can I use regular makeup sponges?
Yes, as long as they are clean and free of oils or makeup residue.
How do I prevent the polish from getting all over my fingers?
Apply liquid latex or tape around your cuticles before you start. This will create a barrier and make cleanup much easier.
How many layers should I apply?
It depends on the opacity of your polishes. Start with 2-3 layers and add more as needed until you achieve the desired effect.
How do I make the gradient look seamless?
Blend the colors carefully with the sponge, dabbing gently and layering the colors where they meet.
Why does my sponge absorb too much product?
Try dampening the sponge slightly before applying the polish. This will prevent it from soaking up too much product.
Aftercare Tips
- ✓Use cuticle oil daily to keep your nails and cuticles hydrated.
- ✓Wear gloves when doing housework or gardening.
- ✓Avoid picking or biting your nails.
Safe Removal
- 1.Soak cotton pads in nail polish remover and place them on your nails.
- 2.Wrap your nails in foil and let them sit for 5-10 minutes.
- 3.Remove the foil and cotton pads, and gently wipe away the polish.