Photo-real Salon Sponge Nails - Sponge nail art - featuring nail art, elegant, red - nail art inspiration and design ideas
Photo-real Salon Sponge Nails
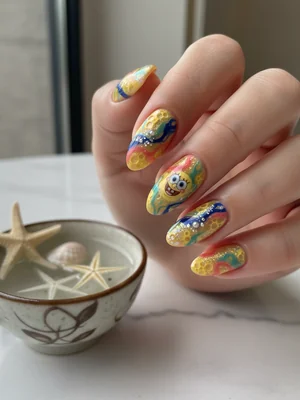
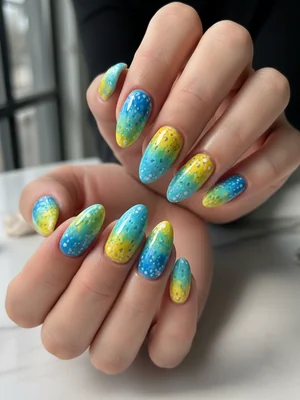
Elegant Salon Sponge Nails: Photo-Real Gradient Finish
Experience the sophisticated charm of our Salon Sponge Nails, where a unique sponging technique creates a mesmerizing, photo-real texture. This design offers a refined, gradient effect that truly elevates the classic nail art with a professional, elegant touch.
- Gel Base Coat
- Two complementary gel polishes (e.g., greige and charcoal)
- Non-latex makeup sponge (dense texture)
- Gel Top Coat (High Gloss)
- Nail Art Brush (for cleanup)
- UV/LED Curing Lamp
- Prep nails: shape, buff, and apply a thin layer of gel base coat, then cure.
- Apply one coat of the lighter gel polish as a base color and cure.
- Dab a small amount of both polishes onto a palette. Lightly dab the sponge into the darker color, then blot excess onto a paper towel.
- Gently sponge the darker color onto the tip of the nail, blending softly towards the middle. Clean up any excess polish from cuticles with a brush.
- Apply a second, lighter layer of sponged color if needed, focusing on achieving a smooth, photo-real gradient. Cure after each layer.
- Finish with a high-gloss gel top coat, ensuring a smooth, elegant finish, and cure thoroughly.
Expert Tip
For a truly photo-real finish, always blot your sponge before applying to the nail to prevent heavy, splotchy areas. Build the gradient in very thin, gentle layers, allowing each to cure, for a seamless and refined blend.
Similar Styles
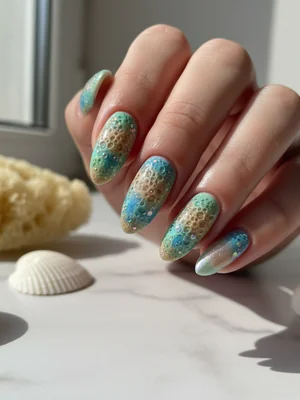
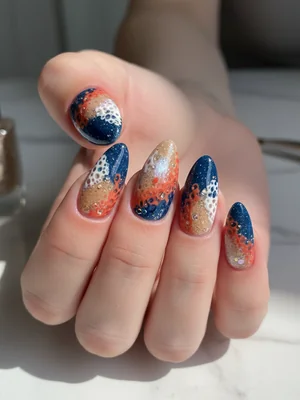
Beautiful Photo-real Salon Sponge Nails
Sponge inspired nail art with beautiful, photo-real finish and professional salon quality

Beautiful Photo-real Salon Sponge Nails
Sponge inspired nail art with beautiful, photo-real finish and professional salon quality
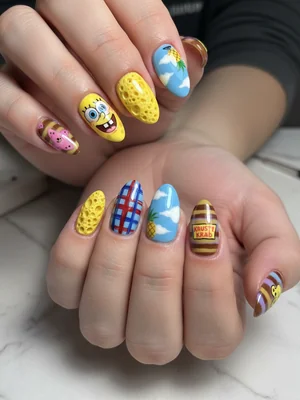
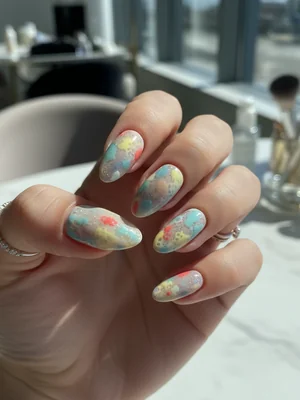
Gorgeous Photo-real Salon Sponge Nails
Sponge inspired nail art with gorgeous, photo-real finish and professional salon quality
Gorgeous Photo-real Salon Sponge Nails
Sponge inspired nail art with gorgeous, photo-real finish and professional salon quality
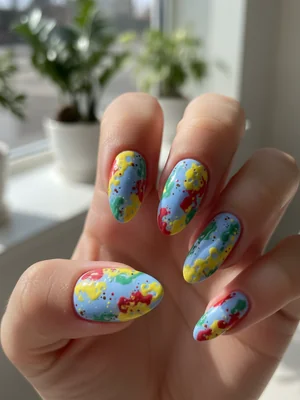
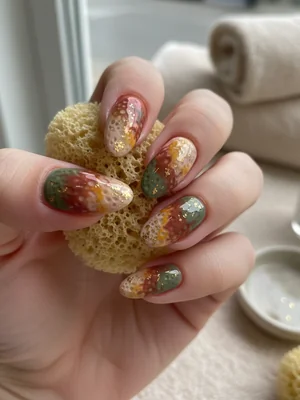
Stunning Photo-real Salon Sponge Nails
Sponge inspired nail art with stunning, photo-real finish and professional salon quality
Stunning Photo-real Salon Sponge Nails
Sponge inspired nail art with stunning, photo-real finish and professional salon quality
Sophisticated Photo-real Salon Sponge Nails
Sponge inspired nail art with sophisticated, photo-real finish and professional salon quality
Sophisticated Photo-real Salon Sponge Nails
Sponge inspired nail art with sophisticated, photo-real finish and professional salon quality
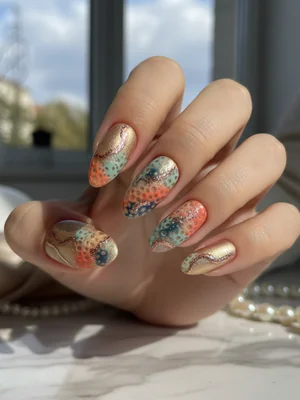
Photo-real Salon Sponge Nails
Sponge inspired nail art with elegant, photo-real finish and professional salon quality

Photo-real Salon Sponge Nails
Sponge inspired nail art with clean, photo-real finish and professional salon quality

Photo-real Salon Sponge Nails
Sponge inspired nail art with clean, photo-real finish and professional salon quality

Photo-real Salon Sponge Nails
Sponge inspired nail art with clean, photo-real finish and professional salon quality
Explore Similar Designs
Techniques Used
Perfect For
Nail Shapes
Frequently Asked Questions
How long does the elegant sponge design typically last?
With proper application and aftercare, this gel-based design can beautifully last 2-3 weeks, depending on your nail growth and daily activities.
Can I customize the colors for this sponge gradient?
Absolutely! While we recommend elegant, complementary tones for the best photo-real effect, you can choose from a wide range of sophisticated colors to match your personal style.
Is this design suitable for shorter nails?
Yes, this design looks stunning on all nail lengths, including shorter nails. The subtle gradient creates an elongating effect, enhancing any nail shape.
Does the sponge technique add a lot of bulk to the nail?
No, when applied correctly by a professional, the multiple thin layers of gel polish in the sponging technique create a smooth, thin, and durable finish without excessive bulk.
How do I maintain the 'photo-real' shine?
To keep the high-gloss, photo-real finish pristine, always use a good quality top coat and avoid abrasive activities. Daily cuticle oil also helps maintain the overall health and appearance of your manicure.
Is this design difficult to recreate at home?
While the basic sponging technique can be done at home, achieving the 'photo-real finish' and 'salon quality' elegance requires practice, professional-grade products, and a keen eye for blending that an expert technician provides.
Aftercare Tips
- ✓Avoid prolonged water exposure or harsh chemicals immediately after application.
- ✓Moisturize hands and cuticles regularly to keep the skin supple.
- ✓Do not pick or peel at the gel polish, as this can damage your natural nail.
- ✓Return to a professional for safe removal to preserve nail health.
Safe Removal
- 1.Gently buff off the top layer of the gel polish to break the seal.
- 2.Soak cotton pads in acetone, place on nails, and wrap with foil for 10-15 minutes.
- 3.Gently push off softened gel with a cuticle pusher, avoiding force. Buff and hydrate nails.