Beautiful Photo-real Salon Sponge Nails - Sponge nail art - featuring nail art, red - nail art inspiration and design ideas
Beautiful Photo-real Salon Sponge Nails
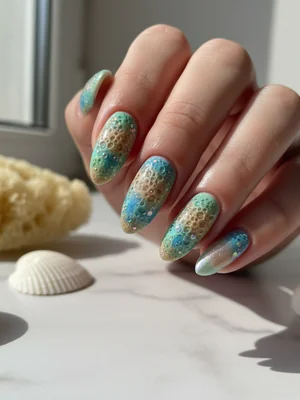
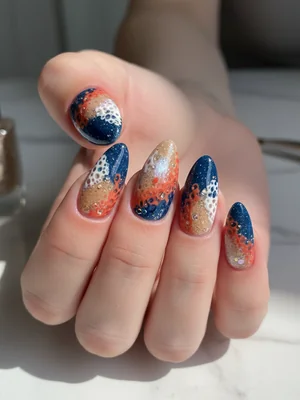
Photo-Real Salon Sponge Nails: Textured Artistry
Dive into the artistic depth of our Photo-Real Salon Sponge Nails, a unique Sponge.Design that captures the intricate beauty of natural textures. This sophisticated nail art features a meticulously layered sponging technique, creating a multi-dimensional, true-to-life finish that exudes professional salon quality. It's an elegant statement for those who appreciate understated luxury.
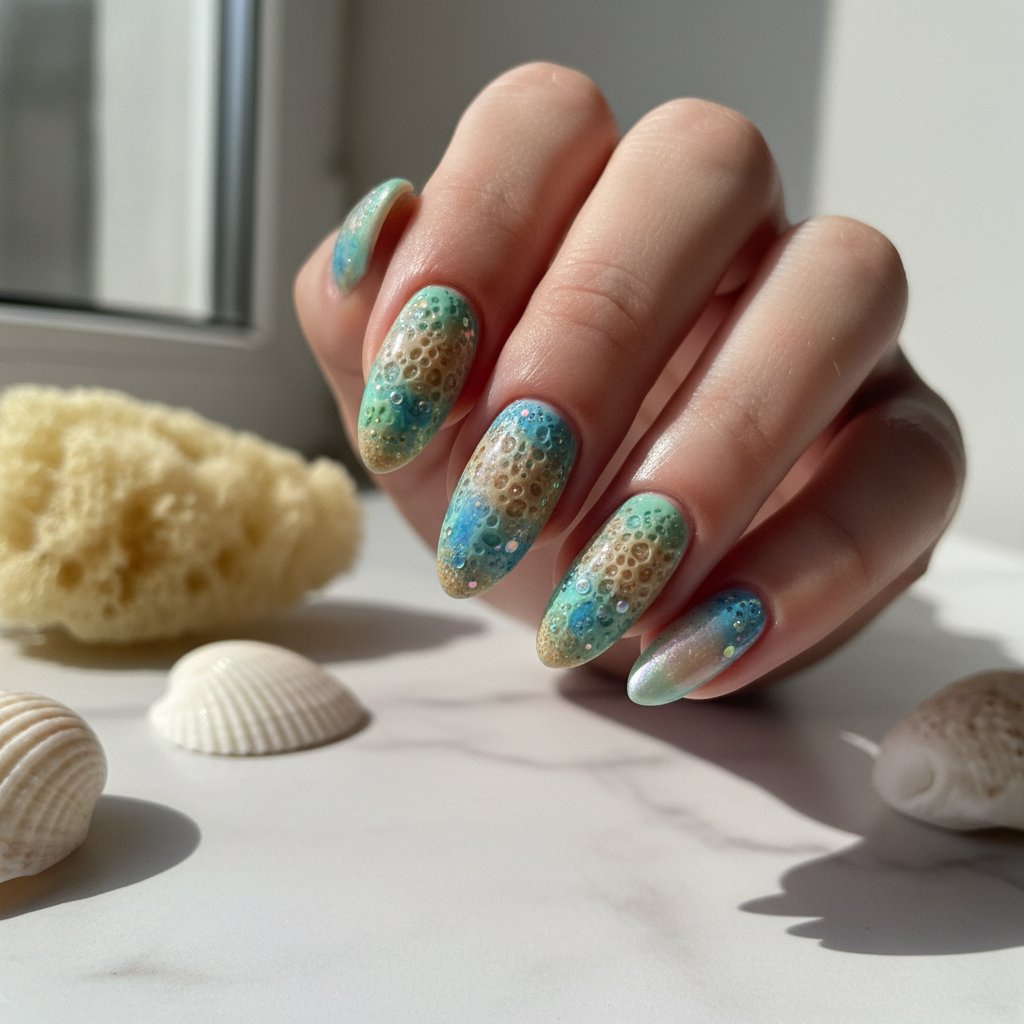
- Base Coat
- Warm Beige Gel Polish
- Soft Terracotta Gel Polish
- Creamy Off-White Gel Polish
- Disposable Makeup Sponge Wedges
- High-Gloss Top Coat
- Curing Lamp
- Prepare nails (file, push cuticles), apply base coat, and cure according to product instructions.
- Apply a thin, even layer of your lightest base color (e.g., warm beige) and cure.
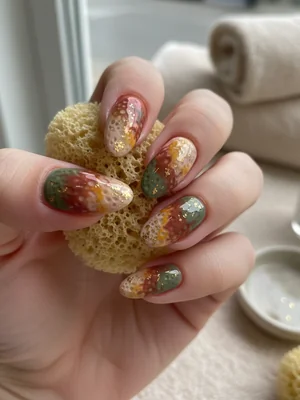
- Dab small amounts of secondary colors (terracotta, off-white, grey-brown) onto a palette. Using a fresh, fine-pored sponge wedge, lightly pick up and dab the colors onto the nail, layering and blending them to create a porous, textured effect. Flash cure each layer if needed.
- Repeat the sponging process with different color combinations and varying intensities until the desired multi-dimensional, photo-real depth and texture are achieved. Focus on irregular patterns for natural realism.
- Seal the entire design with a durable high-gloss top coat, ensuring even coverage and a brilliant shine that encapsulates the texture, then fully cure.
- Cleanse any tacky layer (if applicable) and nourish cuticles with a quality oil for a pristine finish.
Expert Tip
For that true photo-realism, use very small, irregular dabbing motions with a fine-pored sponge and build up layers gradually. The key is translucency and subtle variation in tone, mimicking natural sponge pores rather than uniform dots.
Similar Styles

Beautiful Photo-real Salon Sponge Nails
Sponge inspired nail art with beautiful, photo-real finish and professional salon quality
Gorgeous Photo-real Salon Sponge Nails
Sponge inspired nail art with gorgeous, photo-real finish and professional salon quality
Gorgeous Photo-real Salon Sponge Nails
Sponge inspired nail art with gorgeous, photo-real finish and professional salon quality
Stunning Photo-real Salon Sponge Nails
Sponge inspired nail art with stunning, photo-real finish and professional salon quality
Stunning Photo-real Salon Sponge Nails
Sponge inspired nail art with stunning, photo-real finish and professional salon quality
Sophisticated Photo-real Salon Sponge Nails
Sponge inspired nail art with sophisticated, photo-real finish and professional salon quality
Sophisticated Photo-real Salon Sponge Nails
Sponge inspired nail art with sophisticated, photo-real finish and professional salon quality
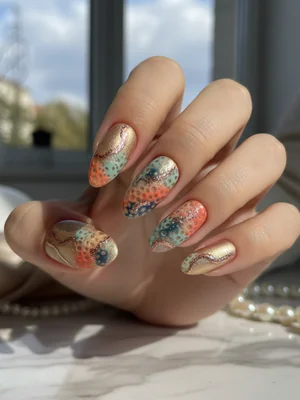
Photo-real Salon Sponge Nails
Sponge inspired nail art with elegant, photo-real finish and professional salon quality
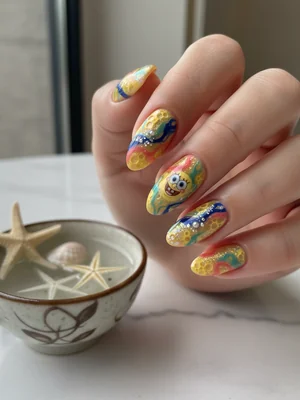
Photo-real Salon Sponge Nails
Sponge inspired nail art with elegant, photo-real finish and professional salon quality

Photo-real Salon Sponge Nails
Sponge inspired nail art with clean, photo-real finish and professional salon quality

Photo-real Salon Sponge Nails
Sponge inspired nail art with clean, photo-real finish and professional salon quality

Photo-real Salon Sponge Nails
Sponge inspired nail art with clean, photo-real finish and professional salon quality
Explore Similar Designs
Colors in this Design
Techniques Used
Perfect For
Nail Shapes
Frequently Asked Questions
How is the 'photo-real' texture achieved?
It's created by meticulously layering and blending multiple translucent gel polish shades with a fine-pored sponge, building up subtle variations and depth that mimic natural porous surfaces, much like a natural sponge.
Will this design chip easily due to the texture?
No, when properly sealed with a professional high-gloss top coat and cured, this design is as durable as any other gel manicure. Proper application and consistent aftercare are key to its longevity.
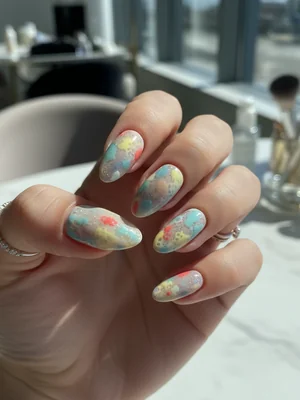
Can I get this design in brighter, more vibrant colors?
Absolutely! While our signature Photo-Real Salon Sponge Nails design uses natural tones for realism, the precise sponging technique can be adapted to vibrant or pastel palettes, offering a unique take on abstract texture.
Is this design suitable for shorter nails?
Yes, the intricate detail can still be appreciated on shorter nails. While medium to long nails allow for more visible texture and depth, shorter nails offer a sophisticated, subtle take on the design.
What's the difference between this and a regular sponge gradient?
This design goes beyond a simple gradient or ombré. It focuses on multi-tonal layering and irregular dabbing to simulate the varied, porous texture of a real sponge, not just a smooth color fade, creating a much more detailed and realistic effect.
How long does this specific design take to apply?
Due to the precise layering and blending required for a 'photo-real' and salon-quality finish, this design typically takes around 75 minutes to meticulously complete.
Aftercare Tips
- ✓Avoid prolonged exposure to extremely hot water or steam immediately after your manicure.
- ✓Do not use your nails as tools (e.g., prying open cans); this can damage the top coat and the intricate design.
- ✓Moisturize your hands and nails regularly to preserve the flexibility of the gel and the brilliance of the finish.
Safe Removal
- 1.Gently file off the top coat to break the seal, being careful not to file into your natural nail.
- 2.Soak cotton pads in 100% acetone, place them directly on the nails, and wrap securely with foil for 10-15 minutes.
- 3.Gently scrape off the softened gel polish with an orange wood stick. Never force or peel the product off, as this can damage your natural nails.