Splatter Room Nails: easy controlled splatter art
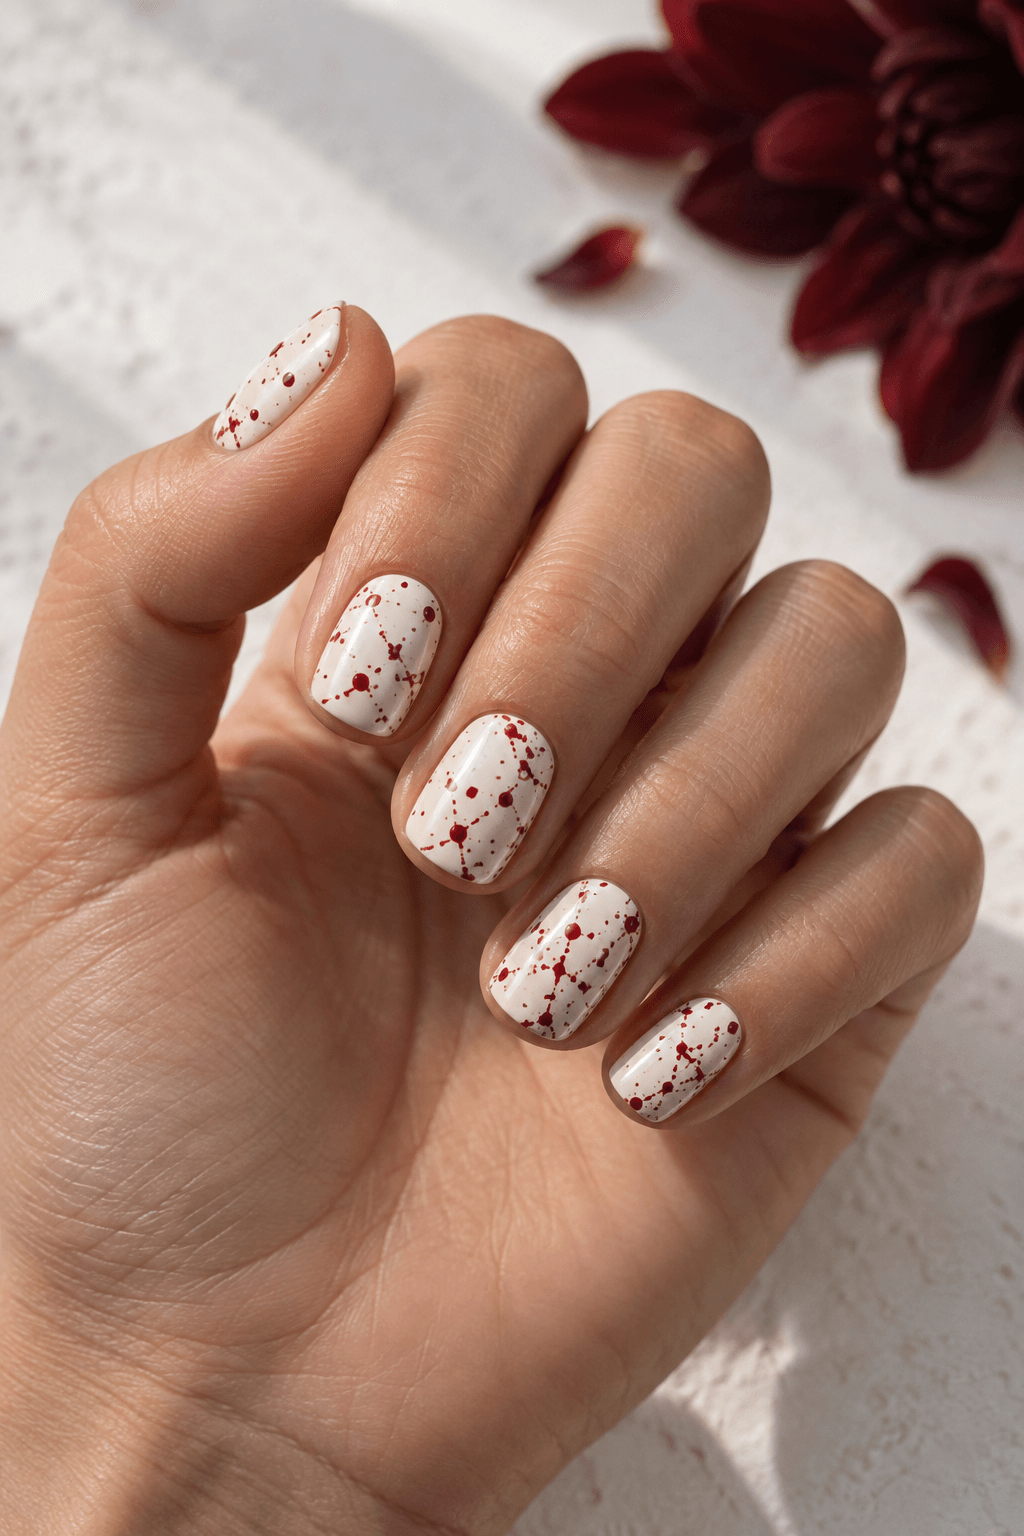
This white-base splatter manicure uses a nearly dry detail brush for an imperfect, graphic Halloween finish. For more inspiration, see our 30+ Halloween nail ideas.
At a glance
- Difficulty
- Beginner
- Time
- 20–30 min
- Finish
- Glossy or matte
- Best on
- Any length
Nail Art AI picks
Halloween press-on nails


As an Amazon Associate, Nail Art AI earns from qualifying purchases. This comes at no additional cost to you.
What you need
- Clean white
- Ink black
- Berry red
- A fine detail brush or dotting tool for the artwork
- A glossy or matte top coat, depending on the finish you want
Use what you already own where possible. The key details matter more than a large kit.
How to create the look
Step 1
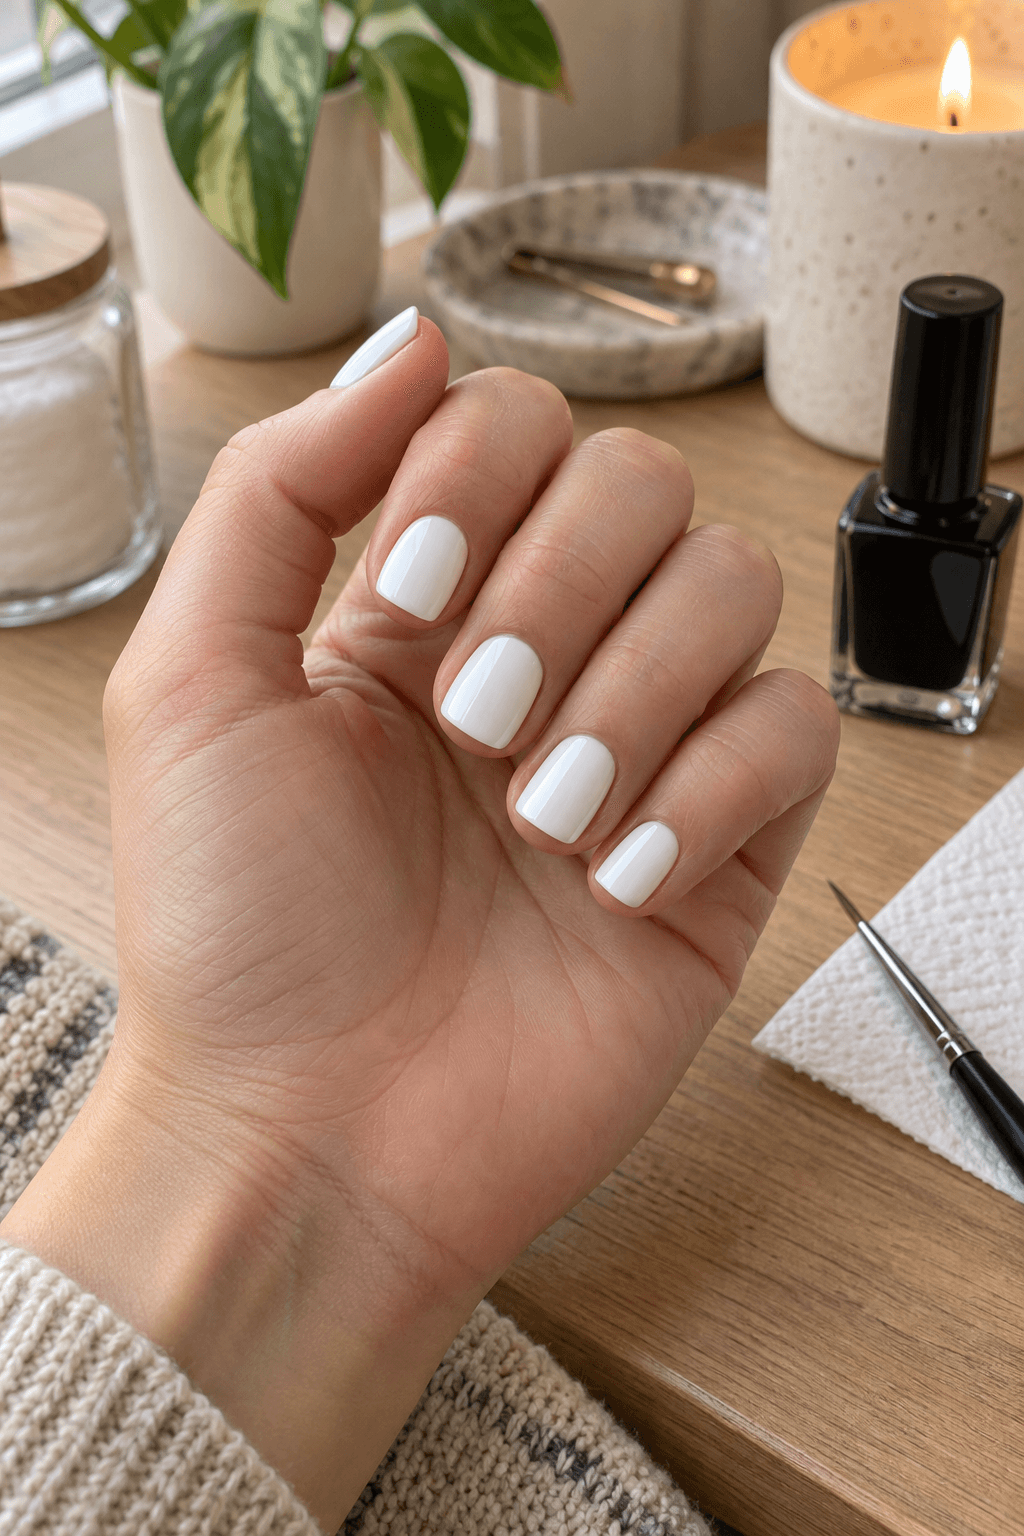
Lay down an opaque base
Paint white polish in two thin coats and wait until it is fully dry or cured.
Step 2
Protect your work surface
Place paper beneath your hand. Splatter techniques are messy by design, even when the manicure is controlled.
Step 3
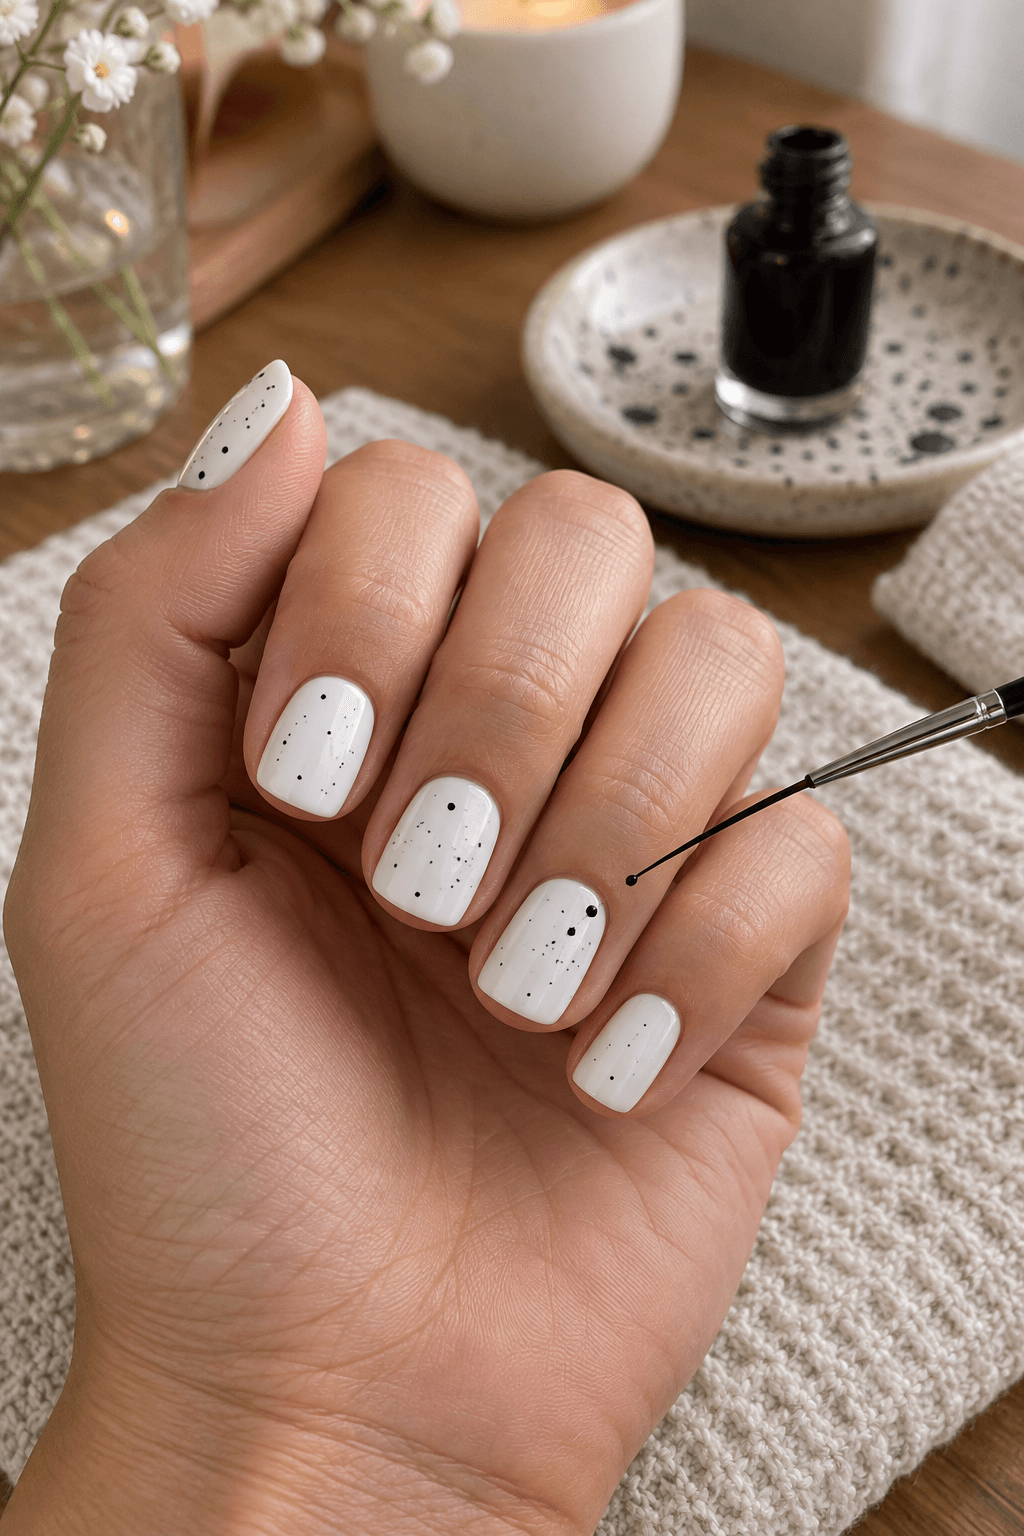
Load a fine brush lightly
Dip only the tip in black or red polish, then wipe most of it off until the brush is nearly dry. If you need a fine tool, this nail art brush and dotting-tool set covers the small details.
Step 4
Flick away from the nail
Hold the brush a few inches above the nail and gently flick it once or twice. Stop before the pattern becomes dense.
Step 5
Clean up and top coat
Use a small cleanup brush around the skin, then seal the finished design with your preferred top coat.
Keep it intentional
Color formula
Clean white
A high-contrast base for splatter.
Ink black
A graphic dark splatter shade.
Berry red
An optional deep red accent.
Help it last
- Keep splatter on one or two accent nails for a cleaner set.
- Choose a glossy top coat for a fresh paint effect.
- Avoid thick layers, which can blur the small marks.
Remove it gently
- Remove regular polish with a gentle remover and cotton pad.
- Use the recommended soak-off process for gel.
- Never scrape a stubborn layer from the nail plate.
Nail Art AI picks
Tools for this look


As an Amazon Associate, Nail Art AI earns from qualifying purchases. This comes at no additional cost to you.
Three easy variations
- Use only black for a graphic ink effect.
- Try burgundy splatter over a nude base for a subtler version.
- Pair splatter accents with plain black French tips.
More ways to wear it
Explore a few related designs before you choose your final Halloween manicure.
See it on your own hand first
A color and shape can look different on every hand. Try this idea on your own hand before you paint it or take it to an appointment.
Questions people ask
Is splatter nail art beginner-friendly?
Yes. It is forgiving because an uneven pattern is part of the look.
How do I stop polish getting on my skin?
Leave a little room at the cuticle and clean up with a small brush after painting.
Can I use a toothbrush?
A small detail brush gives more control. A toothbrush can create a much wider, harder-to-clean spray.
Should I choose matte or glossy?
Glossy looks fresh and high contrast; matte makes the splatter feel more editorial.