Corner Cobweb Tip Nails: a simple spiderweb guide
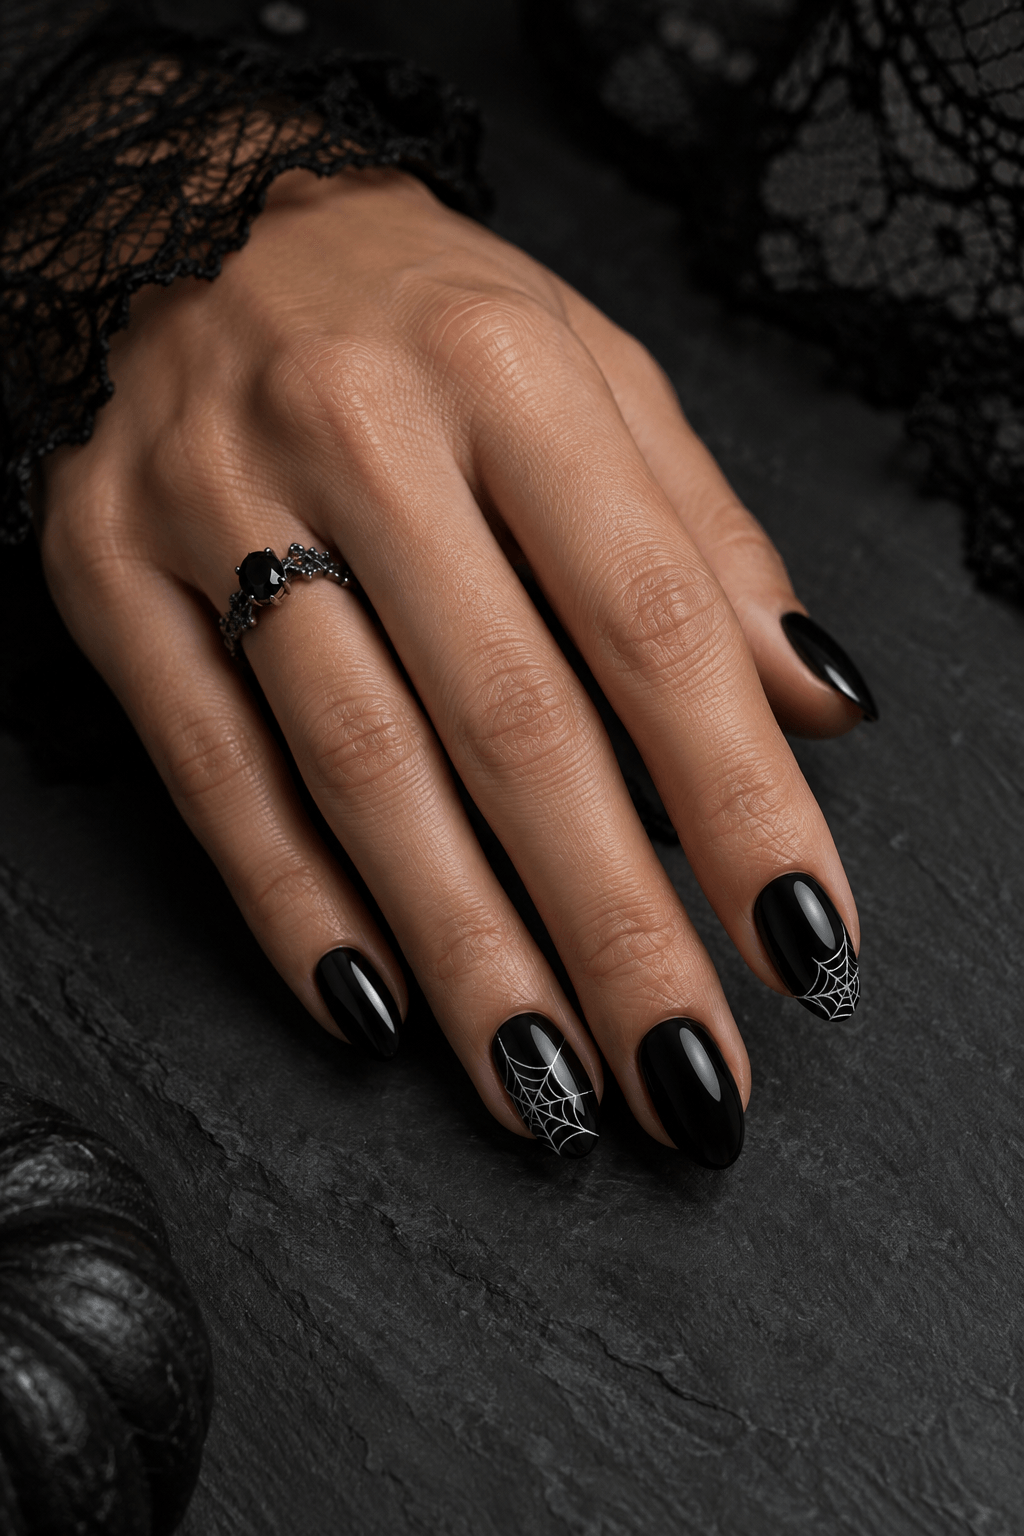
A small corner web leaves plenty of negative space, making this classic Halloween detail easy to wear and easy to paint. For more inspiration, see our 30+ Halloween nail ideas.
At a glance
- Difficulty
- Beginner
- Time
- 20–30 min
- Finish
- Glossy
- Best on
- Medium nails
Nail Art AI picks
Halloween press-on nails


As an Amazon Associate, Nail Art AI earns from qualifying purchases. This comes at no additional cost to you.
What you need
- Sheer nude
- Midnight black
- Spiderweb white
- A fine detail brush or dotting tool for the artwork
- A glossy or matte top coat, depending on the finish you want
Use what you already own where possible. The key details matter more than a large kit.
How to create the look
Step 1
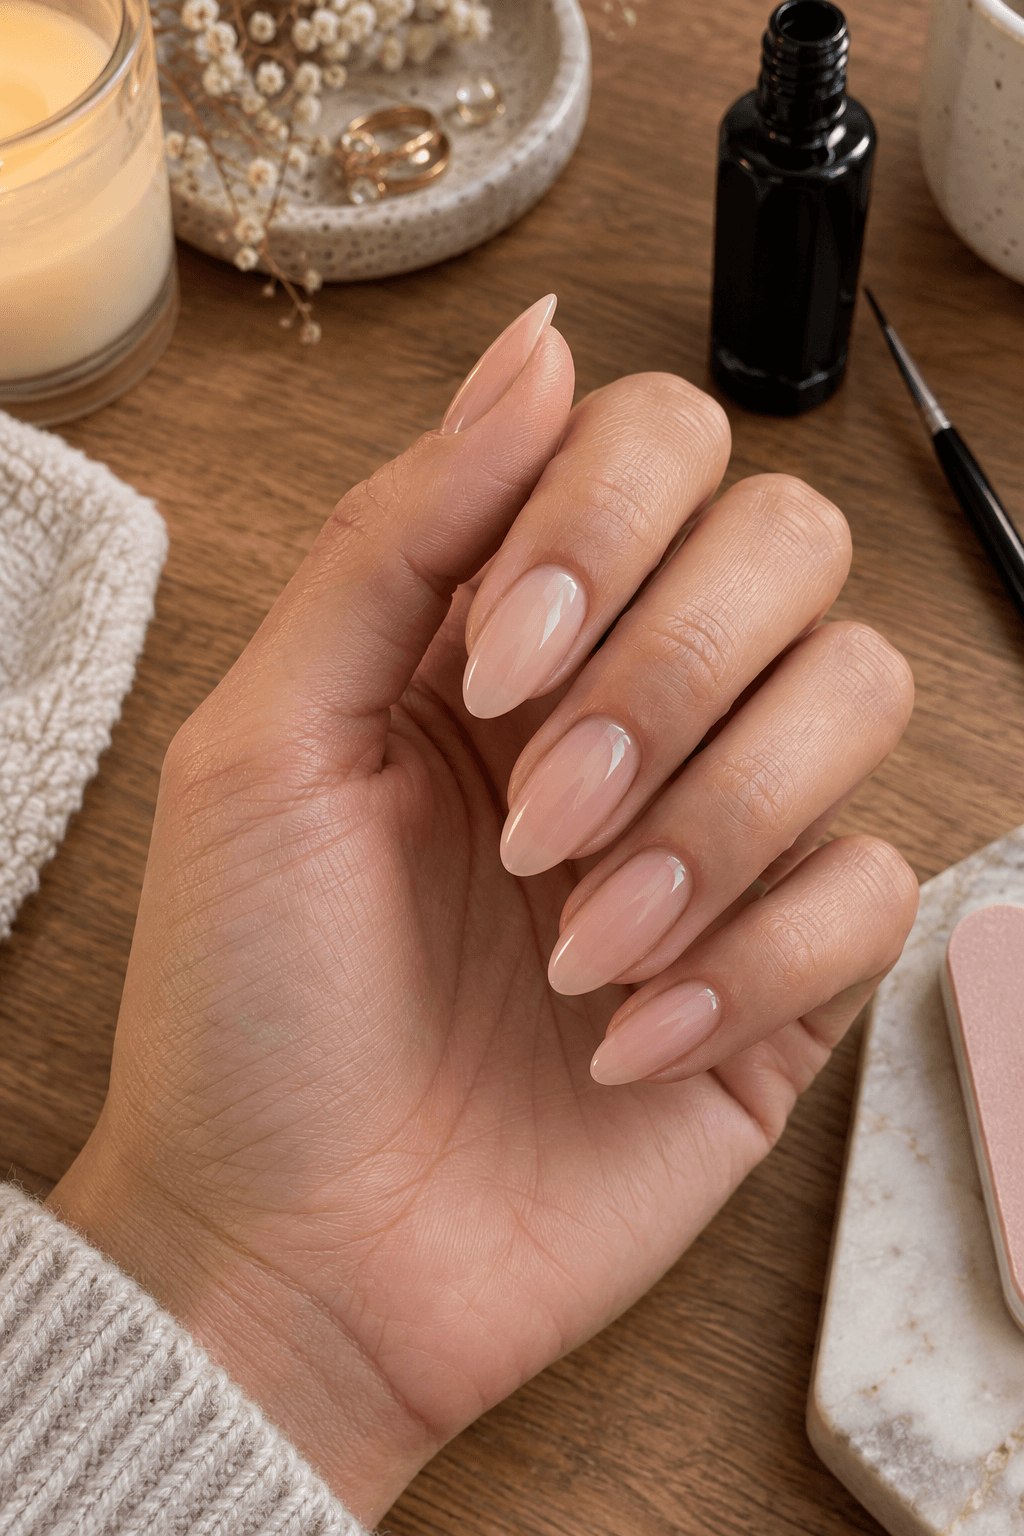
Apply a simple base
Use a sheer nude, soft pink, or black base and let it dry before starting the web.
Step 2
Mark the web corner
Choose one upper corner of the nail. Starting from the same spot on every accent nail keeps the set balanced.
Step 3
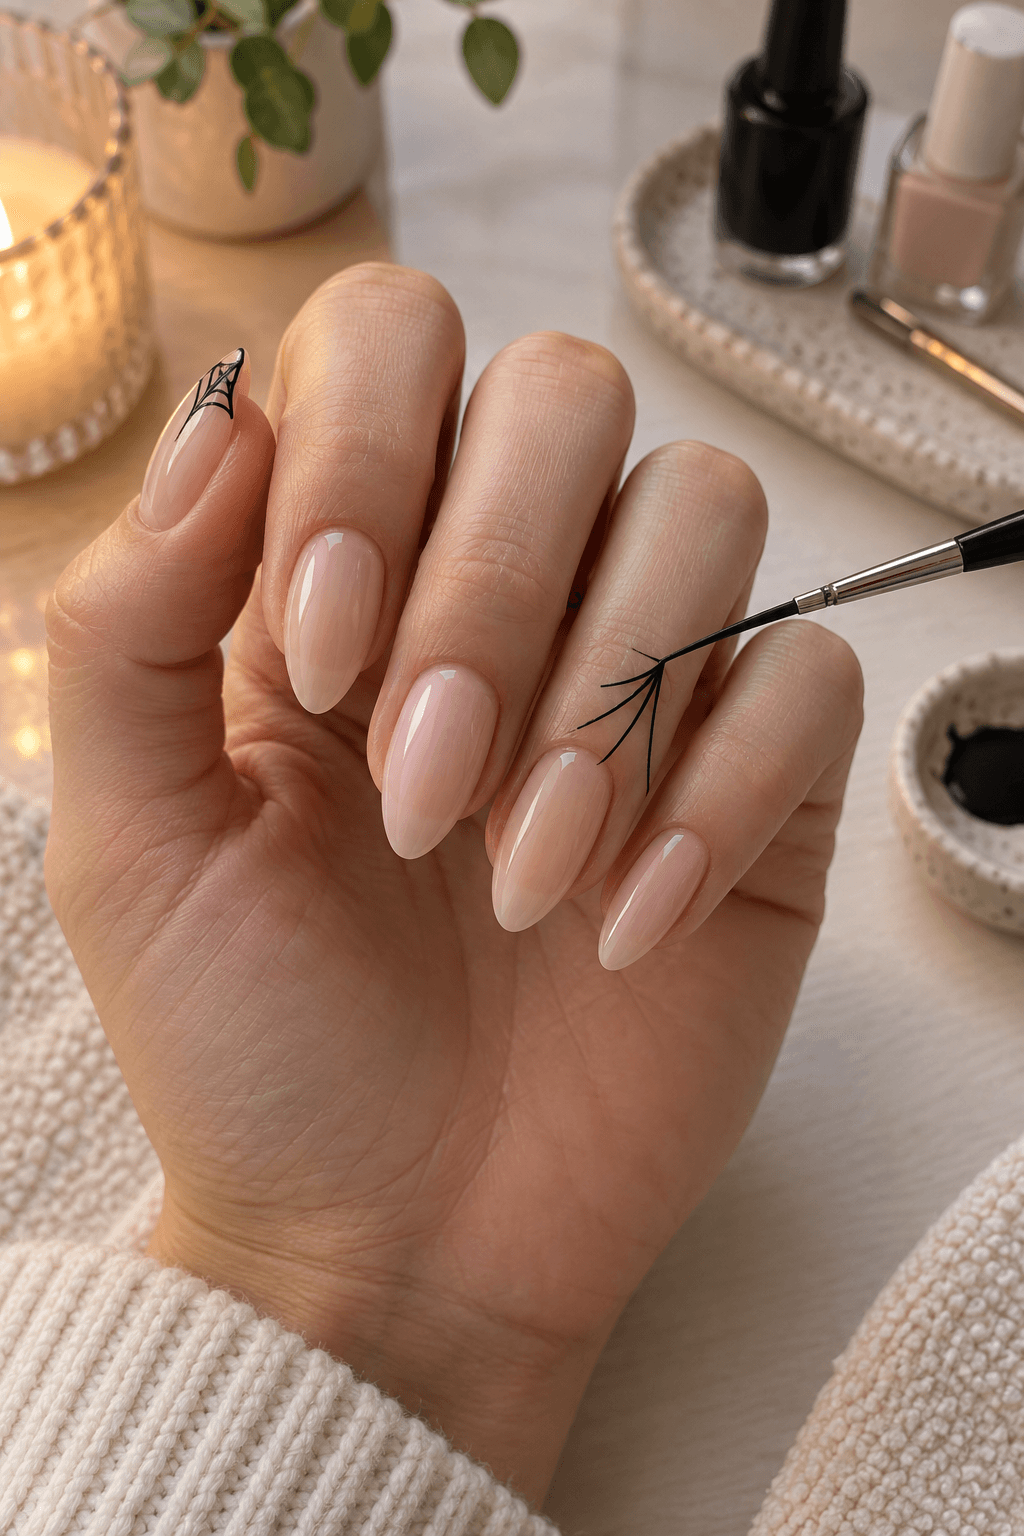
Draw three thin spokes
Pull three short lines outward from the corner with a fine liner brush, leaving space between each one. If you need a fine tool, this nail art brush and dotting-tool set covers the small details.
Step 4
Connect with curved arcs
Add small curved lines between the spokes. Keep them open and light instead of filling the whole nail.
Step 5
Finish with top coat
Once the lines are set, apply top coat without dragging the brush too hard across the detail.
Keep it intentional
Color formula
Sheer nude
A wearable negative-space base.
Midnight black
A classic dark web backdrop.
Spiderweb white
A crisp line-art color.
Help it last
- Paint webs only on accent nails if you are new to fine lines.
- Use a liner brush with a short, sharp tip.
- Cap the tip with top coat for better wear.
Remove it gently
- Use a remover suitable for your polish type.
- Let remover sit briefly rather than scrubbing hard.
- Moisturize nails and cuticles after removal.
Nail Art AI picks
Tools for this look


As an Amazon Associate, Nail Art AI earns from qualifying purchases. This comes at no additional cost to you.
Three easy variations
- Paint a white web over black polish.
- Use silver over charcoal for a quieter version.
- Add one tiny spider dot at the web corner.
More ways to wear it
Explore a few related designs before you choose your final Halloween manicure.
See it on your own hand first
A color and shape can look different on every hand. Try this idea on your own hand before you paint it or take it to an appointment.
Questions people ask
How many spokes should a nail web have?
Three is enough for a small corner web. More can make the design look crowded.
What if my arcs are uneven?
Keep them small and thin. Slight variation reads as hand-painted and is hard to notice once top coat is applied.
Can I make this on short nails?
Yes. Use two spokes and one curved connection to keep the motif in proportion.
Do I need gel liner?
No. Regular polish and a fine nail-art brush work if you paint slowly in thin lines.