Pumpkin Patch Confetti Nails: tiny Halloween motifs made simple
Tiny hand-painted jack-o’-lanterns, ghosts, and candy corn scattered across a warm cream base like a tossed handful of trick-or-treat loot. For more inspiration, see our 30+ Halloween nail ideas.
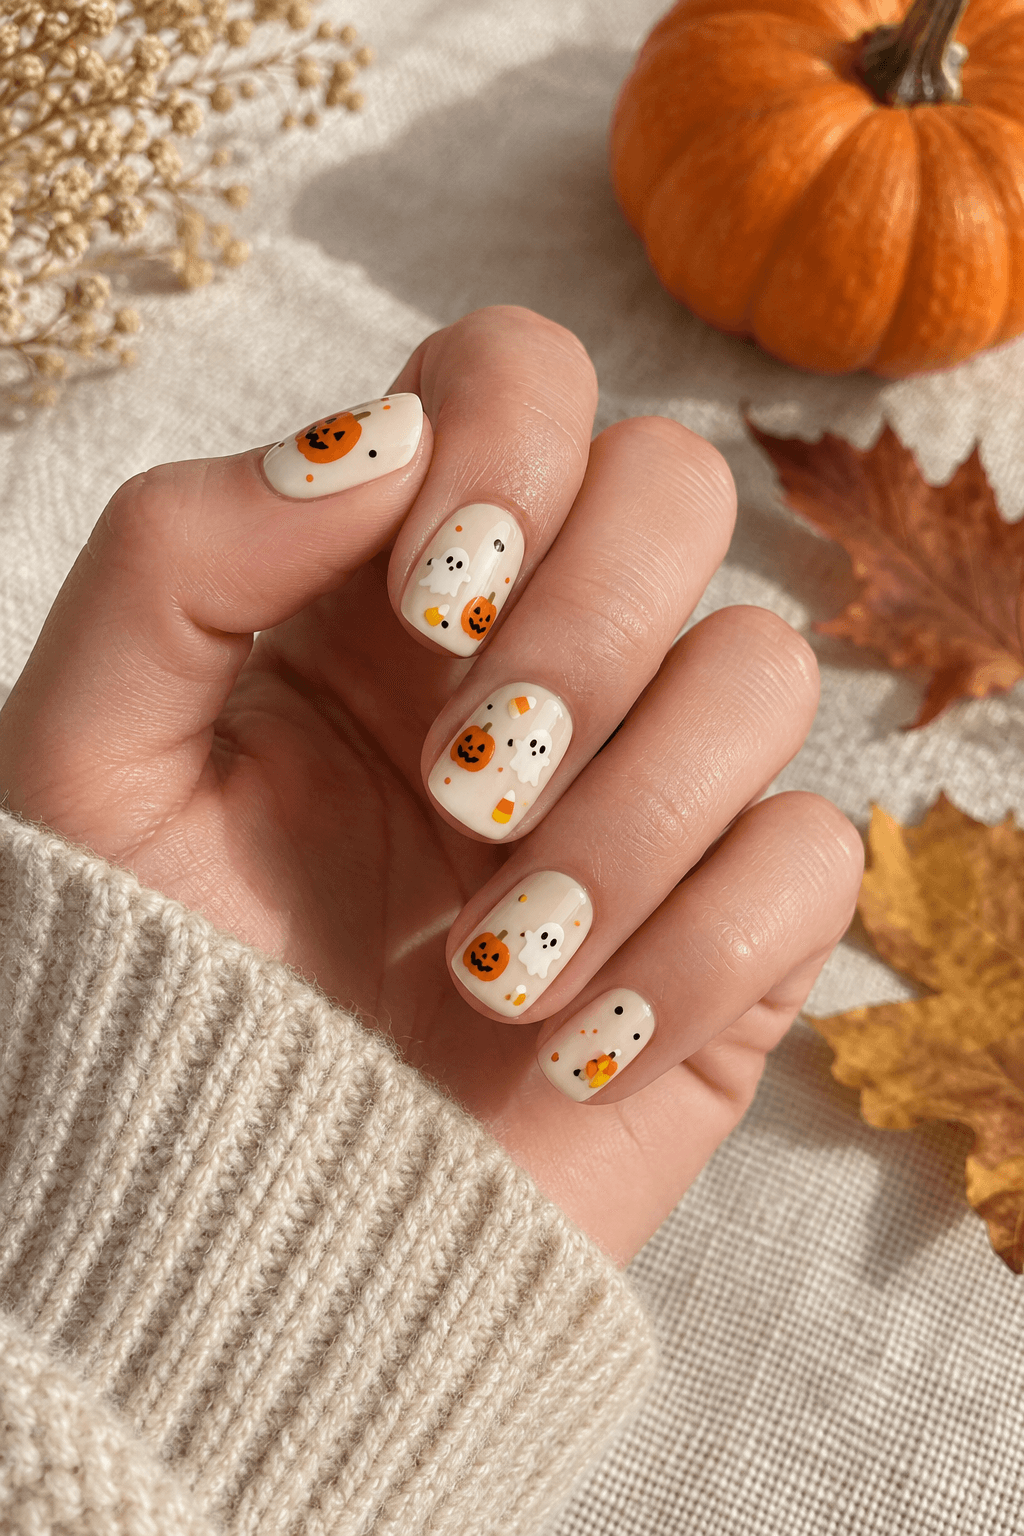
At a glance
- Difficulty
- Easy
- Time
- 35–45 min
- Finish
- Glossy
- Best on
- Short square
Nail Art AI picks
Halloween press-on nails


As an Amazon Associate, Nail Art AI earns from qualifying purchases. This comes at no additional cost to you.
What you need
- Warm cream
- Pumpkin orange
- Ink black
- A fine detail brush or dotting tool for the artwork
- A glossy or matte top coat, depending on the finish you want
Use what you already own where possible. The key details matter more than a large kit.
How to create the look
Step 1
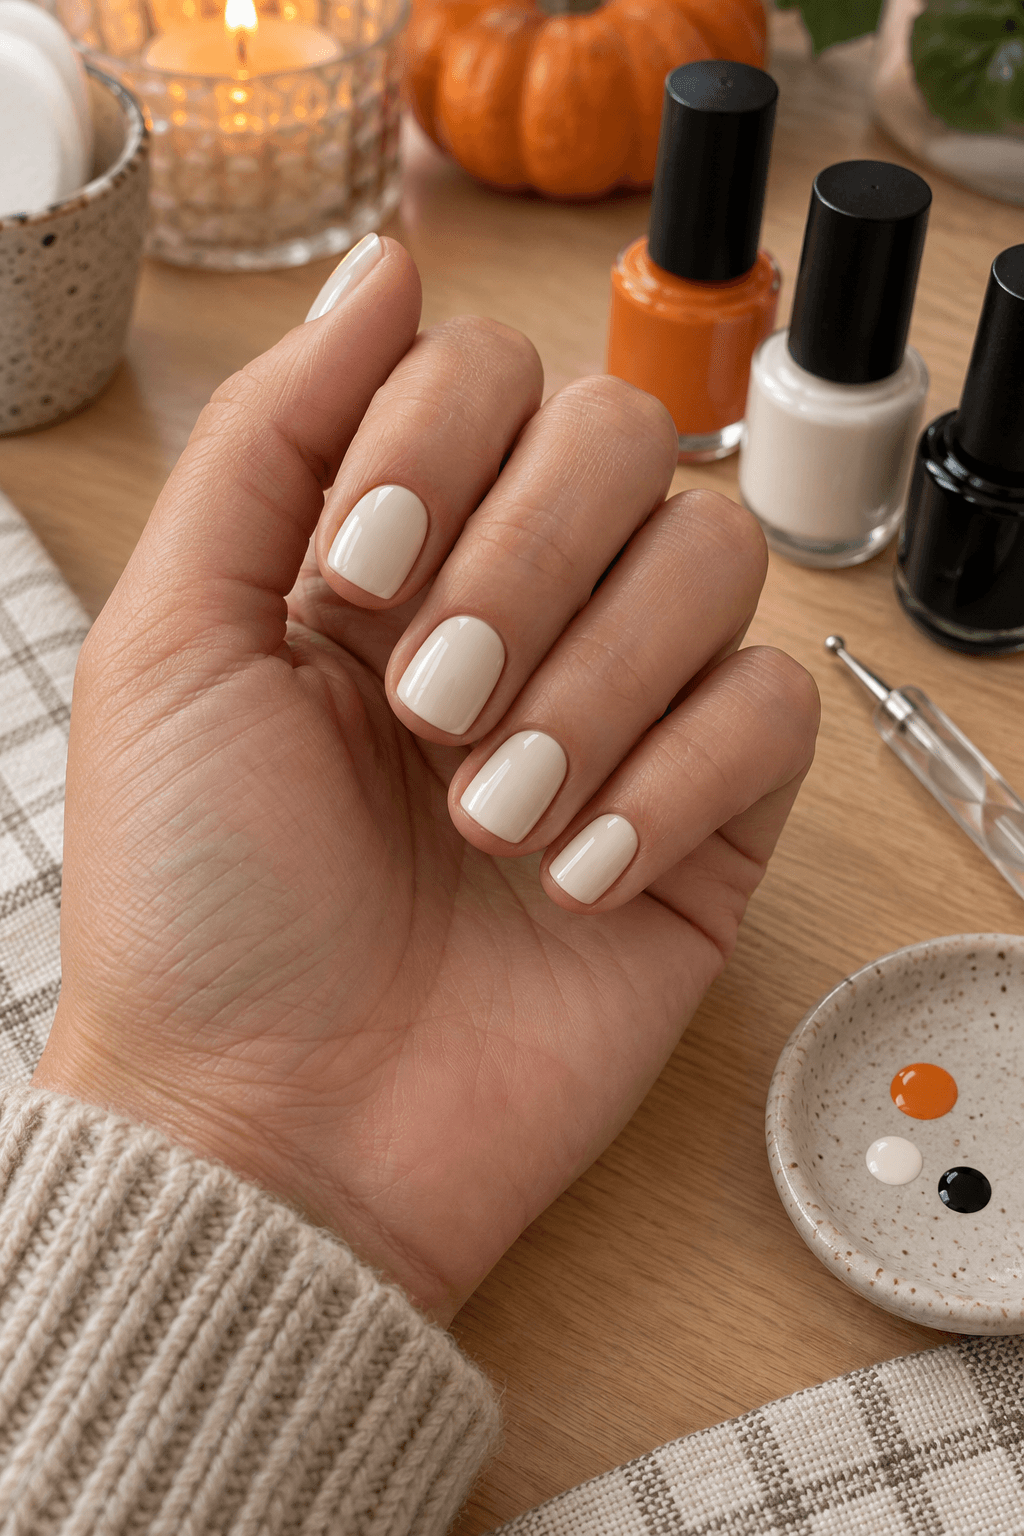
Paint the cream base
Apply two thin coats of warm cream and let them dry completely before adding any detail.
Step 2
Choose just a few motifs
Plan two or three tiny pumpkins, ghosts, or candy-corn shapes per hand. The empty space helps each one show.
Step 3
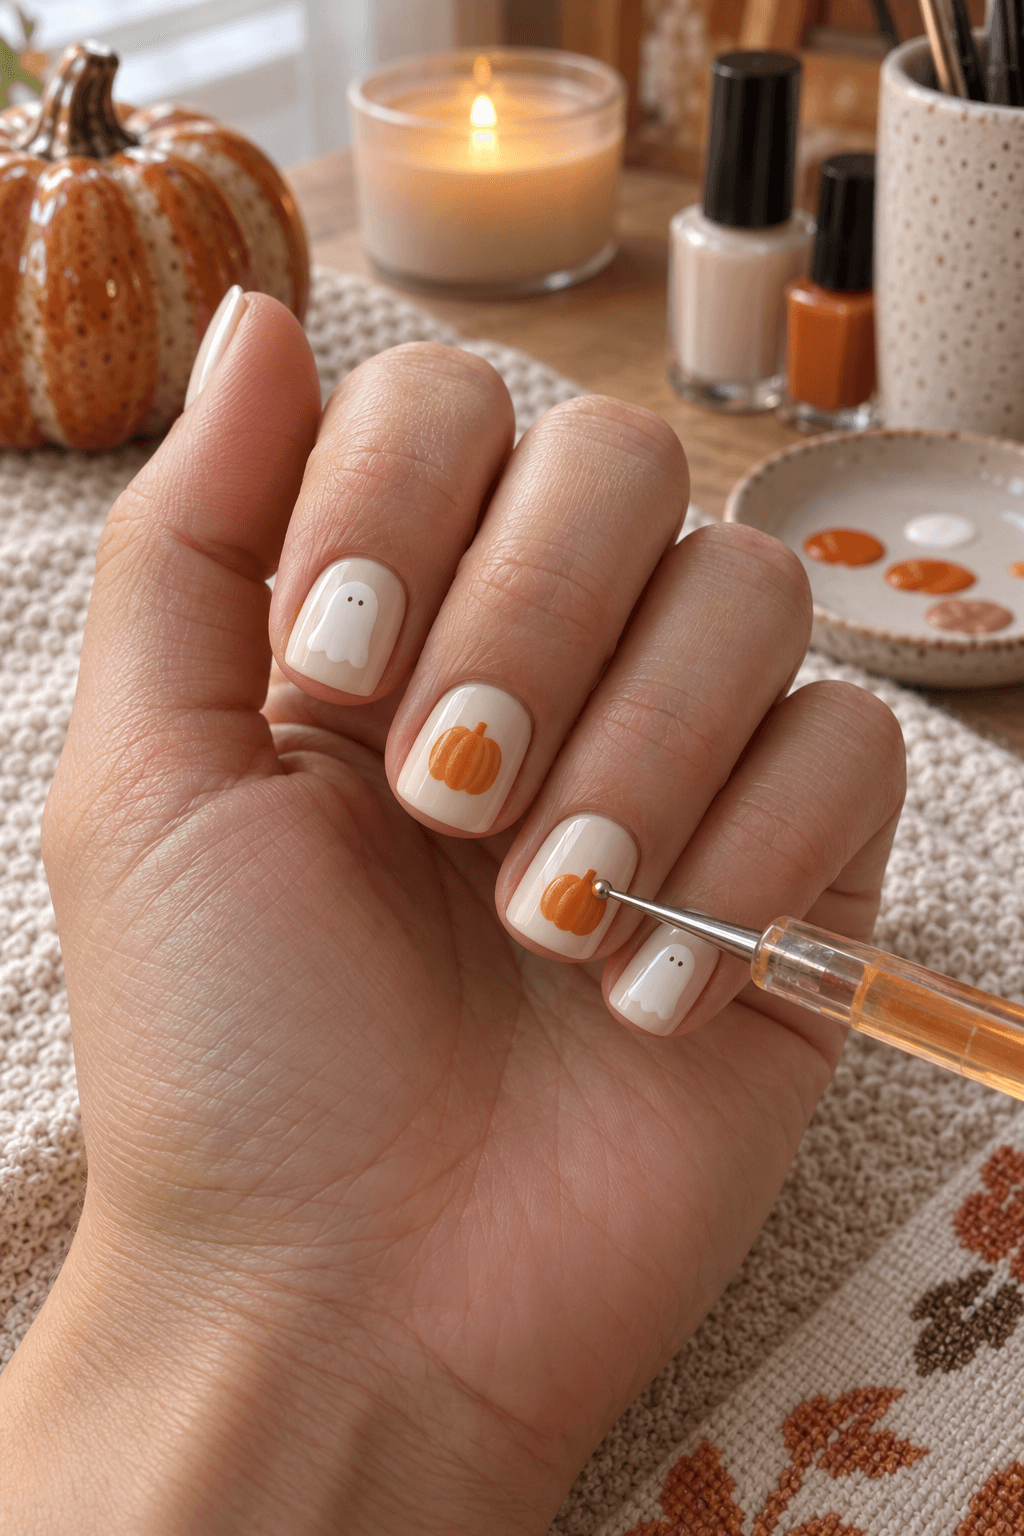
Block in the shapes
Use a dotting tool or a small brush to make the orange pumpkins and white ghost bodies first. If you need a fine tool, this nail art brush and dotting-tool set covers the small details.
Step 4
Add the smallest details last
Use a fine brush for jack-o’-lantern faces, ghost eyes, and tiny candy-corn stripes.
Step 5
Protect the artwork
Wait for the details to set, then add a glossy top coat with as few brush strokes as possible.
Keep it intentional
Color formula
Warm cream
A calm base that keeps the small motifs readable.
Pumpkin orange
For the small jack-o’-lantern shapes.
Ink black
A tiny amount for faces and outlines.
Help it last
- Keep the detail layer thin so the nail surface stays smooth.
- Use a fine brush only for the final black details.
- Seal the free edge with top coat to protect the small artwork.
Remove it gently
- Use a remover appropriate to your polish type.
- Let remover do the work rather than picking at detailed areas.
- Apply cuticle oil after the color is gone.
Nail Art AI picks
Tools for this look


As an Amazon Associate, Nail Art AI earns from qualifying purchases. This comes at no additional cost to you.
Three easy variations
- Use only pumpkins for a more coordinated look.
- Add a single black French tip as a graphic accent.
- Swap the cream base for a sheer blush for a softer finish.
More ways to wear it
Explore a few related designs before you choose your final Halloween manicure.
See it on your own hand first
A color and shape can look different on every hand. Try this idea on your own hand before you paint it or take it to an appointment.
Questions people ask
Do I need nail-art tools for tiny motifs?
A dotting tool and a small detail brush help, but a toothpick can place simple dots and small shapes.
How many motifs should go on each nail?
One small motif is enough for most nails. Keep a couple of nails plain to give the design room to breathe.
Can beginners paint jack-o’-lantern faces?
Yes. Use three small black marks rather than trying to draw a detailed face.
Would matte work for this design?
It can, but a glossy finish keeps the little shapes clearer and more playful.