
Beautiful Photo-real Salon Geometric Nails - Geometric nail art - featuring nail art, geometric, red - nail art inspiration and design ideas
Beautiful Photo-real Salon Geometric Nails
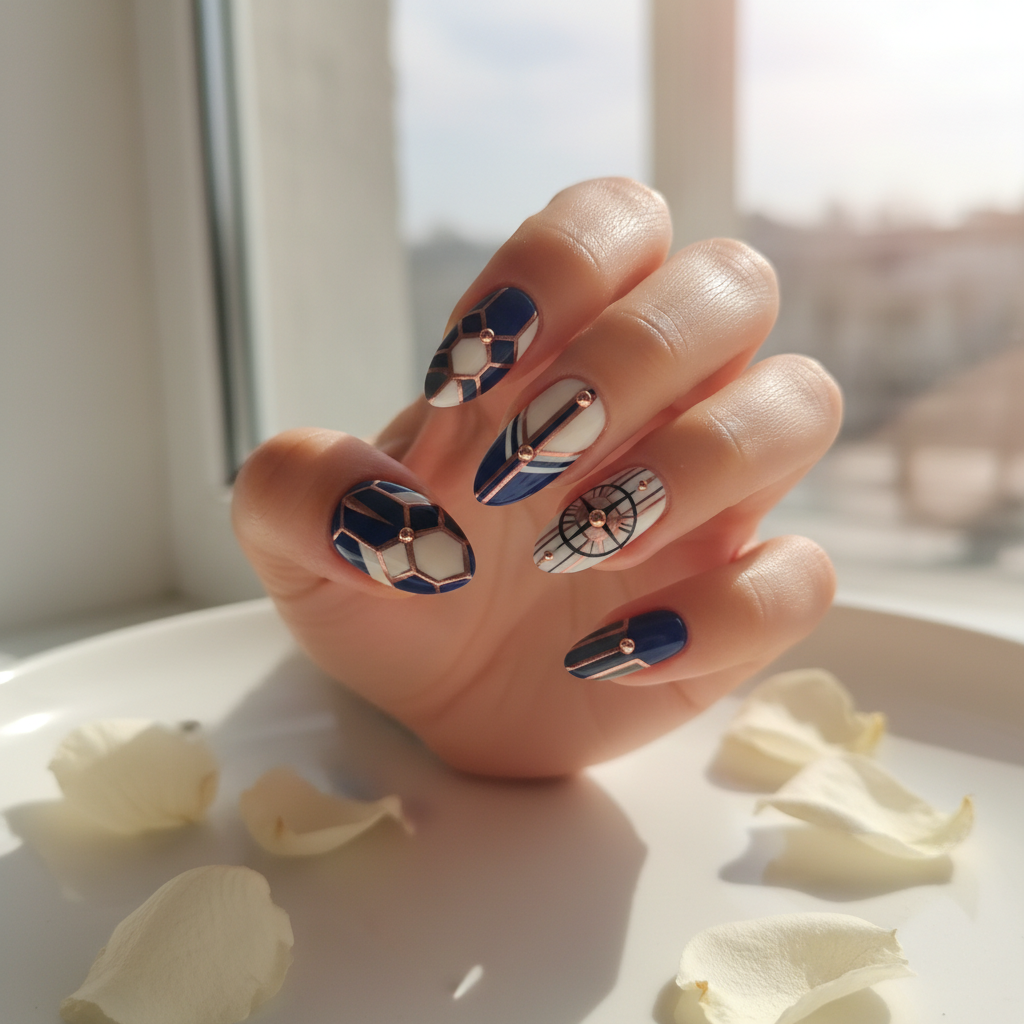
Photo-Real Salon Geometric Nails: Modern Precision Artistry
Elevate your fingertips with our Photo-Real Salon Geometric Nails, a masterpiece of precision and modern design. This striking look features crisp, clean lines forming sophisticated geometric patterns, meticulously crafted for a professional salon-quality finish that looks almost too perfect to be true. It's an artful statement for those who appreciate sharp aesthetics and flawless execution.
- Gel base coat & no-wipe top coat
- White, Black, and Metallic Silver/Gold gel polish
- Fine line art brush (000 or liner)
- Optional: Thin striping tape
- UV/LED curing lamp
- Lint-free wipes & cleanser
- Prepare nails (file, push back cuticles, buff) and apply a thin layer of gel base coat, curing under a UV/LED lamp.
- Apply 1-2 coats of white gel polish, curing each layer thoroughly for a solid, opaque base.
- Using the fine line brush and black gel polish, carefully create your desired geometric patterns. For ultra-crisp lines, apply striping tape as a guide, remove immediately after application, then cure.
- Once the primary geometric design is complete and cured, add delicate metallic accent lines (e.g., silver) if desired, curing again.
- Finish with a durable no-wipe gel top coat, ensuring full coverage and capping the free edge. Cure for the recommended time.
- Cleanse any tacky inhibition layer if using a traditional top coat for that ultimate 'photo-real' shine.
Techniques
Expert Tip
For truly 'photo-real' lines, ensure your fine-line brush is perfectly saturated but not overloaded, and apply with a steady hand. Curing each line segment or color layer individually is key to preventing smudges and maintaining that impeccable sharpness.
Similar Styles

Gorgeous Photo-real Salon Geometric Nails
Geometric inspired nail art with gorgeous, photo-real finish and professional salon quality

Stunning Photo-real Salon Geometric Nails
Geometric inspired nail art with stunning, photo-real finish and professional salon quality

Sophisticated Photo-real Salon Geometric Nails
Geometric inspired nail art with sophisticated, photo-real finish and professional salon quality

Photo-real Salon Geometric Nails
Geometric inspired nail art with elegant, photo-real finish and professional salon quality

Photo-real Salon Geometric Nails
Geometric inspired nail art with clean, photo-real finish and professional salon quality

Photo-real Salon Geometric Nails
Geometric inspired nail art with clean, photo-real finish and professional salon quality

Photo-real Salon Geometric Nails
Geometric inspired nail art with clean, photo-real finish and professional salon quality
Explore Similar Designs
Colors in this Design
Perfect For
Nail Shapes
Frequently Asked Questions
How long will this 'Photo-Real' Geometric design last?
With proper application and aftercare, this gel-based design typically lasts 2-3 weeks without chipping or fading, maintaining its sharp lines.
Can I achieve this 'salon quality' look at home?
While possible with practice, achieving the 'photo-real' precision and salon quality finish requires specialized tools, advanced techniques, and a steady hand, making professional application highly recommended.
What nail shapes best complement this geometric nail art?
Square, coffin, and almond shapes provide an excellent canvas for intricate geometric patterns, allowing the lines to extend gracefully and create a visually striking effect.
Is this design high maintenance?
The design itself is very durable. Maintenance primarily involves protecting your nails during daily tasks and scheduling timely fills (every 2-3 weeks) to keep the design looking fresh as your nails grow.
Can I customize the colors for my Photo-Real Geometric Nails?
Absolutely! The beauty of geometric nail art is its versatility. You can choose any high-contrast or complementary color palette to match your personal style or an upcoming event.
What makes this design 'Photo-Real'?
The 'photo-real' aspect comes from the extreme precision, sharp edges, and flawless, high-gloss finish, creating an almost digitally perfect appearance that is stunningly clean and defined.
Aftercare Tips
- ✓Allow the gel to fully cure before engaging in heavy-duty tasks or prolonged water exposure.
- ✓Keep nails and surrounding skin well-moisturized to prevent dryness and maintain flexibility.
- ✓Be mindful of bumping or snagging your nails, especially within the first 24 hours.
- ✓Regularly apply a quality top coat or clear polish for added shine and protection (optional).
Safe Removal
- 1.Gently buff off the shiny top coat layer with a fine-grit nail file to break the seal.
- 2.Soak cotton pads in 100% acetone, place firmly on each nail, and wrap tightly with foil.
- 3.After 10-15 minutes, gently push off the softened gel using an orange wood stick. Avoid harsh scraping.