Sophisticated Photo-real Salon Gradient Nails - Gradient nail art - featuring nail art, gradient, red - nail art inspiration and design ideas
Sophisticated Photo-real Salon Gradient Nails
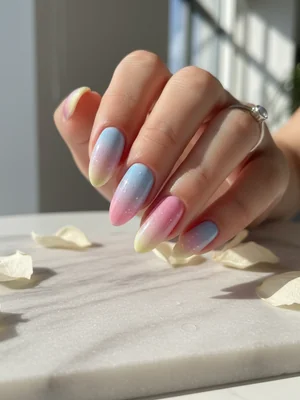
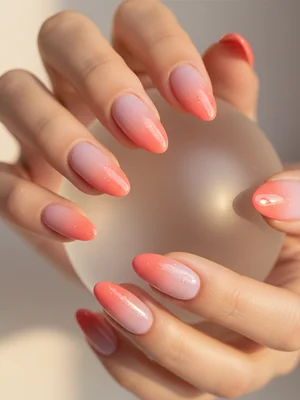
Sophisticated Photo-Real Gradient Nails: Salon Quality Design
Elevate your manicure with our Sophisticated Photo-Real Gradient Nails, a true testament to salon-quality artistry. This design features an incredibly smooth, almost photographic transition of colors that creates an illusion of depth and refined elegance. Perfect for those seeking a high-end, contemporary look.
- Gel base coat
- Complementary gel polishes (3+ shades)
- Fine-pore blending sponge
- Gel top coat
- UV/LED nail lamp
- Detail clean-up brush
- Prepare nails, apply dehydrator, primer, and a thin layer of gel base coat. Cure under UV/LED lamp.
- Apply the lightest gradient color as the base layer on the entire nail and cure.
- On a palette, apply your chosen gradient colors. Dab a fine-pore blending sponge onto the polishes, then gently and repeatedly dab onto the nail, building up thin layers and carefully blending the transition zone. Cure each layer.
- Repeat the sponge blending process 2-3 more times, ensuring seamless color transitions and achieving the desired depth for a photo-real effect, curing thoroughly after each layer.
- Use a fine detail brush with a little base coat or rubbing alcohol to refine any edges or perfect the blend if necessary, then cure.
- Apply a high-gloss gel top coat, ensuring it caps the free edge, and cure thoroughly. Cleanse the tacky layer for a brilliant finish.
Expert Tip
Achieving a true 'photo-real' effect requires very thin, buildable layers and a light hand with your blending sponge. Dab, don't drag, and cure each layer thoroughly to prevent color muddling and ensure crispness in your sophisticated gradient.
Similar Styles
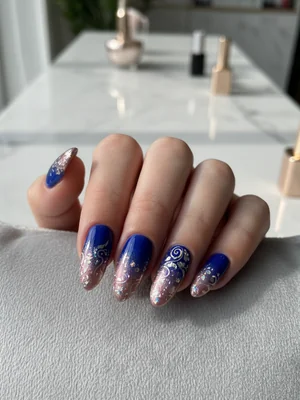
Beautiful Photo-real Salon Gradient Nails
Gradient inspired nail art with beautiful, photo-real finish and professional salon quality
Beautiful Photo-real Salon Gradient Nails
Gradient inspired nail art with beautiful, photo-real finish and professional salon quality
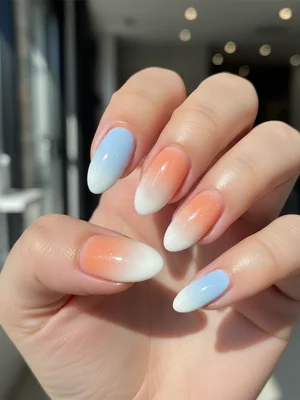
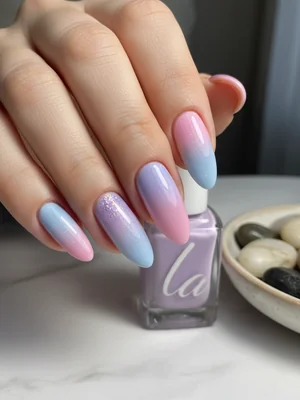
Gorgeous Photo-real Salon Gradient Nails
Gradient inspired nail art with gorgeous, photo-real finish and professional salon quality
Gorgeous Photo-real Salon Gradient Nails
Gradient inspired nail art with gorgeous, photo-real finish and professional salon quality

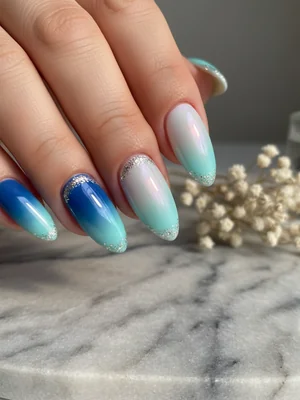
Stunning Photo-real Salon Gradient Nails
Gradient inspired nail art with stunning, photo-real finish and professional salon quality
Stunning Photo-real Salon Gradient Nails
Gradient inspired nail art with stunning, photo-real finish and professional salon quality
Photo-real Salon Gradient Nails
Gradient inspired nail art with elegant, photo-real finish and professional salon quality
Photo-real Salon Gradient Nails
Gradient inspired nail art with elegant, photo-real finish and professional salon quality
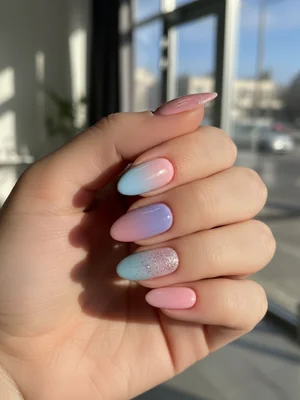
Photo-real Salon Gradient Nails
Gradient inspired nail art with clean, photo-real finish and professional salon quality
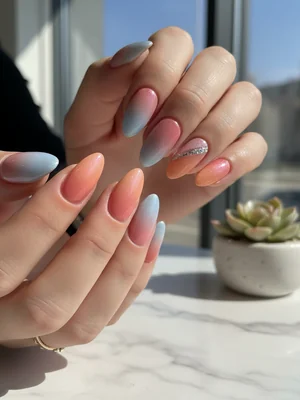
Photo-real Salon Gradient Nails
Gradient inspired nail art with clean, photo-real finish and professional salon quality
Photo-real Salon Gradient Nails
Gradient inspired nail art with clean, photo-real finish and professional salon quality
Explore Similar Designs
Colors in this Design
Techniques Used
Nail Shapes
Frequently Asked Questions
What makes this gradient 'photo-real'?
The 'photo-real' aspect comes from the incredibly seamless, almost imperceptible blend between colors, creating an illusion of depth and a high-definition, photographic quality that looks exceptionally smooth.
How long does this sophisticated design last?
With proper application and diligent aftercare, your sophisticated photo-real gradient can typically last 2-3 weeks, consistent with high-quality gel manicures.
Can I choose custom colors for my photo-real gradient?
Absolutely! The beauty of this design lies in its adaptability. We can select any two or three complementary colors to perfectly match your style and create your unique sophisticated gradient.
Is this design suitable for short nails?
While the full gradient effect is best showcased on medium to long nails, a skilled artist can still create a stunning, subtle photo-real gradient on shorter nails, focusing on a more condensed blend.
What's the difference between this and a regular ombre?
A regular ombre often features a noticeable color transition. This design emphasizes an extremely fine, almost microscopic blending for a smoother, more refined, and truly 'photo-real' transition, requiring a higher level of artistic precision.
Does this advanced gradient require special polish?
While high-quality gel polishes are recommended for durability and color payoff, the 'photo-real' aspect largely stems from the advanced, meticulous blending technique employed by the nail artist, rather than a specific 'photo-real' polish.
Aftercare Tips
- ✓Apply cuticle oil immediately after your appointment to nourish the nail beds and surrounding skin.
- ✓Avoid excessive water exposure, saunas, or hot tubs for the first 24 hours to allow the gel to fully set and bond.
- ✓Do not pick or peel your polish; this can damage your natural nail plate.
- ✓Protect your nails from harsh impacts or extreme temperatures to prevent premature chipping or lifting.
Safe Removal
- 1.Gently buff off the shine from the top coat with a fine-grit nail file to break the seal.
- 2.Soak nails in acetone-soaked cotton pads wrapped in foil for 10-15 minutes, allowing the gel to soften completely.
- 3.Carefully push off the softened gel polish with an orange wood stick or gel remover tool, taking care not to scrape your natural nail.