Photo-real Salon Gradient Nails - Gradient nail art - featuring nail art, gradient, red - nail art inspiration and design ideas
Photo-real Salon Gradient Nails
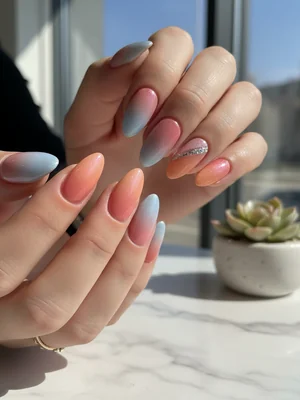
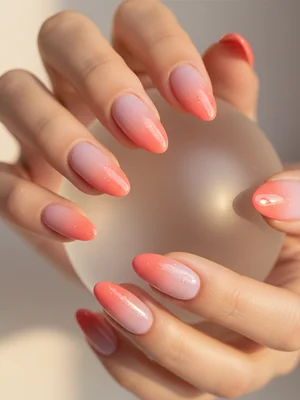
Salon-Perfect Gradient Nails: Photo-Real Nail Design
Achieve a flawless, salon-quality gradient effect at home. This design offers a seamless color transition for a sophisticated and polished look. The photo-real finish provides a professional touch that's both elegant and eye-catching.
Salon-Perfect Gradient Nails: Photo-Real Nail Design
Achieve a flawless, salon-quality gradient effect at home. This design offers a seamless color transition for a sophisticated and polished look. The photo-real finish provides a professional touch that's both elegant and eye-catching.
- Base coat
- Light Pink nail polish
- White nail polish
- Makeup sponge
- Top coat
- Cleanup brush
- Apply a base coat to protect your nails.
- Paint your nails with two coats of the light pink polish as a base color.
- Apply a small amount of both light pink and white polish onto a makeup sponge, blending them together.
- Dab the sponge onto your nails, starting from the cuticle area and gradually moving towards the tip to create the gradient effect.
- Clean up any excess polish on your skin using a cleanup brush dipped in nail polish remover.
- Finish with a glossy top coat for a smooth and photo-real finish.
Expert Tip
For a truly seamless gradient, lightly dampen your makeup sponge before applying the polish. This helps the colors blend more effortlessly and prevents the sponge from absorbing too much polish.
Similar Styles
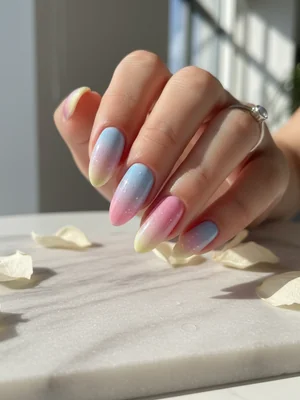
Beautiful Photo-real Salon Gradient Nails
Gradient inspired nail art with beautiful, photo-real finish and professional salon quality
Beautiful Photo-real Salon Gradient Nails
Gradient inspired nail art with beautiful, photo-real finish and professional salon quality
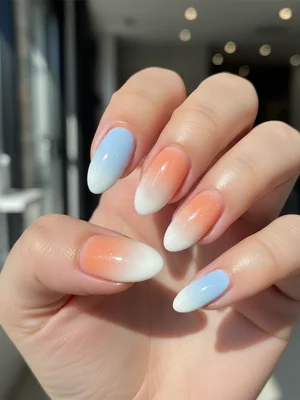
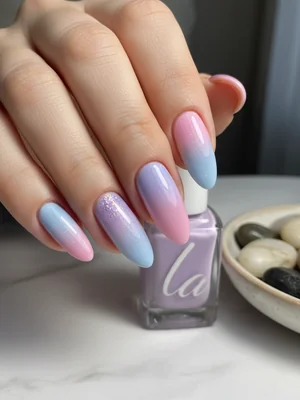
Gorgeous Photo-real Salon Gradient Nails
Gradient inspired nail art with gorgeous, photo-real finish and professional salon quality
Gorgeous Photo-real Salon Gradient Nails
Gradient inspired nail art with gorgeous, photo-real finish and professional salon quality

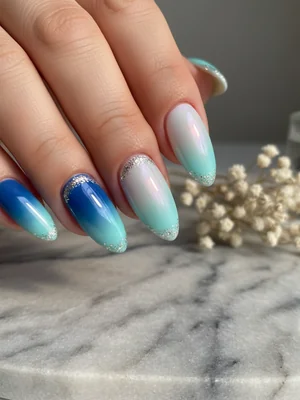
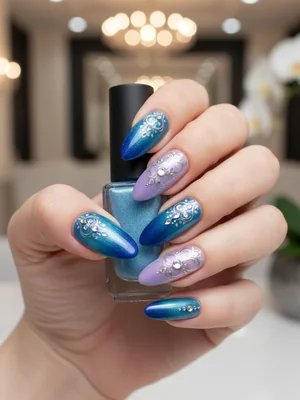
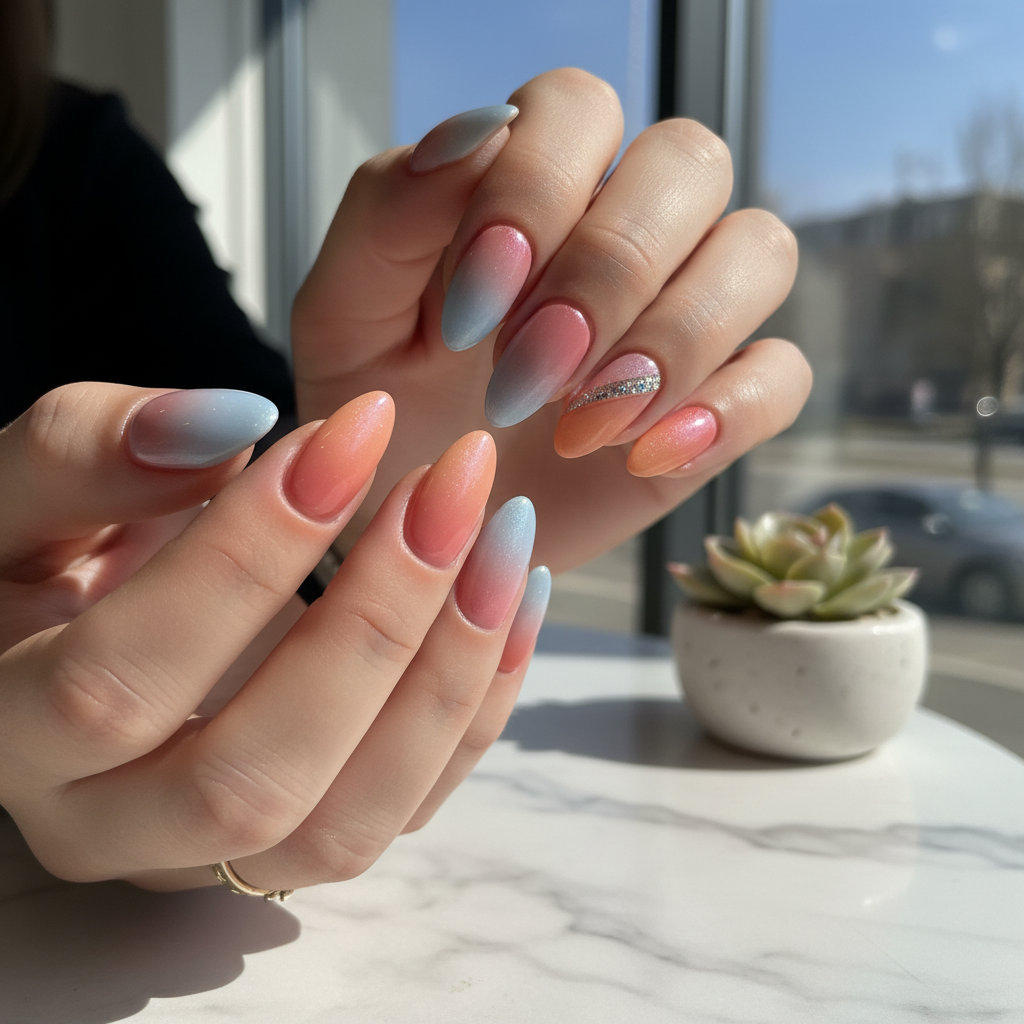
Stunning Photo-real Salon Gradient Nails
Gradient inspired nail art with stunning, photo-real finish and professional salon quality
Sophisticated Photo-real Salon Gradient Nails
Gradient inspired nail art with sophisticated, photo-real finish and professional salon quality
Stunning Photo-real Salon Gradient Nails
Gradient inspired nail art with stunning, photo-real finish and professional salon quality
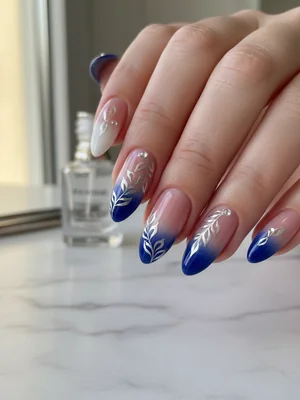
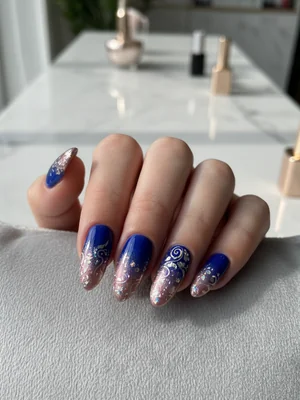
Photo-real Salon Gradient Nails
Gradient inspired nail art with elegant, photo-real finish and professional salon quality
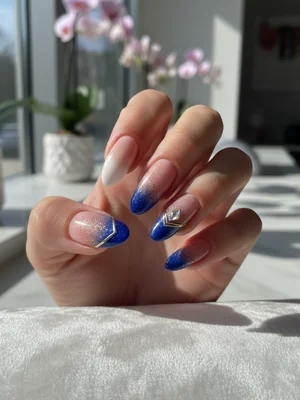
Photo-real Salon Gradient Nails
Gradient inspired nail art with elegant, photo-real finish and professional salon quality
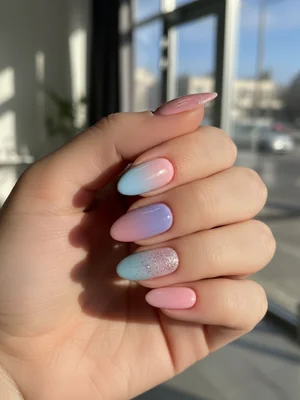
Photo-real Salon Gradient Nails
Gradient inspired nail art with clean, photo-real finish and professional salon quality
Photo-real Salon Gradient Nails
Gradient inspired nail art with clean, photo-real finish and professional salon quality
Explore Similar Designs
Colors in this Design
Nail Shapes
Frequently Asked Questions
How do I achieve a truly seamless gradient?
Use a high-quality makeup sponge and blend the colors thoroughly on the sponge before applying to your nails. Multiple light layers are key.
What if the gradient looks too harsh?
Use a very light touch with the sponge and build up the color gradually. You can also use a clean sponge to soften the edges.
Can I use gel polish for this design?
Yes, gel polish works great for gradients. Just cure each layer according to the gel polish instructions.
What is the best shape for gradient nails?
Almond and oval shapes tend to showcase gradients nicely, but square and squoval also work well.
How can I make this design last longer?
Proper nail prep, including buffing and cleaning the nail surface, is essential. Use a good quality base and top coat and reapply top coat every few days.
Is a specific type of sponge better?
A fine-pore makeup sponge is ideal. Avoid sponges with large pores, as they can create a less smooth gradient.
Aftercare Tips
- ✓Moisturize your hands regularly to keep the skin around your nails healthy.
- ✓Avoid picking or peeling off the polish to prevent nail damage.
- ✓Use a gentle nail polish remover when it's time to remove the design.
Safe Removal
- 1.Soak cotton pads in nail polish remover and place them on your nails.
- 2.Wrap your fingertips in foil and let it sit for 10-15 minutes to dissolve the polish.