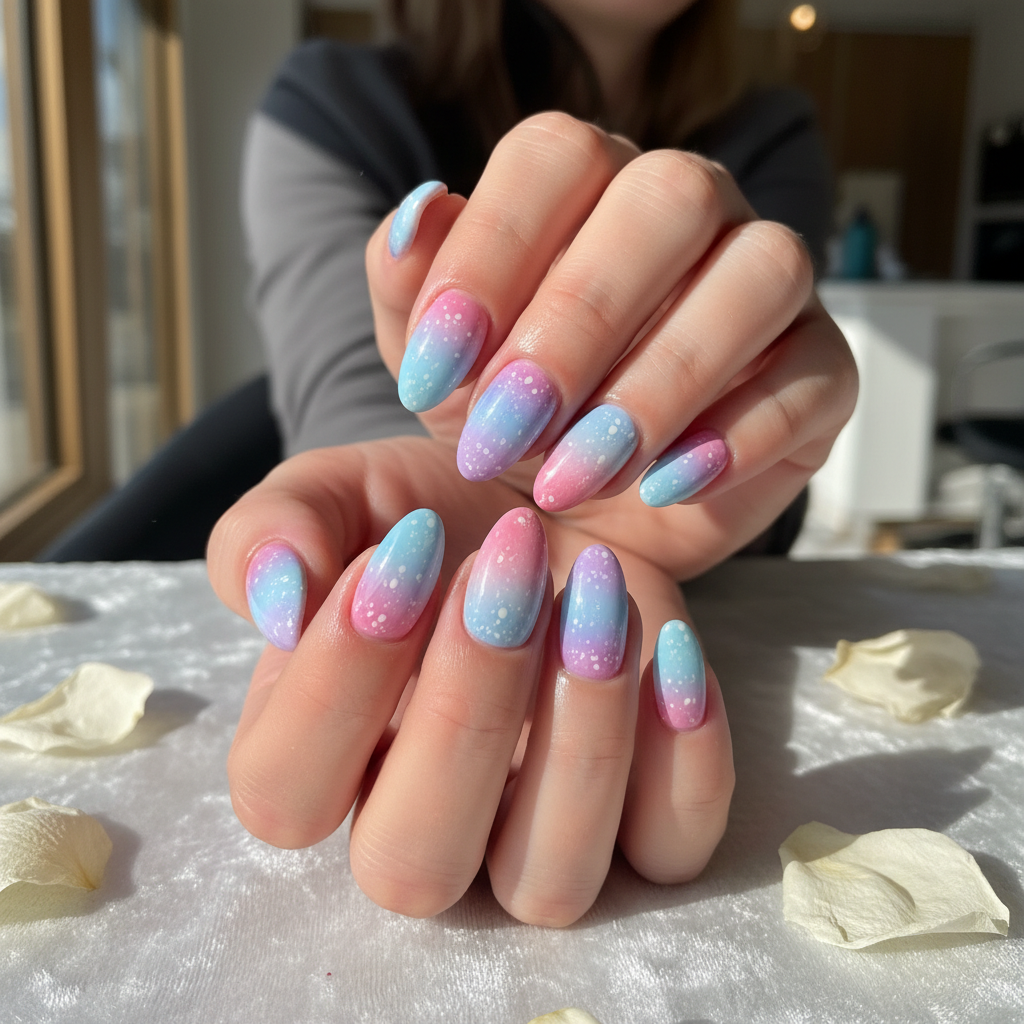
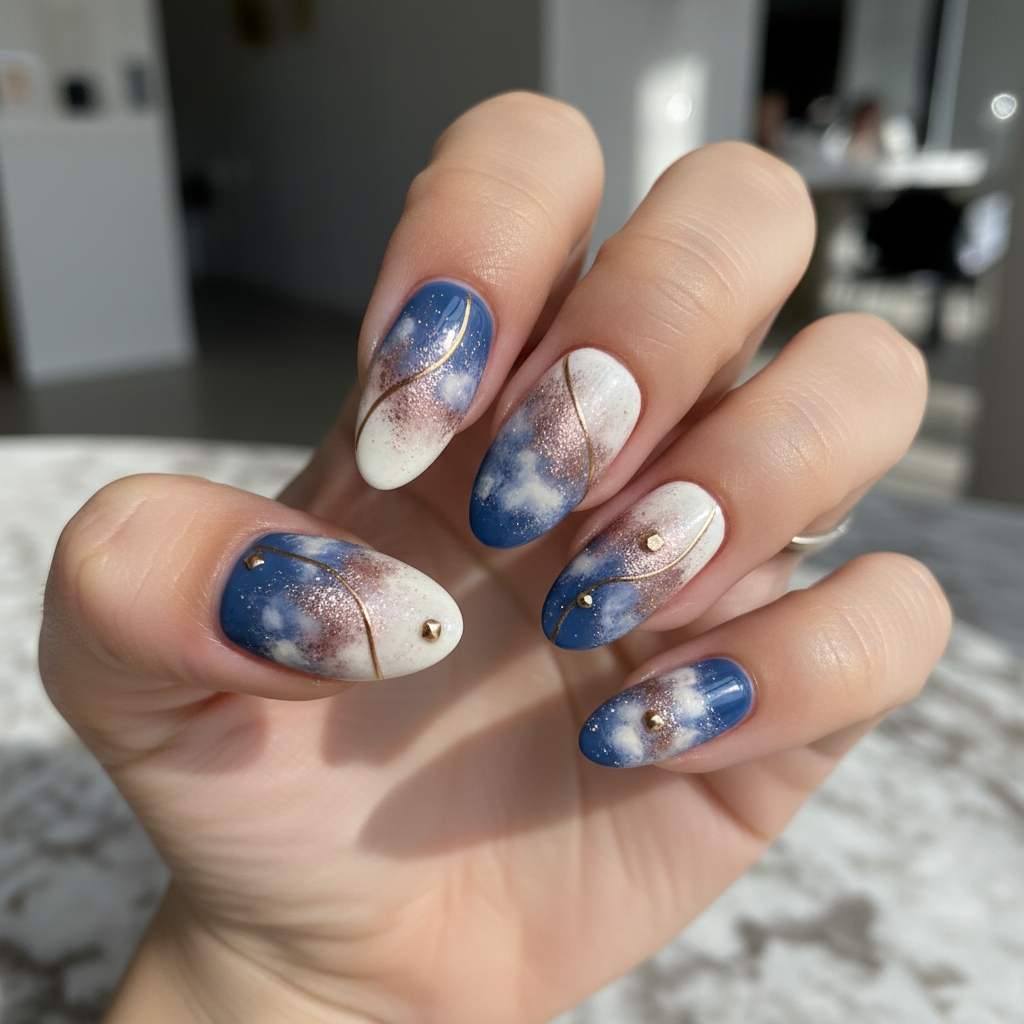
Photo-real Salon Sponging Nails
Sponging inspired nail art with clean, photo-real finish and professional salon quality
Created: October 5, 2025 at 11:55 AM
More Sponging Designs
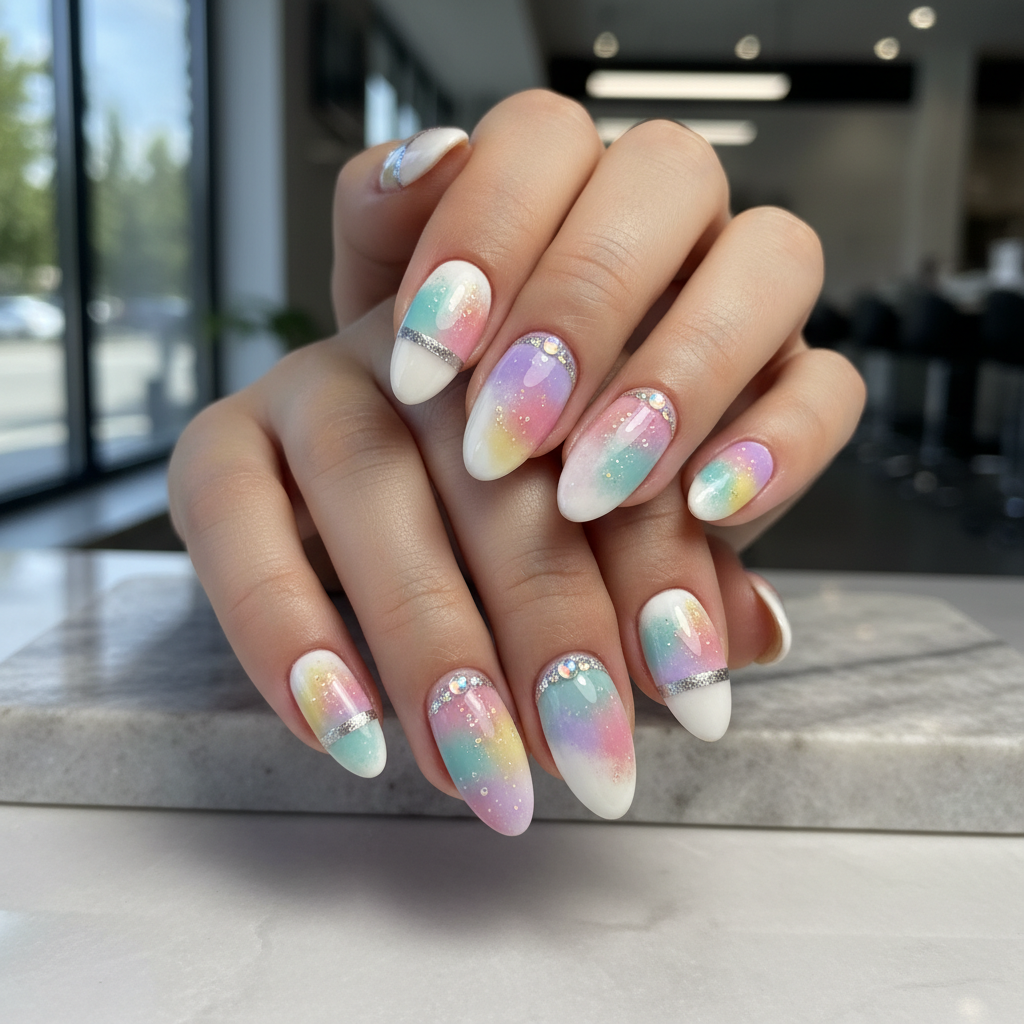
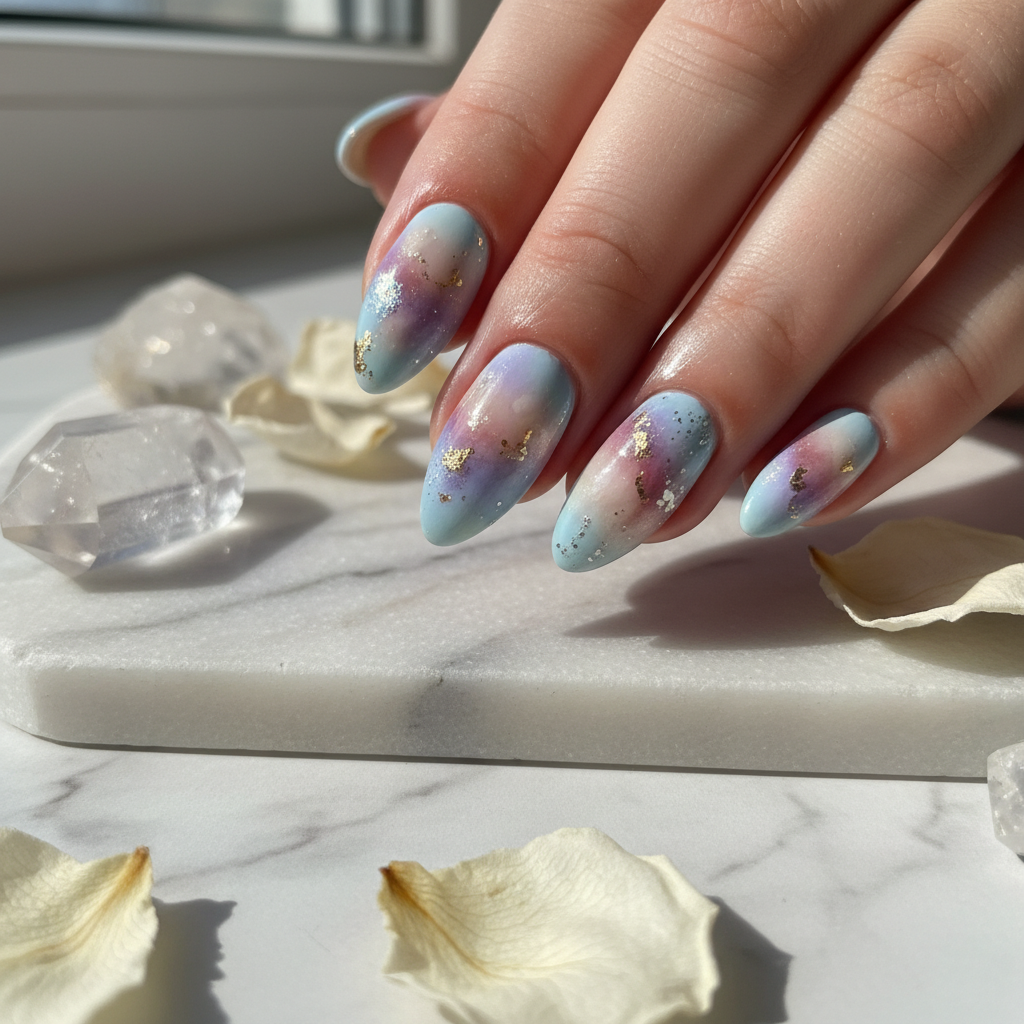
Beautiful Photo-real Salon Sponging Nails
Sponging inspired nail art with beautiful, photo-real finish and professional salon quality
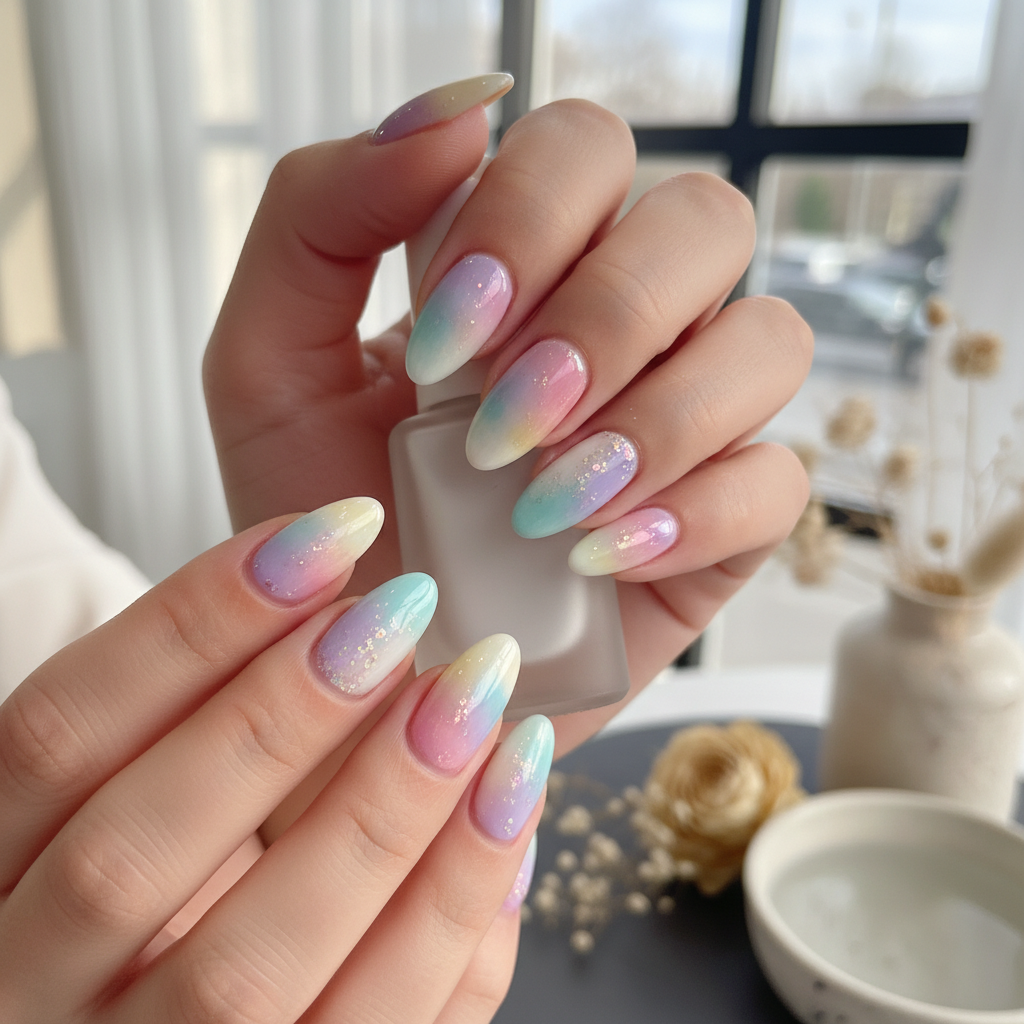
Beautiful Photo-real Salon Sponging Nails
Sponging inspired nail art with beautiful, photo-real finish and professional salon quality
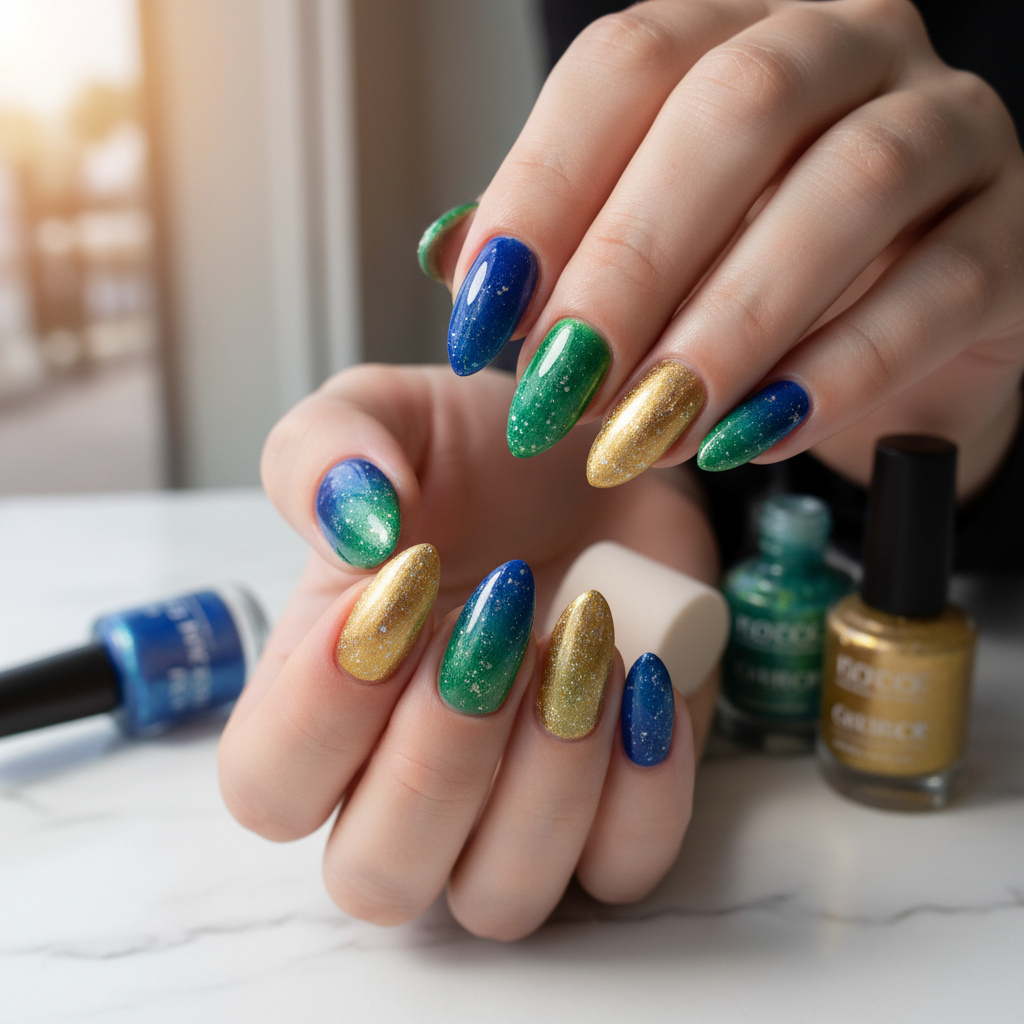
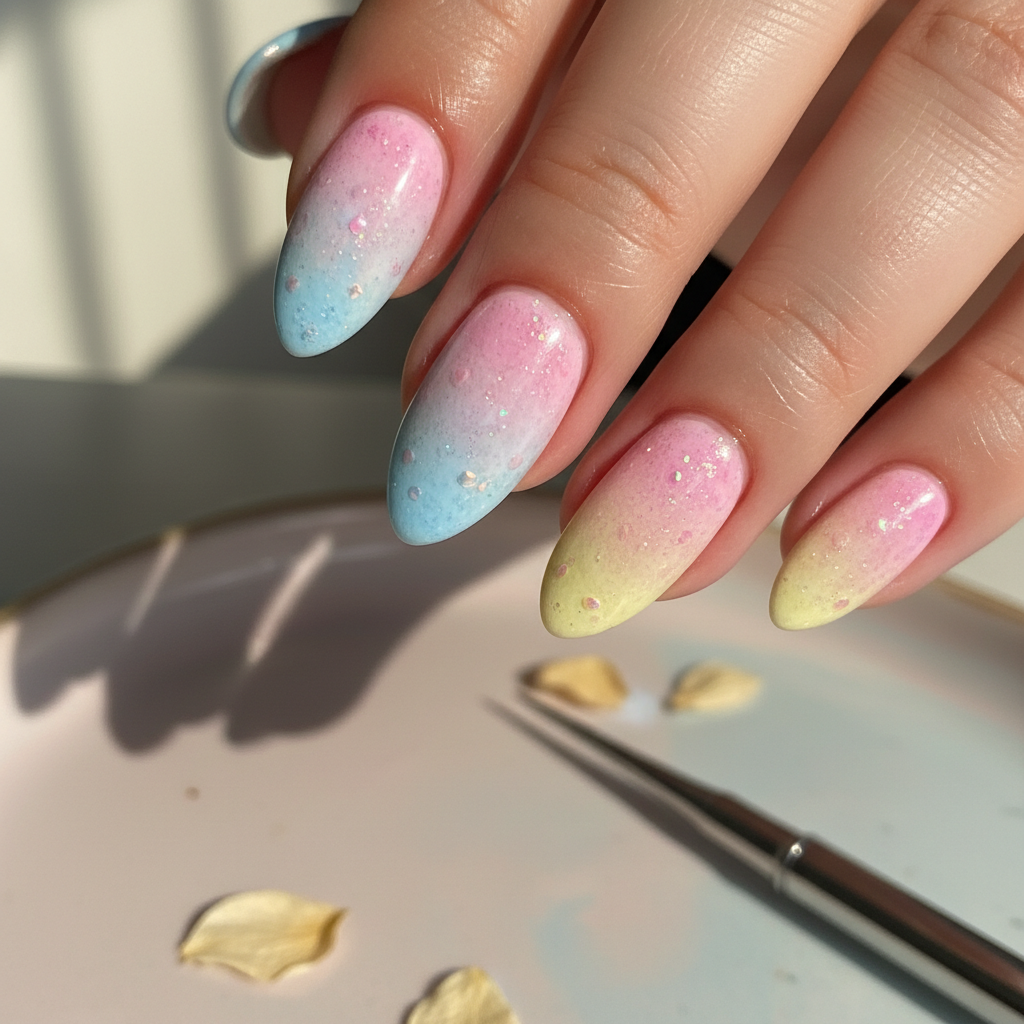
Gorgeous Photo-real Salon Sponging Nails
Sponging inspired nail art with gorgeous, photo-real finish and professional salon quality
Gorgeous Photo-real Salon Sponging Nails
Sponging inspired nail art with gorgeous, photo-real finish and professional salon quality
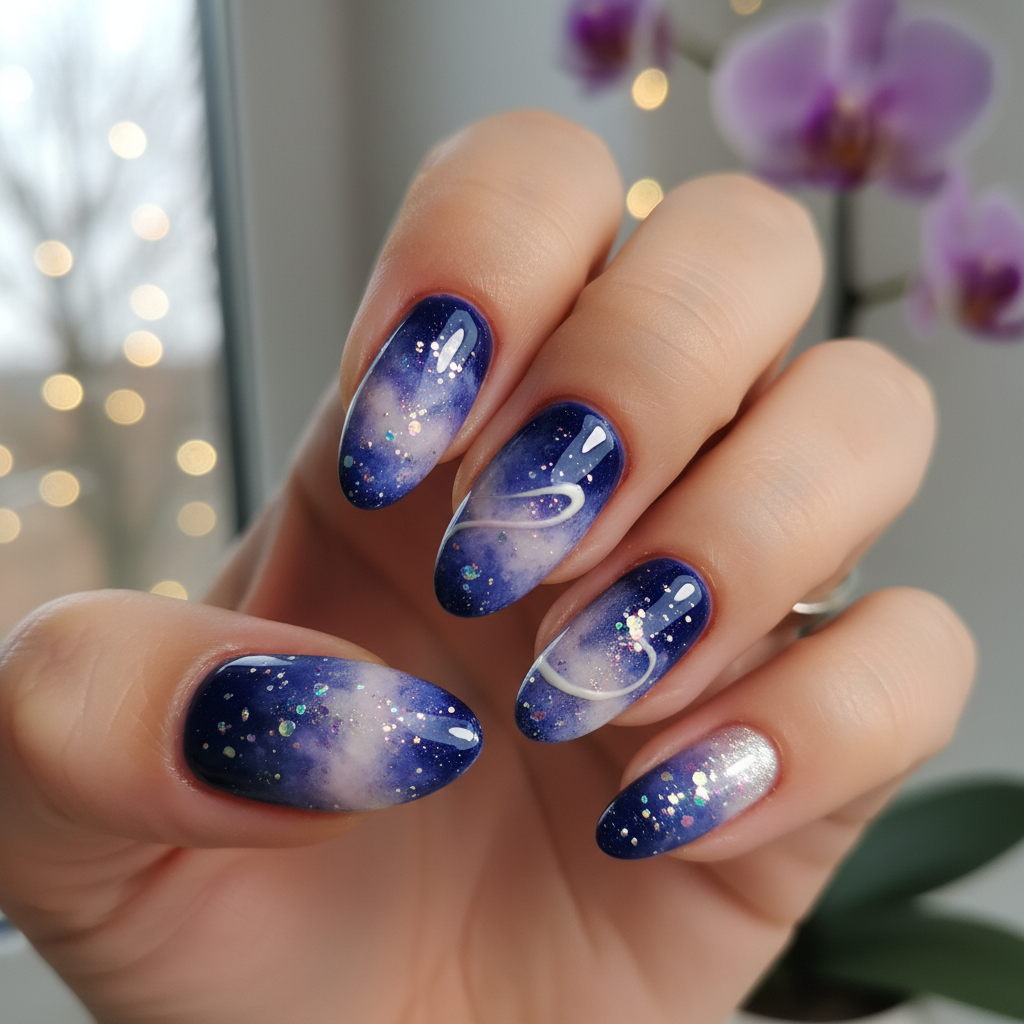
Stunning Photo-real Salon Sponging Nails
Sponging inspired nail art with stunning, photo-real finish and professional salon quality
Stunning Photo-real Salon Sponging Nails
Sponging inspired nail art with stunning, photo-real finish and professional salon quality
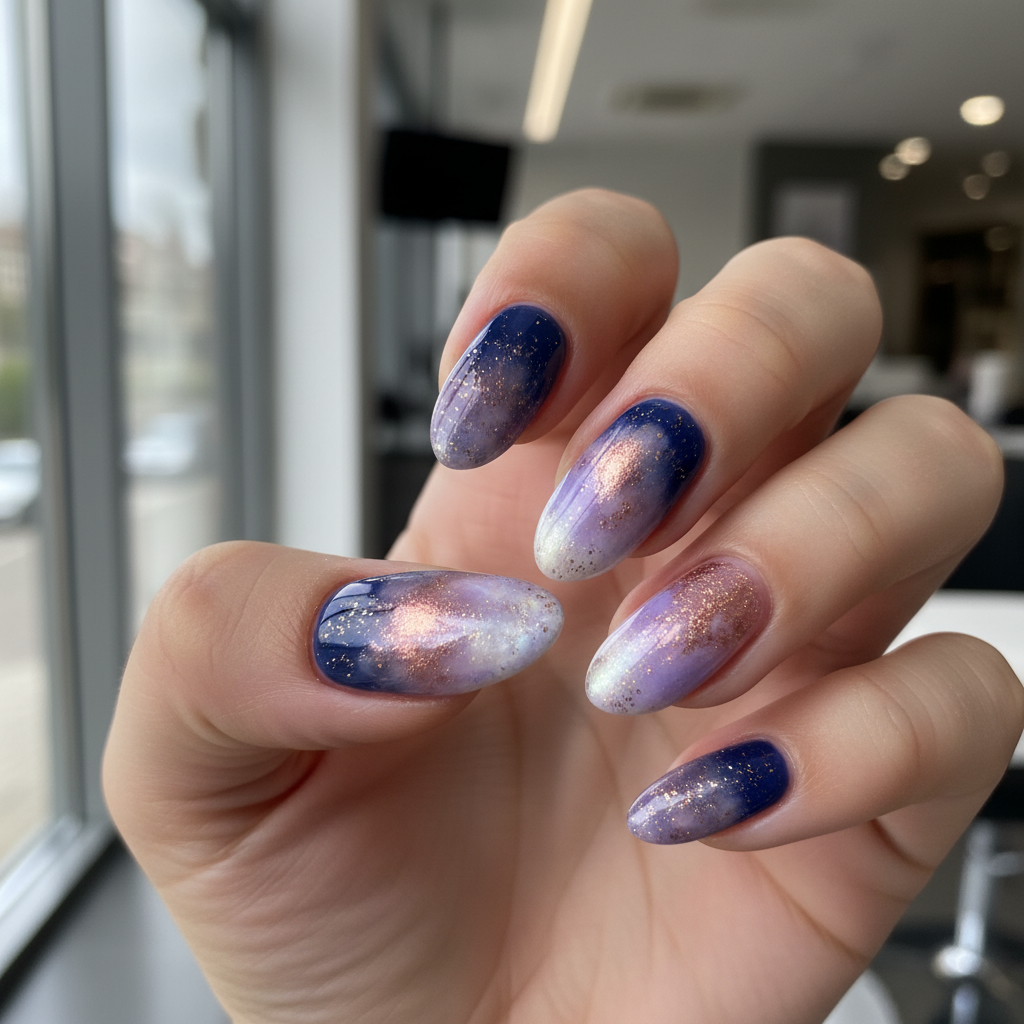
Sophisticated Photo-real Salon Sponging Nails
Sponging inspired nail art with sophisticated, photo-real finish and professional salon quality
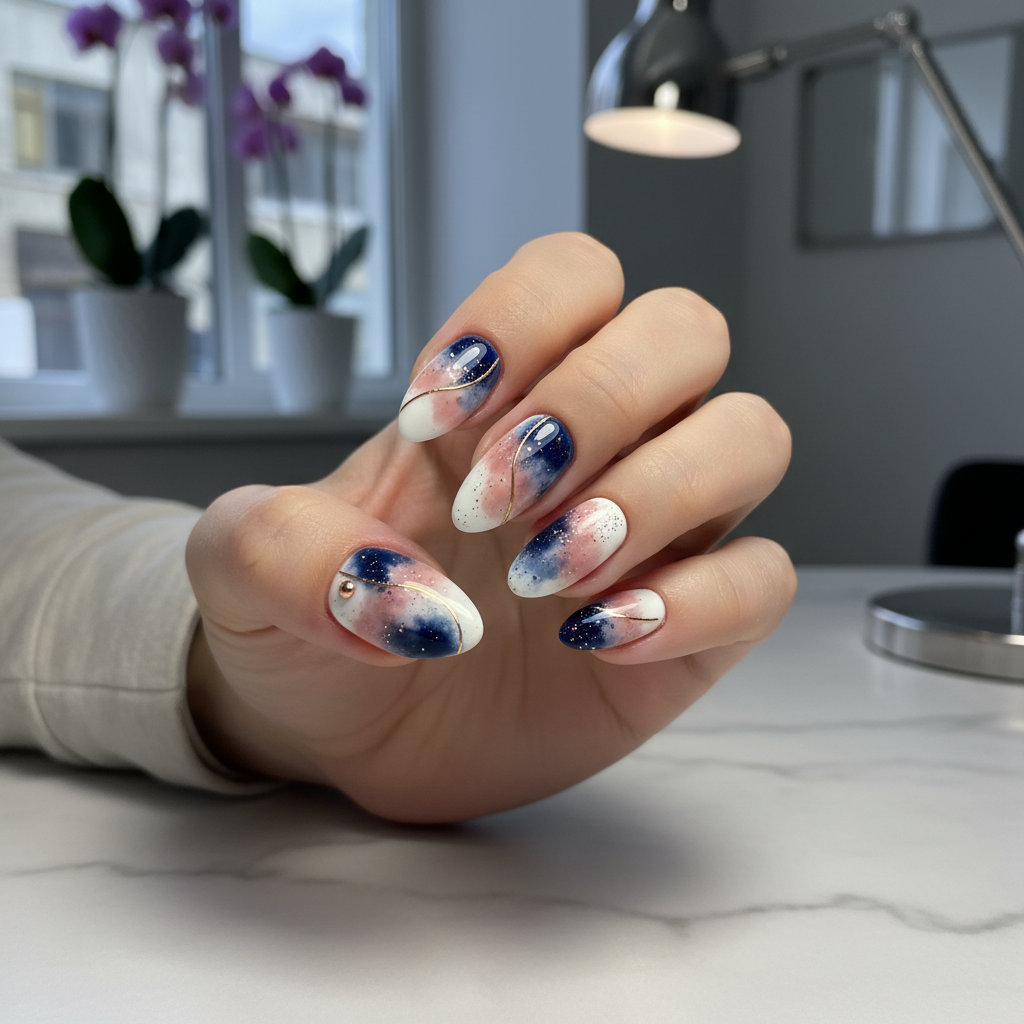
Photo-real Salon Sponging Nails
Sponging inspired nail art with elegant, photo-real finish and professional salon quality
Sophisticated Photo-real Salon Sponging Nails
Sponging inspired nail art with sophisticated, photo-real finish and professional salon quality
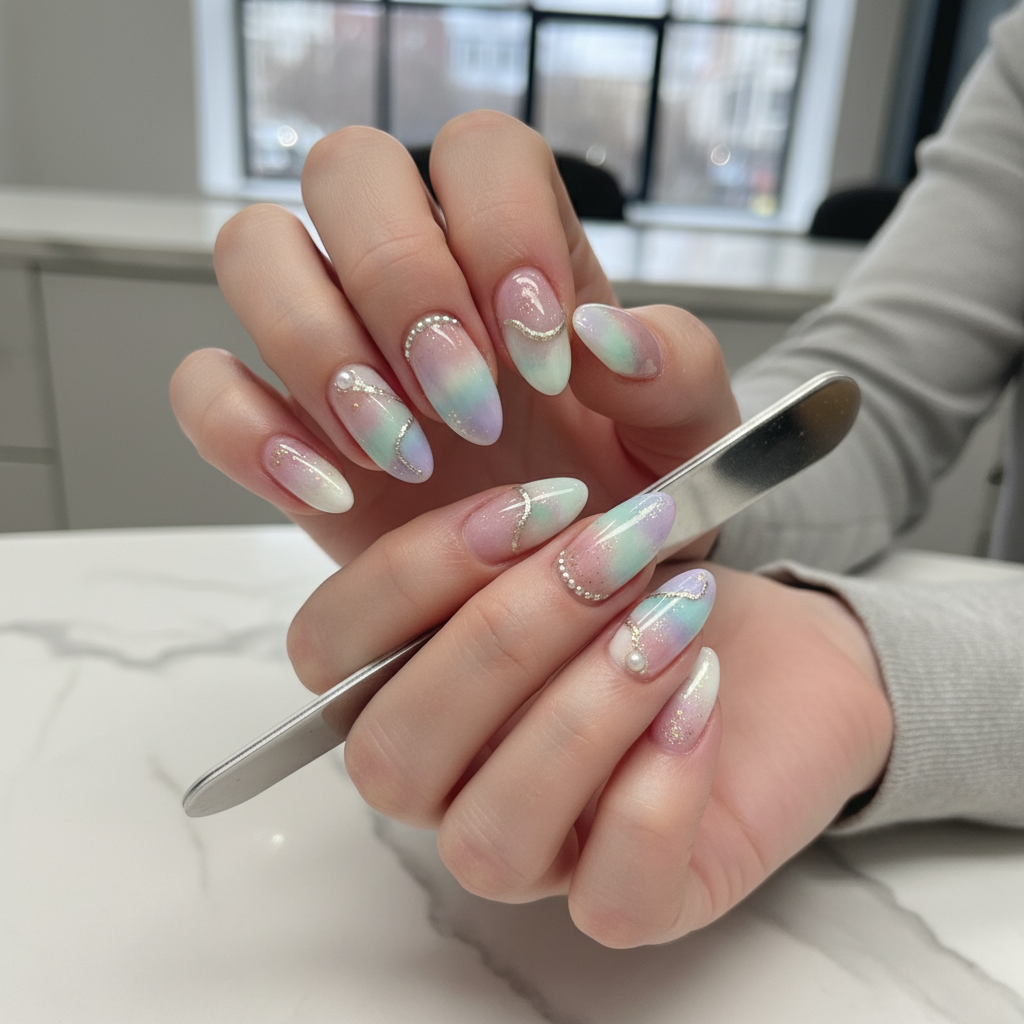
Photo-real Salon Sponging Nails
Sponging inspired nail art with elegant, photo-real finish and professional salon quality
More Designs
Salon Sponged Ombre Nails: Photo-Real Finish Design
Achieve a flawless, salon-quality gradient with this sponged ombre nail design. This technique creates a seamless blend of colors for a sophisticated and eye-catching look.
Supplies You'll Need
- Base Coat
- Pastel Pink Nail Polish
- White Nail Polish
- Cosmetic Sponge (wedge-shaped)
- Top Coat
- Liquid Latex or Petroleum Jelly (optional)
How To Recreate It
- Apply a base coat to protect your nails.
- Apply 2 coats of pastel pink nail polish as your base color and let them dry completely.
- Apply a small amount of pastel pink and white nail polish onto the cosmetic sponge, blending slightly at the center.
- Gently dab the sponge onto your nails, starting from the cuticle and working your way to the tip, building the ombre effect gradually. Repeat until you achieve the desired gradient.
- Clean up any excess polish on your skin using a clean-up brush dipped in nail polish remover.
- Apply a glossy top coat to seal and protect your design, and let it dry completely.
Expert Tip
For a smoother gradient, dampen the sponge slightly before applying the polish. This will help the colors blend more seamlessly and prevent the sponge from absorbing too much polish.
Try These Variations
- →Use multiple colors for a more complex gradient.
- →Add glitter to the tips for a sparkly effect.
- →Incorporate stamping or decals over the ombre base.
Aftercare Tips
- ✓Use cuticle oil daily to keep your cuticles hydrated.
- ✓Wear gloves when doing housework or gardening.
- ✓Avoid picking or biting your nails.
Safe Removal
- 1.Soak cotton balls in nail polish remover.
- 2.Place the cotton balls on your nails and wrap them in foil for 5-10 minutes.
- 3.Remove the foil and cotton balls, and gently wipe away the remaining polish.
Quick Facts
Why It's Trending
The sponging technique allows for a perfectly blended gradient effect that mimics the look of airbrushing, but is much more accessible and DIY-friendly.
Seasonal Styling
Experiment with warm tones for summer, rich jewel tones for fall, icy blues and silvers for winter, and pastel shades for spring.
Color Variations
Perfect For
Why People Love It
Instagram nail art influencers are loving this technique because it's relatively easy to achieve a high-end salon look at home.
Daily Maintenance
- 💅Apply a top coat every 2-3 days to extend the life of your manicure.
- 💅Avoid harsh chemicals that can damage the polish.
- 💅Keep your hands and nails moisturized.
Common Issues & Fixes
- ⚠Uneven gradient?Apply more layers of the sponged polish, focusing on the areas that need more blending. Make sure to dab gently and avoid pressing too hard.
- ⚠Too much polish on the skin?Apply liquid latex or petroleum jelly around your nails before sponging to prevent the polish from sticking to your skin. Use a clean-up brush dipped in nail polish remover to remove any excess polish.
- ⚠Sponge absorbing too much polish?Dampen the sponge slightly before applying the polish. This will help prevent the sponge from absorbing too much polish and make the colors blend more easily.
Design Inspiration
Inspired by the trend of flawless, airbrushed-looking nails and the desire to achieve this look at home with readily available tools.
Explore Similar Designs
Colors in this Design
Techniques Used
Perfect For
Nail Shapes
More Categories to Explore
Popular Colors
Popular Techniques
Perfect Occasions
FAQs
What kind of sponge should I use?
A wedge-shaped cosmetic sponge is ideal for creating a smooth gradient. You can find these at most drugstores or beauty supply stores.
Can I use gel polish for this technique?
Yes, you can use gel polish for the sponging technique. Make sure to cure each layer under a UV/LED lamp according to the manufacturer's instructions.
How do I prevent the sponge from getting too messy?
Use a small amount of polish on the sponge and build up the color gradually. Avoid pressing too hard when dabbing the sponge onto your nails.
How can I make the gradient look more seamless?
Dampen the sponge slightly before applying the polish. This will help the colors blend more easily.
Is liquid latex necessary?
No, but it can make cleanup much easier. Petroleum jelly is also a good alternative.
How long will this manicure last?
With proper care and maintenance, this manicure can last up to a week.