Stunning Photo-real Salon Sponging Nails - Sponging nail art - featuring nail art, red - nail art inspiration and design ideas
Stunning Photo-real Salon Sponging Nails
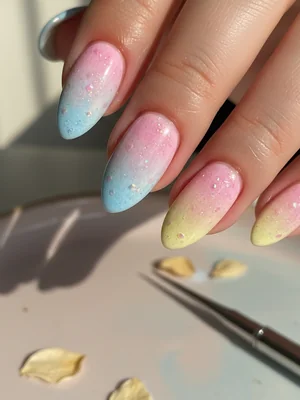
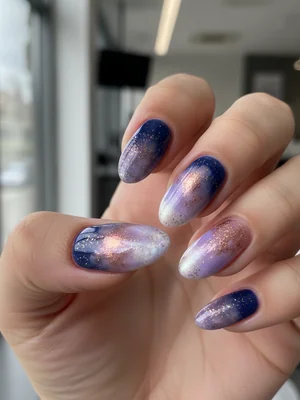
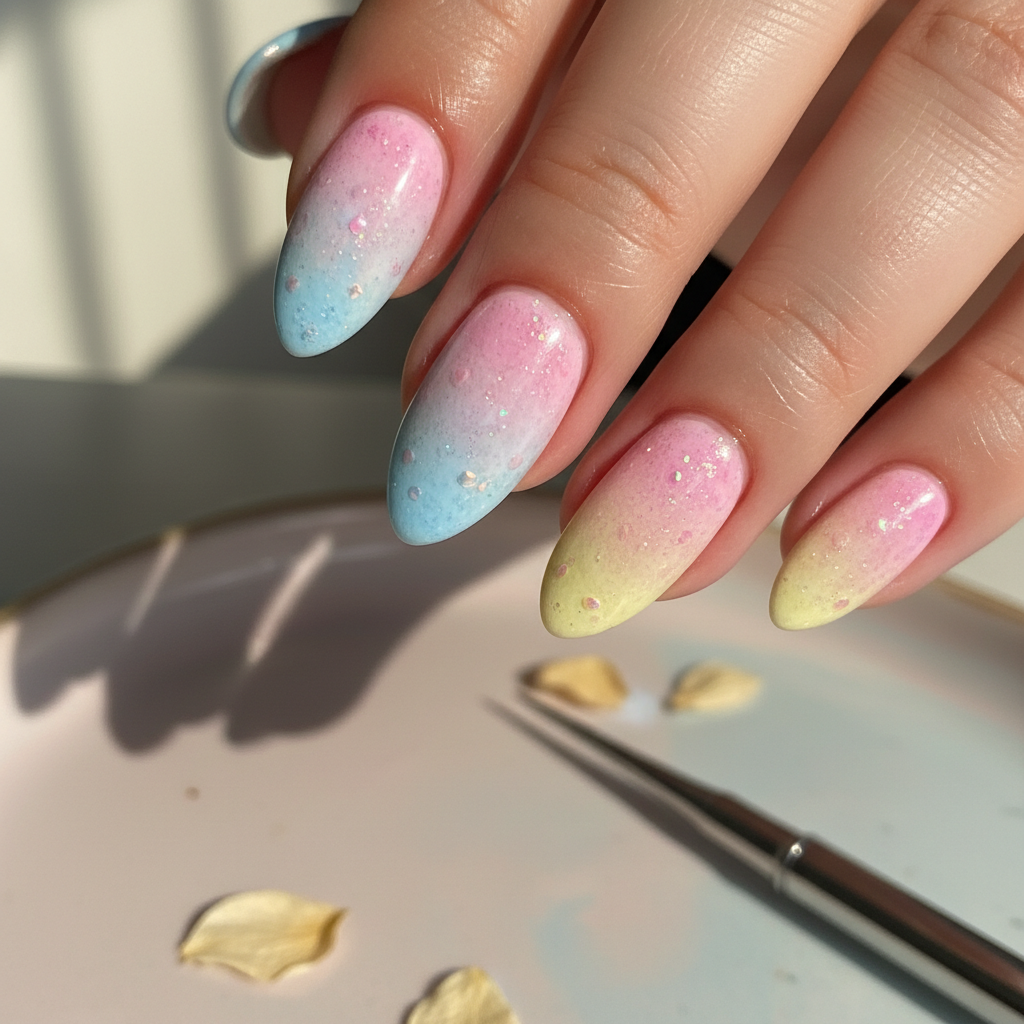
Photo-Real Sponging Nail Art: Salon Quality Masterpiece
Experience the depth and texture of our Photo-Real Sponging Nail Art, a sophisticated design that elevates classic sponging to an art form. This unique look features multi-tonal blends and layered effects, creating an incredibly realistic and professional salon quality finish that captivates. It's an illusion of natural texture, meticulously crafted for a truly stunning manicure.
- Fine-Pore Nail Sponges (various sizes)
- Selection of Gel Polishes (muted, complementary tones)
- Gel Base Coat & Non-Wipe Top Coat
- Detail Brush for refinement
- UV/LED Curing Lamp
- Nail Art Palette/Mixing Surface
- Prep nails: shape, buff, and apply a dehydrator followed by a gel base coat; cure.
- Apply a sheer, light base color (e.g., cloud white) and cure.
- Dab the lightest sponging color onto a fine-pore sponge and gently pat onto the nail, creating an uneven, textured layer. Cure.
- Repeat with progressively darker or contrasting complementary colors, layering and blending each color with a fresh sponge for a seamless, photo-real gradient effect. Use minimal product for thin layers and cure each layer.
- Utilize a detail brush with a tiny amount of color to add subtle 'veins' or 'highlights' for enhanced realism and depth.
- Finish with two layers of high-gloss non-wipe top coat, ensuring smooth encapsulation of the texture, and cure thoroughly.
Expert Tip
Achieving the 'photo-real' effect requires a very light touch and building up color in sheer, multiple layers. Don't overload your sponge; less is more for a seamless, blended look. This specific Sponging.Design technique prioritizes subtle depth over stark contrast.
Similar Styles
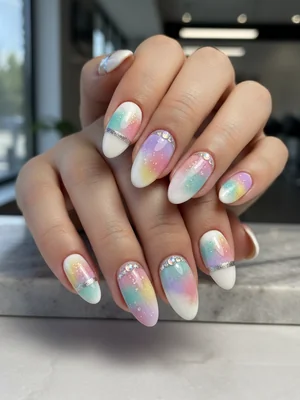
Beautiful Photo-real Salon Sponging Nails
Sponging inspired nail art with beautiful, photo-real finish and professional salon quality
Beautiful Photo-real Salon Sponging Nails
Sponging inspired nail art with beautiful, photo-real finish and professional salon quality
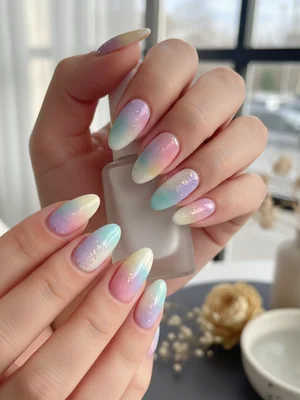
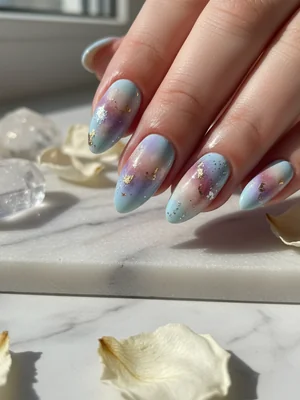
Gorgeous Photo-real Salon Sponging Nails
Sponging inspired nail art with gorgeous, photo-real finish and professional salon quality
Gorgeous Photo-real Salon Sponging Nails
Sponging inspired nail art with gorgeous, photo-real finish and professional salon quality

Stunning Photo-real Salon Sponging Nails
Sponging inspired nail art with stunning, photo-real finish and professional salon quality

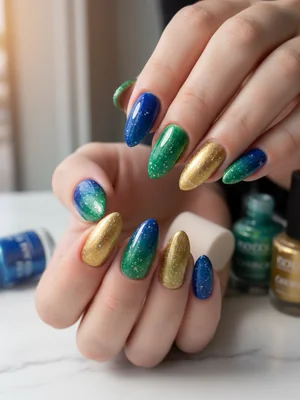
Sophisticated Photo-real Salon Sponging Nails
Sponging inspired nail art with sophisticated, photo-real finish and professional salon quality
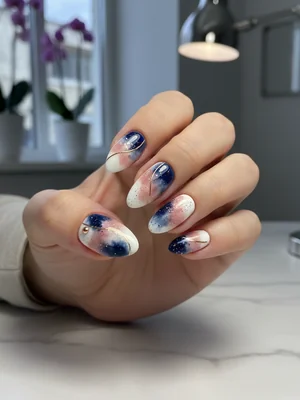
Photo-real Salon Sponging Nails
Sponging inspired nail art with elegant, photo-real finish and professional salon quality
Sophisticated Photo-real Salon Sponging Nails
Sponging inspired nail art with sophisticated, photo-real finish and professional salon quality
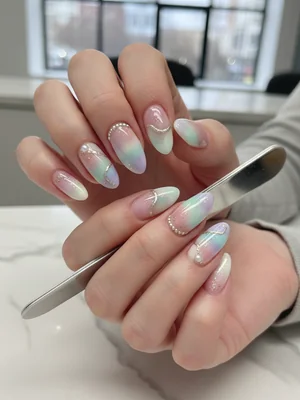
Photo-real Salon Sponging Nails
Sponging inspired nail art with elegant, photo-real finish and professional salon quality

Photo-real Salon Sponging Nails
Sponging inspired nail art with clean, photo-real finish and professional salon quality

Photo-real Salon Sponging Nails
Sponging inspired nail art with clean, photo-real finish and professional salon quality

Photo-real Salon Sponging Nails
Sponging inspired nail art with clean, photo-real finish and professional salon quality
Explore Similar Designs
Colors in this Design
Perfect For
Nail Shapes
Frequently Asked Questions
How is the 'photo-real' effect achieved with sponging?
It's created by meticulously layering sheer washes of complementary gel polishes with fine-pore sponges, building up subtle depth and texture. Each layer is cured, preventing colors from mixing completely and allowing the illusion of natural patterns.
Will this design last as long as regular gel polish?
Yes, when properly applied with high-quality gel polishes and a durable top coat, this design will last 2-3 weeks, just like any professional gel manicure.
Is the texture actually bumpy on the nail?
While it appears highly textured, the final finish is encapsulated under a smooth top coat, ensuring a sleek surface. The texture is purely visual, achieved through the layered sponging technique.
Can I request specific colors for this design?
Absolutely! We recommend choosing 3-5 complementary, muted tones to best achieve the seamless, photo-real effect. Your nail artist can guide you on the best palette.
What nail shape best complements this 'Sponging.Design'?
Almond, Coffin, or Soft Squoval shapes provide ample canvas for the intricate details of the photo-real sponging, allowing the design to truly shine.
Is this design freehand or stenciled?
This particular Sponging.Design is achieved predominantly freehand with sponges and brushes, allowing for organic, unique, and truly 'photo-real' patterns on each nail.
Aftercare Tips
- ✓Avoid harsh chemicals for 24 hours post-application to allow full adhesion.
- ✓Moisturize hands and cuticles regularly to keep them hydrated.
- ✓Gently push back cuticles after showering, rather than cutting, to prevent lifting.
Safe Removal
- 1.Gently file off the top coat to break the seal.
- 2.Soak nails in acetone for 10-15 minutes, wrapping each in foil if needed.
- 3.Carefully scrape off softened gel with a wooden stick, avoiding harsh scraping.