Photo-real Salon Sponging Nails - Sponging nail art - featuring nail art, elegant, red - nail art inspiration and design ideas
Photo-real Salon Sponging Nails
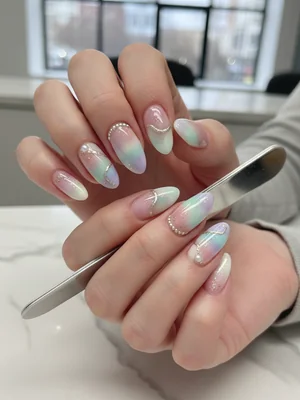
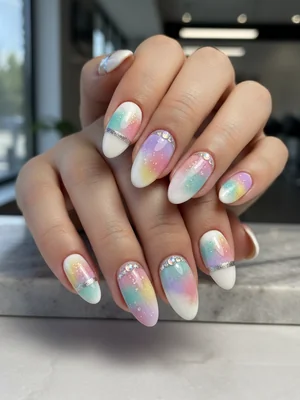
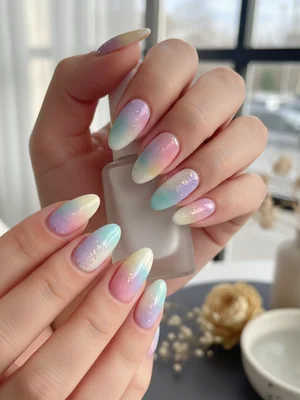
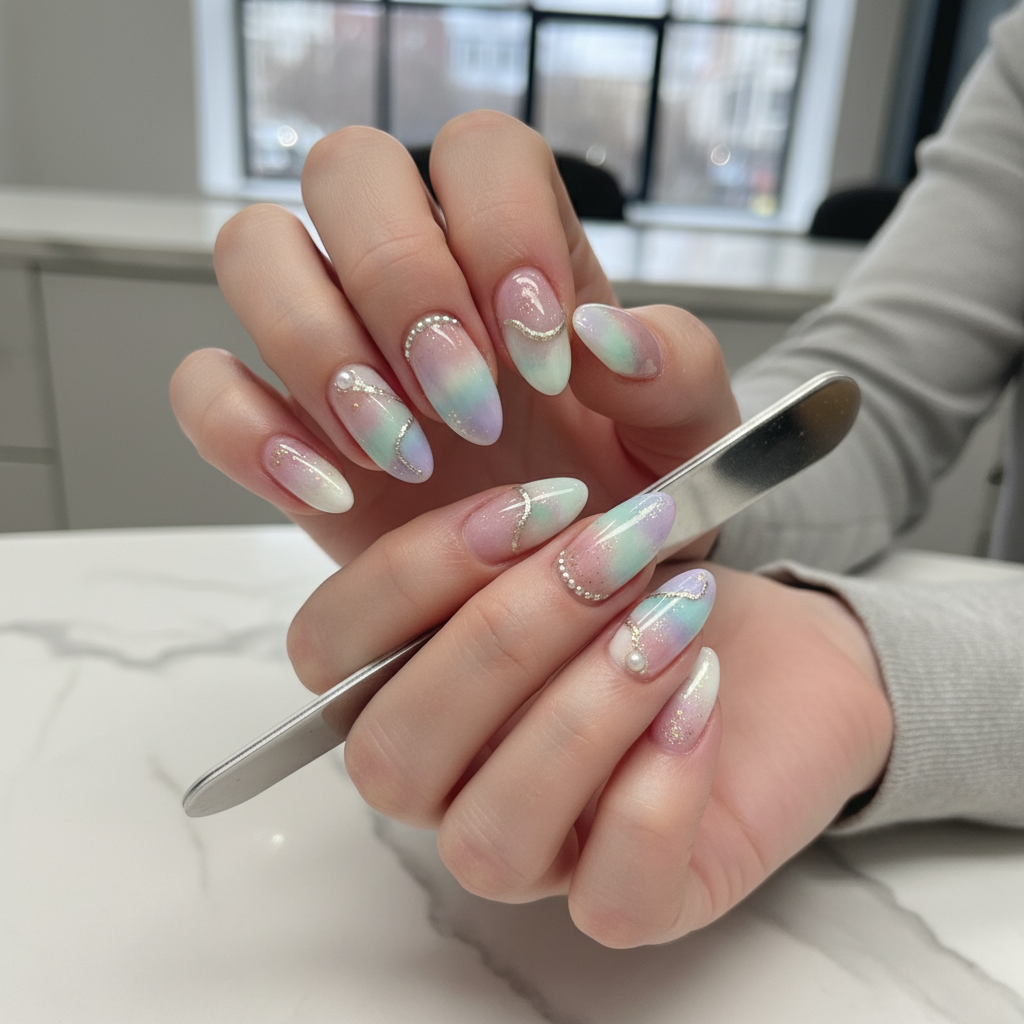
Elegant Photo-Real Sponging: Salon-Quality Nail Art
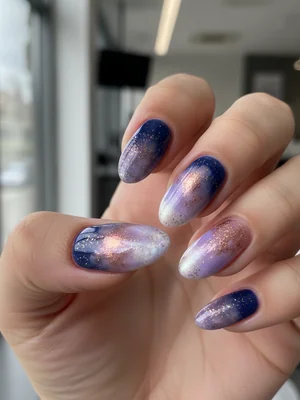
Unveil sophistication with our Photo-Real Salon Sponging nails, a unique design that masterfully blends subtle textures for a high-end, artistic finish. This elegant manicure elevates the classic sponging technique into a sophisticated, visually rich experience that mimics natural stone or ethereal clouds.
Elegant Photo-Real Sponging: Salon-Quality Nail Art
Unveil sophistication with our Photo-Real Salon Sponging nails, a unique design that masterfully blends subtle textures for a high-end, artistic finish. This elegant manicure elevates the classic sponging technique into a sophisticated, visually rich experience that mimics natural stone or ethereal clouds.
- Base Coat
- Charcoal Grey Gel Polish (Base Color)
- Light Silver Grey Gel Polish (Sponging Color)
- Small, Densely Packed Makeup Sponge or Nail Art Sponge
- Glossy Gel Top Coat
- Fine-tipped Cleanup Brush and Acetone
- Prep nails (file, push cuticles, cleanse) and apply a thin layer of base coat, curing under LED/UV lamp.
- Apply two thin coats of Charcoal Grey gel polish, curing each coat fully to create a deep, even base.
- Dab a small amount of Light Silver Grey gel polish onto a paper palette. Lightly dab your nail art sponge into the silver polish, ensuring only a thin, uneven layer is on the sponge.
- Gently and sparingly dab the sponge across the nail surface, focusing on building a subtle, uneven texture. Cure. Repeat this sponging step with very light dabs, creating multiple sheer layers for that 'photo-real' depth, curing between each layer.
- Once satisfied with the textured effect, apply a generous, even layer of glossy gel top coat and cure completely for a durable, high-shine finish.
- Clean up any polish around the cuticles with a fine-tipped brush dipped in acetone for a professional, crisp edge.
Expert Tip
For that 'photo-real' depth, less is more with each sponged layer. Build the texture gradually with very light, uneven dabs of polish, ensuring each layer is thin and cured to prevent bulkiness and enhance the illusion of natural depth.
Similar Styles
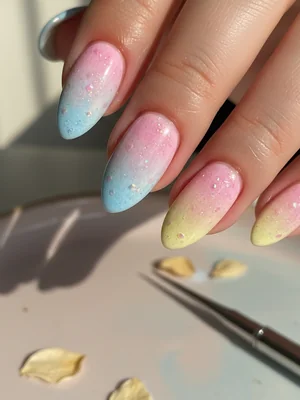
Beautiful Photo-real Salon Sponging Nails
Sponging inspired nail art with beautiful, photo-real finish and professional salon quality
Beautiful Photo-real Salon Sponging Nails
Sponging inspired nail art with beautiful, photo-real finish and professional salon quality
Gorgeous Photo-real Salon Sponging Nails
Sponging inspired nail art with gorgeous, photo-real finish and professional salon quality
Gorgeous Photo-real Salon Sponging Nails
Sponging inspired nail art with gorgeous, photo-real finish and professional salon quality
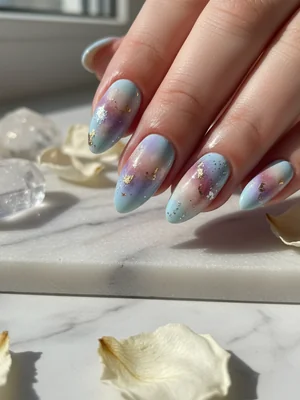
Stunning Photo-real Salon Sponging Nails
Sponging inspired nail art with stunning, photo-real finish and professional salon quality

Stunning Photo-real Salon Sponging Nails
Sponging inspired nail art with stunning, photo-real finish and professional salon quality

Sophisticated Photo-real Salon Sponging Nails
Sponging inspired nail art with sophisticated, photo-real finish and professional salon quality
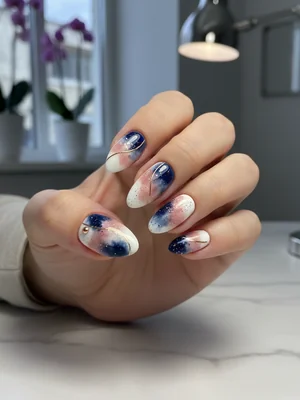
Photo-real Salon Sponging Nails
Sponging inspired nail art with elegant, photo-real finish and professional salon quality
Sophisticated Photo-real Salon Sponging Nails
Sponging inspired nail art with sophisticated, photo-real finish and professional salon quality

Photo-real Salon Sponging Nails
Sponging inspired nail art with clean, photo-real finish and professional salon quality

Photo-real Salon Sponging Nails
Sponging inspired nail art with clean, photo-real finish and professional salon quality

Photo-real Salon Sponging Nails
Sponging inspired nail art with clean, photo-real finish and professional salon quality
Explore Similar Designs
Colors in this Design
Perfect For
Nail Shapes
Frequently Asked Questions
How long does the Photo-Real Sponging design last?
With proper gel application and aftercare, this design can last 2-3 weeks, similar to a standard gel manicure.
Can I achieve this look with regular polish?
While possible, gel polish is recommended for its self-leveling properties, durability, and ease of layering without drying too quickly, which is crucial for the 'photo-real' effect.
Is this design difficult for beginners?
The multi-layered sponging requires patience and a gentle touch, placing it in the Intermediate skill level. Beginners may find achieving the subtle depth challenging initially.
What kind of sponge should I use?
A small, densely packed makeup sponge (like a beauty blender) cut into small pieces, or specialized nail art sponges, work best for precise and subtle application.
How can I customize this design for my style?
Experiment with different elegant color palettes, or even try finishing with a matte top coat instead of glossy to alter the overall aesthetic and feel of the texture.
Does this design feel bumpy on the nail?
When applied correctly with thin layers and sealed with a good top coat, the finish should feel smooth to the touch, despite the visual texture.
Aftercare Tips
- ✓Moisturize hands and nails regularly to keep skin healthy and support nail strength.
- ✓Wear gloves when performing household chores, gardening, or working with harsh chemicals.
- ✓Be mindful of heavy impacts or prolonged exposure to water which can weaken polish adhesion.
Safe Removal
- 1.Gently buff the top layer of the glossy top coat to break the seal.
- 2.Soak cotton pads in 100% acetone, place them on each nail, and wrap with foil for 10-15 minutes.
- 3.Gently push off softened polish with an orange wood stick; never forcefully scrape.