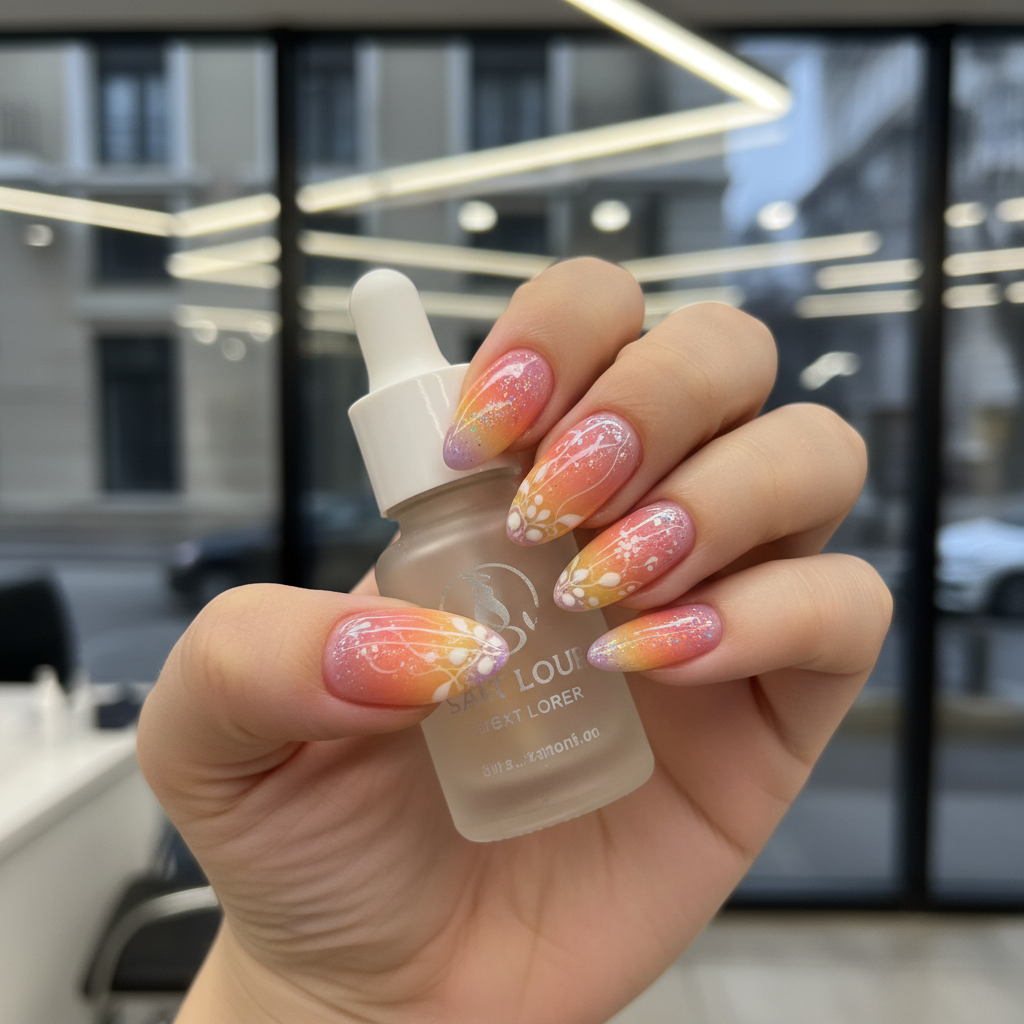
Beautiful Photo-real Salon Ombre Nails
Ombre inspired nail art with beautiful, photo-real finish and professional salon quality
Created: October 5, 2025 at 06:15 PM
More Ombre Designs
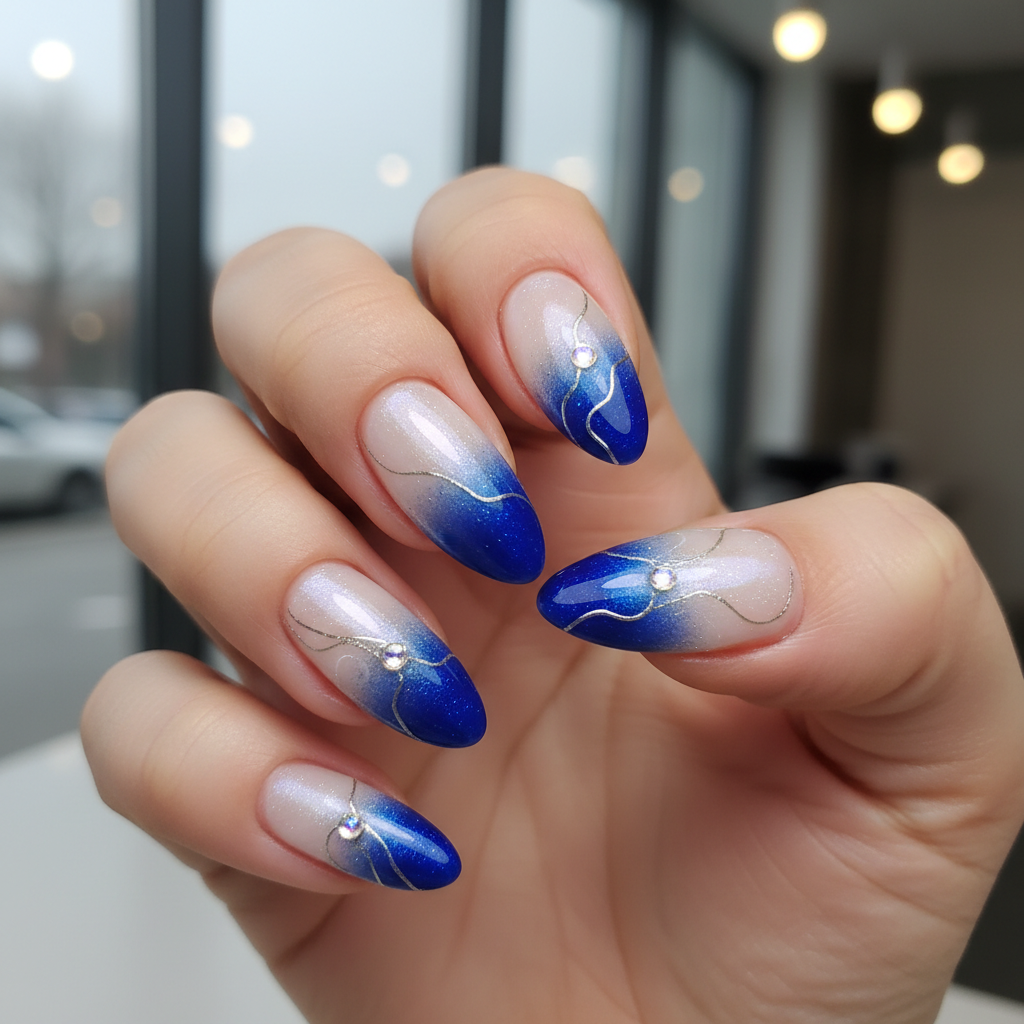
Gorgeous Photo-real Salon Ombre Nails
Ombre inspired nail art with gorgeous, photo-real finish and professional salon quality
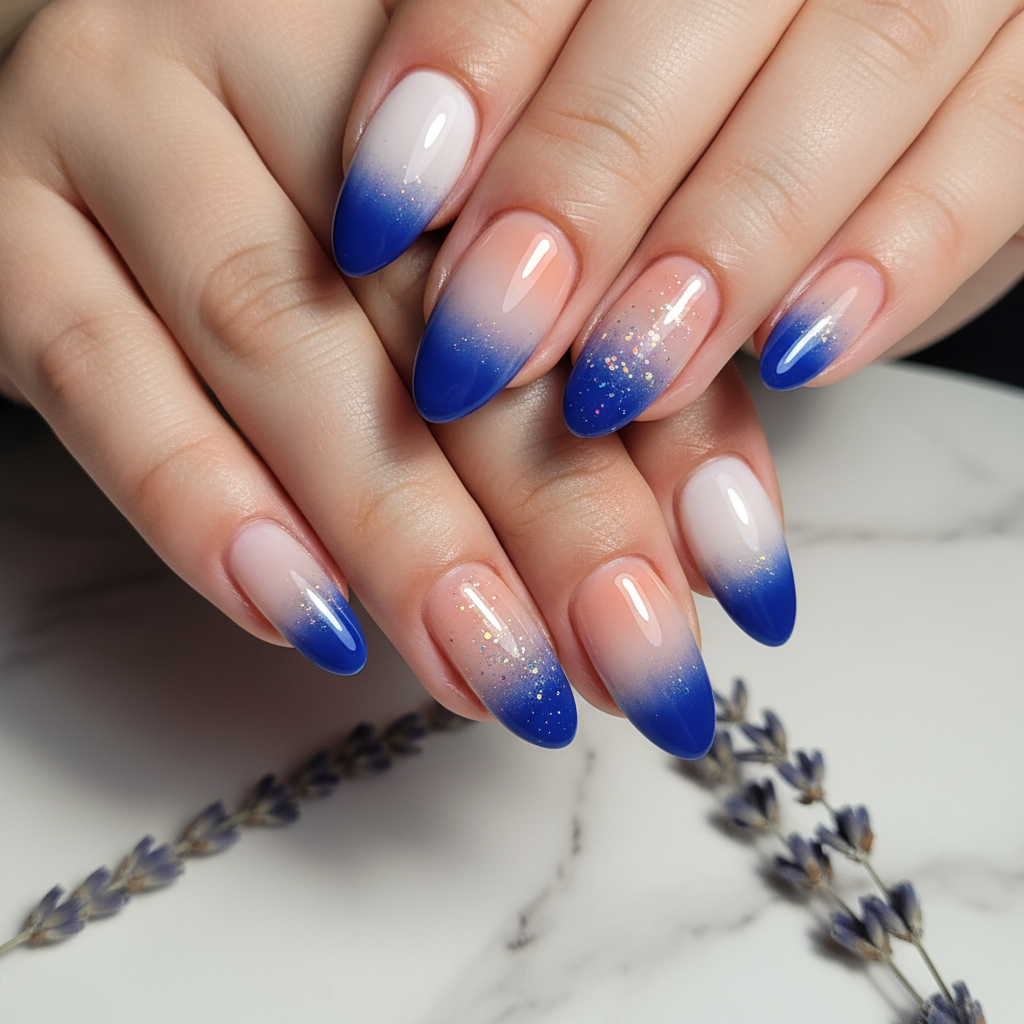
Stunning Photo-real Salon Ombre Nails
Ombre inspired nail art with stunning, photo-real finish and professional salon quality
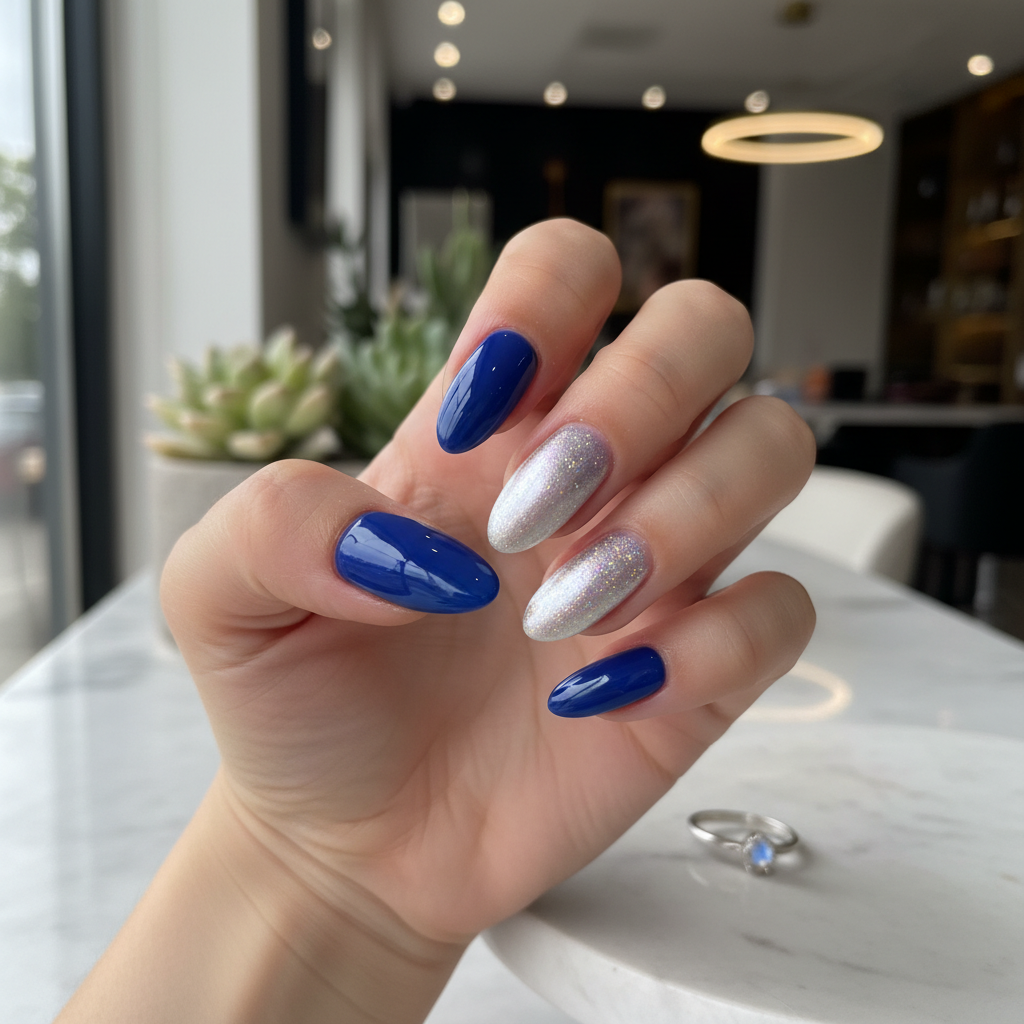
Sophisticated Photo-real Salon Ombre Nails
Ombre inspired nail art with sophisticated, photo-real finish and professional salon quality
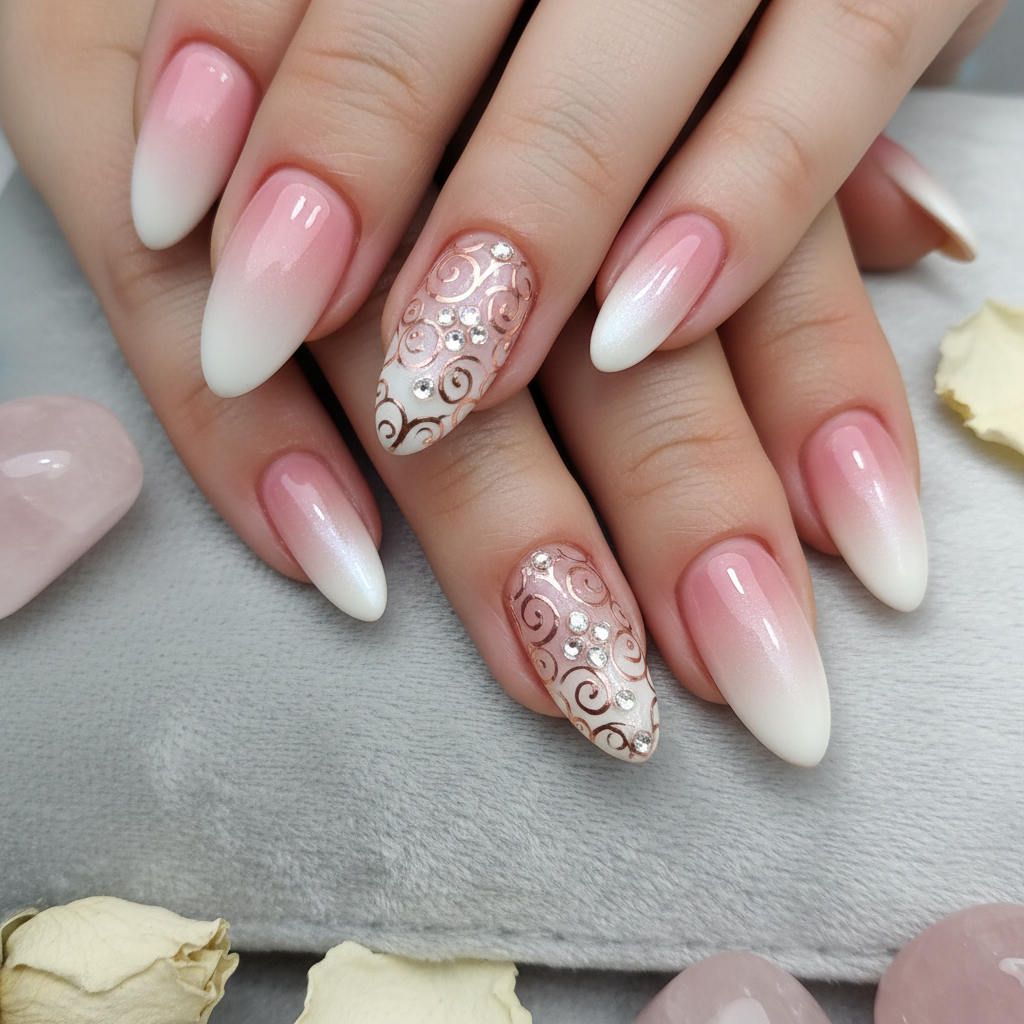
Photo-real Salon Ombre Nails
Ombre inspired nail art with elegant, photo-real finish and professional salon quality
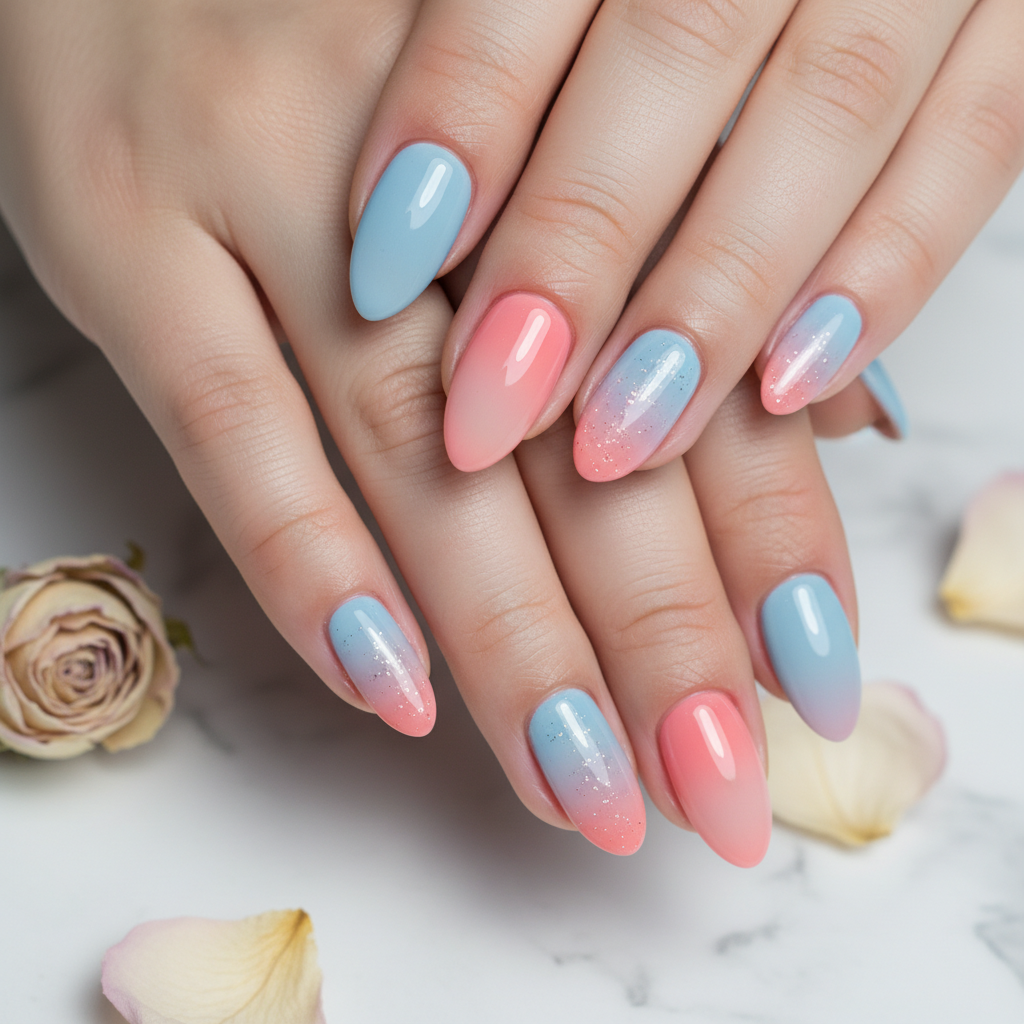
Photo-real Salon Ombre Nails
Ombre inspired nail art with clean, photo-real finish and professional salon quality
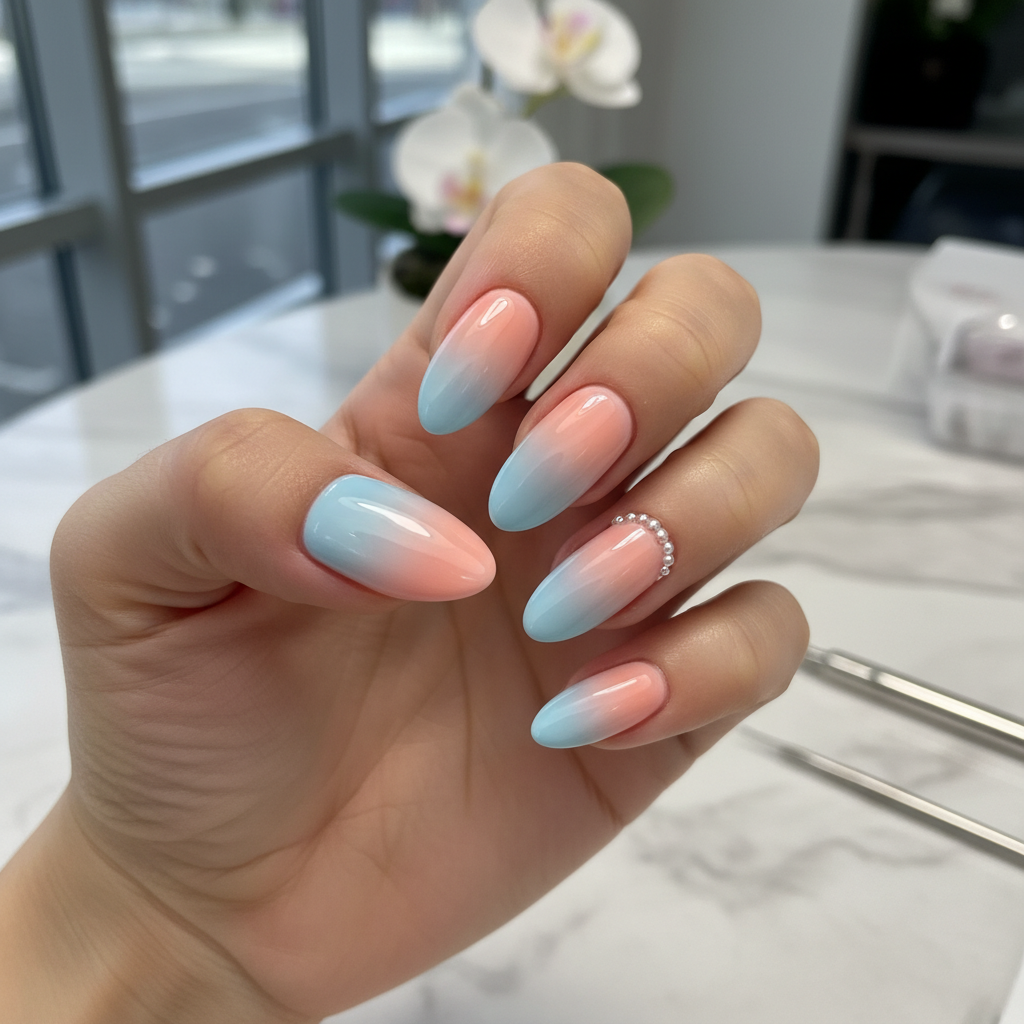
Photo-real Salon Ombre Nails
Ombre inspired nail art with clean, photo-real finish and professional salon quality
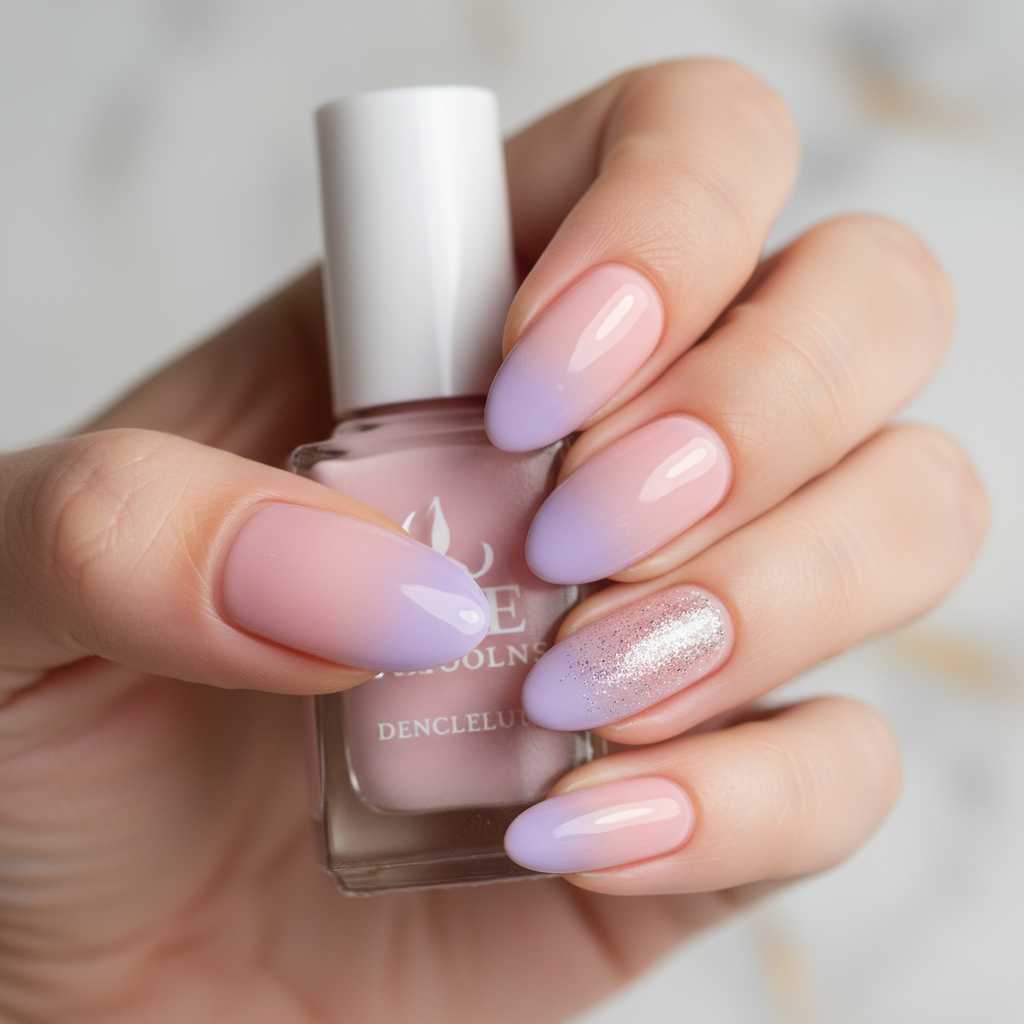
Photo-real Salon Ombre Nails
Ombre inspired nail art with clean, photo-real finish and professional salon quality
More Designs
Flawless Salon Ombre Nails: Photo-Real Gradient Perfection
Experience the epitome of nail artistry with our Flawless Salon Ombre Nails, featuring a breathtaking, photo-real gradient that seamlessly transitions between complementary shades. This professional salon-quality ombre design offers a sophisticated and polished look, perfect for those seeking a truly refined manicure.
Supplies You'll Need
- Gel base coat
- Soft pink gel polish
- Sheer white gel polish
- Non-latex makeup sponge
- Glossy gel top coat
- LED/UV curing lamp
How To Recreate It
- Prep nails by shaping, buffing, and cleaning. Apply a thin layer of gel base coat and cure under LED/UV lamp.
- Apply one thin, even layer of soft pink gel polish to the entire nail and cure.
- Dab a small amount of both soft pink and sheer white gel polish onto a non-latex sponge, slightly overlapping the colors.
- Gently and repeatedly dab the sponge onto the nail, starting from the cuticle with pink and moving towards the tip with white, building up the ombre gradient. Cure after each thin layer until desired opacity and blend are achieved.
- Apply a generous layer of glossy gel top coat, ensuring the free edge is capped, and cure thoroughly. Wipe off the tacky layer with isopropyl alcohol.
Expert Tip
For that truly 'photo-real' seamless ombre blend, ensure your sponge is only lightly saturated with polish and gently dab in a patting motion, building up the color gradually. Multiple thin layers are key to avoiding chunky texture and achieving a smooth, flawless gradient.
Try These Variations
- →Glitter Ombre Tip: Add a fine silver or iridescent glitter polish over the white tip of the ombre gradient for extra sparkle.
- →Matte Ombre Finish: Apply a matte top coat instead of glossy for a chic, velvety smooth ombre.
- →Reverse Ombre: Invert the colors, applying sheer white at the cuticle and soft pink at the tip for a unique color transition.
Aftercare Tips
- ✓Moisturize hands and cuticles regularly to prolong manicure freshness.
- ✓Avoid picking or biting your nails, as this can damage the gel and natural nail.
- ✓Be gentle with your new manicure for the first 24 hours to allow full adhesion.
- ✓If any lifting occurs, do not peel; seek professional repair or removal to prevent damage.
Safe Removal
- 1.Gently file off the top layer (glossy top coat) of the gel with a fine-grit file.
- 2.Soak cotton balls in pure acetone, place them on each nail, and wrap tightly with foil for 10-15 minutes.
- 3.Gently push off the softened gel using an orange wood stick; avoid scraping or forcing to protect the natural nail.
Quick Facts
Why It's Trending
The demand for high-quality, professional-looking manicures is soaring, and this photo-real salon ombre design perfectly meets that need, offering an Instagram-worthy finish that looks effortlessly chic and perfectly executed. It's the ultimate 'clean girl' aesthetic for nails.
Seasonal Styling
While beautiful year-round, this sophisticated ombre design truly shines during transitional seasons like spring and autumn, offering a subtle yet impactful elegance. It's also an impeccable choice for weddings, professional events, or any occasion demanding a polished appearance.
Color Variations
Perfect For
Why People Love It
Loved by influencers and celebrities alike, this classic ombre design regularly graces red carpets and social feeds, celebrated for its understated luxury and polished appeal. Its timeless beauty and flawless execution make it a perennial favorite for those seeking truly high-end nail art.
Daily Maintenance
- 💅Apply cuticle oil daily to keep cuticles healthy and prevent lifting.
- 💅Wear gloves for household chores or when using harsh chemicals.
- 💅Avoid using nails as tools to prevent chipping or breaking the gel.
- 💅Schedule fills every 2-3 weeks to maintain the fresh, salon-quality look.
Common Issues & Fixes
- ⚠Jagged Ombre Line: Use a very fine-textured sponge and lighter, more controlled dabbing motions. Build layers slowly.
- ⚠Gel Shrinking/Pulling Back: Ensure thin, even layers and 'cap' the free edge of the nail with each coat. Cure immediately after application.
- ⚠Bumpy Texture: Apply thinner gel layers, ensure full curing between coats, and finish with a self-leveling, glossy top coat.
- ⚠Dull Finish: Ensure your top coat is cured completely according to product instructions and wipe the tacky layer thoroughly with cleanser.
Design Inspiration
Inspired by the seamless blending seen in high-definition photography and the desire for a flawlessly executed, naturally elegant gradient, this ombre design captures the essence of refined beauty and professional nail artistry, embodying modern sophistication.
Explore Similar Designs
Colors in this Design
Techniques Used
Perfect For
Nail Shapes
More Categories to Explore
Popular Colors
Popular Techniques
Perfect Occasions
FAQs
How long does this photo-real ombre design typically last?
With proper gel application and care, this professional ombre design typically lasts 2-3 weeks without chipping or fading.
Can I achieve this 'photo-real' ombre look at home?
Achieving this level of photo-real smoothness and blend at home requires advanced skill, specialized gel polishes, and professional tools. While a similar effect is possible, a salon offers unparalleled precision.
Is ombre suitable for short nails?
Yes, while longer nails showcase the gradient more extensively, a subtle ombre can look incredibly chic and elegant on shorter nail lengths too.
What's the best way to prevent chipping in an ombre manicure?
Always ensure the free edge of your nail is 'capped' with base, color, and top coats during application, and avoid using your nails as tools in daily activities.
Can I use regular polish for an ombre instead of gel?
You can attempt an ombre with regular polish, but achieving the same photo-real seamless blend, durability, and glossy finish as gel will be significantly more challenging and less long-lasting.
Will this ombre design damage my natural nails?
No, when applied and removed correctly by a trained professional using high-quality products, gel ombre designs are safe for your natural nails and can even add a protective layer.