Beautiful Photo-real Salon Gradient Nails - Gradient nail art - featuring nail art, gradient, red - nail art inspiration and design ideas
Beautiful Photo-real Salon Gradient Nails
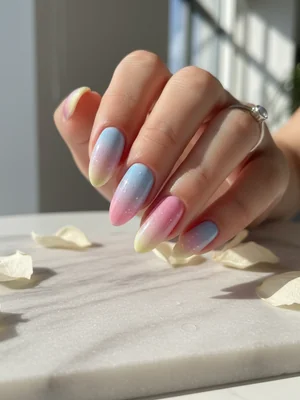
Photo-Real Salon Gradient Nails: Seamless Blush to Peach Ombre
Experience the ultimate in gradient artistry with our Photo-Real Salon Gradient Nails, a truly beautiful design featuring a breathtakingly smooth transition from soft rose pink to nude peach. This professional salon quality finish captures the essence of a flawless, airbrushed look, offering a sophisticated and vibrant statement.
- Base Coat (Gel)
- Soft Rose Pink Gel Polish
- Nude Peach Gel Polish
- Non-latex Makeup Sponge
- Gel Top Coat (High-Gloss)
- Lint-free Wipes
- Isopropyl Alcohol (Cleaner)
- Prep nails, apply a thin layer of gel base coat, and cure under LED/UV lamp.
- Apply one coat of the lighter color (Soft Rose Pink) over the entire nail and cure.
- Apply a stripe of Soft Rose Pink and a stripe of Nude Peach gel polish side-by-side onto a small section of your makeup sponge, slightly overlapping.
- Gently dab the sponge onto the nail, moving it up and down to create a seamless blend. Repeat thin layers, flash curing after each pass, until desired opacity and photo-real smoothness are achieved.
- Clean up any excess polish around the cuticles using a small brush dipped in isopropyl alcohol.
- Seal the design with a high-gloss gel top coat, ensuring to cap the free edge, and cure thoroughly for a flawless, durable finish.
Expert Tip
Achieving that 'photo-real' smoothness hinges on multiple, ultra-thin layers of polish and light, even dabbing with your sponge. Less is more with each layer; allow proper curing/drying time to prevent muddiness and ensure a truly seamless transition.
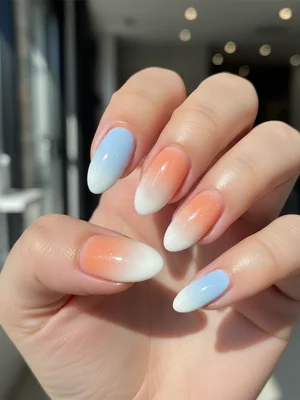
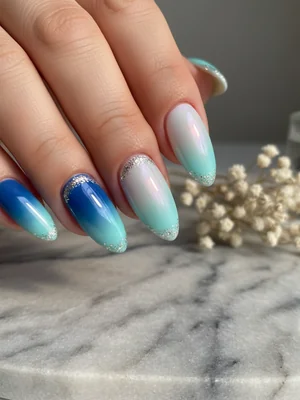
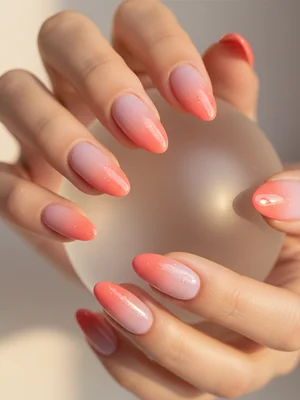
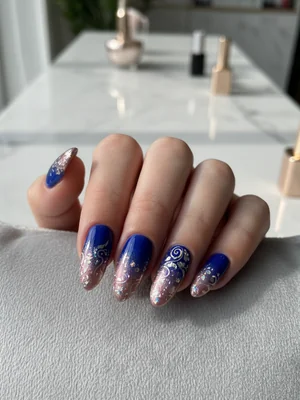
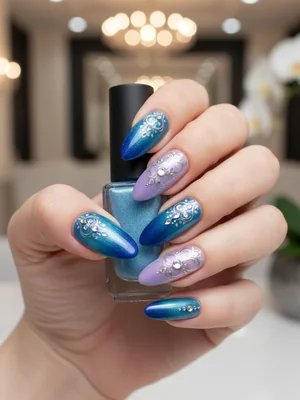
Similar Styles
Beautiful Photo-real Salon Gradient Nails
Gradient inspired nail art with beautiful, photo-real finish and professional salon quality
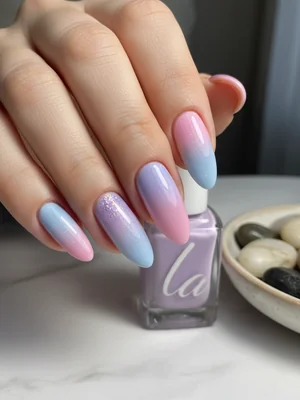
Gorgeous Photo-real Salon Gradient Nails
Gradient inspired nail art with gorgeous, photo-real finish and professional salon quality
Gorgeous Photo-real Salon Gradient Nails
Gradient inspired nail art with gorgeous, photo-real finish and professional salon quality

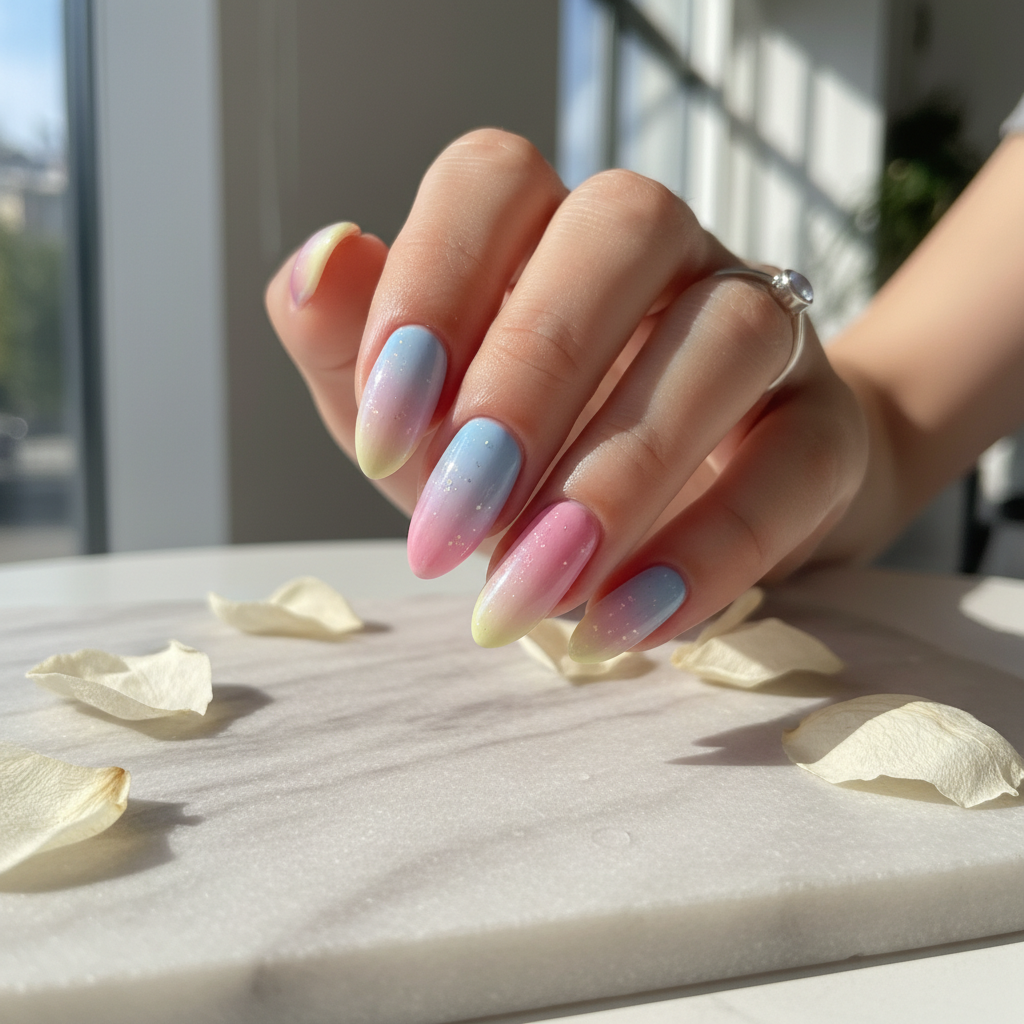
Stunning Photo-real Salon Gradient Nails
Gradient inspired nail art with stunning, photo-real finish and professional salon quality
Sophisticated Photo-real Salon Gradient Nails
Gradient inspired nail art with sophisticated, photo-real finish and professional salon quality
Stunning Photo-real Salon Gradient Nails
Gradient inspired nail art with stunning, photo-real finish and professional salon quality
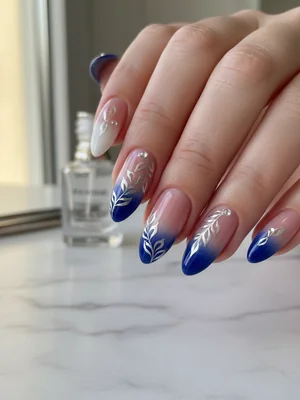
Photo-real Salon Gradient Nails
Gradient inspired nail art with elegant, photo-real finish and professional salon quality
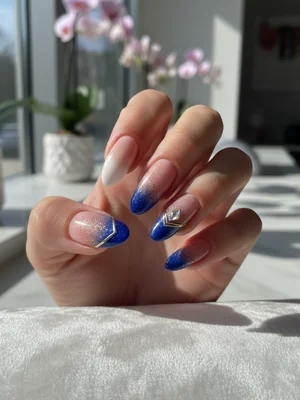
Photo-real Salon Gradient Nails
Gradient inspired nail art with elegant, photo-real finish and professional salon quality
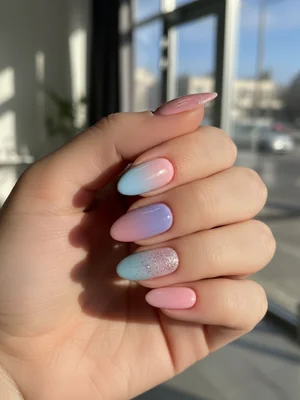
Photo-real Salon Gradient Nails
Gradient inspired nail art with clean, photo-real finish and professional salon quality
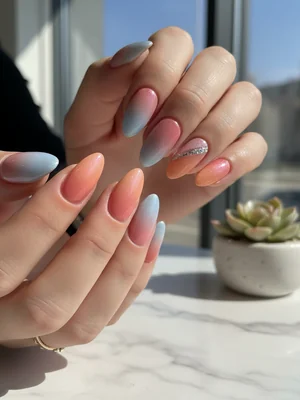
Photo-real Salon Gradient Nails
Gradient inspired nail art with clean, photo-real finish and professional salon quality
Photo-real Salon Gradient Nails
Gradient inspired nail art with clean, photo-real finish and professional salon quality
Explore Similar Designs
Colors in this Design
Techniques Used
Perfect For
Nail Shapes
Frequently Asked Questions
How do you achieve the 'photo-real' effect?
It involves meticulous blending with multiple, very thin layers of gel polish, often using a fine-pored makeup sponge, finished with a high-gloss top coat for that seamless, airbrushed look.
Can I do this design at home?
While possible, achieving a true professional 'photo-real' salon quality result requires advanced blending skills, patience, and practice. We recommend a salon visit for the best outcome.
What nail shapes look best with this gradient?
Almond, coffin, and oval shapes truly showcase the smooth color transition beautifully, providing ample surface area for the blend to shine.
How long does this photo-real gradient design last?
With proper gel application and diligent aftercare, you can expect this beautiful design to last for 2-3 weeks without chipping or fading.
Is this design customizable with other colors?
Absolutely! The beauty of this photo-real technique is its versatility; any chosen pair of complementary or analogous colors can be blended to achieve a similar seamless effect.
Does this design look good on short nails?
While still pretty, the full impact of the gradient's smooth transition is most pronounced on medium to long nails, which offer more canvas for the colors to blend.
Aftercare Tips
- ✓Avoid prolonged water exposure immediately after your appointment (e.g., swimming, hot tubs).
- ✓Moisturize hands and cuticles regularly to keep the skin healthy and nails flexible.
- ✓Refrain from picking or biting your nails, as this can damage the nail bed and polish.
- ✓Should you need to, use only non-acetone nail polish remover for any minor touch-ups.
Safe Removal
- 1.Gently buff the top shiny layer of the gel polish to break the seal.
- 2.Soak a cotton ball in acetone, place it on the nail, and wrap it tightly with foil for 10-15 minutes.
- 3.Carefully slide off the softened product with a wooden cuticle pusher, being gentle not to scrape the natural nail.