Beautiful Photo-real Salon Gradient Nails - Gradient nail art - featuring nail art, gradient, red - nail art inspiration and design ideas
Beautiful Photo-real Salon Gradient Nails
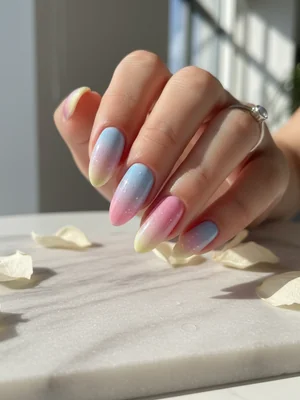
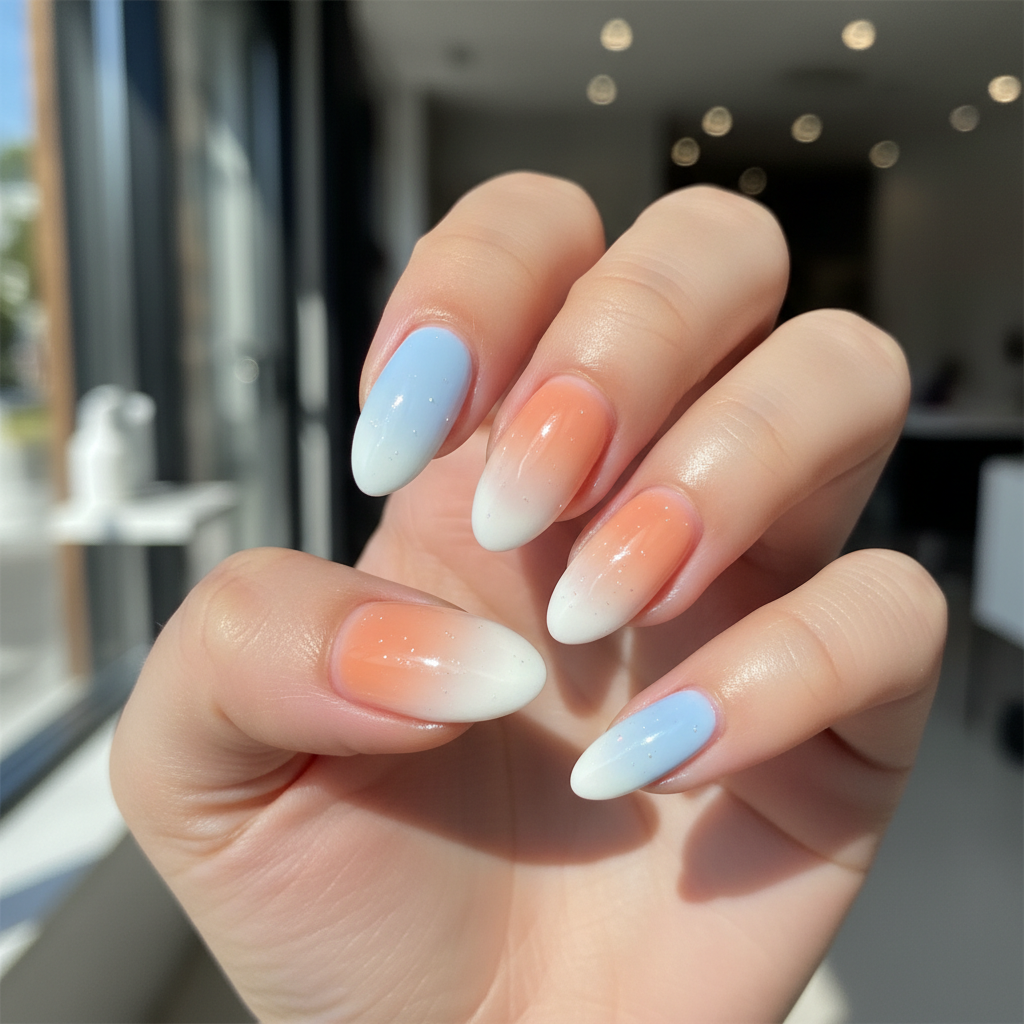
Gradient.Design: Photo-Real Milky White to Blush Pink Ombré
Experience the ultimate in nail sophistication with our Gradient.Design, featuring a breathtaking, photo-real blend. This professional salon-quality ombré transitions seamlessly from milky white to a delicate blush pink, creating an ethereal and polished look that's truly captivating.
- Gel Base Coat
- Milky White Gel Polish
- Blush Pink Gel Polish
- Non-Lint Wipes
- Small Gradient Sponge or Ombré Brush
- Gel Top Coat (no-wipe recommended)
- UV/LED Curing Lamp
- Prepare nails: clean, buff, and apply a gel base coat, then cure under a UV/LED lamp.
- Apply one thin coat of milky white gel polish as the base color and cure.
- On a palette, apply drops of milky white and blush pink polish side-by-side. Dab your gradient sponge across both colors to pick up the blend.
- Lightly and repeatedly dab the sponge onto the nail, starting at the cuticle with milky white and blending towards the tip with blush pink. Cure after each light layer.
- Repeat step 4, building up color and ensuring a smooth, photo-real transition, usually 2-3 layers are needed. Cure thoroughly after the final color application.
- Apply a high-gloss, no-wipe gel top coat over the entire nail to seal and protect, then cure for the recommended time.
Expert Tip
Achieving a truly photo-real gradient requires meticulous attention to thin, even layers and patient, consistent dabbing with your sponge. Cure each layer thoroughly to prevent color bleeding and ensure a crisp, seamless transition.
Similar Styles
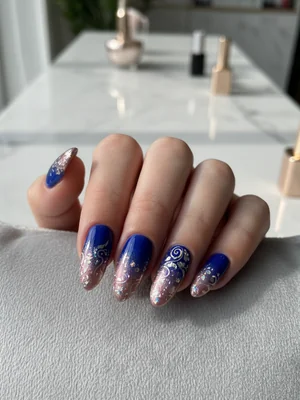
Beautiful Photo-real Salon Gradient Nails
Gradient inspired nail art with beautiful, photo-real finish and professional salon quality
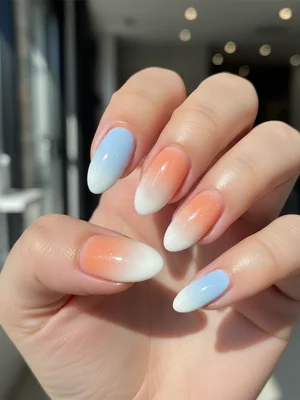
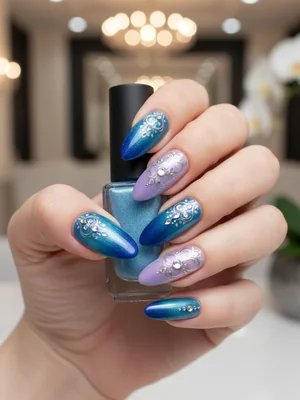
Gorgeous Photo-real Salon Gradient Nails
Gradient inspired nail art with gorgeous, photo-real finish and professional salon quality
Gorgeous Photo-real Salon Gradient Nails
Gradient inspired nail art with gorgeous, photo-real finish and professional salon quality

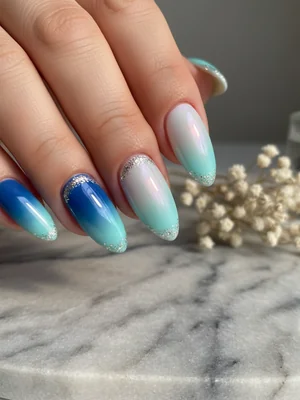
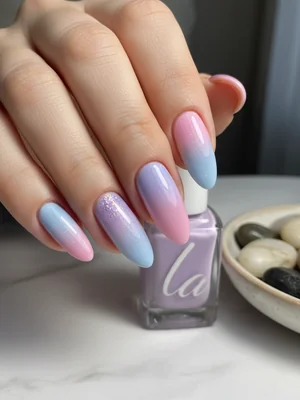
Stunning Photo-real Salon Gradient Nails
Gradient inspired nail art with stunning, photo-real finish and professional salon quality
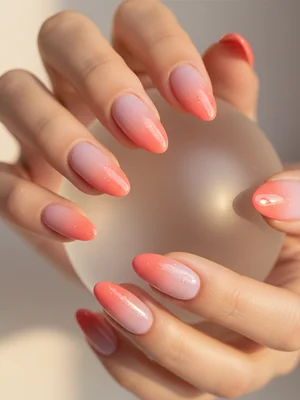
Sophisticated Photo-real Salon Gradient Nails
Gradient inspired nail art with sophisticated, photo-real finish and professional salon quality
Stunning Photo-real Salon Gradient Nails
Gradient inspired nail art with stunning, photo-real finish and professional salon quality
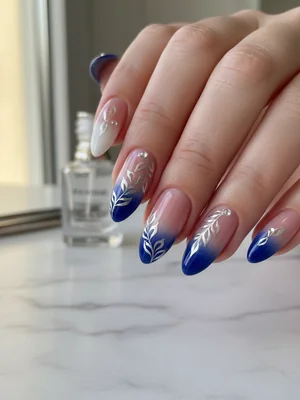
Photo-real Salon Gradient Nails
Gradient inspired nail art with elegant, photo-real finish and professional salon quality
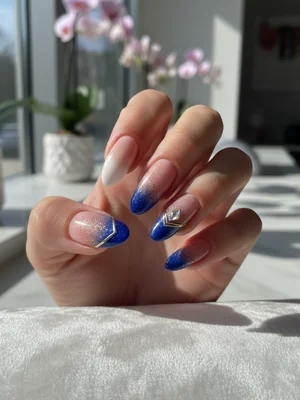
Photo-real Salon Gradient Nails
Gradient inspired nail art with elegant, photo-real finish and professional salon quality
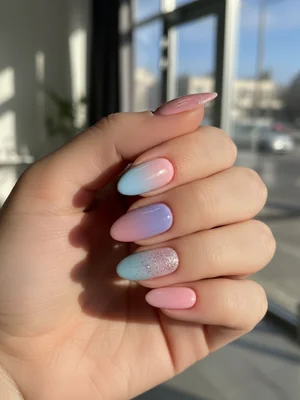
Photo-real Salon Gradient Nails
Gradient inspired nail art with clean, photo-real finish and professional salon quality
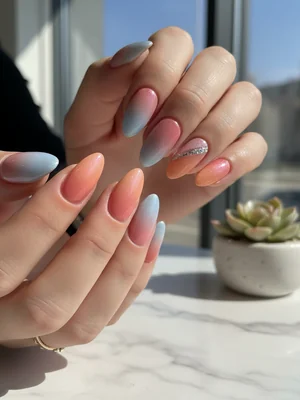
Photo-real Salon Gradient Nails
Gradient inspired nail art with clean, photo-real finish and professional salon quality
Photo-real Salon Gradient Nails
Gradient inspired nail art with clean, photo-real finish and professional salon quality
Explore Similar Designs
Colors in this Design
Techniques Used
Perfect For
Nail Shapes
Frequently Asked Questions
How long does a photo-real gradient manicure last?
With professional gel polish application and proper aftercare, this design can last 3-4 weeks without chipping or fading.
Can this gradient be done on shorter nails?
While medium to long nails showcase the blend best, a skilled artist can create a beautiful, albeit more subtle, milky white to blush pink gradient on shorter nails too.
What makes this gradient 'photo-real'?
The 'photo-real' aspect comes from the incredibly smooth, seamless transition between colors, eliminating any harsh lines or noticeable steps, making it appear airbrushed and flawless, much like a high-quality photograph.
Is this design hand-painted or airbrushed?
It can be achieved with precise sponge blending for a hand-painted effect, or for the ultimate photo-real finish, a skilled technician might use an airbrushing technique.
Will the colors fade over time?
High-quality gel polishes and a good top coat resist fading. Proper curing also ensures color longevity.
Can I request different colors for my Gradient.Design?
Absolutely! While milky white to blush pink is a popular choice, we can customize your Gradient.Design with a wide range of color combinations to match your personal style.
Aftercare Tips
- ✓Wear gloves for household chores or when handling harsh chemicals.
- ✓Moisturize hands and nails regularly to maintain nail health.
- ✓Avoid picking or peeling at your gel polish, which can damage the natural nail.
Safe Removal
- 1.Gently file off the gel top coat to break the seal.
- 2.Soak nails in acetone-soaked cotton pads wrapped in foil for 10-15 minutes.
- 3.Gently push off softened gel polish with a wooden stick, never force or scrape.