How to Create Día de los Muertos Bloom Nails
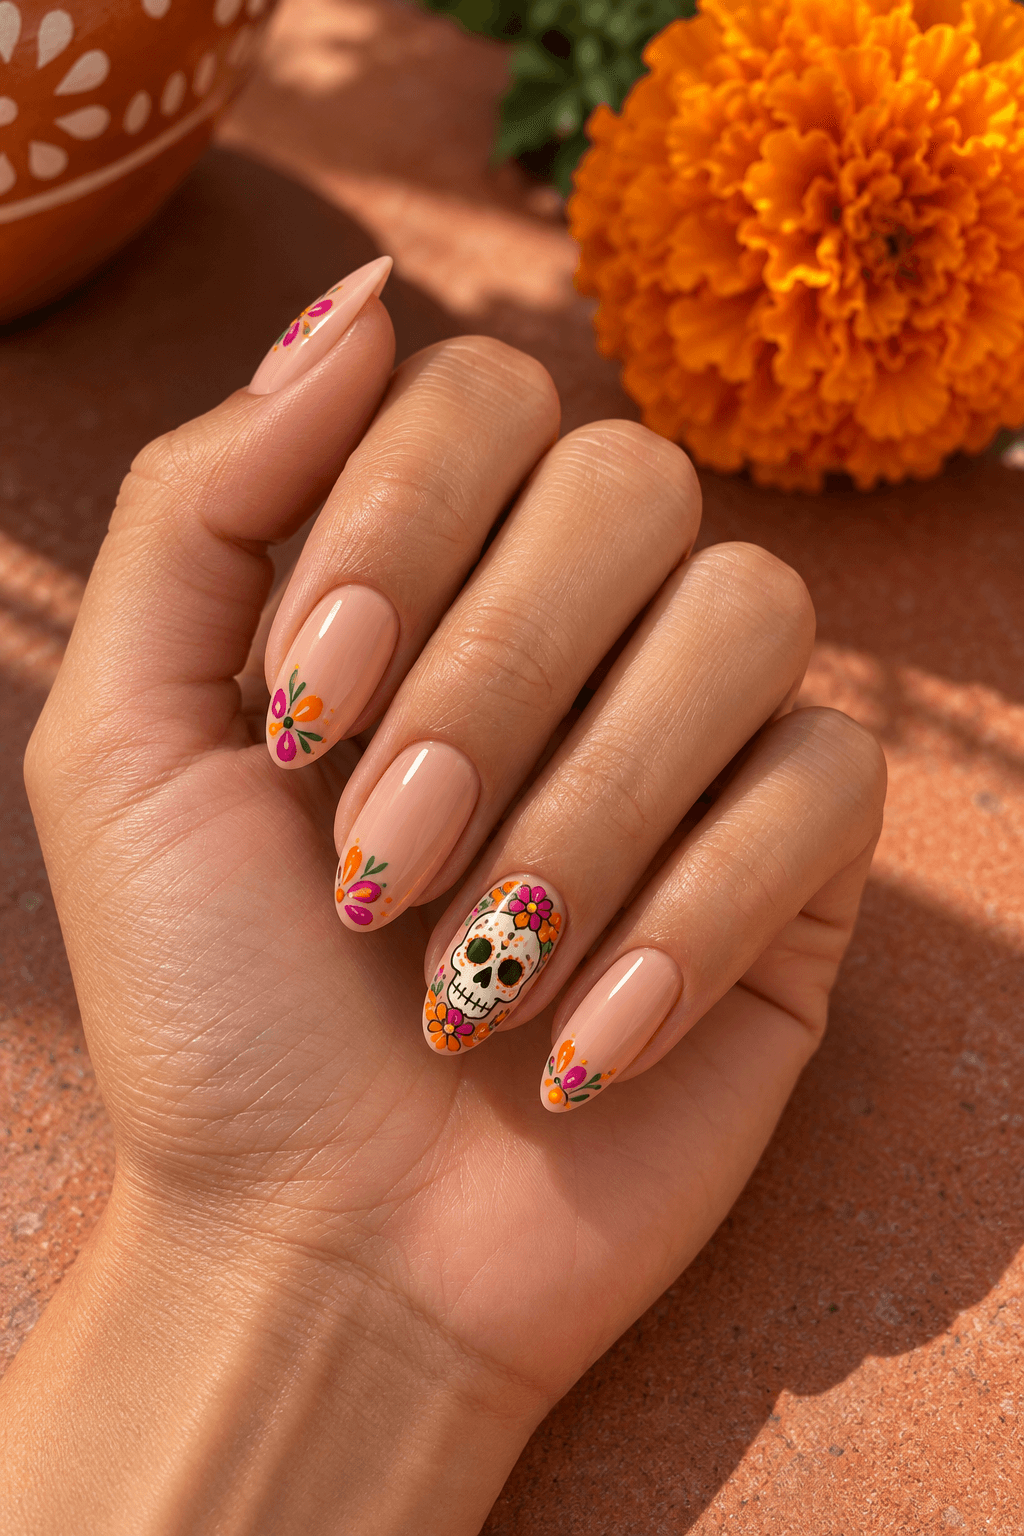
A decorated sugar skull framed by marigold orange and hot-pink florals gives the bones trend a vivid, celebratory finish. For more inspiration, see our 30+ Halloween nail ideas.
At a glance
- Difficulty
- Intermediate
- Time
- 40–50 min
- Finish
- Colourful detail
- Best on
- Medium or long nails
Nail Art AI picks
Halloween press-on nails


As an Amazon Associate, Nail Art AI earns from qualifying purchases. This comes at no additional cost to you.
What you need
- Milky ivory
- Marigold orange
- Hot pink
- A fine detail brush or dotting tool for the artwork
- A glossy or matte top coat, depending on the finish you want
Use what you already own where possible. The key details matter more than a large kit.
How to create the look
Step 1
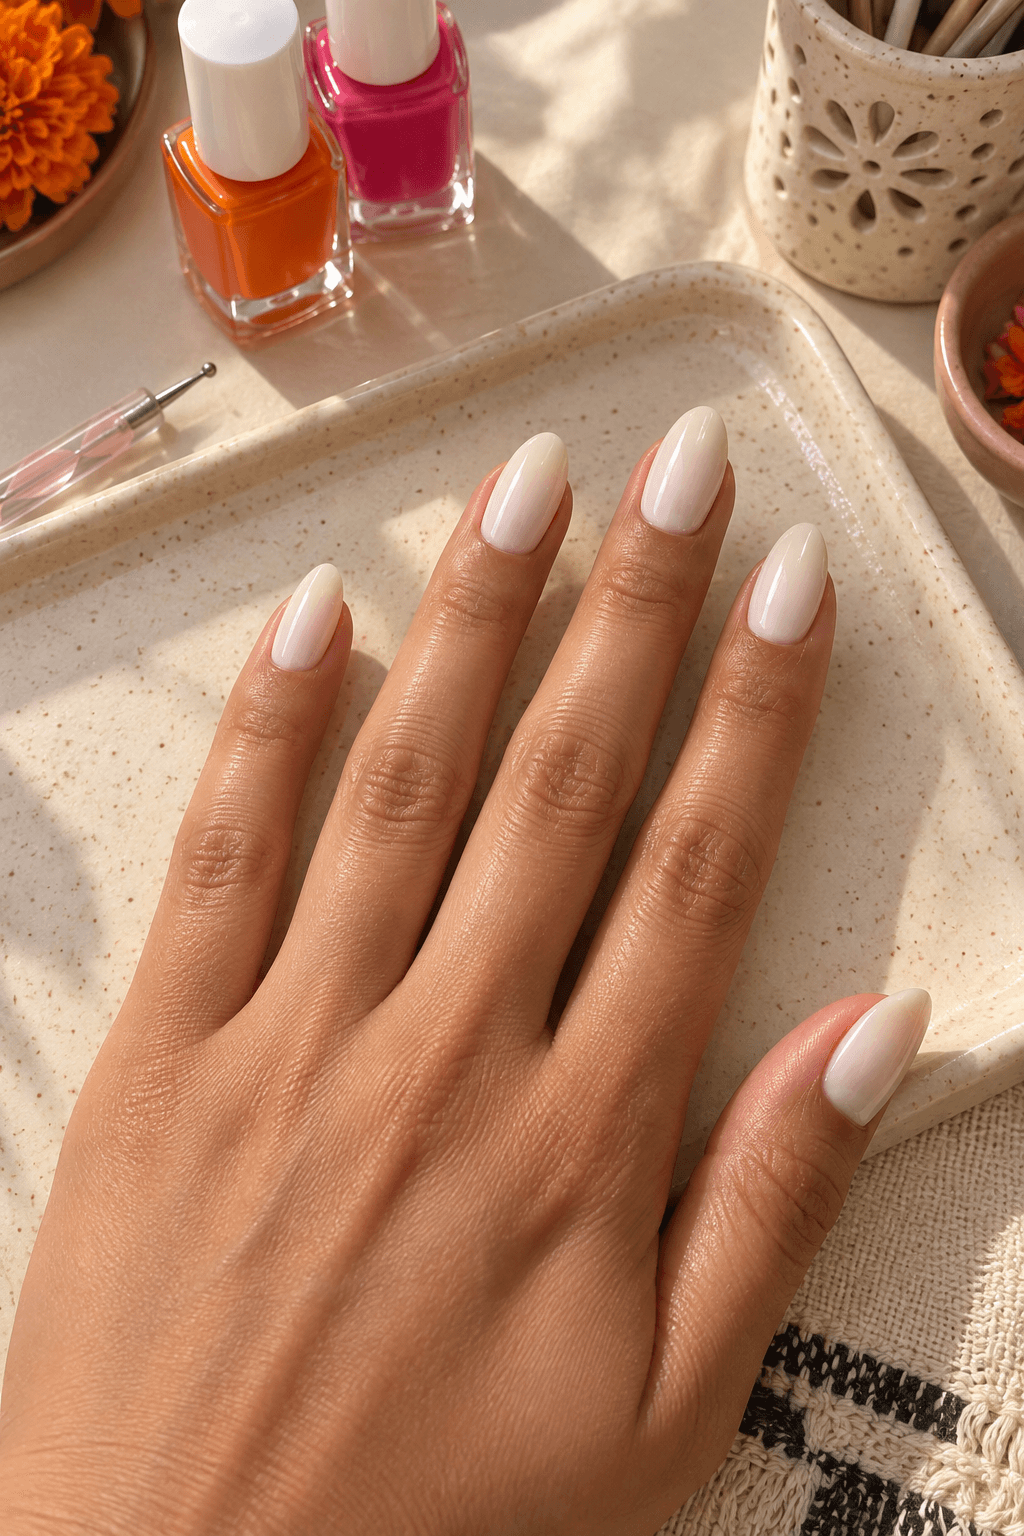
Lay a calm base
Apply two thin ivory or sheer nude coats and let them dry fully.
Step 2
Place the skull
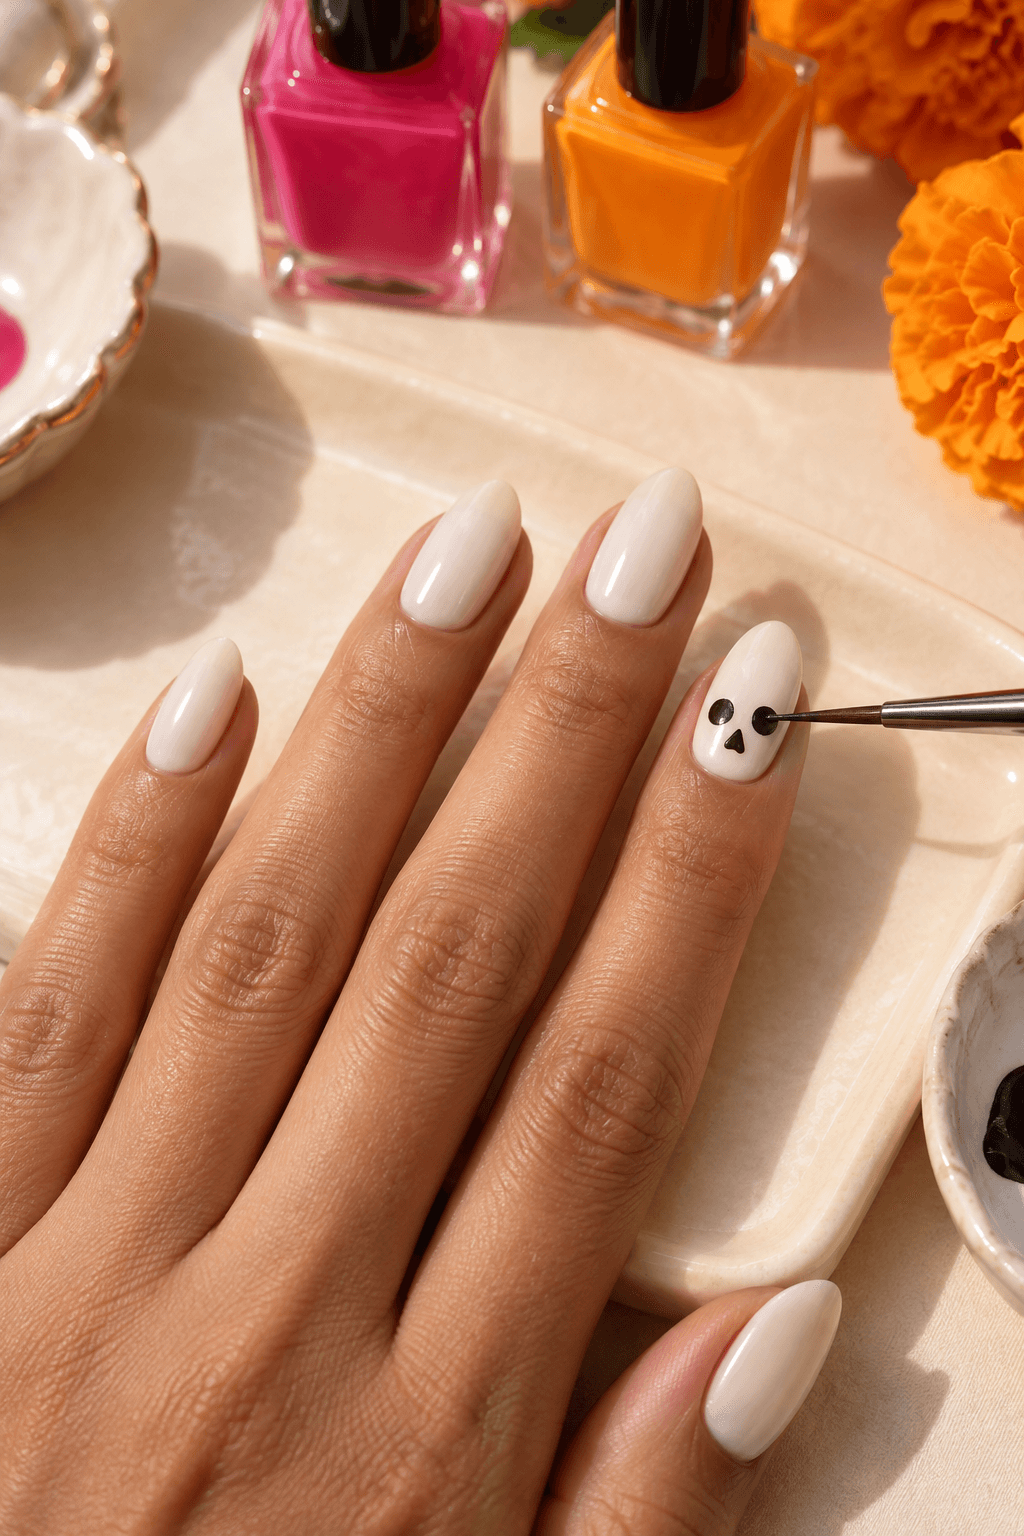
Paint one small rounded skull on an accent nail, leaving room around it for flowers.
Step 3
Add simple features
Use tiny dots and curved lines for the eyes, nose, and mouth rather than dense detail. If you need a fine tool, this nail art brush and dotting-tool set covers the small details.
Step 4
Frame with blooms
Build marigold and pink flowers from five small dots around the skull edge.
Step 5
Finish evenly
Repeat just one floral motif on nearby nails, then seal everything with top coat.
Keep it intentional
Color formula
Milky ivory
A soft background for the skull.
Marigold orange
For small petal clusters.
Hot pink
A bright floral accent.
Help it last
- Keep floral layers thin so the surface stays smooth.
- Seal the cuticle-side detail carefully with top coat.
- Store polish upright so the bright colours stay easy to use.
Remove it gently
- File the glossy surface lightly before removal.
- Remove one nail at a time rather than scraping the art.
- Finish with a gentle wash and your usual nail care.
Nail Art AI picks
Tools for this look


As an Amazon Associate, Nail Art AI earns from qualifying purchases. This comes at no additional cost to you.
Three easy variations
- Use a black skull on a nude base for more contrast.
- Swap pink for red or purple florals.
- Paint one skull and use flowers only on the other nails.
More ways to wear it
Explore a few related designs before you choose your final Halloween manicure.
See it on your own hand first
A color and shape can look different on every hand. Try this idea on your own hand before you paint it or take it to an appointment.
Questions people ask
Can beginners try this look?
Yes. Start with a single skull accent nail and make the flowers from simple dots.
How many colours do I need?
An ivory base, one dark detail shade, orange, and pink are enough for a clear version.
Should every nail have a skull?
No. One skull per hand is usually easier to read and quicker to paint.
What if my flowers get too large?
Use a clean detail brush to soften the edges, then add a smaller contrasting centre dot.