Classic Crimson Drip Nails: an easy step-by-step guide
The clean version of blood-drip nails starts with a sheer base, a few uneven red dots, and a steady detail brush. You do not need a salon set or a complicated kit to make it look intentional. For more inspiration, see our 30+ Halloween nail ideas.
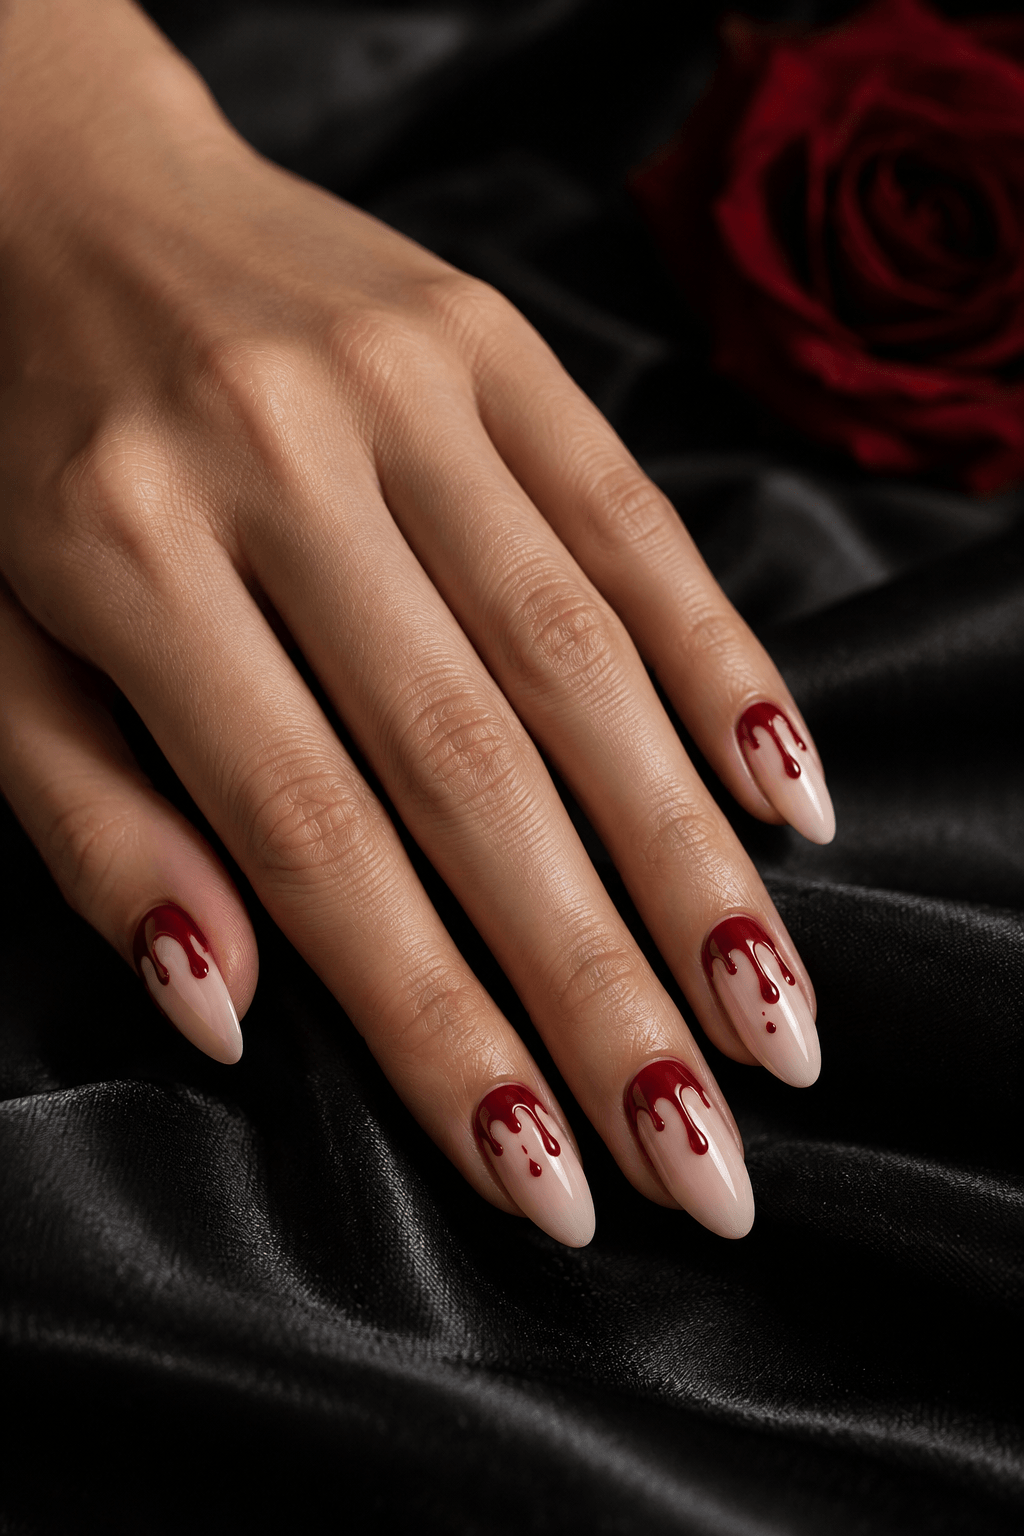
At a glance
- Difficulty
- Beginner
- Time
- 25–35 min
- Finish
- Glossy
- Best on
- Any length
Nail Art AI picks
Halloween press-on nails


As an Amazon Associate, Nail Art AI earns from qualifying purchases. This comes at no additional cost to you.
What you need
- A sheer nude, beige, or blush base color
- A crimson or deep-red polish
- A dotting tool or a small rounded alternative
- A fine liner brush and a glossy top coat
Do not chase a huge kit for one look. A reliable base, a red you like, and a detail brush cover the actual work.
How to create the look
Step 1
Prep and apply a sheer base
Shape your nails, remove surface oils, and apply a thin base coat. Add one or two sheer nude coats and let them dry completely. A milky nude, soft beige, or blush base keeps the red crisp without making the manicure feel like costume makeup.
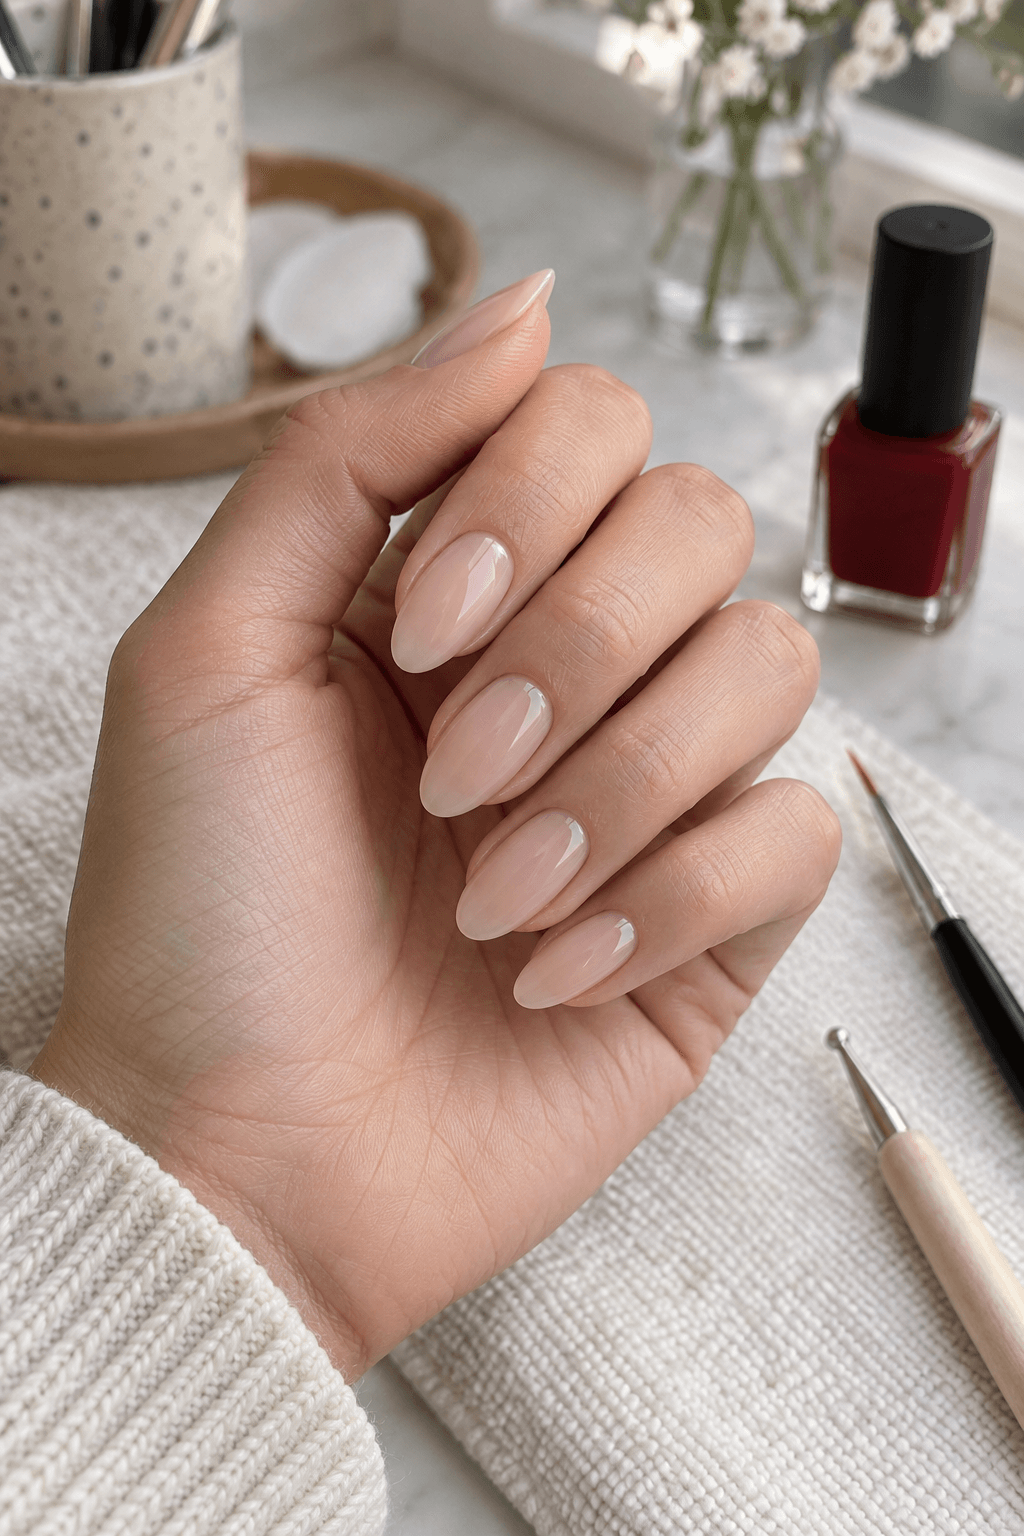
Step 2
Choose a true deep red
Use a crimson, cherry, or blue-red shade that stays distinct against your base. Put a small amount on a palette or foil so you can control the brush. If you are using gel, follow the cure time printed for that product before moving to the next layer.
Step 3
Place the dots first
Near the cuticle, place two or three uneven dots on each nail with a dotting tool or the rounded end of a detail brush. Make one dot slightly larger than the others. That difference is what makes the drips look natural instead of stamped on. If you need one, this fine-liner and dotting-tool set covers both jobs.
Step 4
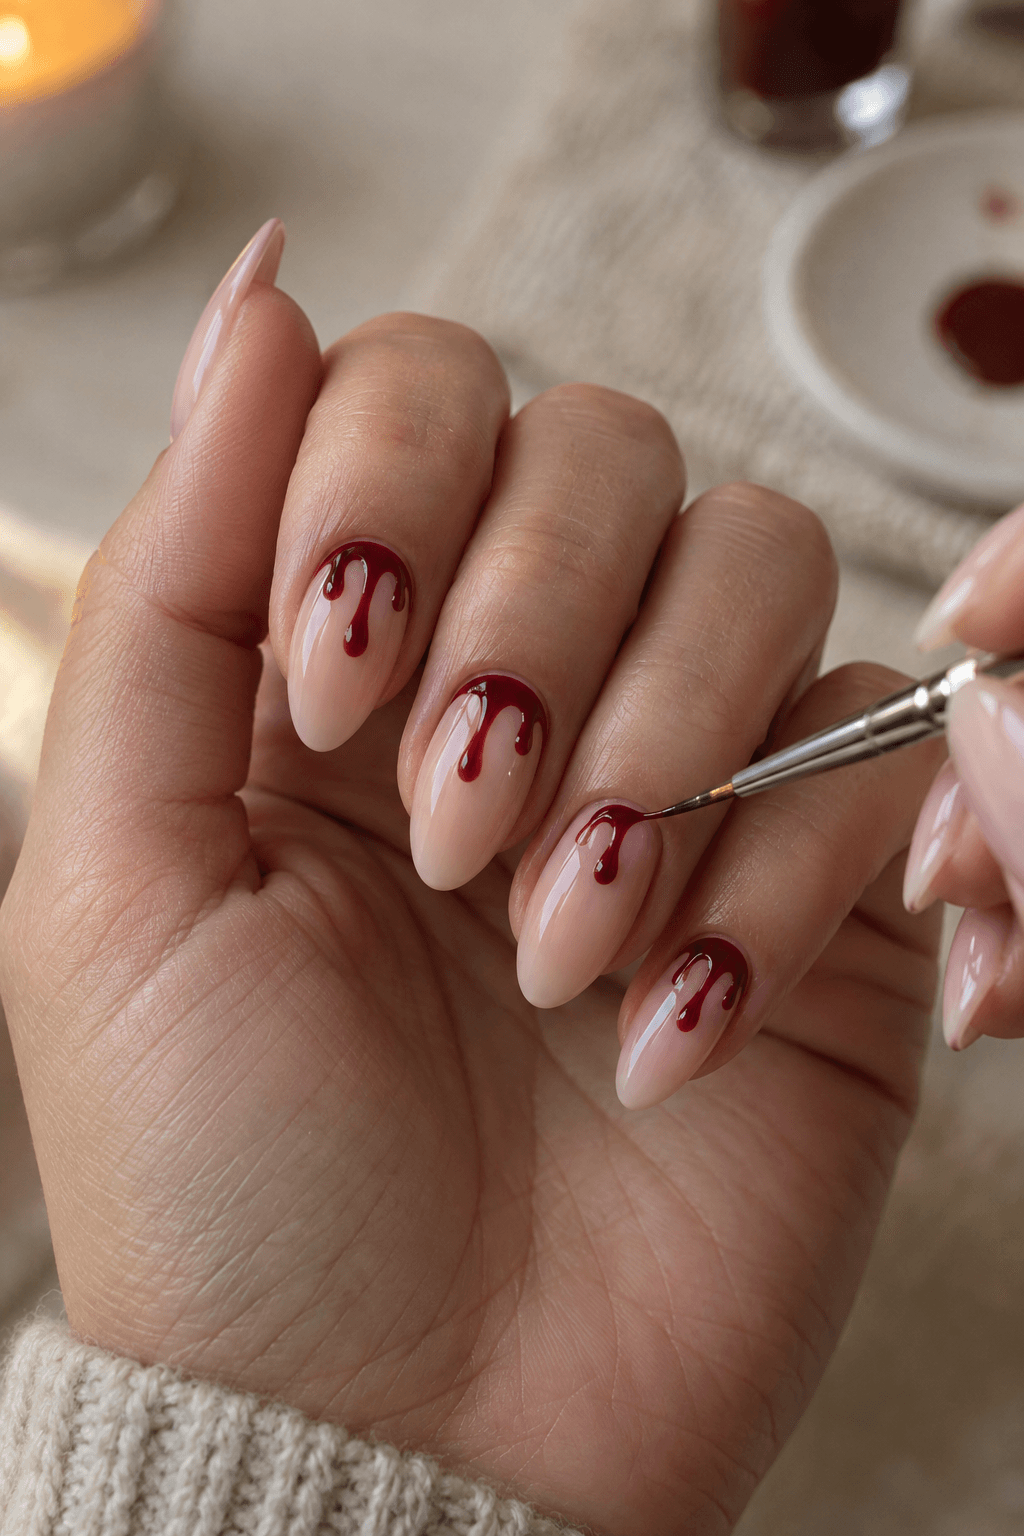
Pull each dot into a drip
With a fine liner brush, draw a thin line down from each dot. Vary the lengths, then round the dot at the top so each drip has a soft teardrop shape. Stop before the lines become too long. A little empty nude space makes the design read better.
Step 5
Seal it glossy
Once the red is fully dry or cured, add a glossy top coat and cap the free edge. The shine gives the design its wet look and protects the fine lines. Clean any small mistake with a fine brush before top coating, rather than trying to fix it afterward. A matching gel base and top-coat pair is an optional route if you are building a gel manicure.
Keep it intentional
Color formula
Sheer nude base
Use a soft beige, blush, or milky nude so the red detail stays clean and visible.
Crimson detail
Choose a true deep red rather than a bright orange-red for the classic drip effect.
Glossy top coat
A clear, high-shine seal gives the design its fresh, wet-look finish.
Help it last
- Cap the free edge with top coat to help prevent early chipping.
- Give the red detail time to set before you add the final glossy layer.
- Use cuticle oil around the nail, rather than over freshly painted polish.
Remove it gently
- Use the removal method recommended for your polish or gel system.
- Do not peel or force off gel or polish; that can take layers from the natural nail.
- Finish with cuticle oil and hand cream once the manicure is fully removed.
Nail Art AI picks
Tools for this look


As an Amazon Associate, Nail Art AI earns from qualifying purchases. This comes at no additional cost to you.
Three easy variations
- Use black French tips under the red drips for a sharper Halloween contrast.
- Swap crimson for pink or lilac on a white base if you want a softer pastel-goth version.
- Put the drips on one accent nail only and leave the remaining nails glossy nude.
More ways to wear it
Use these guides to find a related look, compare techniques, or choose your next Halloween manicure.
See it on your own hand first
A deep red can look very different by nail length and skin tone. Try the idea on your own hand before you paint it or take it to an appointment.
Questions people ask
Are crimson drip nails hard to do?
They are beginner-friendly once you use the dot-and-drag method. The most important thing is letting the nude base dry before you add the red detail.
What can I use if I do not have a dotting tool?
The rounded end of a bobby pin, toothpick, or an empty ballpoint pen can place small polish dots. Use a thin brush for the trailing line.
Should the drips start at the cuticle or the tip?
Cuticle drips give the classic look in this guide. Tip drips work too and usually feel a little more graphic and less dramatic.
Can I use regular polish instead of gel?
Yes. Work one nail at a time, keep the layers thin, and let the red detail set before adding your top coat.