
Photo-real Salon Retro Nails - Retro nail art - featuring nail art, red - nail art inspiration and design ideas
Photo-real Salon Retro Nails
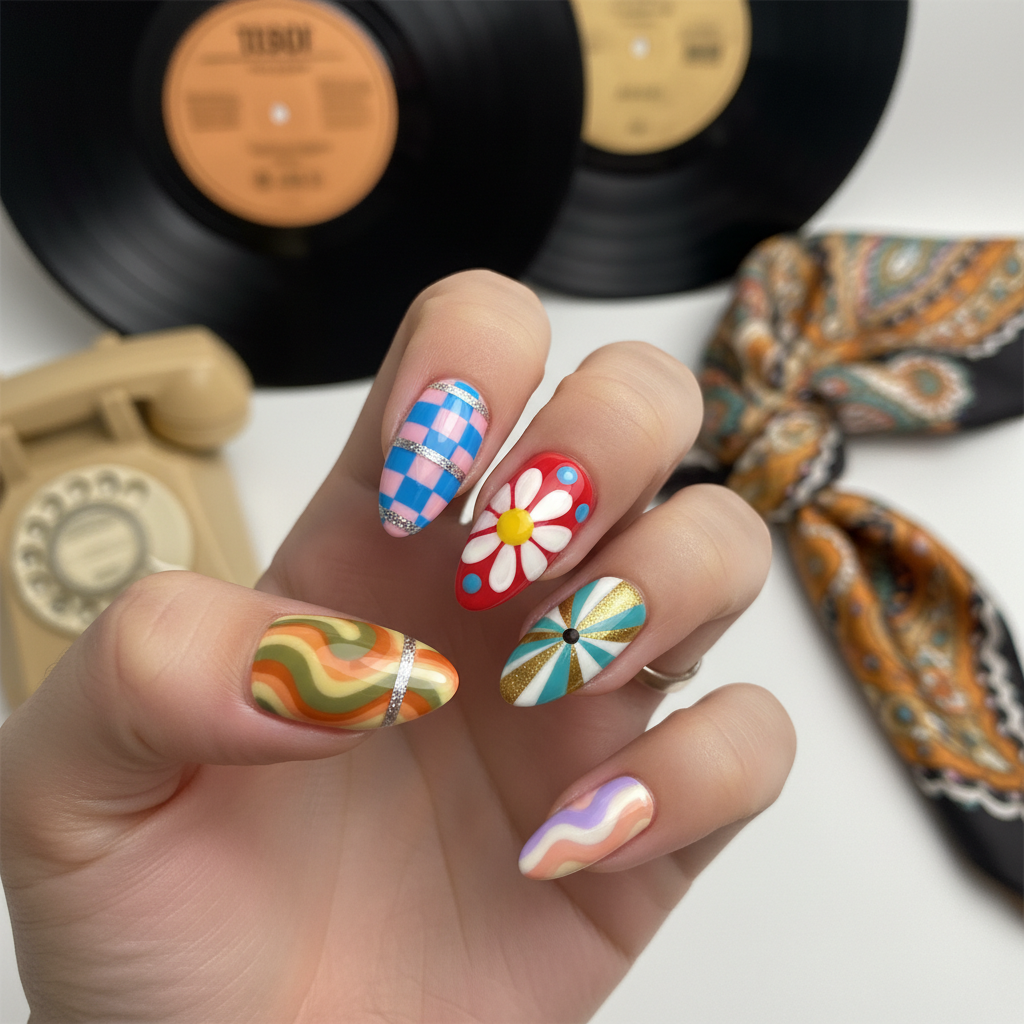
Retro Swirl Nails: Photo-Real Salon Quality Design
These retro swirl nails bring a groovy vibe to your fingertips! Featuring a clean, photo-real finish, this design is reminiscent of a high-end salon manicure with a fun, vintage twist. Get ready to turn heads with this eye-catching and expertly crafted nail look.
- Gel base coat
- Gel polishes (mustard yellow, burnt orange, cream, chocolate brown)
- Fine liner brush
- Gel top coat
- UV/LED lamp
- Apply a thin layer of gel base coat and cure under a UV/LED lamp.
- Apply 2-3 thin coats of cream gel polish as the base color, curing after each coat.
- Using a fine liner brush, create the retro swirl pattern with mustard yellow, burnt orange, and chocolate brown gel polishes. Cure after each color application.
- Clean up any mistakes with a small brush dipped in alcohol.
- Apply a gel top coat for a glossy, photo-real finish and cure under the lamp.
- Cleanse nails with alcohol to remove any sticky residue.
Expert Tip
Use a light hand and thin layers of gel polish to prevent the swirl design from becoming too thick or gloopy. Practice your swirl technique on a piece of paper first to perfect your lines.
Similar Styles


Explore Similar Designs
Colors in this Design
Techniques Used
Nail Shapes
Frequently Asked Questions
How long will this nail design last?
With proper application and aftercare, this gel manicure can last for 2-3 weeks.
Can I use regular nail polish instead of gel polish?
Yes, but the finish and durability will not be the same. Gel polish provides a longer-lasting, glossy, and photo-real effect.
What brush size is best for creating the swirls?
A fine liner brush with a very thin tip (00 or 000) is ideal for creating precise swirls.
How can I achieve a smoother swirl design?
Practice your swirl technique on a piece of paper before applying to your nails. Use a light hand and flowy movements.
Is it easy to damage the design?
When the gel polish is fully cured and top coated, the design is sealed well. However, avoid prolonged submersion in water to ensure longevity.
How can I prevent color bleeding?
Applying each color thinly, and curing after each, helps to prevent bleeding. Using high-quality gel is recommended.
Aftercare Tips
- ✓Keep your hands and nails moisturized with a good quality hand cream.
- ✓Avoid prolonged exposure to water to prevent lifting.
- ✓Schedule regular maintenance appointments with your nail technician.
Safe Removal
- 1.File off the top layer of gel polish.
- 2.Soak cotton pads in acetone, place them on your nails, and wrap with foil.
- 3.After 10-15 minutes, gently push off the softened gel polish with a cuticle pusher.