Stunning Photo-real Salon Holographic Nails - Holographic nail art - featuring nail art, red - nail art inspiration and design ideas
Stunning Photo-real Salon Holographic Nails
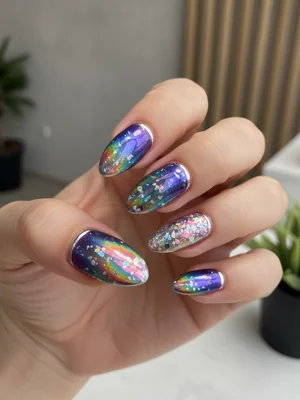
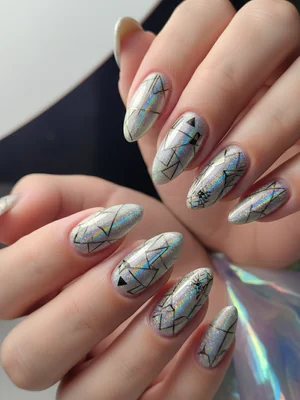
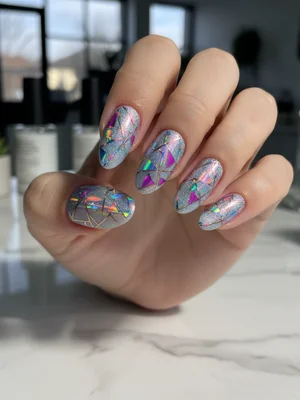
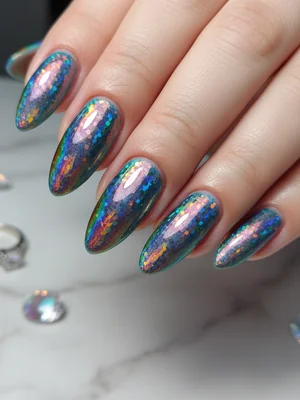
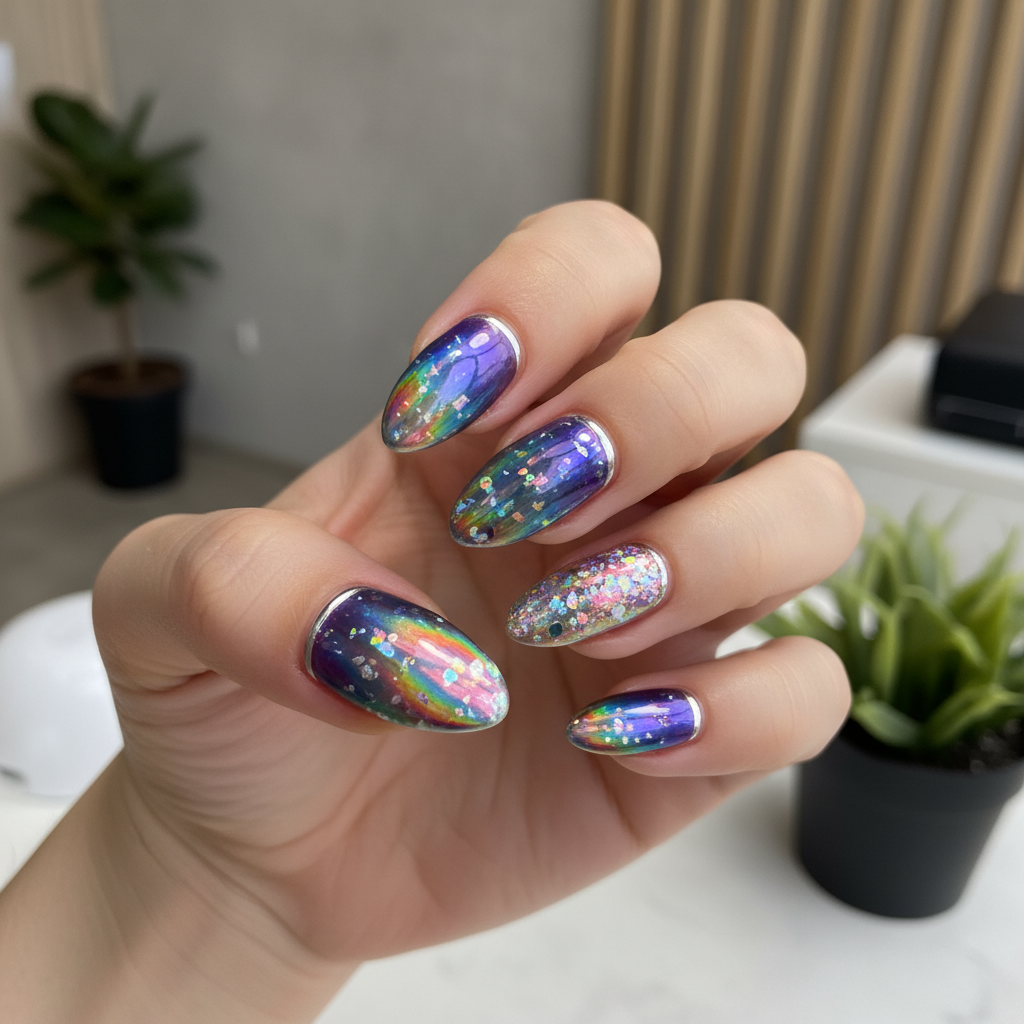
Photo-Real Holographic Salon Nails | Dazzling Rainbow Shine
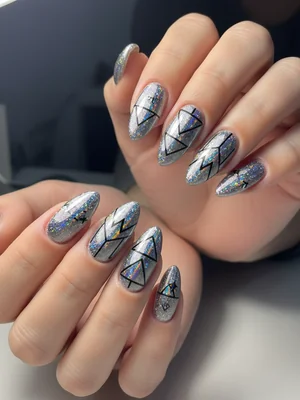
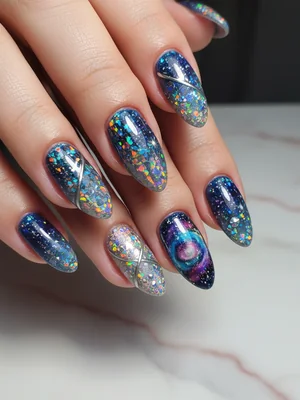
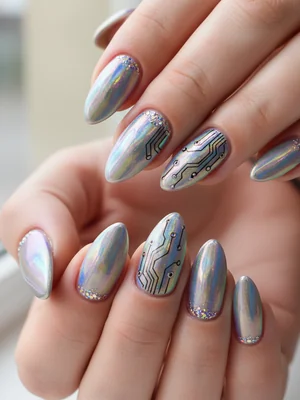
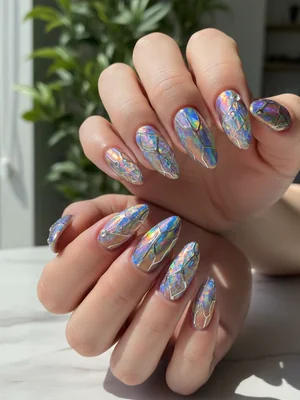
Unveil the ultimate in nail artistry with our Photo-Real Holographic Salon Nails. This breathtaking design captures an unparalleled multi-dimensional rainbow effect, offering a truly stunning, high-definition finish that looks incredibly realistic and professionally executed. Prepare to dazzle with nails that reflect light like a prism, creating a captivating visual experience from every angle.
Photo-Real Holographic Salon Nails | Dazzling Rainbow Shine
Unveil the ultimate in nail artistry with our Photo-Real Holographic Salon Nails. This breathtaking design captures an unparalleled multi-dimensional rainbow effect, offering a truly stunning, high-definition finish that looks incredibly realistic and professionally executed. Prepare to dazzle with nails that reflect light like a prism, creating a captivating visual experience from every angle.
- Professional Gel Base Coat
- High-Quality No-Wipe Gel Top Coat (essential for powder adhesion)
- Ultra-Fine Photo-Real Holographic Powder
- Sponge or Silicone Applicator
- LED/UV Curing Lamp
- Soft Dusting Brush
- Prepare nails by cleaning, shaping, and buffing. Apply a thin layer of gel base coat and cure under LED/UV lamp.
- Apply a desired base color gel polish (typically black or a deep grey for maximum holographic pop, or silver for a softer effect) and cure.
- Apply a crucial thin, even layer of no-wipe gel top coat and cure for the exact time recommended (often shorter than full cure to remain slightly tacky for powder adhesion, but not wet).
- Using a sponge or silicone applicator, firmly and evenly rub the ultra-fine holographic powder onto the entire nail surface until a seamless, mirror-like rainbow effect is achieved.
- Gently brush off excess powder with a soft dust brush. Apply a final layer of robust gel top coat to seal and protect the holographic design, then cure thoroughly.
- Cleanse with isopropyl alcohol to remove any sticky residue, revealing the final photo-real shine.
Expert Tip
The secret to a truly photo-real holographic finish lies in the precise curing time of your no-wipe top coat and the quality of your holographic powder. A slightly under-cured no-wipe top coat creates the perfect surface for powder adhesion, allowing for a seamless, mirror-like rub-in effect without clumping.
Similar Styles

Beautiful Photo-real Salon Holographic Nails
Holographic inspired nail art with beautiful, photo-real finish and professional salon quality
Gorgeous Photo-real Salon Holographic Nails
Holographic inspired nail art with gorgeous, photo-real finish and professional salon quality
Stunning Photo-real Salon Holographic Nails
Holographic inspired nail art with stunning, photo-real finish and professional salon quality
Beautiful Photo-real Salon Holographic Nails
Holographic inspired nail art with beautiful, photo-real finish and professional salon quality
Sophisticated Photo-real Salon Holographic Nails
Holographic inspired nail art with sophisticated, photo-real finish and professional salon quality
Gorgeous Photo-real Salon Holographic Nails
Holographic inspired nail art with gorgeous, photo-real finish and professional salon quality
Beautiful Photo-real Salon Holographic Nails
Holographic inspired nail art with beautiful, photo-real finish and professional salon quality
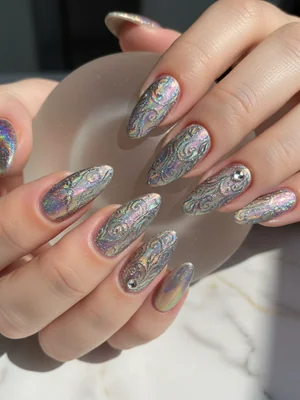
Photo-real Salon Holographic Nails
Holographic inspired nail art with elegant, photo-real finish and professional salon quality
Stunning Photo-real Salon Holographic Nails
Holographic inspired nail art with stunning, photo-real finish and professional salon quality
Gorgeous Photo-real Salon Holographic Nails
Holographic inspired nail art with gorgeous, photo-real finish and professional salon quality
Sophisticated Photo-real Salon Holographic Nails
Holographic inspired nail art with sophisticated, photo-real finish and professional salon quality
Photo-real Salon Holographic Nails
Holographic inspired nail art with elegant, photo-real finish and professional salon quality
Explore Similar Designs
Colors in this Design
Techniques Used
Perfect For
Nail Shapes
Frequently Asked Questions
How long do Photo-Real Holographic Nails last?
With proper application and aftercare, your photo-real holographic manicure can last 3-4 weeks, just like a standard gel manicure.
Can I achieve this holographic design at home?
Achieving a true 'photo-real' salon quality holographic design requires advanced techniques, professional-grade products, and precision, making a salon visit highly recommended for the best results.
Will the holographic effect fade over time?
The holographic effect itself is sealed under a top coat. With proper care and a good quality top coat, the shimmer should remain vibrant throughout its wear.
Is holographic powder safe for my nails?
Yes, when applied correctly by a professional, holographic powders are safe and typically non-toxic. They are sealed within gel layers, preventing direct contact with the natural nail.
Can I add nail art on top of the holographic finish?
Absolutely! Small decals, rhinestones, or even subtle hand-painted accents can be added on top of the cured holographic layer before the final top coat for extra embellishment.
Does this design work on shorter nails?
While longer nails allow more surface area to showcase the full multi-dimensional effect, this holographic design can still look stunning and impactful on shorter, well-shaped nails.
Aftercare Tips
- ✓Hydrate cuticles daily with nourishing oil to keep nails healthy and flexible.
- ✓Avoid picking or peeling at the polish, as this can damage the natural nail plate.
- ✓Wear gloves during household chores or when washing dishes to extend the life of your holographic manicure.
Safe Removal
- 1.Gently file away the top layer of gel polish to break the seal.
- 2.Soak nails in acetone for 10-15 minutes, ensuring the product is fully saturated.
- 3.Carefully push off softened product with a wooden stick, never forcing it, then lightly buff any residue.