Creepy Halloween Black White Bones Red Halloween Nails - Halloween nail art - featuring red, black, white, halloween - nail art inspiration and design ideas
Creepy Halloween Black White Bones Red Halloween Nails
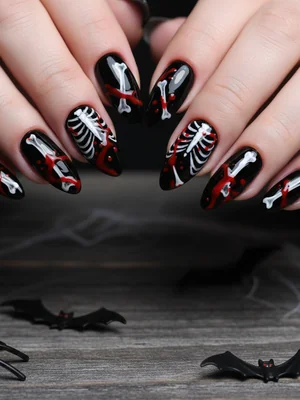
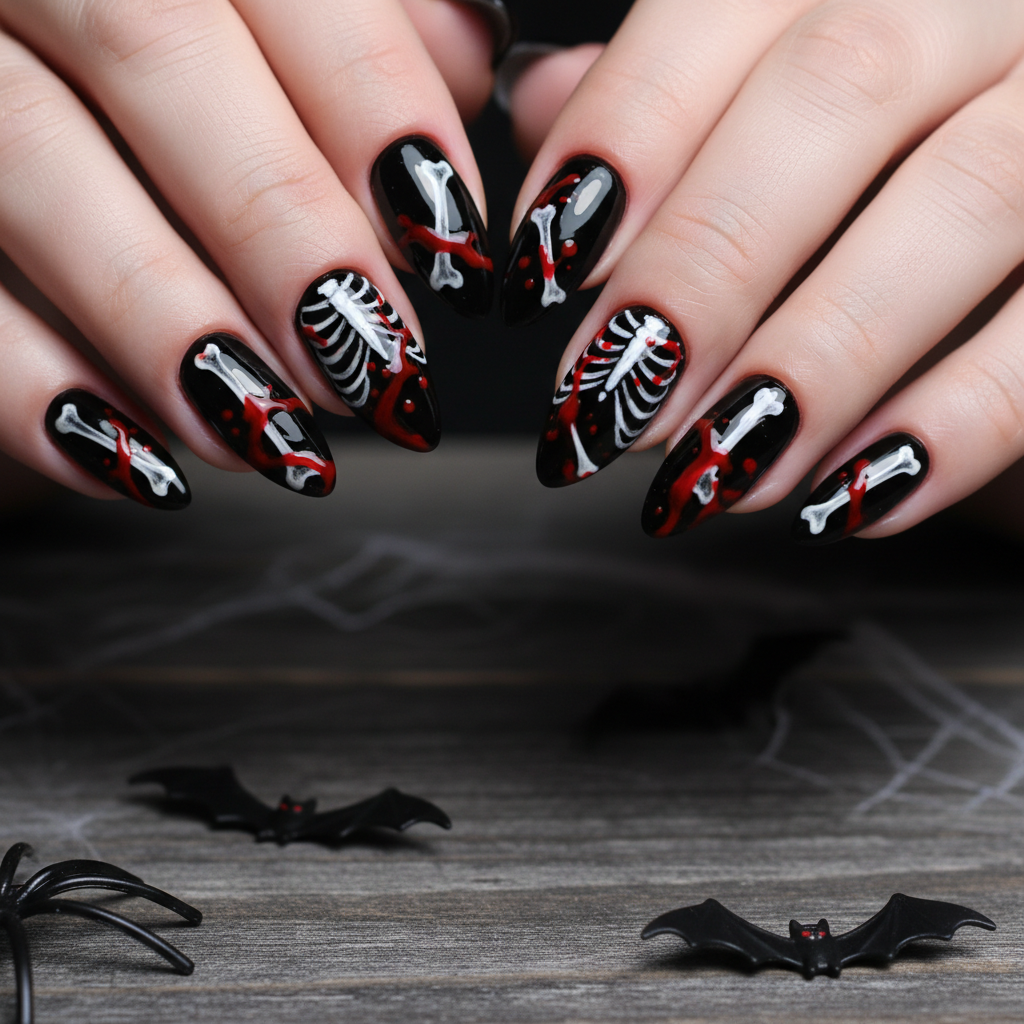
Spooky Bone Chill: Red, Black & White Halloween Nails
Embrace the eerie season with these bone-chilling Halloween nails! This design features a stark black base, contrasting white bone details, and dramatic red blood splatters for a truly haunting look.
Spooky Bone Chill: Red, Black & White Halloween Nails
Embrace the eerie season with these bone-chilling Halloween nails! This design features a stark black base, contrasting white bone details, and dramatic red blood splatters for a truly haunting look.
- Black nail polish
- White nail polish
- Red nail polish
- Thin nail art brush
- Base coat
- Top coat
- Apply a base coat to protect your nails.
- Apply two coats of black nail polish and let dry completely.
- Using a thin brush and white polish, carefully paint bone shapes onto each nail. Get creative with the placement!
- With red polish and a clean brush, create splatter effects by dabbing and flicking the brush around the bone designs.
- Allow the design to dry completely to prevent smudging.
- Finish with a glossy top coat to seal and protect your spooky masterpiece.
Colors in This Design
Expert Tip
Practice your bone designs on paper first to get a feel for the shapes before applying to your nails. A dotting tool can help create consistent splatter sizes.
Similar Styles

Festive Halloween Orange Black Cats White Halloween Nails
Festive Halloween nails with orange base, black cats, and white moon details

Black Green Witch Hats Purple Glitter Halloween Nails
Spooky Halloween nail art with black base, green witch hats, and purple glitter

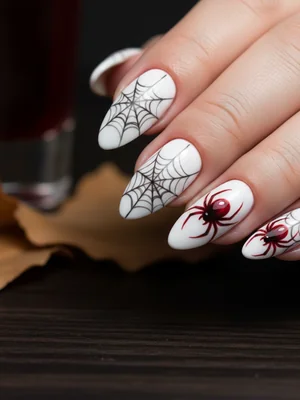
Creepy Halloween White Black Spider Webs Halloween Nails
Creepy Halloween design with white base, black spider webs, and red spider accents

Spooky Halloween Black Orange Pumpkins Green Halloween Nails
Spooky Halloween nails with black base, orange pumpkins, and green witch details

Spooky Halloween Black Orange Pumpkins Green Halloween Nails
Spooky Halloween nails with black base, orange pumpkins, and green witch details

Spooky Halloween Black Orange Pumpkins Green Halloween Nails
Spooky Halloween nails with black base, orange pumpkins, and green witch details
Creepy Halloween White Black Spider Webs Halloween Nails
Creepy Halloween design with white base, black spider webs, and red spider accents
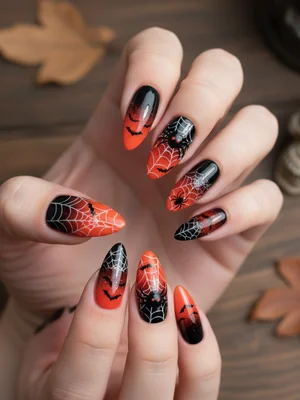
Creepy Halloween Black Orange Gradient Spider Halloween Nails
Creepy Halloween nails with black and orange gradient, spider webs, and tiny bats

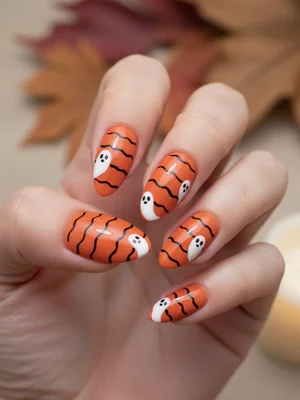
Orange Black Stripes White Ghosts Halloween Nails
Halloween nail art with orange base, black stripes, and tiny white ghosts
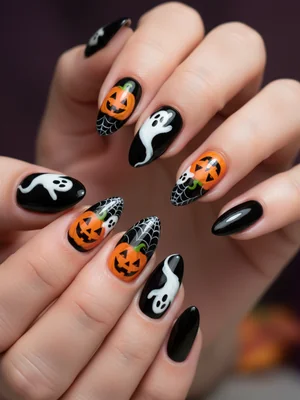
Black Orange Pumpkins White Ghost Silhouettes Halloween Nails
Spooky Halloween nail art with black base, orange pumpkins, and white ghost silhouettes
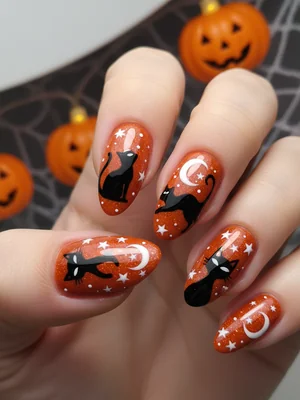
Festive Halloween Orange Black Cats White Halloween Nails
Festive Halloween nails with orange base, black cats, and white moon details
Orange Black Stripes White Ghosts Halloween Nails
Halloween nail art with orange base, black stripes, and tiny white ghosts
Explore Similar Designs
Techniques Used
Perfect For
Nail Shapes
Frequently Asked Questions
Can I use nail stickers instead of freehand painting?
Yes, you can use bone-shaped nail stickers or decals for easier application. However, freehand painting allows for more customization.
What kind of brush is best for the bone details?
A very fine nail art brush with a thin, pointed tip is ideal for creating precise bone shapes.
How do I make the blood splatters look more realistic?
Use different shades of red polish and vary the size and direction of the splatters for a more realistic effect. A touch of brown or black can deepen the color.
Can I use gel polish for this design?
Yes, you can use gel polish. Remember to cure each layer under a UV/LED lamp.
How long will this design last?
With proper application and maintenance, this design can last up to 2 weeks with regular nail polish and even longer with gel polish.
Is there a way to make the blood splatter less permanent?
You could apply a peel-off base coat under the black polish. This will allow you to change the splatter design more frequently without fully redoing the nails.
Aftercare Tips
- ✓Moisturize your cuticles daily with cuticle oil.
- ✓Keep your hands hydrated with lotion.
- ✓Avoid picking at the polish.
Safe Removal
- 1.Soak cotton balls in nail polish remover.
- 2.Place the cotton balls on your nails and wrap them with foil for 5-10 minutes.
- 3.Gently remove the polish with a cotton pad.