Sophisticated Photo-real Salon Foil Nails - Foil nail art - featuring nail art, red - nail art inspiration and design ideas
Sophisticated Photo-real Salon Foil Nails
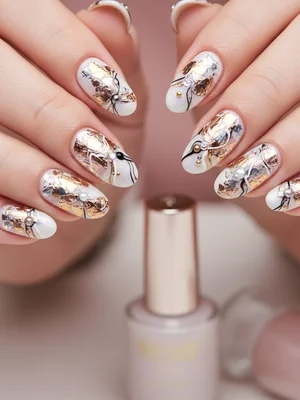
Sophisticated Photo-Real Salon Foil Nails | Luxury Metallic Art
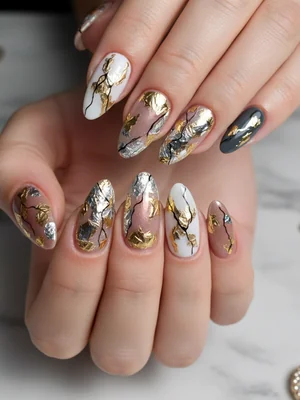
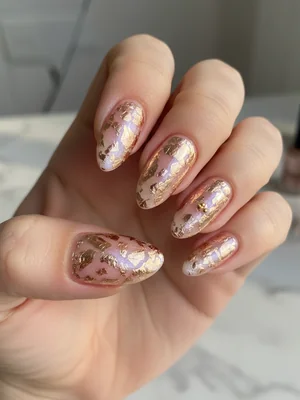
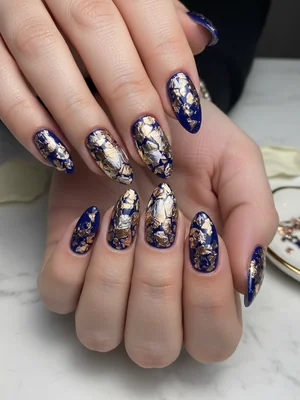
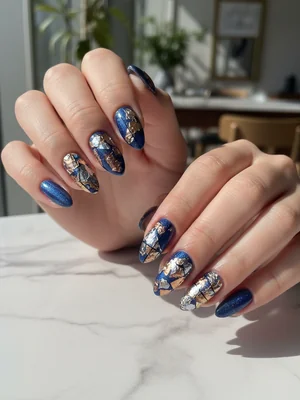
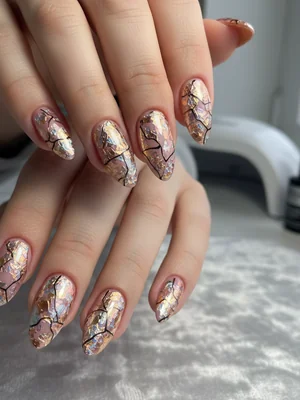
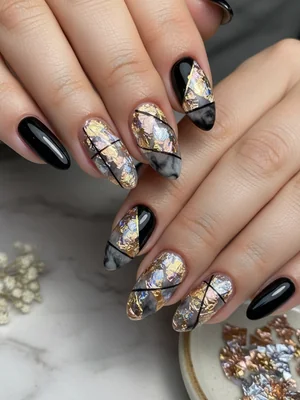
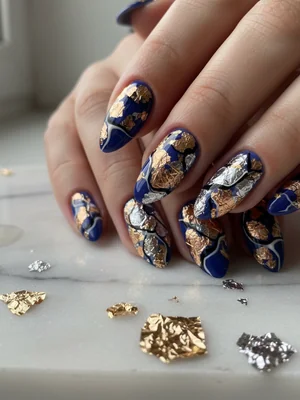
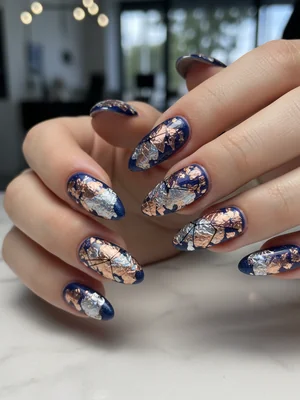
Experience the epitome of elegance with our Sophisticated Photo-Real Salon Foil Nails. This design transcends ordinary metallic manicures, featuring an intricate interplay of high-shine foils meticulously applied to create a truly photo-realistic, multi-dimensional metallic effect. Expect a flawless, salon-quality finish that captures light and attention with its luxurious depth.
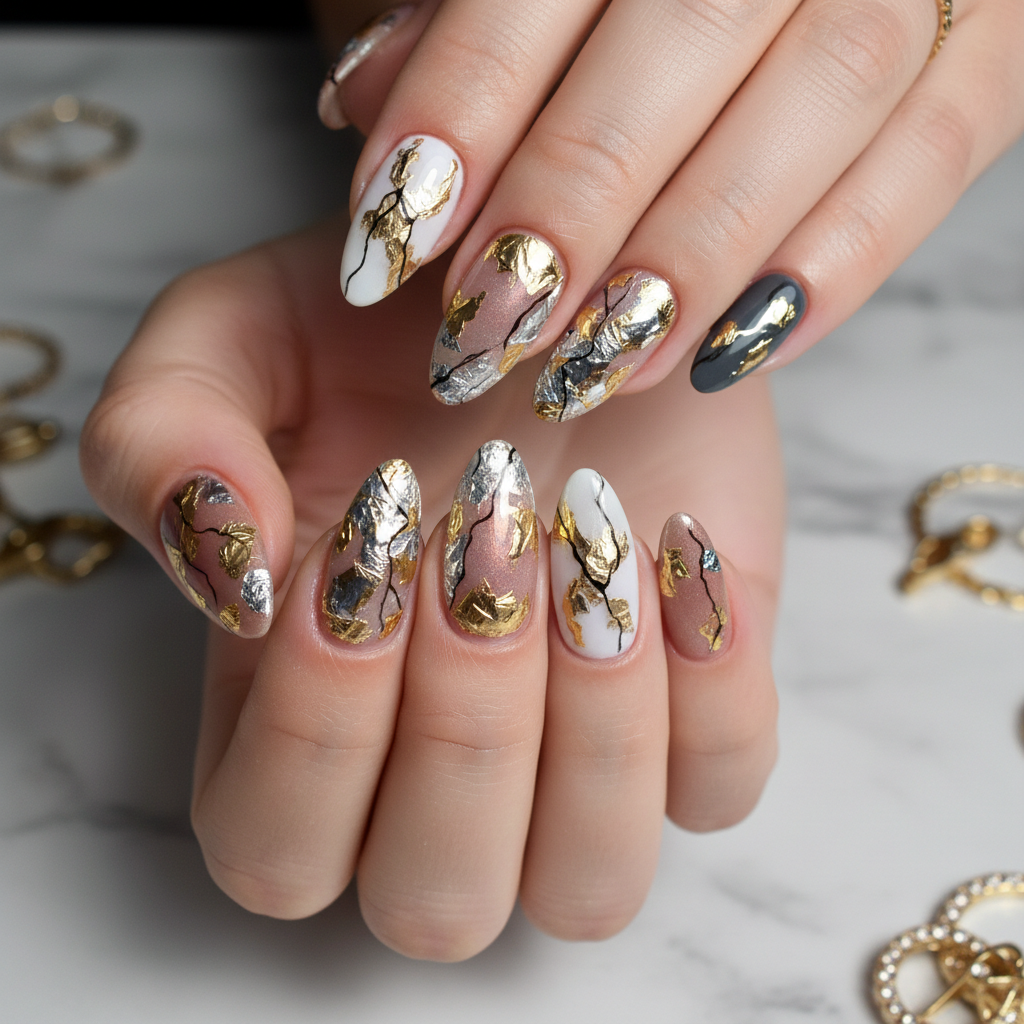
Sophisticated Photo-Real Salon Foil Nails | Luxury Metallic Art
Experience the epitome of elegance with our Sophisticated Photo-Real Salon Foil Nails. This design transcends ordinary metallic manicures, featuring an intricate interplay of high-shine foils meticulously applied to create a truly photo-realistic, multi-dimensional metallic effect. Expect a flawless, salon-quality finish that captures light and attention with its luxurious depth.
- Assorted metallic nail foils (gold, silver, rose gold, iridescent)
- Foil transfer gel/adhesive
- Gel base and non-wipe top coat
- Builder gel (for encapsulation)
- Fine detail brush
- UV/LED curing lamp
- **Nail Prep & Base Coat:** After thorough nail preparation, apply a gel base coat and cure under UV/LED lamp.
- **Foil Adhesive Application:** Apply a thin, even layer of foil transfer gel over the entire nail or desired areas. Allow it to air dry until tacky (typically 30-60 seconds).
- **Initial Foil Layer:** Press larger pieces of various metallic foils onto the tacky surface, using a silicone tool or finger to firmly rub the foil before peeling off. This creates the foundational metallic texture. Cure lightly.
- **Achieving Photo-Realism:** Apply a thin layer of clear builder gel. Carefully place smaller, irregular pieces of iridescent or textured foils, strategically overlapping and layering to create depth and 'shattered' light reflections. Use a fine detail brush with a hint of metallic gel polish to add subtle shadows or highlights, enhancing the 3D effect. Cure each layer thoroughly.
- **Encapsulation & Seal:** Apply a thin layer of builder gel to encapsulate the intricate foil work, ensuring a smooth, durable surface that protects the design. Cure for 60 seconds.
- **High-Gloss Topcoat:** Finish with a high-quality non-wipe top coat for maximum shine and protection. Cure completely, then cleanse with a lint-free wipe and cleanser for a professional, photo-real sheen.
Techniques
Expert Tip
To truly achieve the 'photo-real' depth, focus on intentional layering of different foil types and textures. A thin layer of builder gel between foil applications helps to build subtle elevation, and a final, thick, high-gloss top coat will magnify the reflective qualities, making the design appear almost wet and alive.
Similar Styles
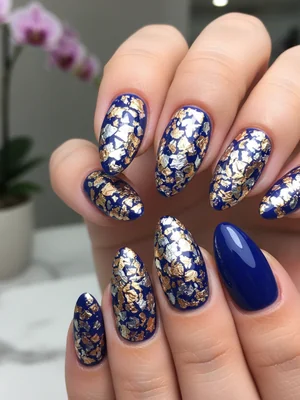
Beautiful Photo-real Salon Foil Nails
Foil inspired nail art with beautiful, photo-real finish and professional salon quality
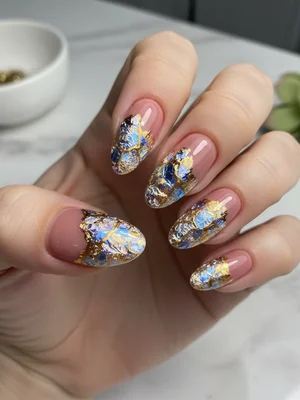
Gorgeous Photo-real Salon Foil Nails
Foil inspired nail art with gorgeous, photo-real finish and professional salon quality
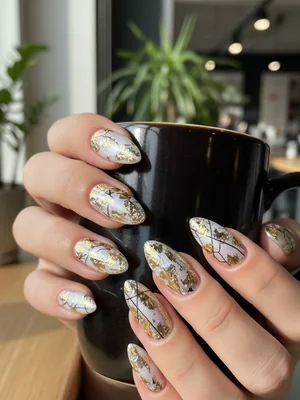
Stunning Photo-real Salon Foil Nails
Foil inspired nail art with stunning, photo-real finish and professional salon quality
Beautiful Photo-real Salon Foil Nails
Foil inspired nail art with beautiful, photo-real finish and professional salon quality
Sophisticated Photo-real Salon Foil Nails
Foil inspired nail art with sophisticated, photo-real finish and professional salon quality
Gorgeous Photo-real Salon Foil Nails
Foil inspired nail art with gorgeous, photo-real finish and professional salon quality
Beautiful Photo-real Salon Foil Nails
Foil inspired nail art with beautiful, photo-real finish and professional salon quality
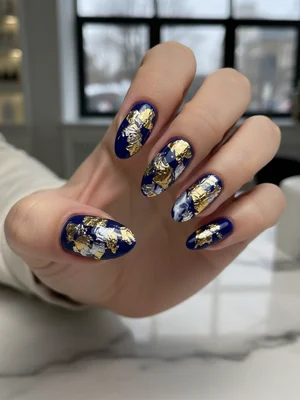
Photo-real Salon Foil Nails
Foil inspired nail art with elegant, photo-real finish and professional salon quality
Stunning Photo-real Salon Foil Nails
Foil inspired nail art with stunning, photo-real finish and professional salon quality
Gorgeous Photo-real Salon Foil Nails
Foil inspired nail art with gorgeous, photo-real finish and professional salon quality
Stunning Photo-real Salon Foil Nails
Foil inspired nail art with stunning, photo-real finish and professional salon quality
Photo-real Salon Foil Nails
Foil inspired nail art with elegant, photo-real finish and professional salon quality
Explore Similar Designs
Colors in this Design
Techniques Used
Perfect For
Nail Shapes
Frequently Asked Questions
How long do Photo-Real Salon Foil Nails typically last?
With proper application and aftercare, this sophisticated design can last 3-4 weeks, depending on your natural nail growth and activity.
Can this design be applied to natural nails?
Yes, it can be beautifully applied to natural nails, or incorporated into gel overlays and extensions for added strength and length.
What makes it 'photo-real'?
The 'photo-real' aspect comes from the intricate layering of different foil types, strategic placement to mimic light reflection, and the use of clear gels to create optical depth and dimension, making the metallic surface appear incredibly lifelike.
Is this design suitable for shorter nails?
While stunning on any length, the full impact of the multi-dimensional photo-real effect is best showcased on medium to long nails, allowing more canvas for the intricate foil work.
Does this design feel bumpy due to the foil layers?
No, a professional application involves encapsulating the foil layers with builder gel and a smooth top coat, ensuring a perfectly smooth, salon-quality finish that feels seamless to the touch.
How much does this sophisticated nail art typically cost?
Given the advanced technique, specialized materials, and time involved, this premium design usually ranges from $80 to $120, reflecting its artistry and salon quality.
Aftercare Tips
- ✓Avoid prolonged exposure to water or harsh chemicals immediately after application (first 24 hours).
- ✓Use non-acetone nail polish remover for any touch-ups on plain nails, if applicable.
- ✓Regularly moisturize hands and nails to maintain overall nail health.
- ✓If lifting occurs, contact your nail technician immediately for a professional repair.
Safe Removal
- 1.**Soak-Off Method:** Gently file off the top coat to break the seal. Soak nails in acetone-soaked cotton pads wrapped in foil for 15-20 minutes.
- 2.**Gentle Removal:** Carefully push off the softened product with a wooden or metal cuticle pusher.
- 3.**Hydrate & Buff:** Lightly buff any remaining residue. Apply cuticle oil and a strengthening treatment to nourish nails.