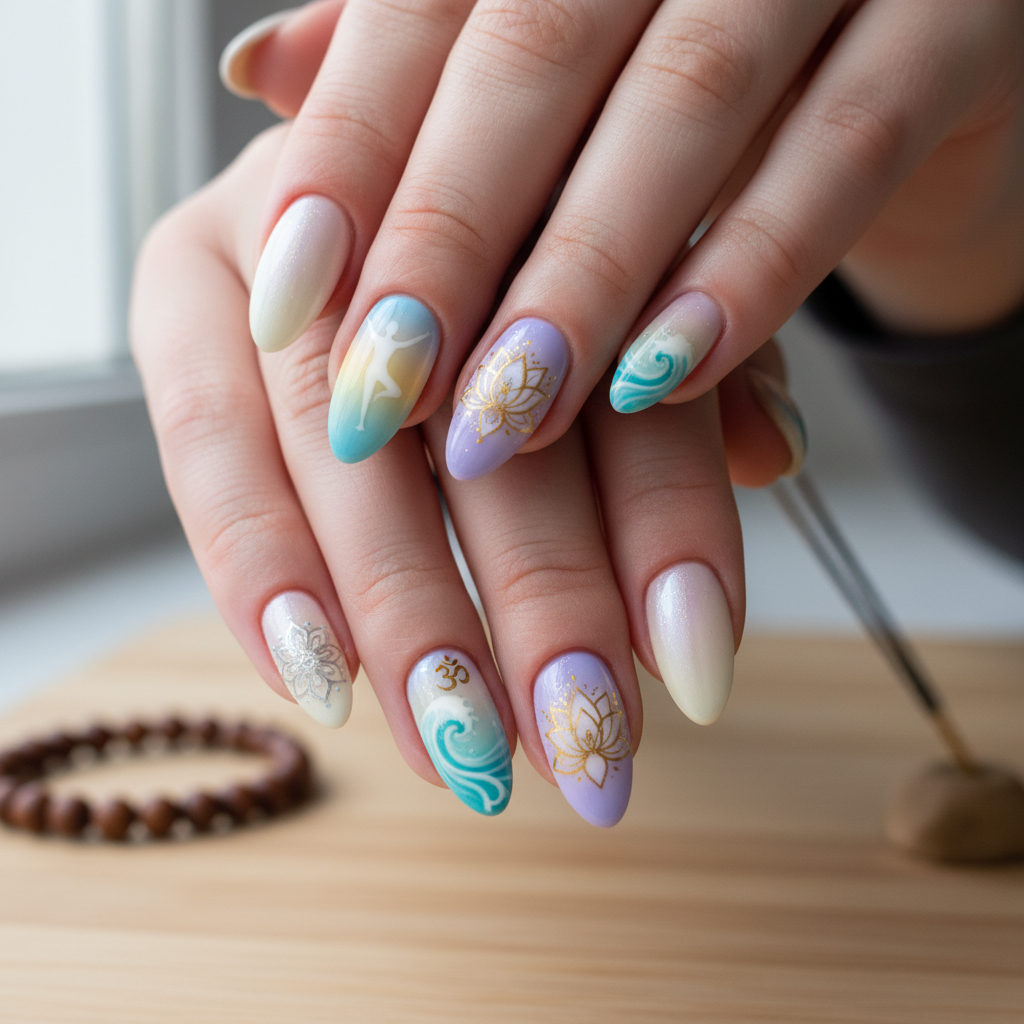
Photo-real Salon Yoga Nails
Yoga inspired nail art with clean, photo-real finish and professional salon quality
Created: October 5, 2025 at 12:23 PM
More Yoga Designs
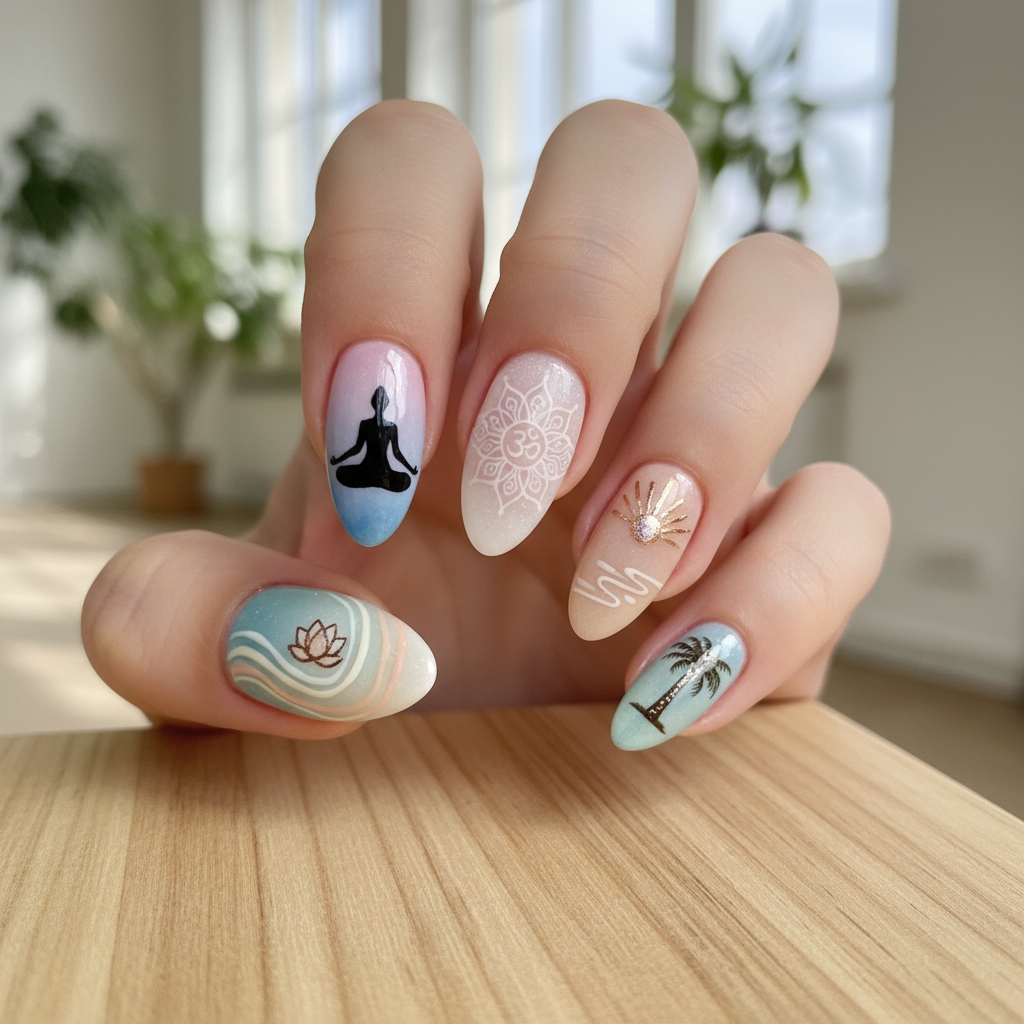
More Designs
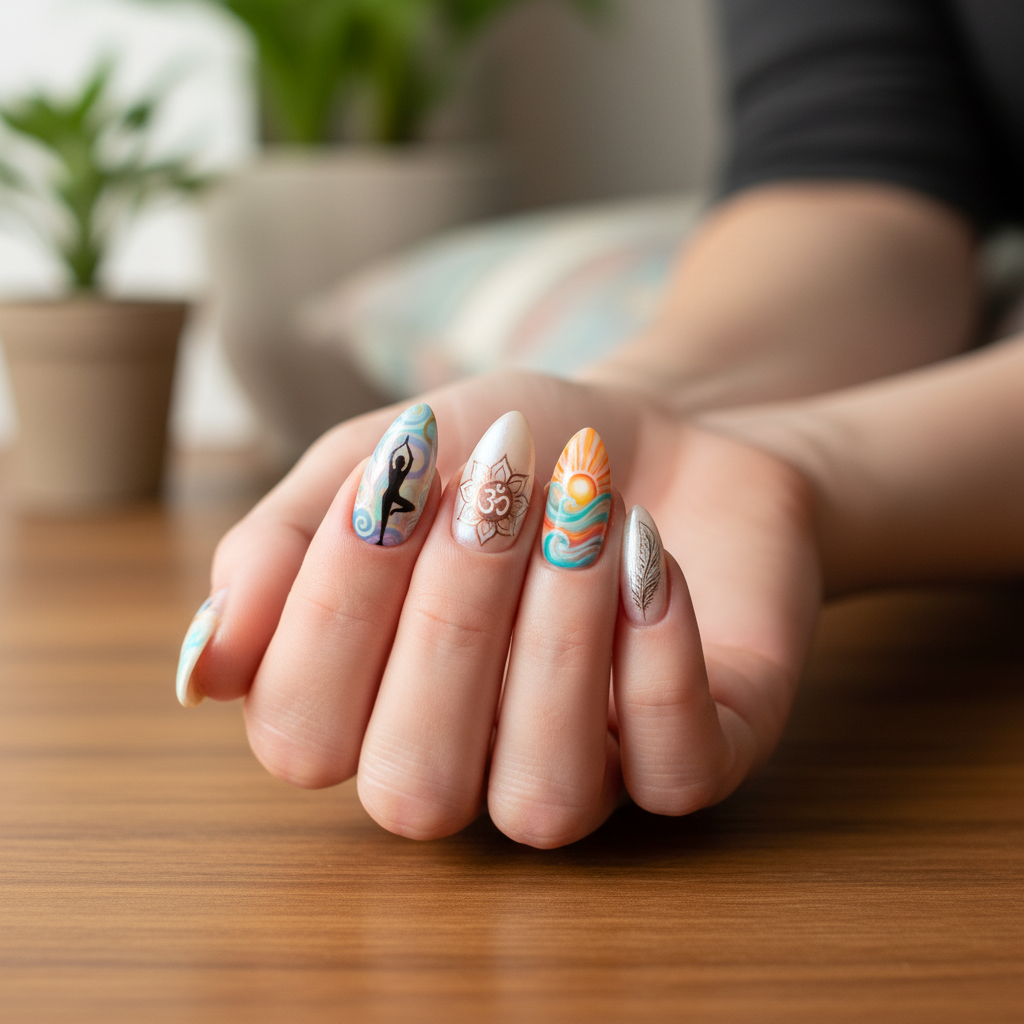
Zen Nails: Photo-Real Yoga Pose Nail Art Design
Find your inner peace with this serene yoga-inspired nail art. This design features clean, photo-realistic depictions of yoga poses for a salon-quality finish that brings tranquility to your fingertips.
Supplies You'll Need
- Base coat
- Nude or neutral polish
- Fine detail brushes
- Black and white acrylic paint
- Top coat
- Yoga pose stencils or decals (optional)
How To Recreate It
- Apply a base coat to protect your nails.
- Apply 2-3 coats of a nude or neutral polish as the base color.
- Using fine detail brushes and acrylic paint, carefully paint yoga pose outlines onto each nail.
- Fill in the yoga pose figures with appropriate skin tones, using a fine detail brush to create shading.
- Add subtle highlights and shadows to enhance the photo-real effect.
- Seal the design with a glossy or matte top coat for protection and shine.
Expert Tip
Use a fine-tipped brush or nail art pen for precise details. Practice your yoga pose designs on paper first to build confidence before applying them to your nails.
Try These Variations
- →Ombre base with yoga pose silhouettes.
- →Yoga chakras painted on each nail instead of poses.
- →Minimalist line art of yoga poses on a clear base.
Aftercare Tips
- ✓Moisturize your hands regularly to prevent dryness.
- ✓Avoid picking or peeling at the nail art to prolong its lifespan.
- ✓Consider using a nail strengthener to maintain nail health.
Safe Removal
- 1.Soak a cotton ball in acetone-based nail polish remover.
- 2.Place the cotton ball on the nail and wrap it in foil for 10-15 minutes.
- 3.Gently remove the softened polish and any remaining decals or paint.
Quick Facts
Why It's Trending
Mindfulness and wellness trends are driving the popularity of incorporating yoga into everyday life, including nail art.
Seasonal Styling
Perfect for any season, but especially fitting for spring and summer when mindfulness and wellness are often emphasized.
Color Variations
Perfect For
Why People Love It
Yoga-inspired nail art is a popular trend on social media, with users sharing their creative and mindful designs using relevant hashtags.
Daily Maintenance
- 💅Apply cuticle oil daily to keep your nails healthy.
- 💅Wear gloves when doing household chores to protect the design.
- 💅Avoid using harsh chemicals that could damage the nail art.
Common Issues & Fixes
- ⚠Paint bleeding or smudging.Use thin layers of paint and allow each layer to dry completely before adding the next. Use a clean-up brush dipped in acetone to correct mistakes.
- ⚠Decals not sticking properly.Ensure the nail surface is smooth and clean. Apply a thin layer of top coat before applying the decal and press firmly to adhere.
- ⚠Design chipping prematurely.Apply a generous layer of top coat and reapply every 2-3 days to seal and protect the design.
Design Inspiration
Inspired by the serene and mindful practice of yoga, bringing a sense of calm and balance to your everyday style.
Explore Similar Designs
Colors in this Design
Techniques Used
Perfect For
Nail Shapes
More Categories to Explore
Popular Colors
Popular Techniques
Perfect Occasions
FAQs
Can I use regular nail polish instead of acrylic paint?
Yes, but acrylic paint is recommended for fine details as it is easier to control and blend. However, nail polish can be used, especially for base colors.
Where can I find yoga pose decals or stencils?
Online marketplaces like Etsy and Amazon offer a variety of yoga-themed nail art supplies.
How long will this design last?
With proper application and maintenance, this design can last up to 2 weeks.
Can I use a matte top coat for this design?
Yes, a matte top coat can create a unique and modern look. However, a glossy top coat will enhance the photo-realistic effect.
Is it possible to simplify this design for beginners?
Yes, you can use simpler yoga pose silhouettes or opt for a less detailed design.
How do I prevent smudging when painting the details?
Work in thin layers and allow each layer to dry completely before adding the next. Use a quick-drying top coat to seal the design.