Photo-real Salon Turquoise Nails
Turquoise inspired nail art with clean, photo-real finish and professional salon quality
Created: October 5, 2025 at 12:37 PM
More Turquoise Designs

More Designs
Salon-Quality Turquoise Dream Nails: Achieve the Look
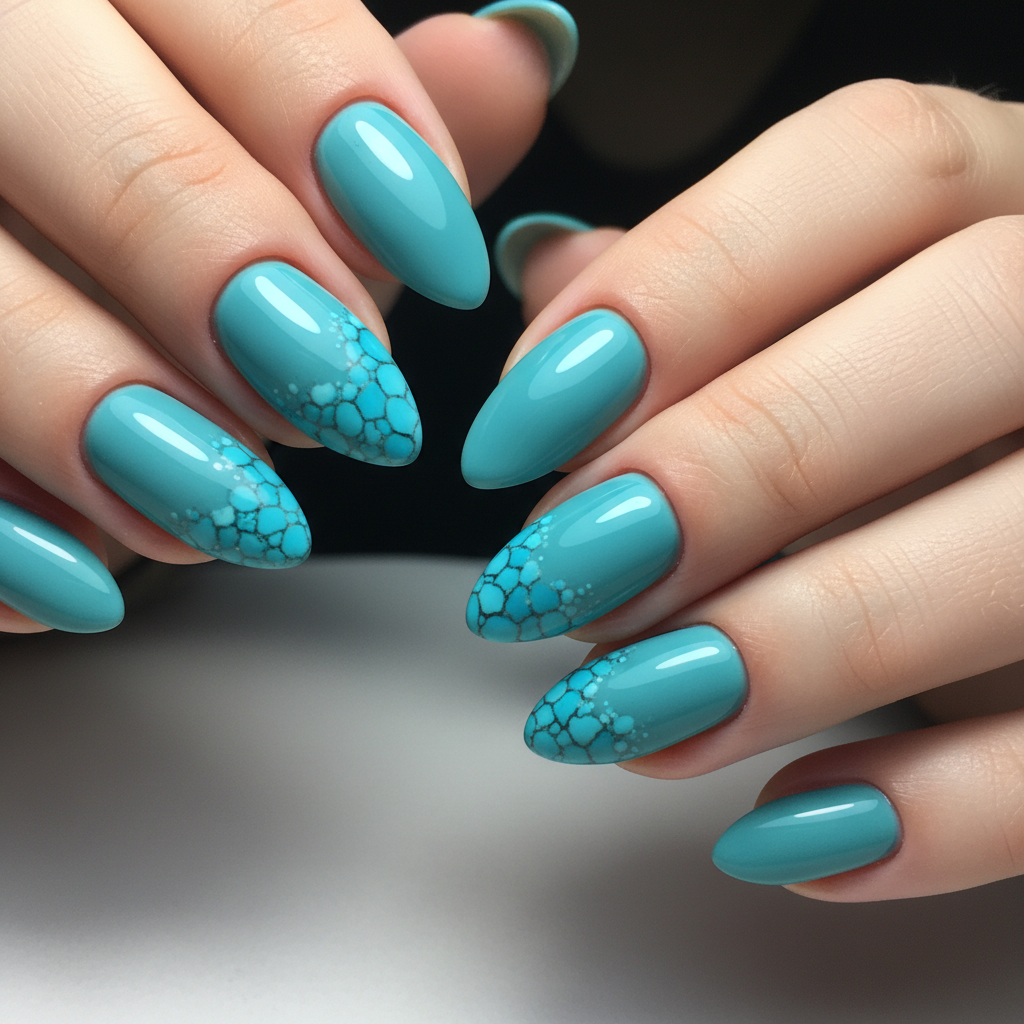
Indulge in the allure of turquoise with this stunning, photo-real nail design. Mimicking a professional salon finish, these nails capture the vibrant, calming essence of turquoise stone, ensuring a sophisticated and eye-catching manicure.
Supplies You'll Need
- Turquoise nail polish
- White nail polish
- Thin nail art brush
- Detailing brush
- Clear top coat
- Base coat
How To Recreate It
- Apply a base coat to protect your nails.
- Apply a base layer of turquoise nail polish.
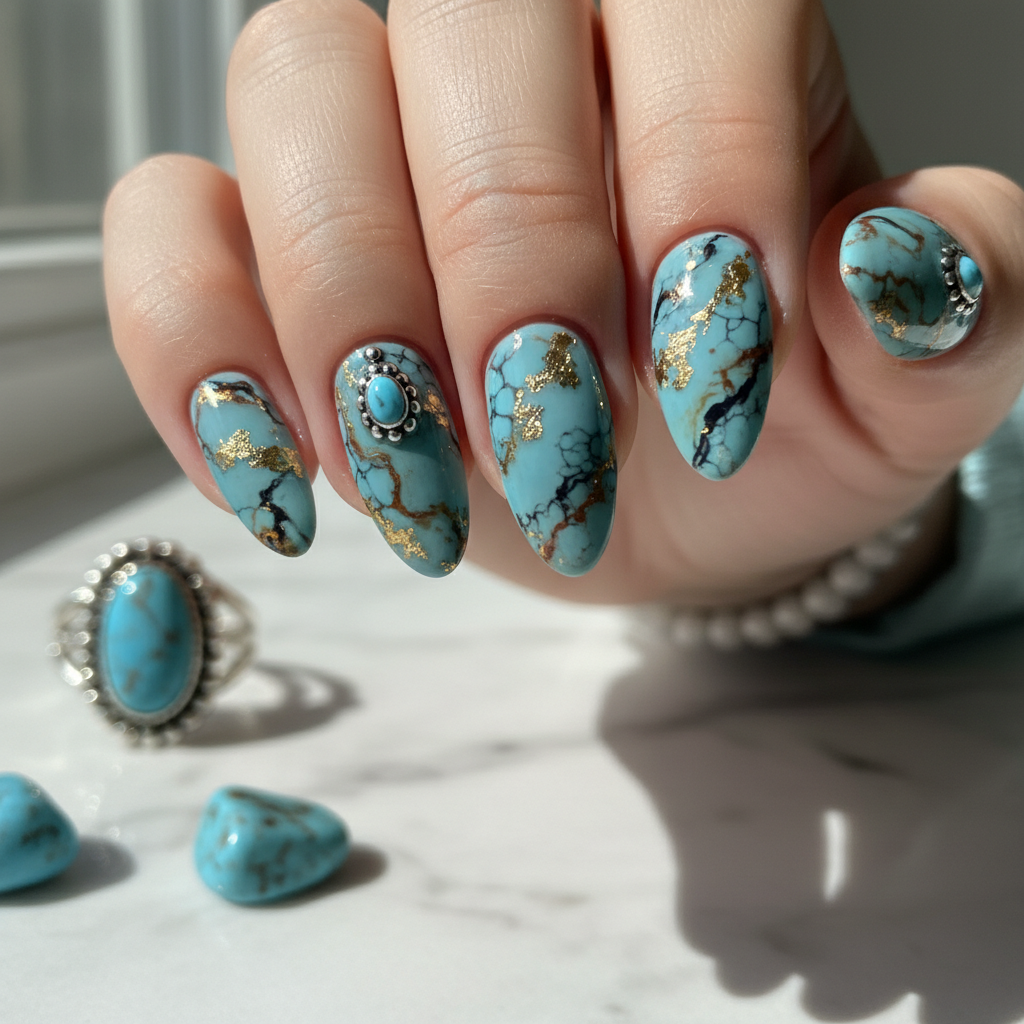
- Using a thin brush, create white and dark blue veins mimicking the turquoise stone pattern.
- Blend the veins softly with a detailing brush for a natural look.
- Add subtle gold accents for depth and realism.
- Seal the design with a high-shine top coat.
Expert Tip
Use a very fine brush for creating the veins to achieve a realistic stone effect. Don't be afraid to experiment with different shades of blue and green to create unique turquoise patterns.
Try These Variations
- →Incorporate small, genuine turquoise stone accents for a textured look.
- →Create an ombre effect with varying shades of turquoise for added dimension.
- →Use a matte top coat for a different, more subdued finish.
Aftercare Tips
- ✓Moisturize your hands and cuticles daily with a nourishing cuticle oil.
- ✓Avoid picking or peeling the polish.
- ✓Use a gentle nail polish remover when removing the design.
Safe Removal
- 1.Soak a cotton ball in nail polish remover and place it on the nail.
- 2.Wrap the nail with foil and let it sit for 5-10 minutes.
- 3.Gently remove the polish with a cotton ball or a nail tool.
Quick Facts
Why It's Trending
Turquoise gemstone-inspired designs are trending for their unique and sophisticated aesthetic, offering a touch of natural elegance.
Seasonal Styling
Perfect for spring and summer, these turquoise nails evoke a sense of vacation and tropical vibes. They also add a pop of color during the colder months, reminding you of warmer days.
Color Variations
Perfect For
Why People Love It
Instagram and Pinterest are flooded with this design, proving its popularity and visual appeal. Nail art enthusiasts love the realistic gemstone effect!
Daily Maintenance
- 💅Apply a top coat every 2-3 days to maintain shine and prevent chipping.
- 💅Avoid harsh chemicals and detergents that can damage the polish.
- 💅Wear gloves when doing housework to protect your manicure.
Common Issues & Fixes
- ⚠Veins are too harsh.Use a detailing brush to gently blend the veins into the base color.
- ⚠Top coat is smudging the design.Allow the design to dry completely before applying the top coat.
- ⚠Nail polish is chipping easily.Ensure a proper base coat and top coat are applied. Reapply top coat every other day.
Design Inspiration
Inspired by the mesmerizing beauty of natural turquoise gemstones, bringing a piece of nature's artistry to your fingertips.
Explore Similar Designs
Colors in this Design
Techniques Used
Perfect For
Nail Shapes
More Categories to Explore
Popular Colors
Popular Techniques
Perfect Occasions
FAQs
How long will this design last?
With proper care, this manicure can last up to 2 weeks without significant chipping.
Can I use gel polish for this design?
Yes, gel polish can be used for added durability. Just be sure to cure each layer properly.
What brush size is recommended for the veins?
A 00 or 000 nail art brush is ideal for creating fine, detailed veins.
Is it necessary to add gold accents?
No, gold accents are optional but add a touch of realism and depth to the design.
Can I adapt this for short nails?
Yes, you can. Adjust the scale of the veins and patterns to suit the nail size.
Can I use stamping plates for vein creation?
While possible, the effect will not be as photo-realistic. Hand-painting offers the best, most natural result.