Photo-real Salon Mermaid Nails
Mermaid inspired nail art with clean, photo-real finish and professional salon quality
Created: October 5, 2025 at 12:09 PM
More Mermaid Designs
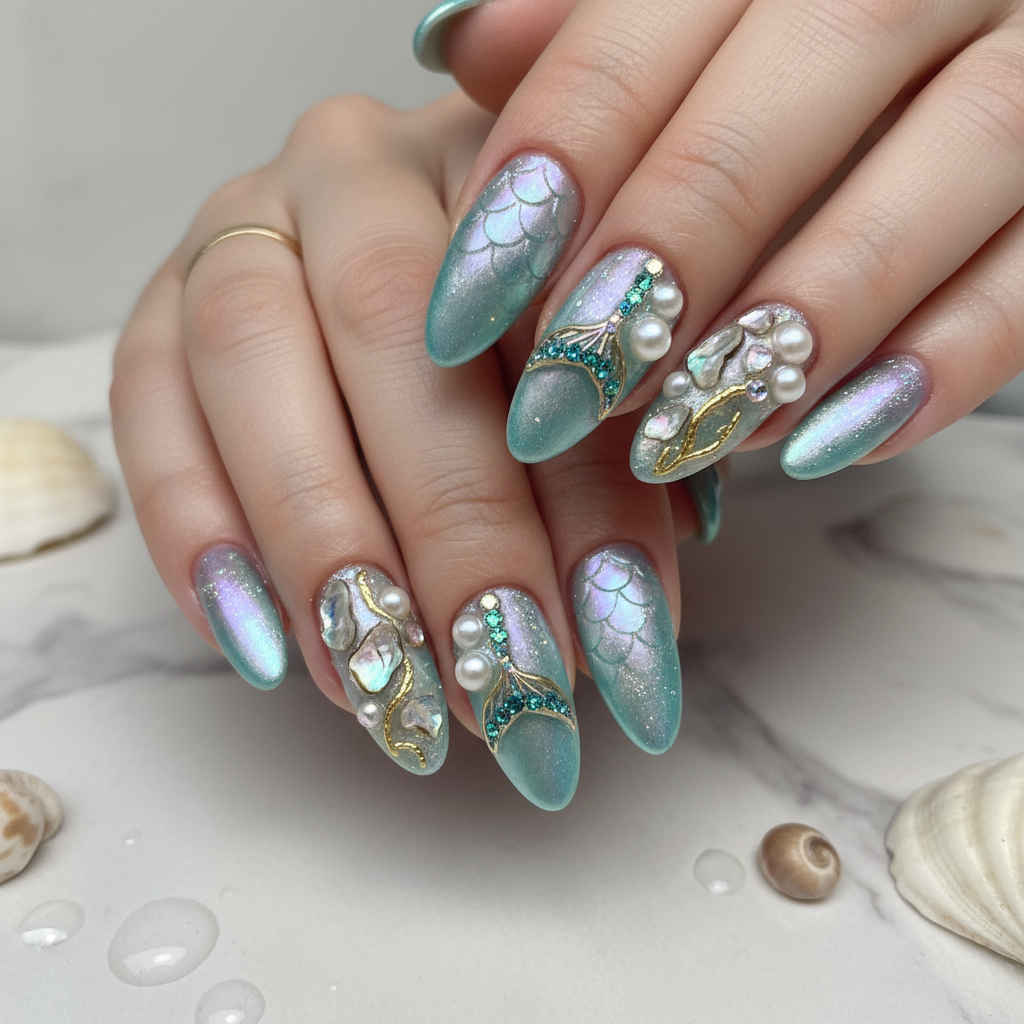
Sophisticated Photo-real Salon Mermaid Nails
Mermaid inspired nail art with sophisticated, photo-real finish and professional salon quality
Photo-real Salon Mermaid Nails
Mermaid inspired nail art with elegant, photo-real finish and professional salon quality
Sophisticated Photo-real Salon Mermaid Nails
Mermaid inspired nail art with sophisticated, photo-real finish and professional salon quality
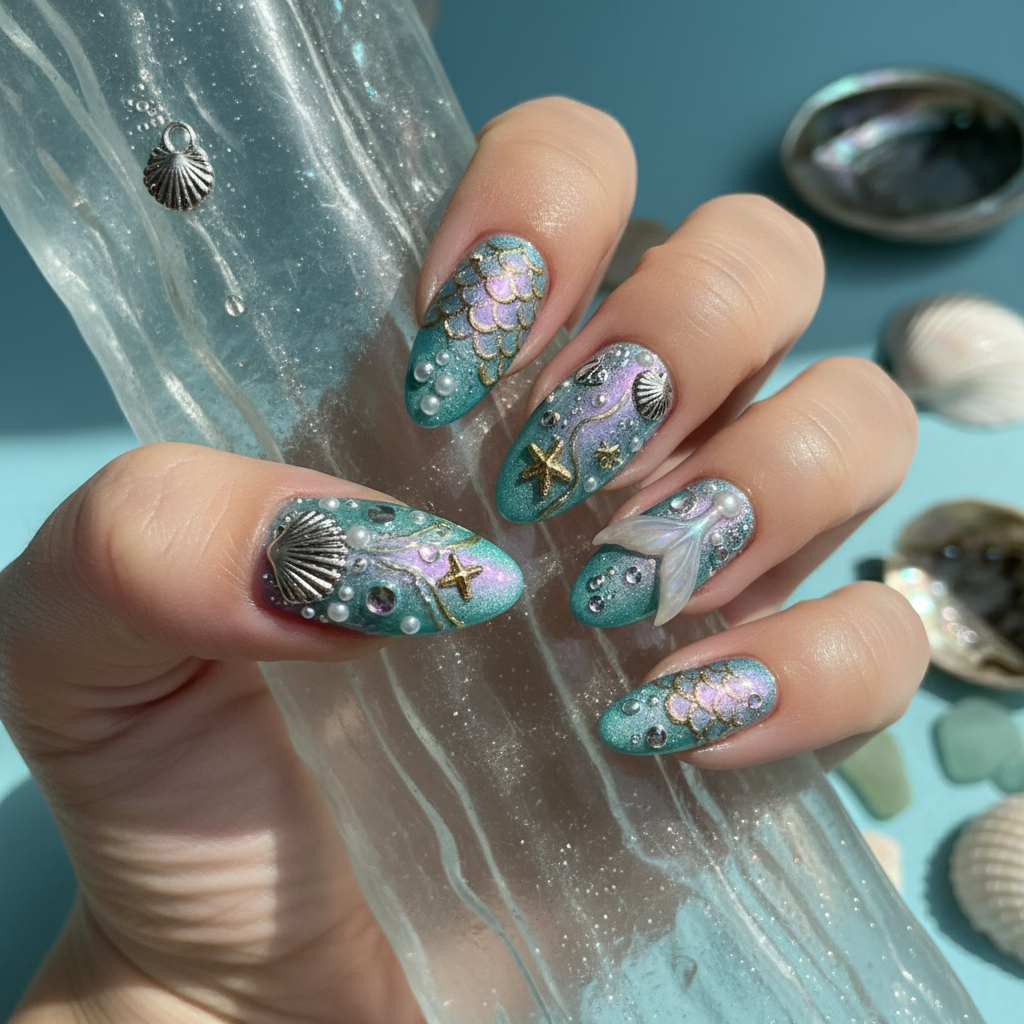
Photo-real Salon Mermaid Nails
Mermaid inspired nail art with elegant, photo-real finish and professional salon quality
Sophisticated Photo-real Salon Mermaid Nails
Mermaid inspired nail art with sophisticated, photo-real finish and professional salon quality
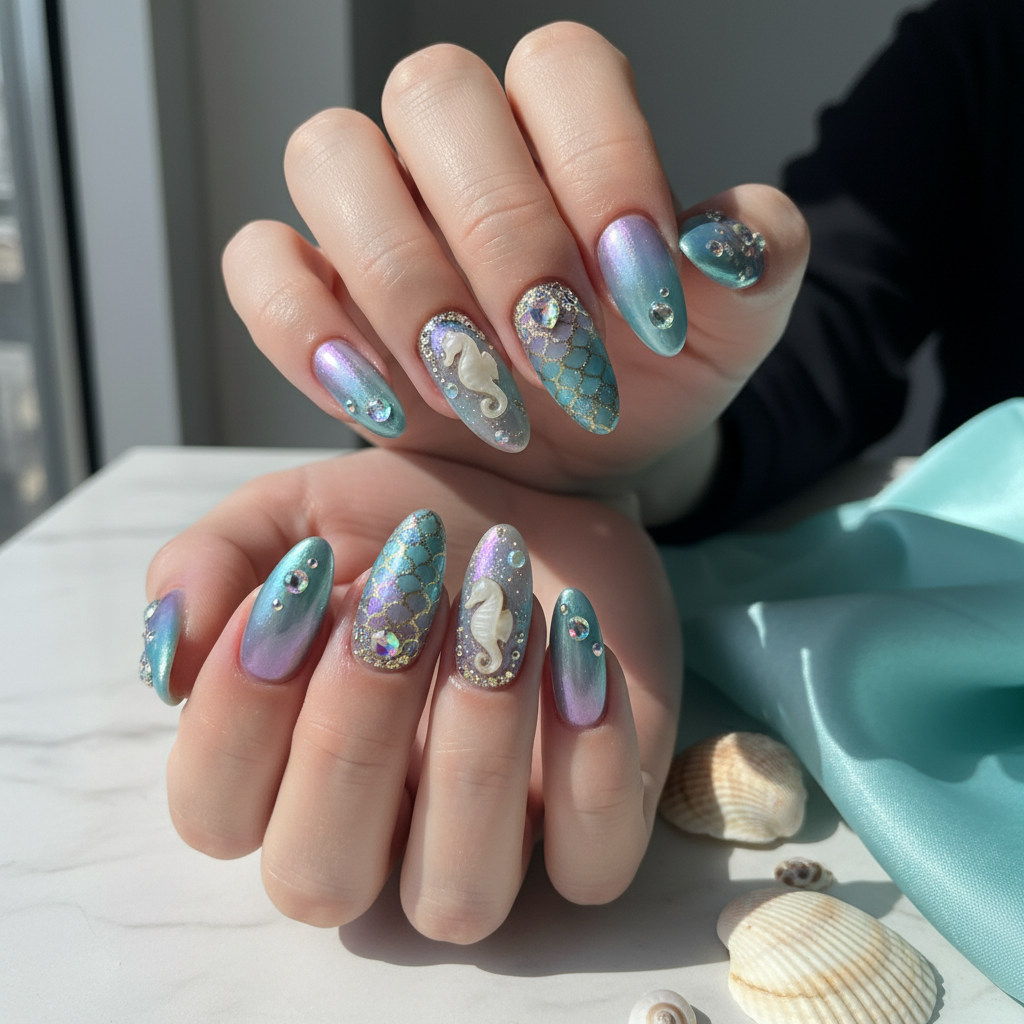
Photo-real Salon Mermaid Nails
Mermaid inspired nail art with elegant, photo-real finish and professional salon quality
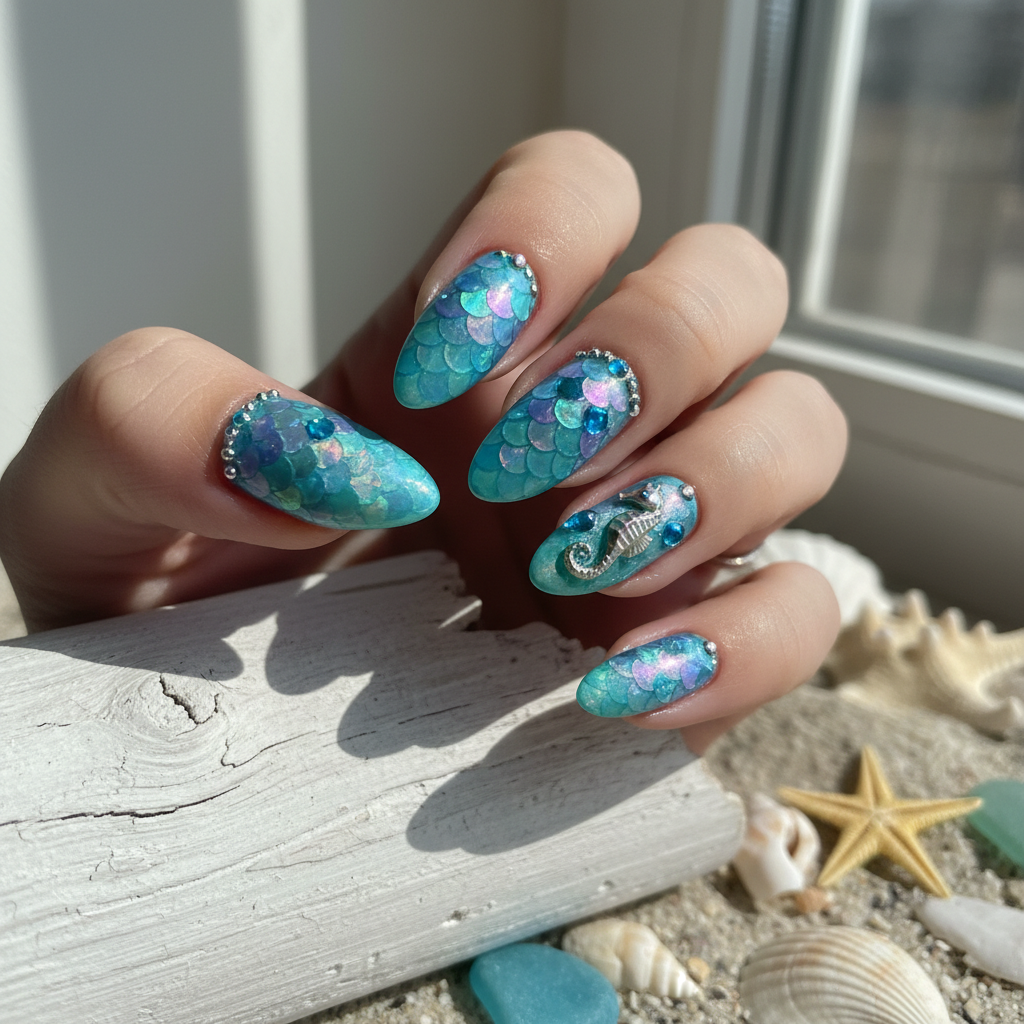
Photo-real Salon Mermaid Nails
Mermaid inspired nail art with clean, photo-real finish and professional salon quality
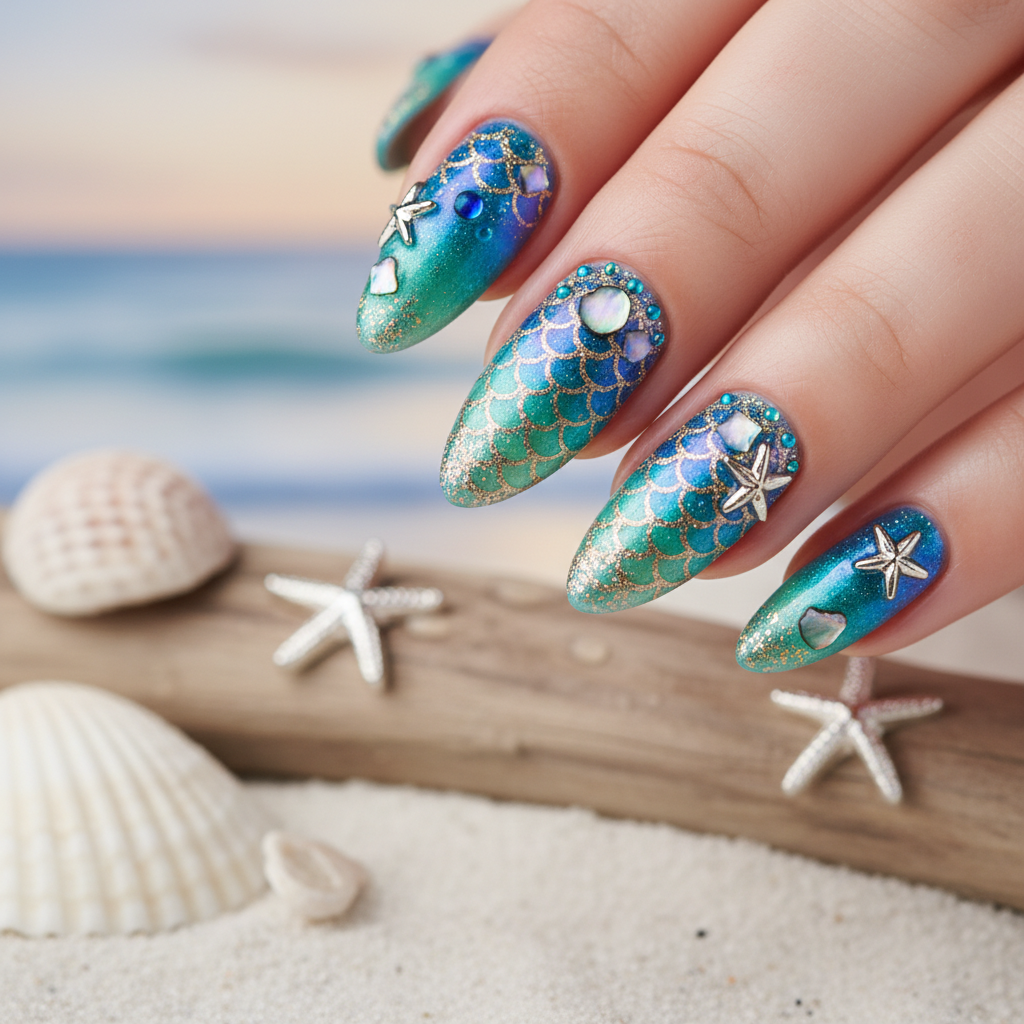
Photo-real Salon Mermaid Nails
Mermaid inspired nail art with clean, photo-real finish and professional salon quality
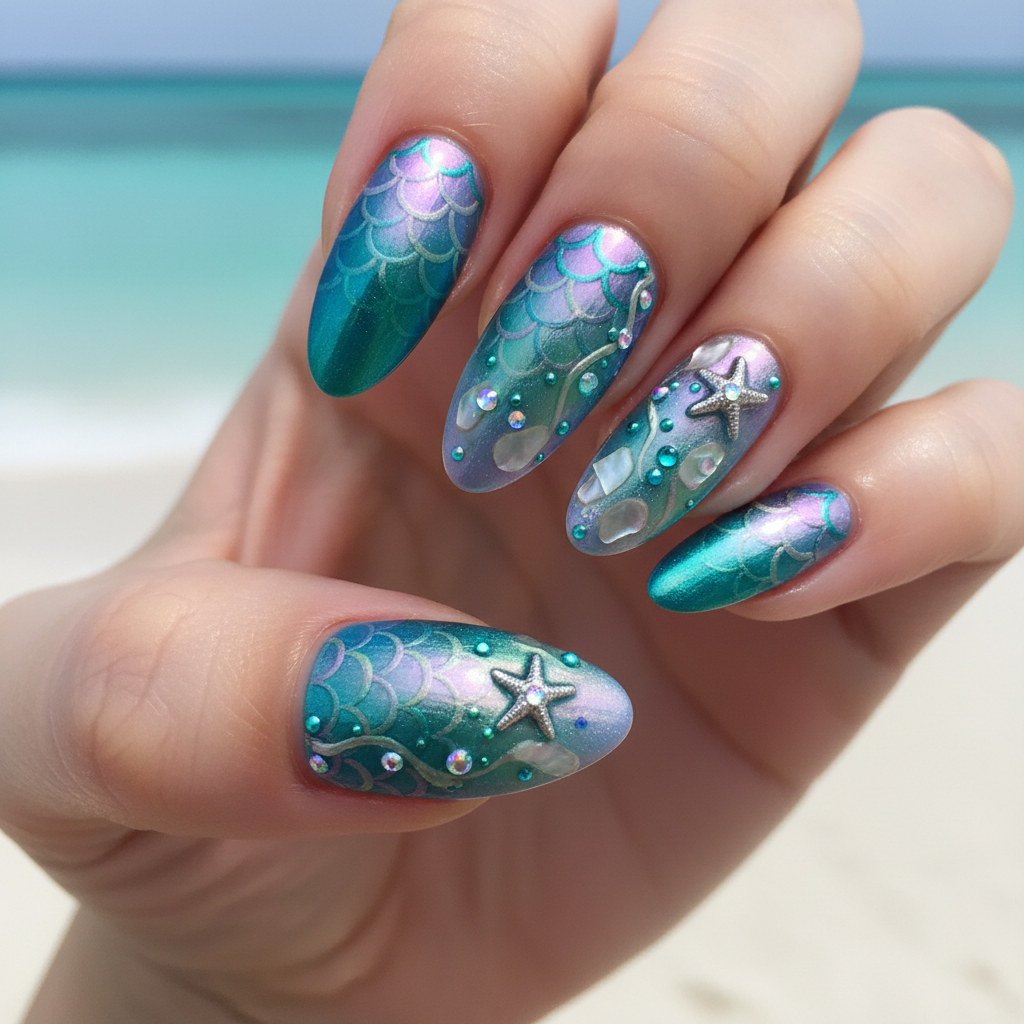
Photo-real Salon Mermaid Nails
Mermaid inspired nail art with clean, photo-real finish and professional salon quality
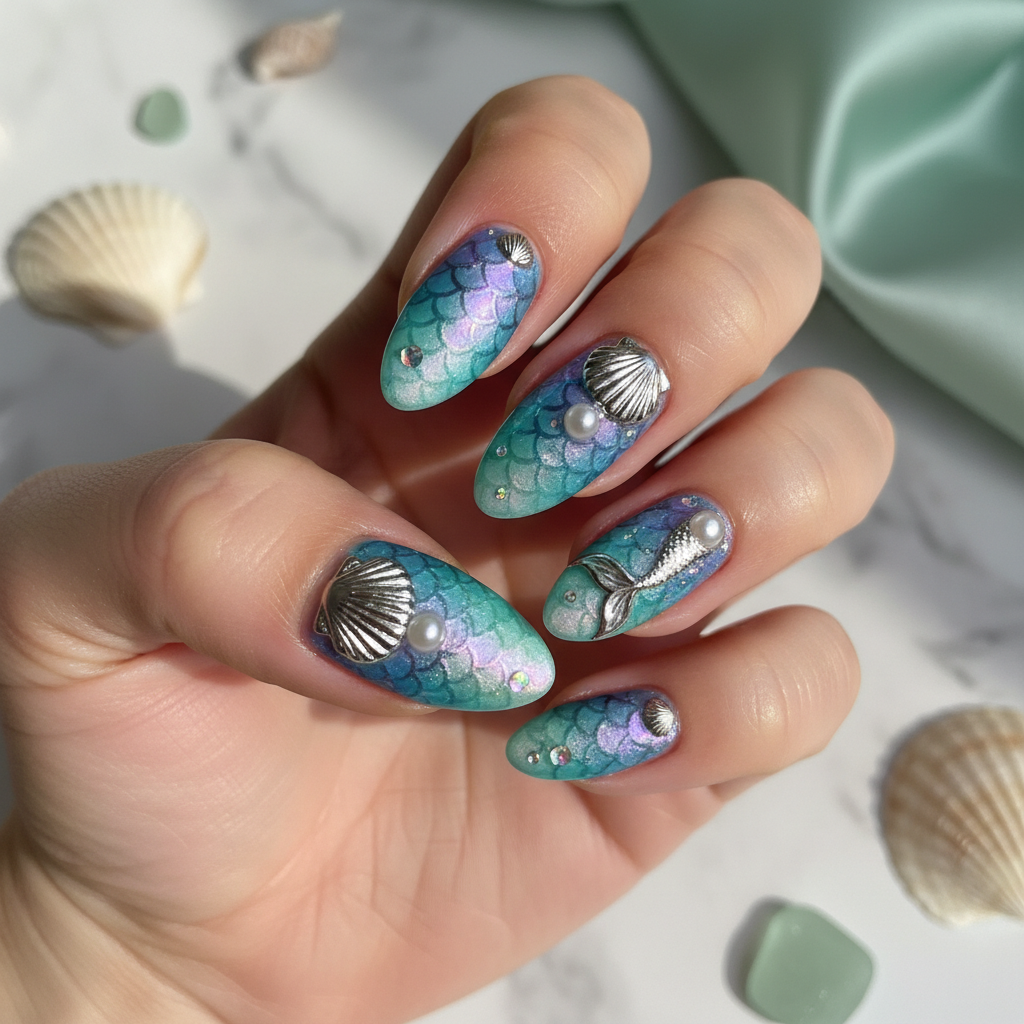
Photo-real Salon Mermaid Nails
Mermaid inspired nail art with clean, photo-real finish and professional salon quality
More Designs
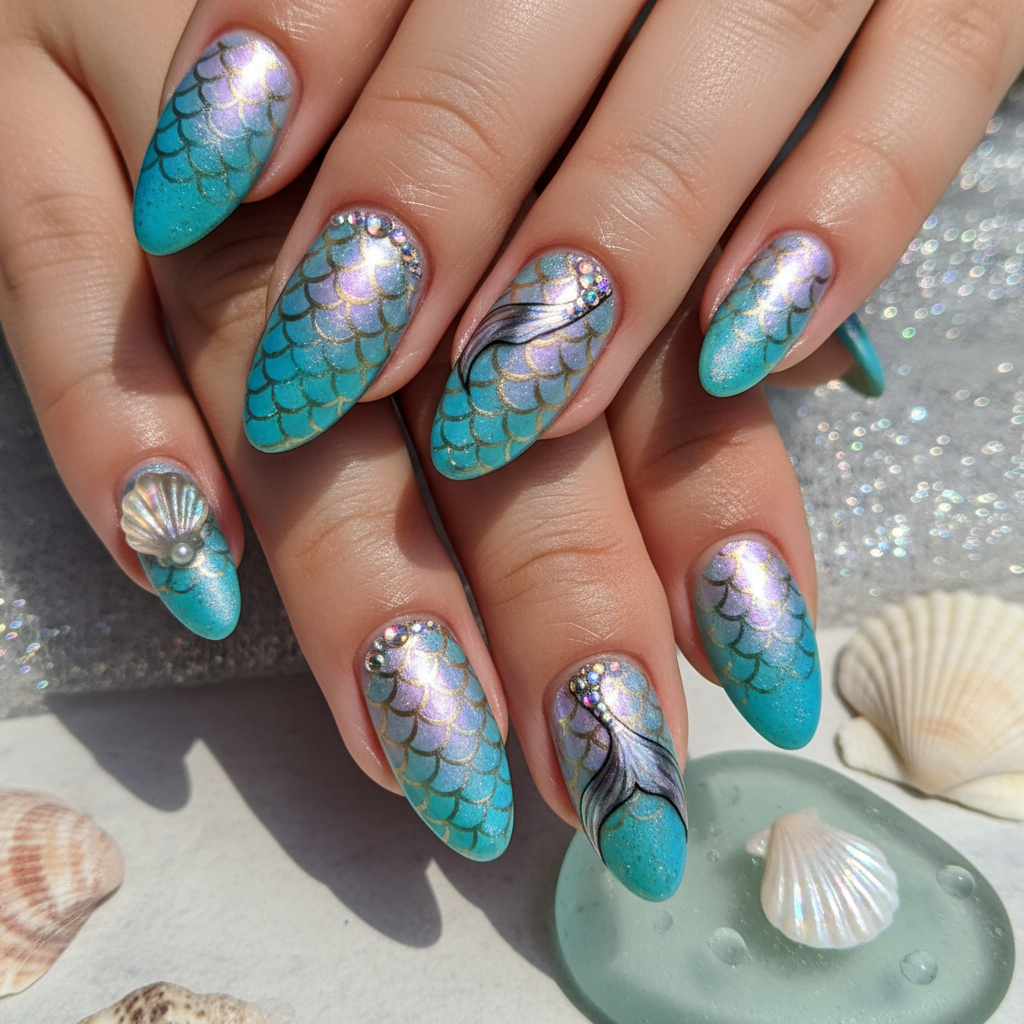
Salon-Quality Mermaid Nails: Photo-Real Design Tutorial
Dive into the deep blue with these stunning, salon-quality mermaid nails. This photo-realistic design captures the beauty of the ocean with intricate scales and shimmering colors, giving you a professional look at home.
Supplies You'll Need
- Gel polishes (teal, aqua, seafoam green, iridescent white)
- Silver glitter powder
- Fine detail brush
- Mermaid scale nail stamping plate
- Stamper and scraper
- Gel top coat
How To Recreate It
- Apply a base coat and cure under a UV/LED lamp.
- Create an ombre effect using teal, aqua, and seafoam green gel polishes, curing after each layer.
- Using the stamping plate and iridescent white gel polish, stamp the mermaid scale design onto the nails and cure.
- Apply silver glitter powder to enhance the shimmer and cure.
- Clean up any excess polish around the cuticles.
- Finish with a gel top coat and cure for a high-gloss, long-lasting finish.
Expert Tip
Use a thin, even layer of stamping polish and a gentle rolling motion to transfer the intricate mermaid scale design perfectly. A sticky base coat for stamping can also improve results.
Try These Variations
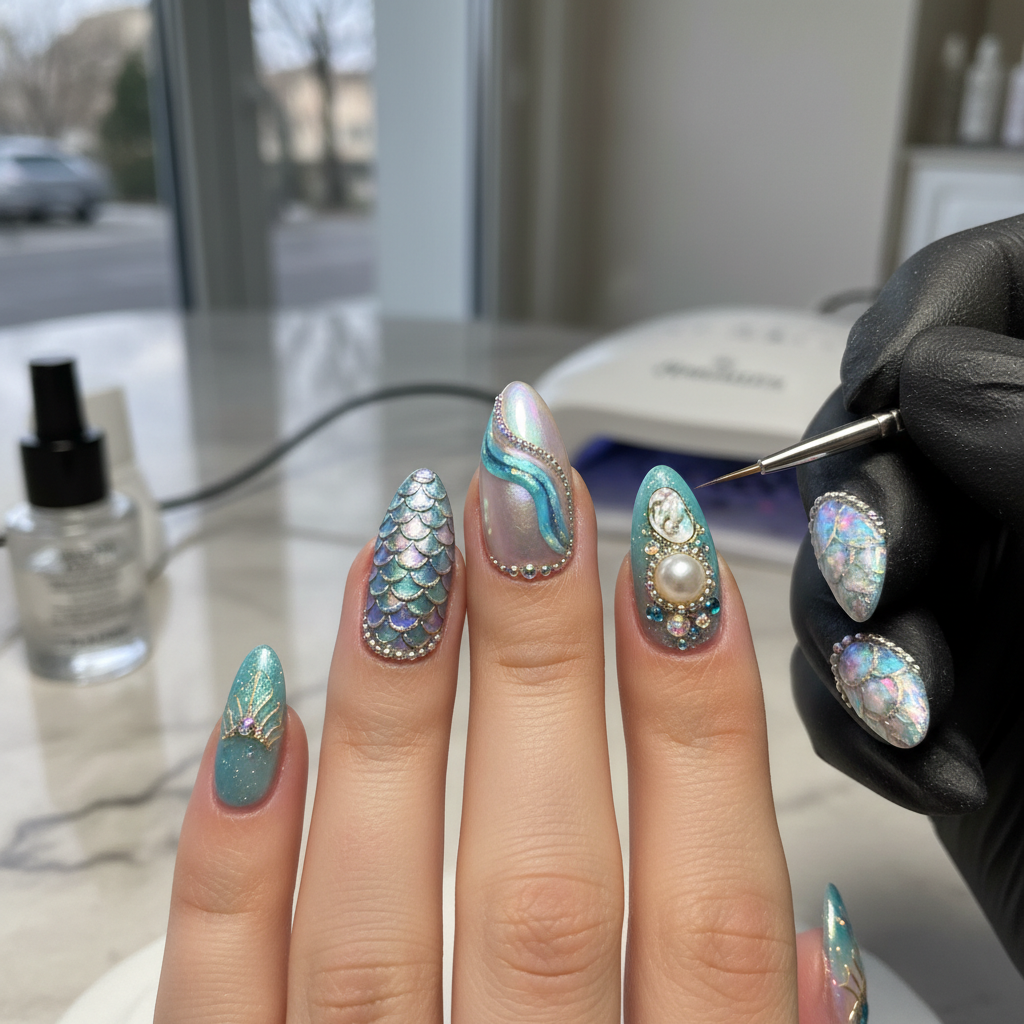
- →Add small rhinestones or pearls for extra embellishment.
- →Use different color combinations, such as pinks and purples, for a sunset mermaid look.
- →Incorporate a matte top coat for a more subtle, textured finish.
Aftercare Tips
- ✓Moisturize hands and nails after removing the design.
- ✓Give your nails a break between gel applications.
- ✓Consider a strengthening nail treatment to promote healthy nail growth.
Safe Removal
- 1.File off the top layer of gel polish.
- 2.Soak cotton balls in acetone, place them on the nails, and wrap with foil for 10-15 minutes.
- 3.Gently push off the softened gel polish with a cuticle pusher.
Quick Facts
Why It's Trending
Mermaidcore is having a major moment, and these nails are the perfect way to embrace the trend with a sophisticated, salon-worthy finish.
Seasonal Styling
Perfect for summer beach trips, vacation nails, or any occasion where you want to channel your inner mermaid!
Color Variations
Perfect For
Why People Love It
This design is trending on Instagram and Pinterest, with users loving the realistic mermaid scale effect and the professional, salon-quality finish.
Daily Maintenance
- 💅Apply cuticle oil daily to keep nails hydrated.
- 💅Wear gloves when doing household chores.
- 💅Avoid using your nails as tools.
- 💅If lifting occurs, address it immediately to prevent further damage.
Common Issues & Fixes
- ⚠Stamping design isn't transferring cleanly.Ensure the stamping plate and stamper are clean. Use a sticky base coat for stamping.
- ⚠Gel polish is peeling.Properly prep your nails before application and cure each layer fully.
- ⚠Glitter is too chunky.Use a fine glitter or gently press the glitter into the gel polish before curing.
Design Inspiration
Inspired by the mesmerizing beauty of the ocean, the shimmering scales of mermaids, and the desire to bring salon-quality nail art to the home.
Explore Similar Designs
Colors in this Design
Techniques Used
Perfect For
Nail Shapes
More Categories to Explore
Popular Colors
Popular Techniques
Perfect Occasions
FAQs
Can I achieve this design with regular nail polish?
While possible, gel polish provides a longer-lasting and more durable finish. Stamping with regular polish requires speed and precision.
What if I don't have a stamping plate?
You can try freehand painting the scales with a fine detail brush, but it will require more skill and patience.
How do I create a smooth ombre effect?
Use a sponge or a brush to blend the colors together, working in thin layers and curing after each one.
Can I use regular glitter instead of glitter powder?
Yes, but glitter powder typically provides a smoother, more even finish. Ensure the glitter is encapsulated properly to avoid a gritty texture.
How can I protect my nails from damage during gel removal?
Avoid picking at the gel polish, and use a gentle cuticle pusher to remove the softened gel. Hydrate your nails and cuticles afterward.
What kind of lamp do I need for gel polish?
A UV or LED lamp specifically designed for curing gel polish is required. Make sure the wattage is sufficient for curing the polish properly.