Photo-real Salon Grunge Nails
Grunge inspired nail art with clean, photo-real finish and professional salon quality
Created: October 5, 2025 at 12:58 PM
More Grunge Designs
More Designs
Salon Grunge Nails: Photo-Real & Edgy Design
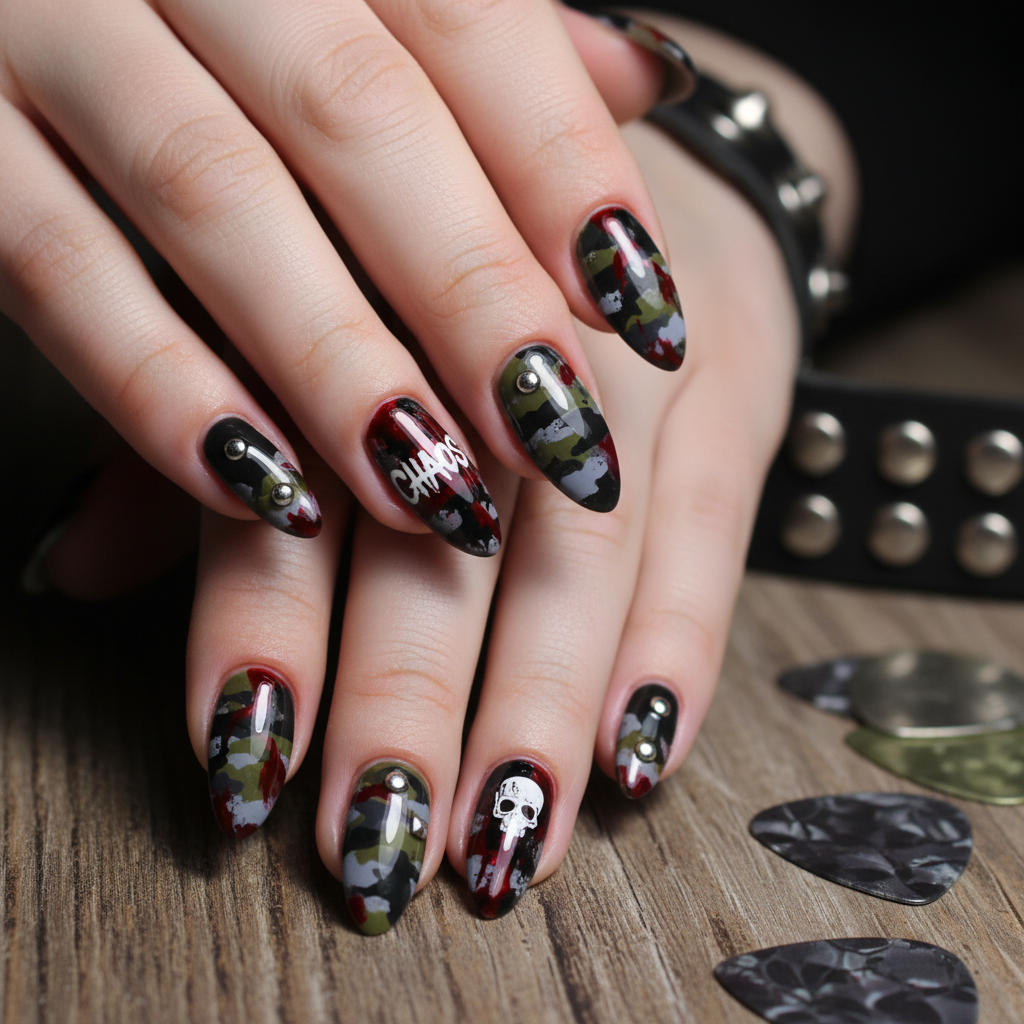
Achieve the perfect blend of edgy and polished with salon-quality grunge nails. This design features photo-real grunge elements for a unique and sophisticated alternative to traditional nail art.
Supplies You'll Need
- Base Coat
- Grunge-inspired Stencils
- Assorted Grunge Nail Polish Colors (grays, blacks, olives)
- Matte Top Coat
- Detailing Brush Set
- Airbrush (Optional)
How To Recreate It
- Apply base coat and two coats of a dark grey or black polish.
- Use stencils or freehand painting to create distressed effects like cracks and scratches with lighter gray or taupe colors.
- Airbrush diluted colors (optional) for added depth and realism.
- Apply a matte top coat for a true grunge finish.
- Clean up any smudges around the cuticles.
- Optionally add glossy highlights to select areas for contrast.
Expert Tip
Use a fine-tipped brush to add subtle details like rust or water stains for a hyperrealistic grunge effect. Less is often more; avoid overcrowding the design.
Try These Variations
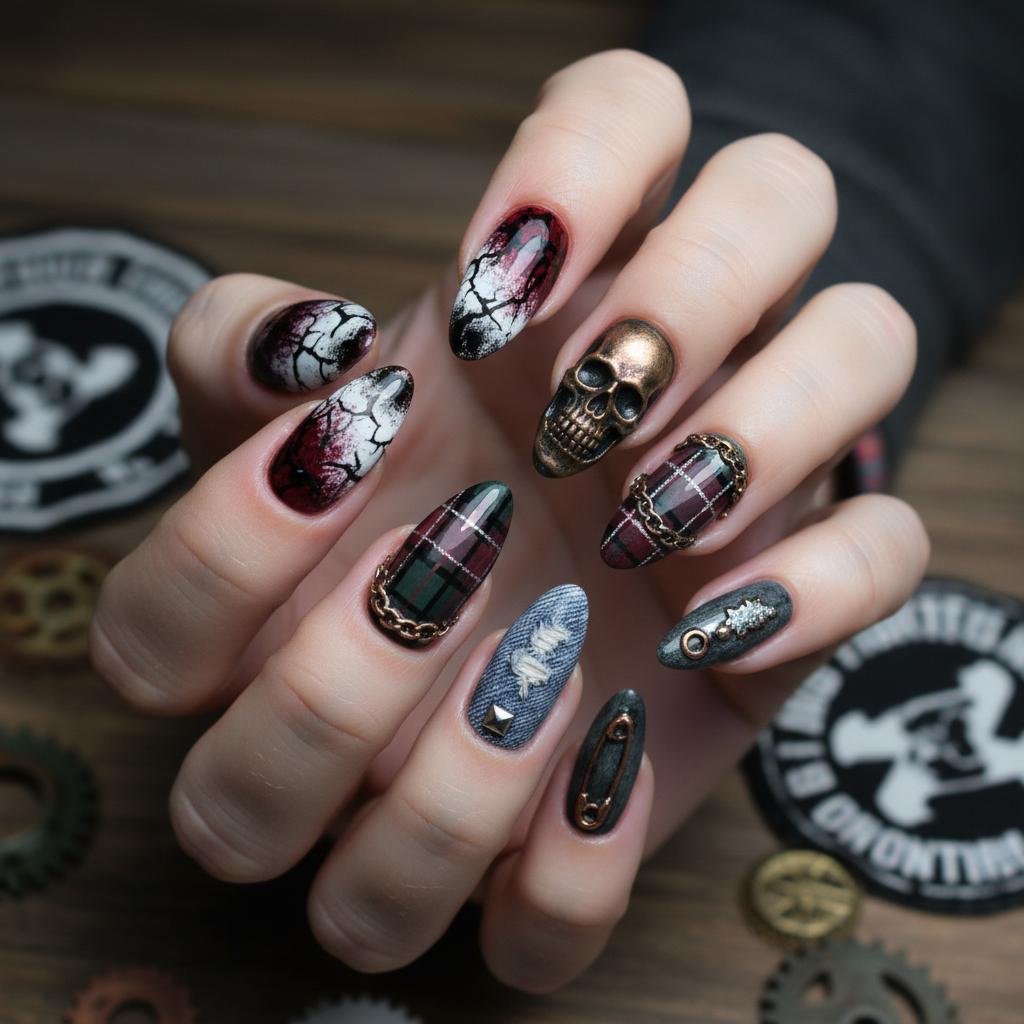
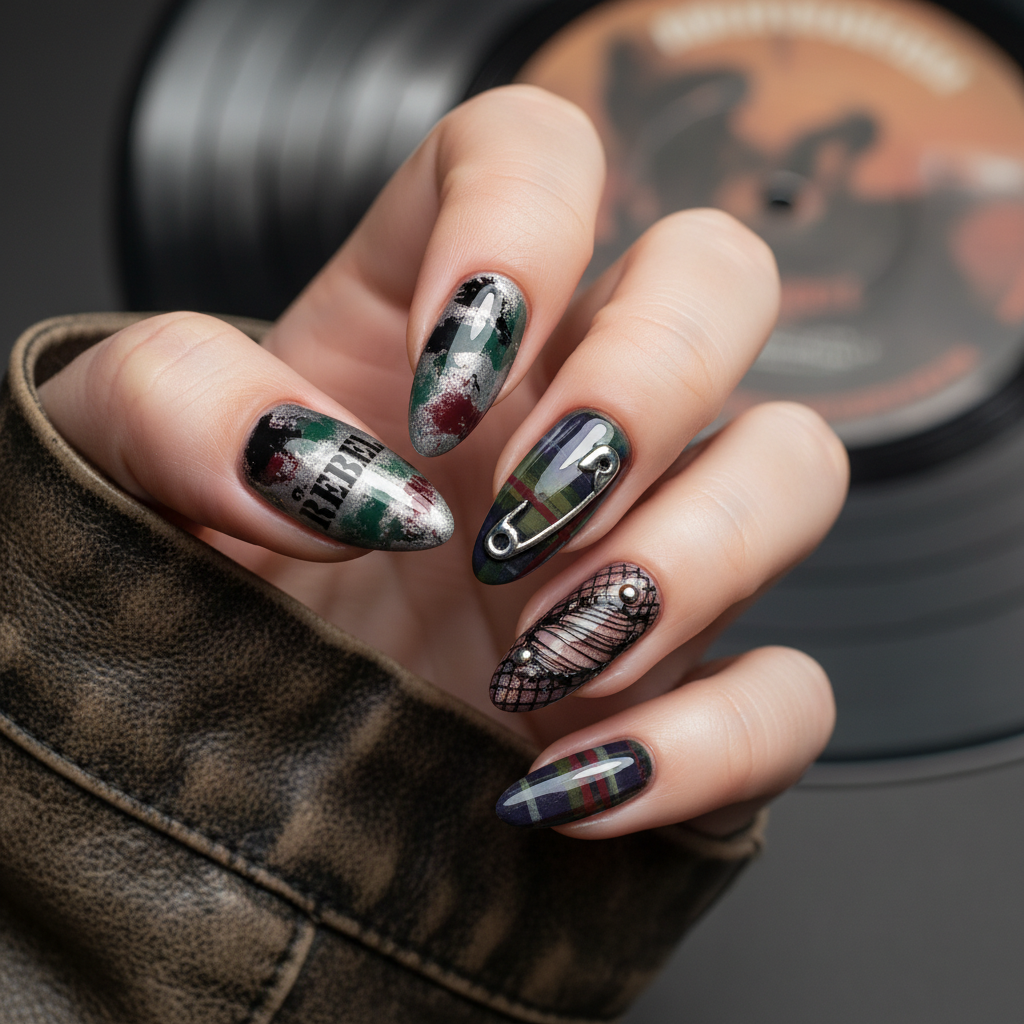
- →Add small metallic studs or chain details for a punk rock edge.
- →Incorporate a graffiti-style element using neon colors over the grunge base.
- →Create an ombre effect blending the grunge colors for a softer transition.
Aftercare Tips
- ✓Moisturize hands regularly to prevent dryness.
- ✓Avoid picking or biting your nails.
- ✓Use a nail strengthener to maintain nail health after removal.
Safe Removal
- 1.Soak cotton balls in acetone and apply to each nail.
- 2.Wrap nails in foil for 10-15 minutes to dissolve the polish.
Quick Facts
Why It's Trending
The grunge aesthetic is back in fashion, and this design offers a sophisticated, wearable way to embrace the trend.
Seasonal Styling
Great for autumn and winter to complement darker fashion choices. Also works well as a statement piece in the spring or summer.
Color Variations
Perfect For
Why People Love It
This unique design is gaining popularity on social media as a sophisticated take on the grunge trend, showcasing individuality and artistic expression.
Daily Maintenance
- 💅Apply cuticle oil daily to keep nails healthy.
- 💅Avoid harsh chemicals that can damage the design.
- 💅Wear gloves when doing housework to protect your nails.
Common Issues & Fixes
- ⚠Stencils are leaving harsh lines.Use a sponge to gently dab the polish through the stencil instead of brushing.
- ⚠Grunge effect looks too messy.Plan your design beforehand and use references. Start with light layers and build up gradually.
- ⚠Matte top coat is streaky.Apply a thin, even layer of matte top coat and allow it to dry completely.
Design Inspiration
Urban decay, distressed textures found in architecture and nature, and the raw energy of grunge music.
Explore Similar Designs
Colors in this Design
Techniques Used
Perfect For
Nail Shapes
More Categories to Explore
Popular Colors
Popular Techniques
Perfect Occasions
FAQs
Can I achieve this look with gel polish?
Yes, you can use gel polish, but remember to use a matte gel top coat for the final look.
What if I don't have an airbrush?
You can achieve a similar effect by using a very fine brush and layering diluted polishes.
How do I make the distressed look more realistic?
Study real-life examples of distressed surfaces to understand the patterns and textures.
Is this design suitable for short nails?
Yes, but make sure the design isn't too crowded. Simplify the patterns if needed.
How long will this design last?
With proper care, it can last up to two weeks.
What is the best way to create the crackled effect?
Special crackle nail polishes are available, but you can also achieve a similar effect by layering different polishes and using a quick-drying topcoat.