Photo-real Salon Foil Nails
Foil inspired nail art with clean, photo-real finish and professional salon quality
Created: October 5, 2025 at 12:04 PM
More Foil Designs
Beautiful Photo-real Salon Foil Nails
Foil inspired nail art with beautiful, photo-real finish and professional salon quality
Gorgeous Photo-real Salon Foil Nails
Foil inspired nail art with gorgeous, photo-real finish and professional salon quality
Stunning Photo-real Salon Foil Nails
Foil inspired nail art with stunning, photo-real finish and professional salon quality
Beautiful Photo-real Salon Foil Nails
Foil inspired nail art with beautiful, photo-real finish and professional salon quality
Sophisticated Photo-real Salon Foil Nails
Foil inspired nail art with sophisticated, photo-real finish and professional salon quality
Gorgeous Photo-real Salon Foil Nails
Foil inspired nail art with gorgeous, photo-real finish and professional salon quality
Beautiful Photo-real Salon Foil Nails
Foil inspired nail art with beautiful, photo-real finish and professional salon quality
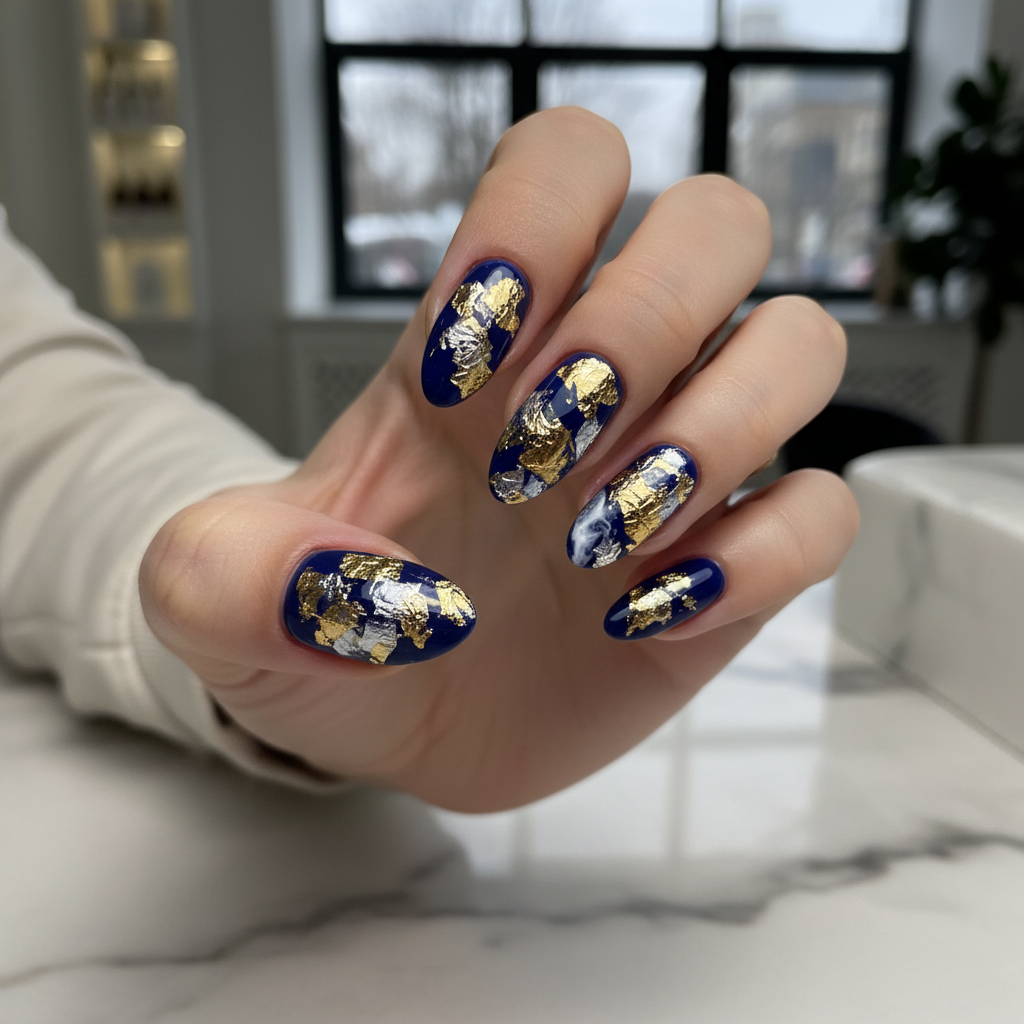
Photo-real Salon Foil Nails
Foil inspired nail art with elegant, photo-real finish and professional salon quality
Stunning Photo-real Salon Foil Nails
Foil inspired nail art with stunning, photo-real finish and professional salon quality
Gorgeous Photo-real Salon Foil Nails
Foil inspired nail art with gorgeous, photo-real finish and professional salon quality
More Designs
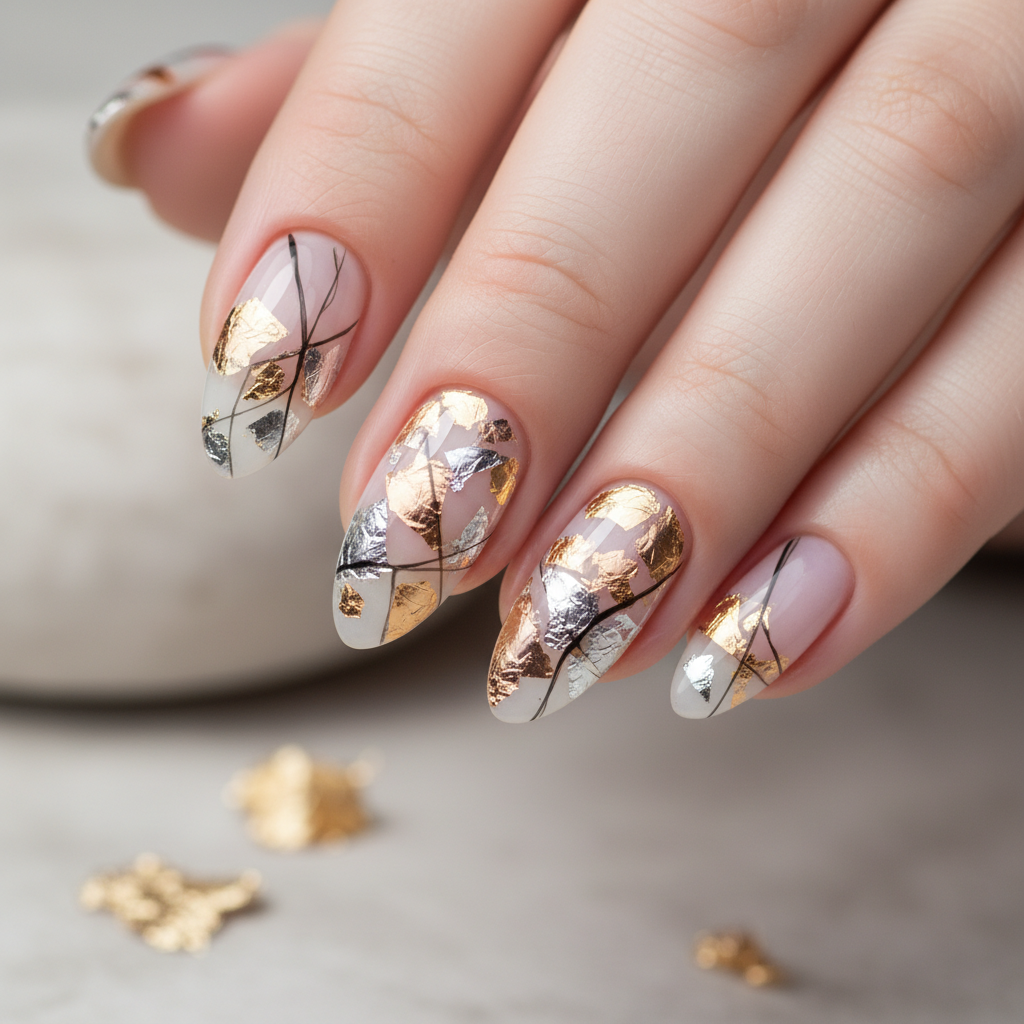
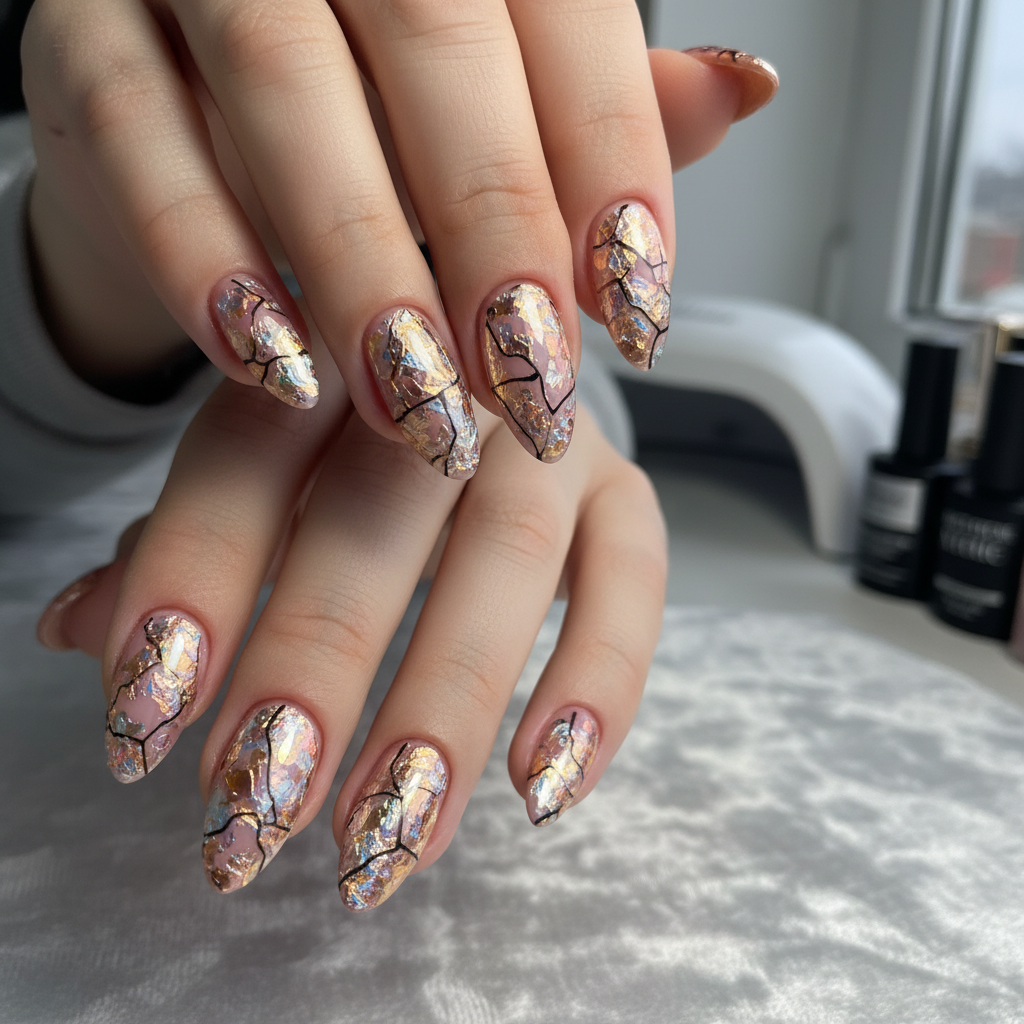
Salon Foil Nails: Photo-Real & Elegant Foil Design
Achieve a sophisticated, salon-worthy look with this stunning foil nail design. This design features a clean, photo-real finish, elevating the traditional foil application to a new level of elegance and refinement, suitable for any occasion.
Supplies You'll Need
- Base Coat
- Gel Polish (clear or color of choice)
- Nail Foil (your choice of color)
- Foil Adhesive
- Top Coat
- Cuticle Oil
How To Recreate It
- Apply a base coat to protect your nails and cure under UV/LED lamp.
- Apply one or two coats of your chosen gel polish color and cure after each coat.
- Apply a thin layer of foil adhesive to the nail and let it dry until tacky.
- Press the foil onto the nail, shiny side up, and gently rub to transfer the foil pattern.
- Remove the excess foil and apply a top coat to seal the design. Cure under the lamp.
- Apply cuticle oil to hydrate and nourish the cuticles.
Expert Tip
For a truly photo-real finish, ensure the foil is applied smoothly without any wrinkles or bubbles. Use a silicone tool to press the foil for best adhesion.
Try These Variations
- →Use different foil colors like holographic or iridescent for a more dramatic effect.
- →Incorporate negative space by leaving some areas of the nail without foil.
- →Add glitter accents around the foil for extra sparkle and dimension.
Aftercare Tips
- ✓Keep nails moisturized with cuticle oil.
- ✓Avoid picking at the edges to prevent lifting.
- ✓Schedule regular manicure appointments for maintenance.
Safe Removal
- 1.File off the top coat to break the seal.
- 2.Soak cotton balls in acetone, place them on your nails, and wrap with foil.
- 3.After 10-15 minutes, remove the cotton balls and gently scrape off the remaining gel and foil.
Quick Facts
Why It's Trending
Foil nail art is back and bigger than ever, with the photo-real finish providing a modern twist on the classic look, making it a social media favorite.
Seasonal Styling
Perfect for holiday parties in winter, adds sparkle to spring outfits, and elevates summer evening looks. Wear any time you want a pop of luxury!
Color Variations
Perfect For
Why People Love It
This design is trending on Instagram and Pinterest due to its professional finish and eye-catching foil details.
Daily Maintenance
- 💅Apply cuticle oil daily to keep nails hydrated.
- 💅Avoid harsh chemicals that can damage the top coat and foil.
- 💅Wear gloves when doing household chores to protect your manicure.
Common Issues & Fixes
- ⚠Foil isn't sticking evenly.Ensure the foil adhesive is tacky before applying the foil. Try a different foil adhesive or ensure proper curing time.
- ⚠Top coat is causing the foil to wrinkle.Apply a thin, even layer of top coat and avoid over-brushing.
- ⚠The design chips easily.Ensure thorough curing of each layer, including the base coat, color, and top coat. Proper nail prep is crucial.
Design Inspiration
Inspired by high-fashion runway looks and professional salon techniques, this design aims to bring a touch of luxury and sophistication to your fingertips.
Explore Similar Designs
Colors in this Design
Techniques Used
Perfect For
Nail Shapes
More Categories to Explore
Popular Colors
Popular Techniques
Perfect Occasions
FAQs
How long does this design last?
With proper application and care, this design can last up to 2 weeks.
Can I use regular nail polish instead of gel?
While possible, gel polish provides a more durable and long-lasting finish, especially with foil applications.
What is the best way to apply the foil?
Use a silicone tool or your finger to gently press the foil onto the nail, ensuring full contact with the adhesive.
How do I prevent the foil from lifting?
Ensure the edges of the foil are properly sealed with the top coat and avoid picking at the edges.
Is a foil adhesive necessary?
Yes, a foil adhesive is specifically designed to create the right tackiness for the foil to transfer effectively.
Can I mix different foil colors?
Absolutely! Experiment with different foil colors to create a unique and personalized design.