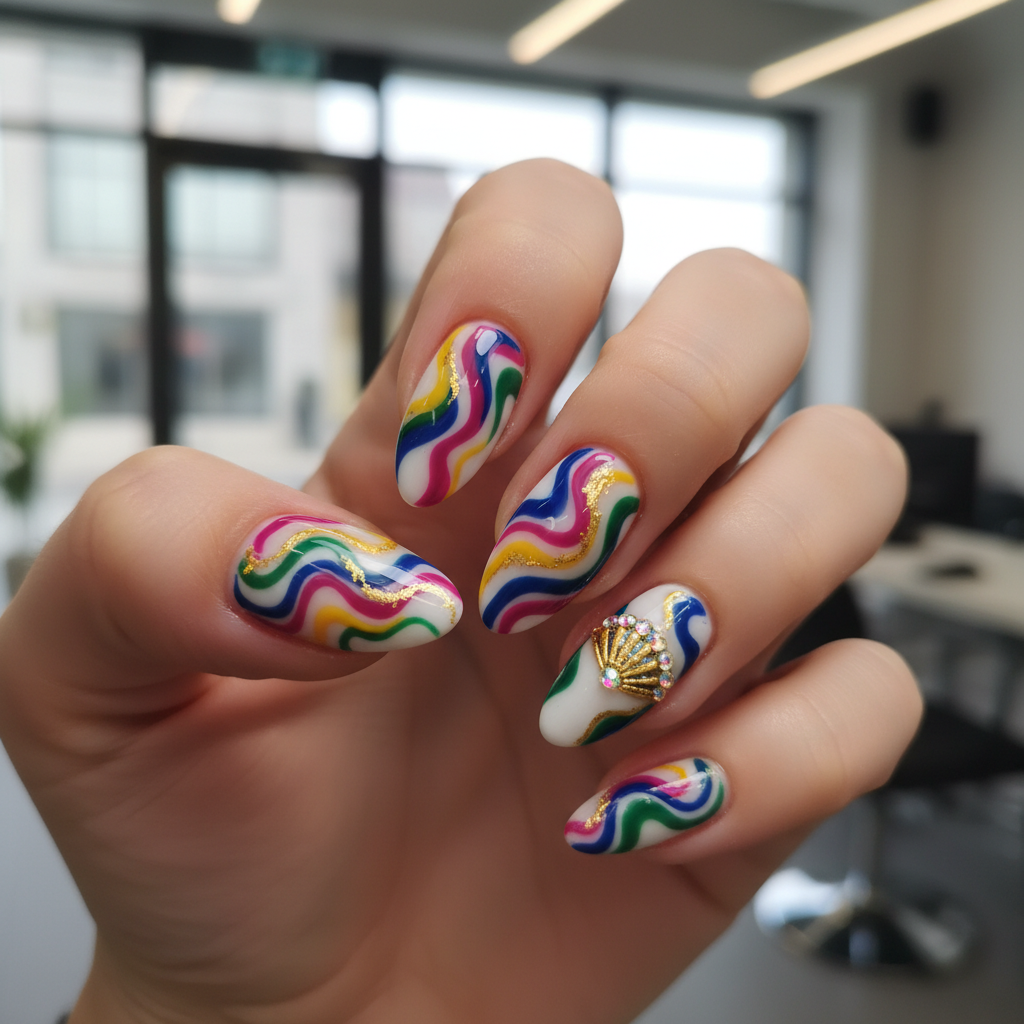
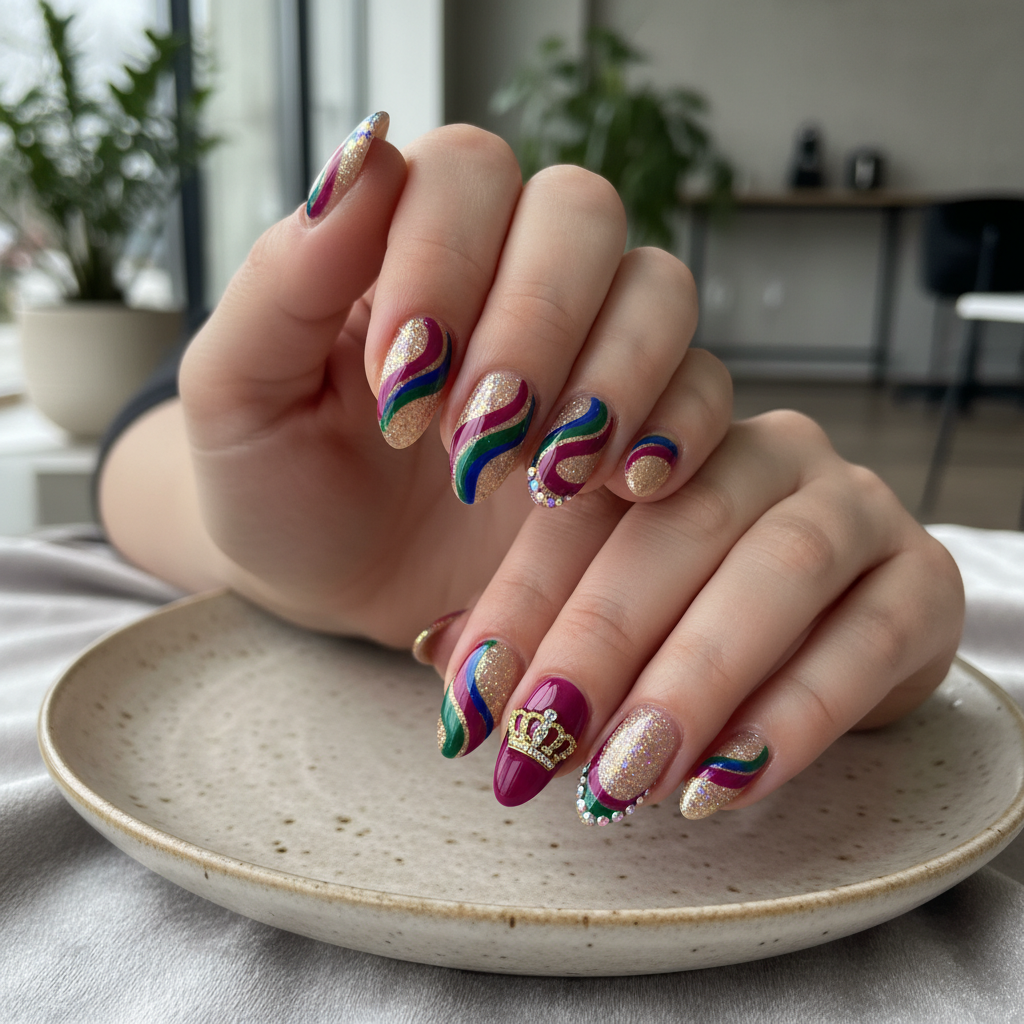
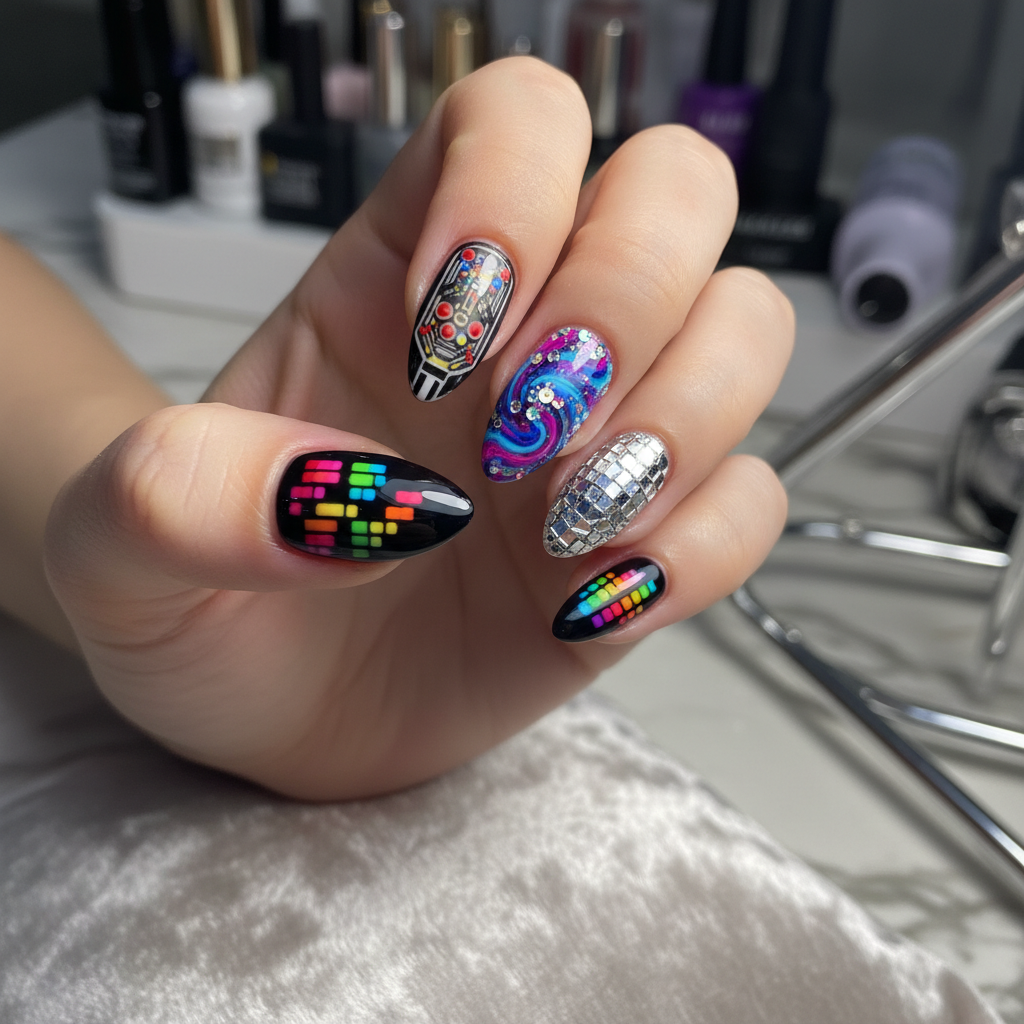
Photo-real Salon Flair Nails
Flair inspired nail art with clean, photo-real finish and professional salon quality
Created: October 5, 2025 at 01:20 PM
More Flair Designs
More Designs
Photo-Real Salon Flair Nails: Chic & Trendy Nail Art
Elevate your nail game with these stunning photo-real Salon Flair nails. This design features intricate details and a flawless finish, bringing professional salon quality right to your fingertips. It's a perfect blend of artistry and sophistication.
Supplies You'll Need
- Gel polishes in various colors
- Fine detail brushes
- Nail art dotting tools
- LED/UV lamp
- Top coat
- Base coat
How To Recreate It
- Apply a base coat and cure under an LED/UV lamp.
- Apply base color of gel polish and cure.
- Use fine detail brushes to create photo-real design elements.
- Cure the detailed design under the lamp.
- Apply a glossy top coat and cure.
- Cleanse nails with alcohol to remove sticky residue.
Expert Tip
Practice your fine detailing on a nail art practice mat before applying to your nails. Patience and steady hands are key to achieving a flawless photo-real finish.
Try These Variations
- →Abstract photo-realism: Incorporate abstract elements into your design for a more modern feel.
- →Monochromatic photo-realism: Use various shades of one color for a subtle yet striking look.
- →Nature-inspired photo-realism: Create detailed depictions of flowers, leaves, or landscapes.
Aftercare Tips
- ✓Moisturize your hands and nails regularly.
- ✓Avoid picking or biting your nails.
- ✓Schedule professional removal to prevent damage.
Safe Removal
- 1.Gently file off the top layer of the gel polish.
- 2.Soak cotton balls in acetone, place them on nails, and wrap with foil for 10-15 minutes.
Quick Facts
Why It's Trending
Photo-real nail art is taking the beauty world by storm, offering a unique way to express creativity and artistry on your nails with a hyper-realistic finish.
Seasonal Styling
This versatile design can be adapted for any season by changing the color palette. Opt for warmer tones in fall and winter, and brighter hues in spring and summer.
Color Variations
Perfect For
Why People Love It
Nail artists and influencers are showcasing this stunning design, inspiring others to try it out and share their own photo-real nail art creations.
Daily Maintenance
- 💅Avoid harsh chemicals and prolonged water exposure.
- 💅Wear gloves when doing household chores.
- 💅Apply cuticle oil daily to keep nails healthy.
Common Issues & Fixes
- ⚠Smudging: Allow each layer to fully dry and cure before adding details.
- ⚠Uneven application: Use thin, even coats of gel polish.
- ⚠Bubbles: Avoid shaking the gel polish bottle vigorously.
- ⚠Lack of detail: Invest in high-quality fine detail brushes.
Design Inspiration
Inspired by the intricate details and flawless finishes found in professional salon nail art, this design brings that same level of artistry to your fingertips.
Explore Similar Designs
Techniques Used
Perfect For
Nail Shapes
More Categories to Explore
Popular Colors
Popular Techniques
Perfect Occasions
FAQs
How long does this design typically last?
With proper application and care, this design can last up to 2-3 weeks.
Can I achieve this design with regular nail polish?
While possible, gel polish is recommended for its durability and longer-lasting finish. The fine details are easier with gel.
What kind of brushes are best for detailed nail art?
Opt for fine detail brushes with synthetic bristles for precise application.
How can I protect my nails from damage during gel polish removal?
Avoid excessive filing and always use acetone-soaked cotton balls for gentle removal.
Is it necessary to use a UV/LED lamp?
Yes, a UV/LED lamp is essential for curing gel polishes and ensuring a long-lasting finish.
How do I prevent gel polish from peeling?
Ensure proper nail prep, apply thin coats, and seal the edges with top coat to prevent peeling.