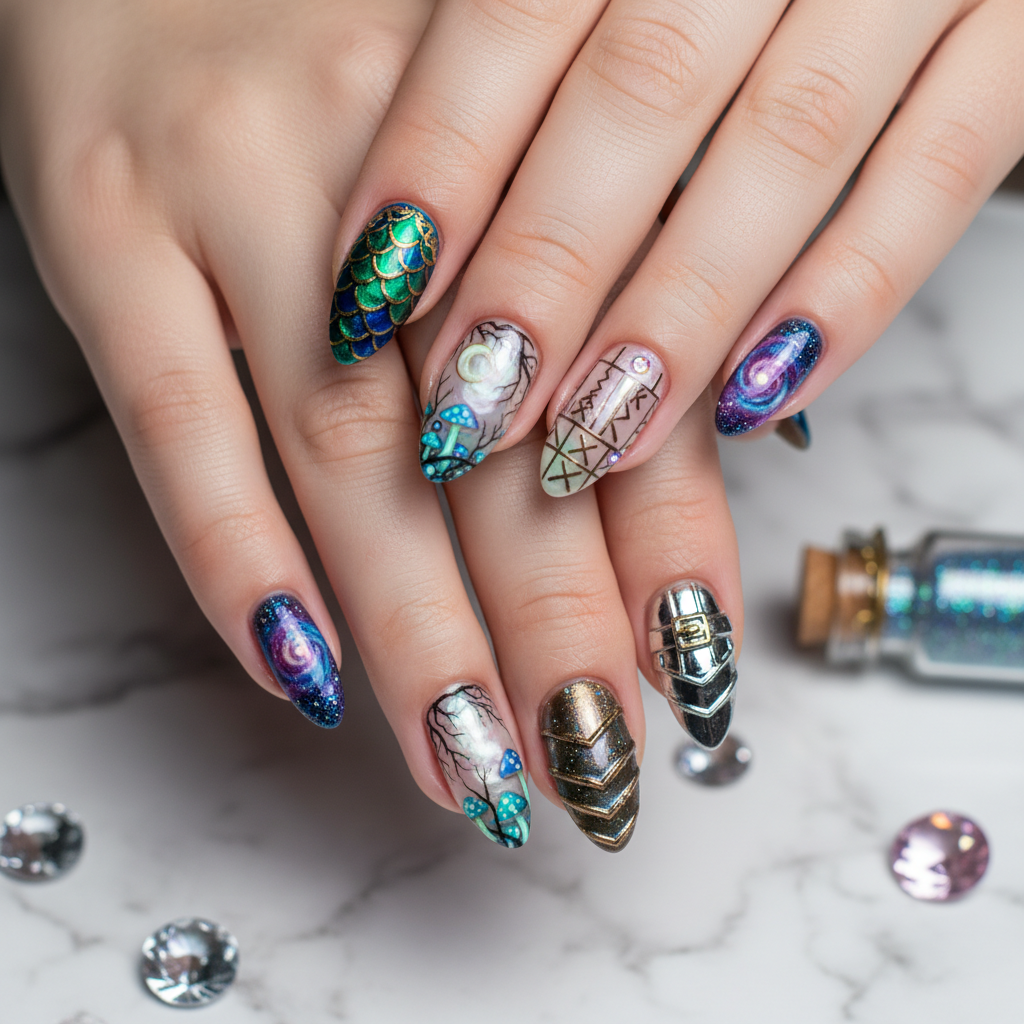
Photo-real Salon Detailing Nails
Detailing inspired nail art with clean, photo-real finish and professional salon quality
Created: October 5, 2025 at 11:54 AM
More Detailing Designs
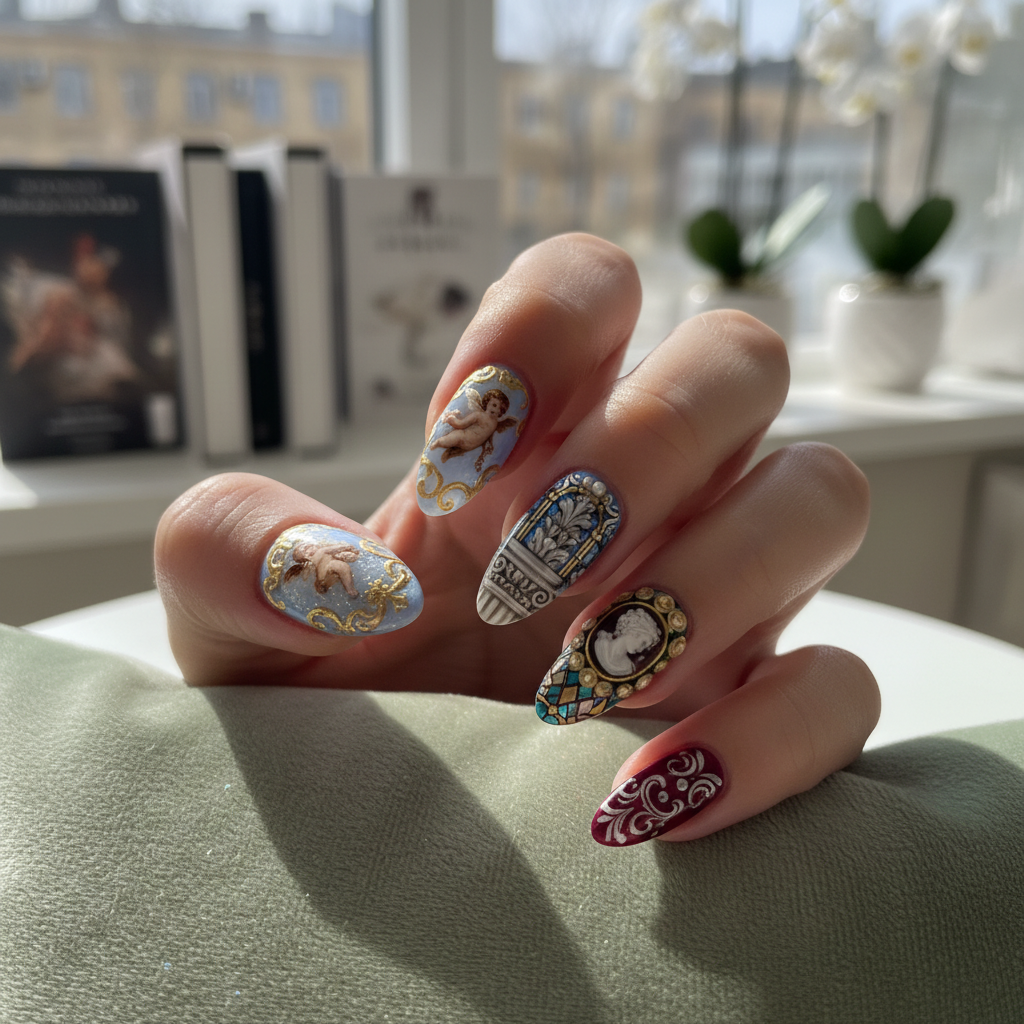
Beautiful Photo-real Salon Detailing Nails
Detailing inspired nail art with beautiful, photo-real finish and professional salon quality
Beautiful Photo-real Salon Detailing Nails
Detailing inspired nail art with beautiful, photo-real finish and professional salon quality

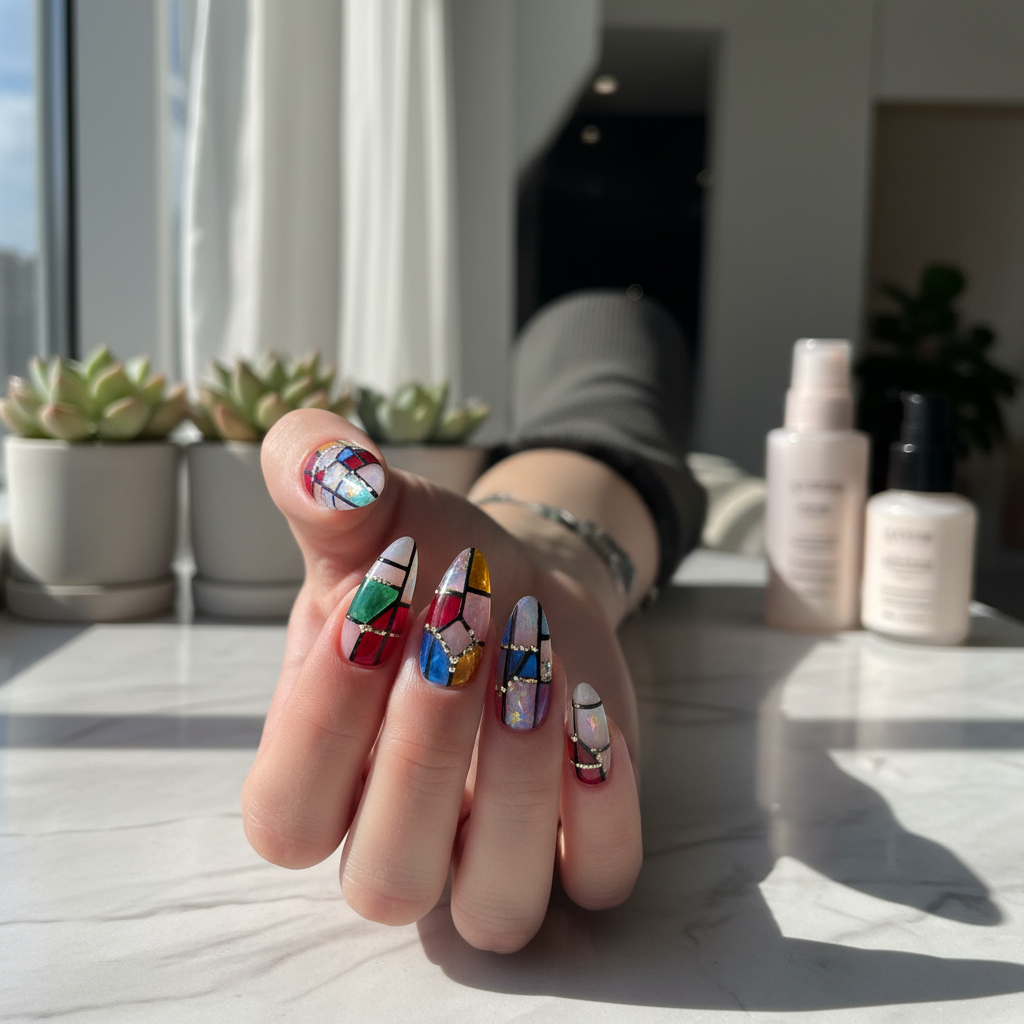
Gorgeous Photo-real Salon Detailing Nails
Detailing inspired nail art with gorgeous, photo-real finish and professional salon quality
Gorgeous Photo-real Salon Detailing Nails
Detailing inspired nail art with gorgeous, photo-real finish and professional salon quality
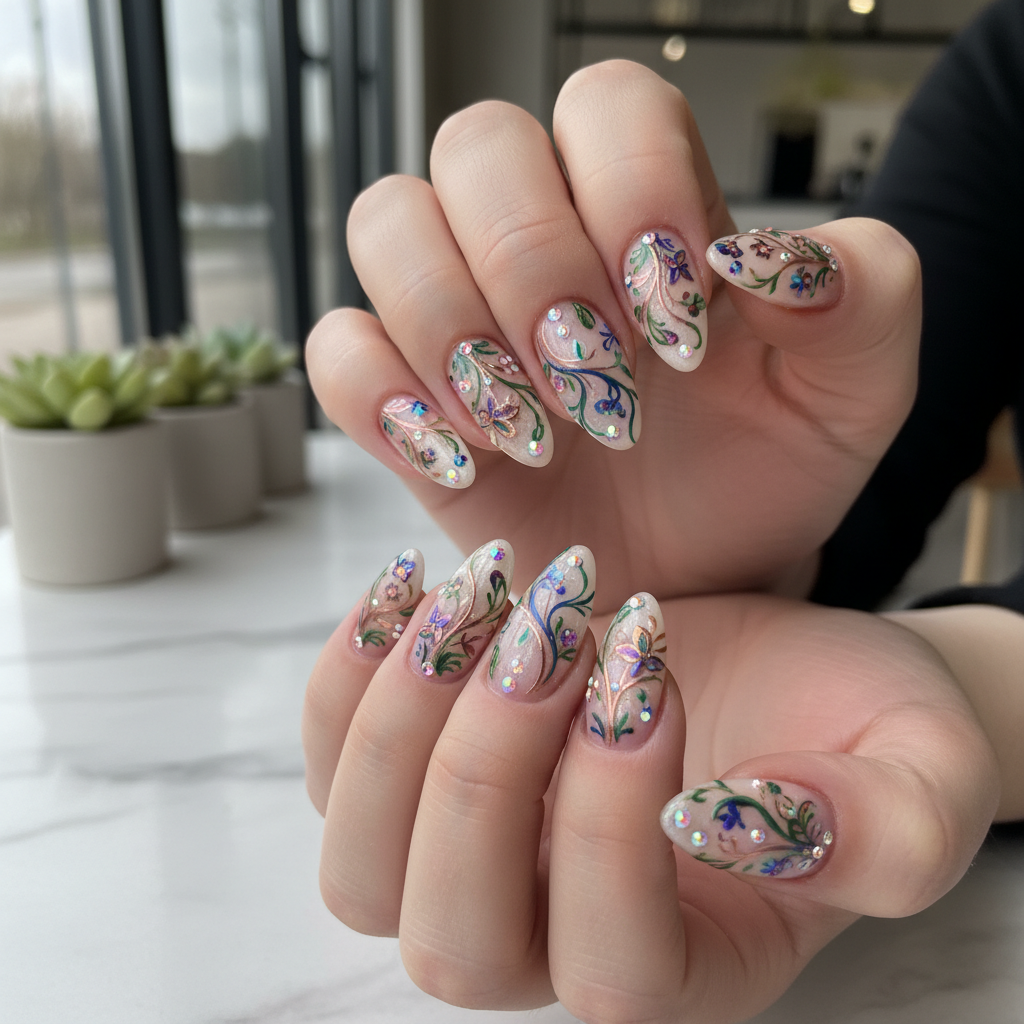
Stunning Photo-real Salon Detailing Nails
Detailing inspired nail art with stunning, photo-real finish and professional salon quality
Stunning Photo-real Salon Detailing Nails
Detailing inspired nail art with stunning, photo-real finish and professional salon quality
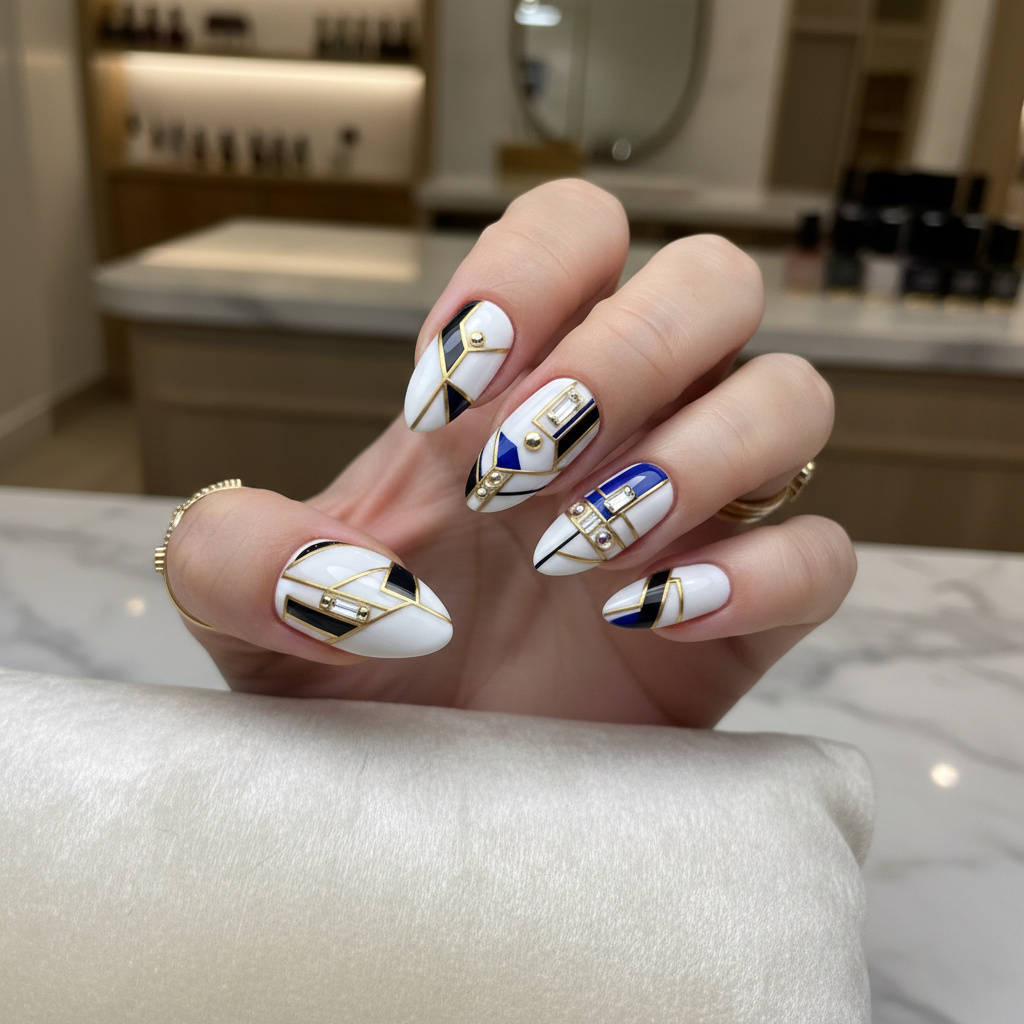
Sophisticated Photo-real Salon Detailing Nails
Detailing inspired nail art with sophisticated, photo-real finish and professional salon quality
Sophisticated Photo-real Salon Detailing Nails
Detailing inspired nail art with sophisticated, photo-real finish and professional salon quality
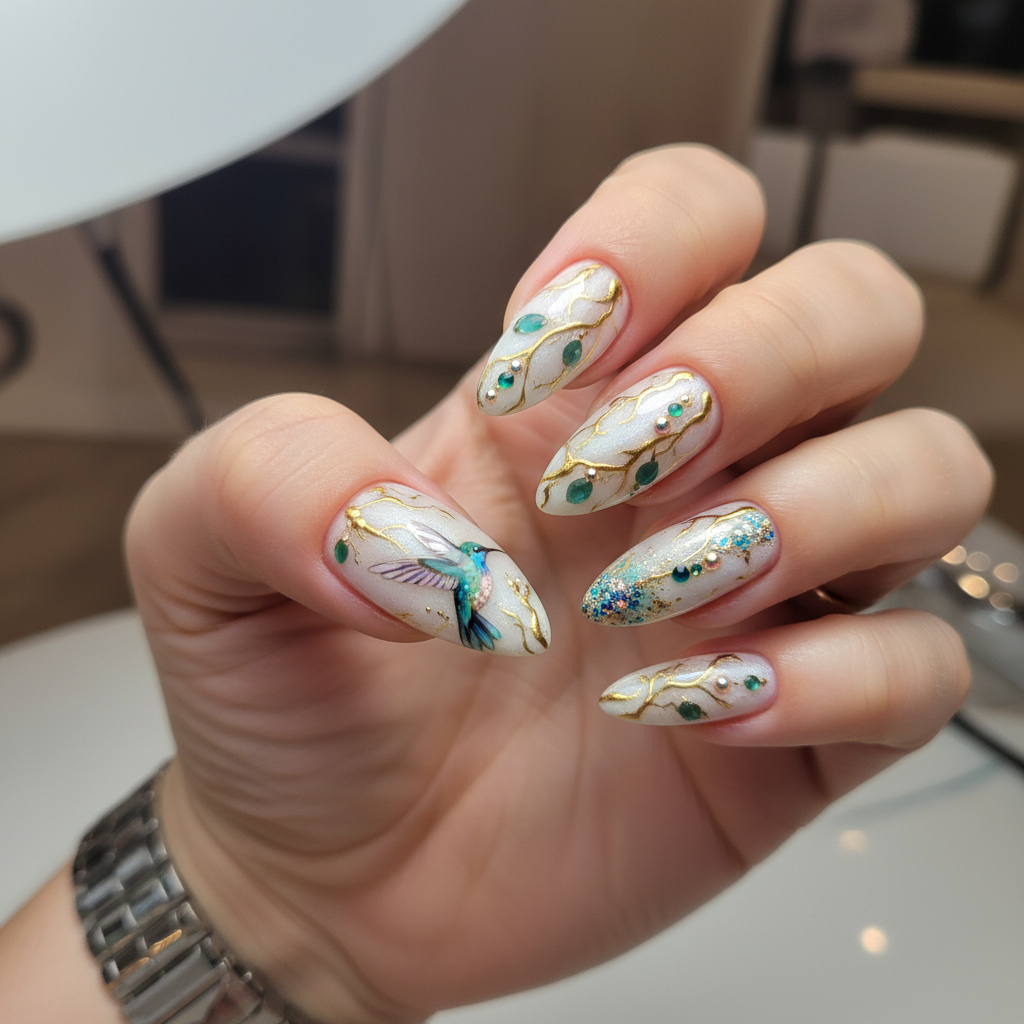
Photo-real Salon Detailing Nails
Detailing inspired nail art with elegant, photo-real finish and professional salon quality
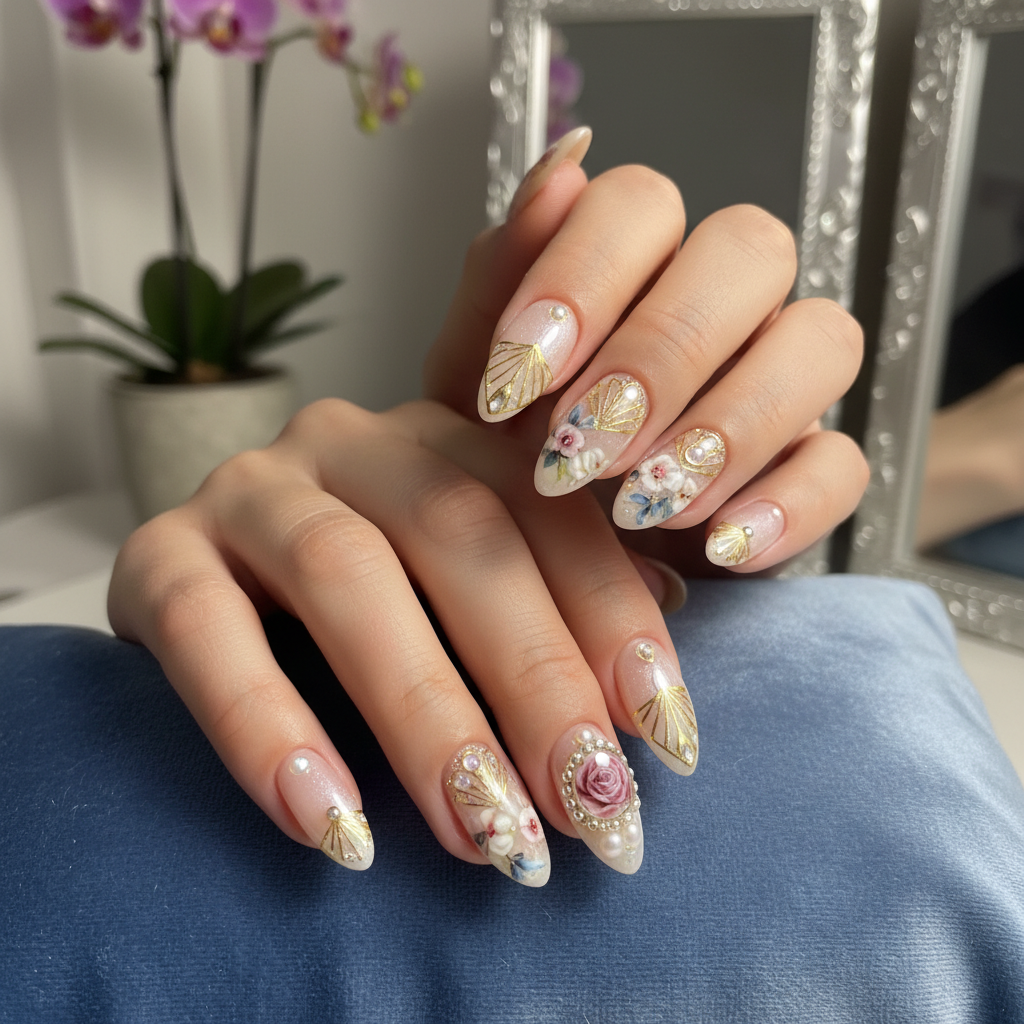
Photo-real Salon Detailing Nails
Detailing inspired nail art with elegant, photo-real finish and professional salon quality
More Designs
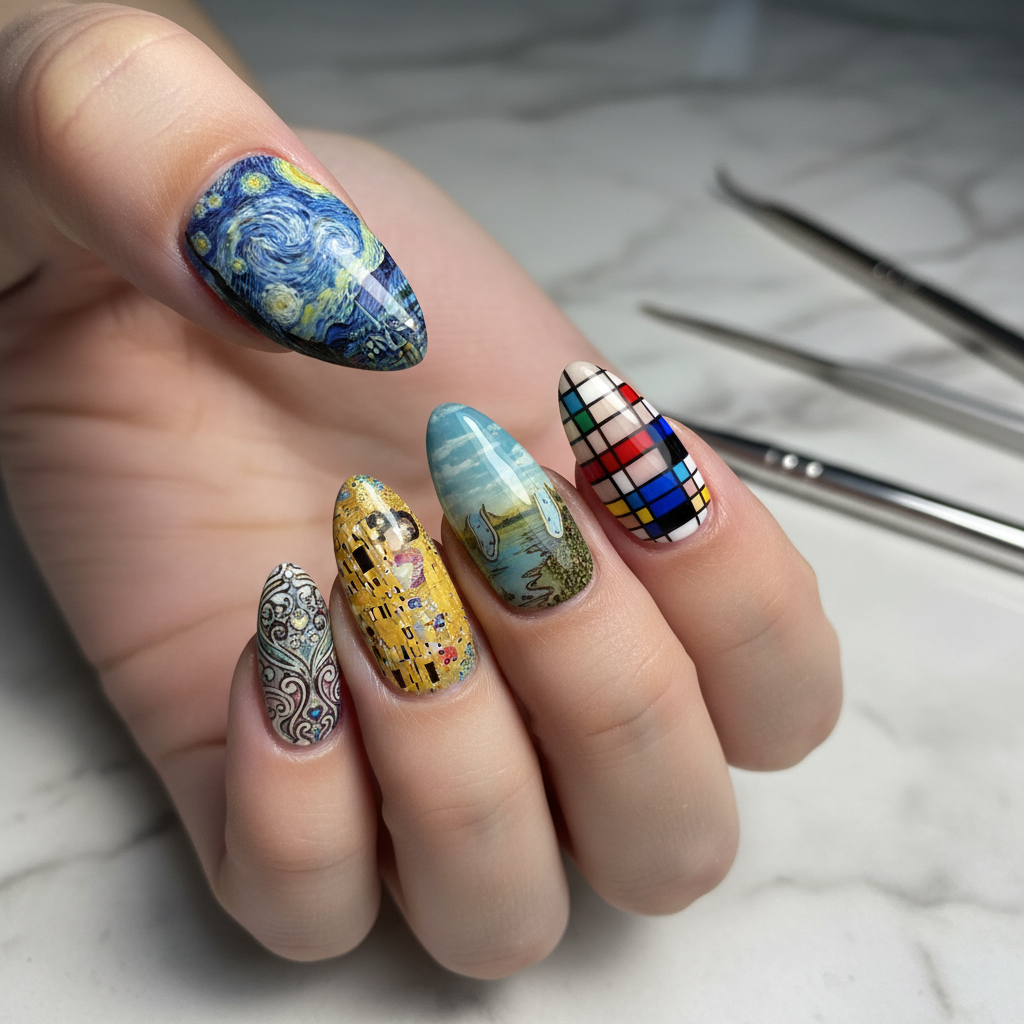
Photo-Real Detailing Nails: Salon-Quality Nail Art Design
Achieve salon-worthy nails with this intricate photo-real detailing design. This nail art showcases precision and a clean finish, perfect for those who appreciate meticulous artistry on their fingertips.
Supplies You'll Need
- Nail polish base coat and top coat
- Fine detail brushes (various sizes)
- Acrylic paints or highly pigmented nail polishes
- Palette for mixing paints
- Dotting tools (optional)
- Lint-free wipes
How To Recreate It
- Apply base coat and 2 coats of desired base color. Let dry completely.
- Sketch out your desired design lightly with a pencil or fine brush.
- Begin painting the major elements of the design with your chosen colors, layering as needed for depth.
- Use the finest brushes to add intricate details and shading.
- Allow the design to dry completely before applying a protective top coat to seal and add shine (or a matte topcoat for the background).
- Clean up any mistakes with a small brush dipped in acetone.
Expert Tip
Practice your detailing on paper or a practice nail before applying to your actual nails. Use a light hand and build up color gradually for best results.
Try These Variations
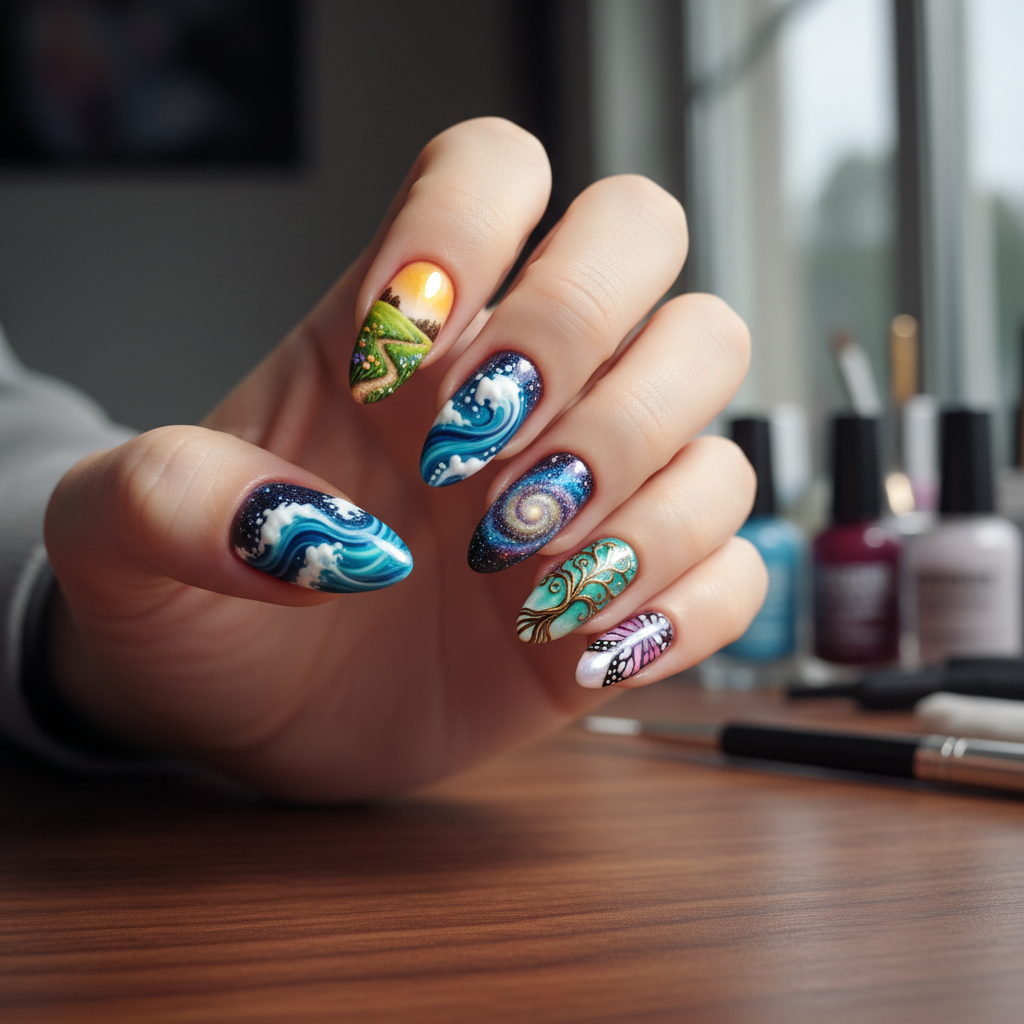
- →Miniature portrait nails
- →Landscape scene nails
- →Detailed floral design nails
Aftercare Tips
- ✓Moisturize hands and nails regularly.
- ✓Avoid picking or peeling the nail art.
- ✓Massage cuticle oil into the nail bed to promote healthy nail growth.
- ✓Use a gentle nail polish remover when removing the design.
Safe Removal
- 1.Soak cotton balls in acetone and apply to each nail.
- 2.Wrap nails in foil and let sit for 10-15 minutes.
- 3.Gently scrape off the softened polish with a cuticle pusher.
Quick Facts
Why It's Trending
The demand for hyper-realistic nail art is surging as people seek unique and personalized forms of self-expression.
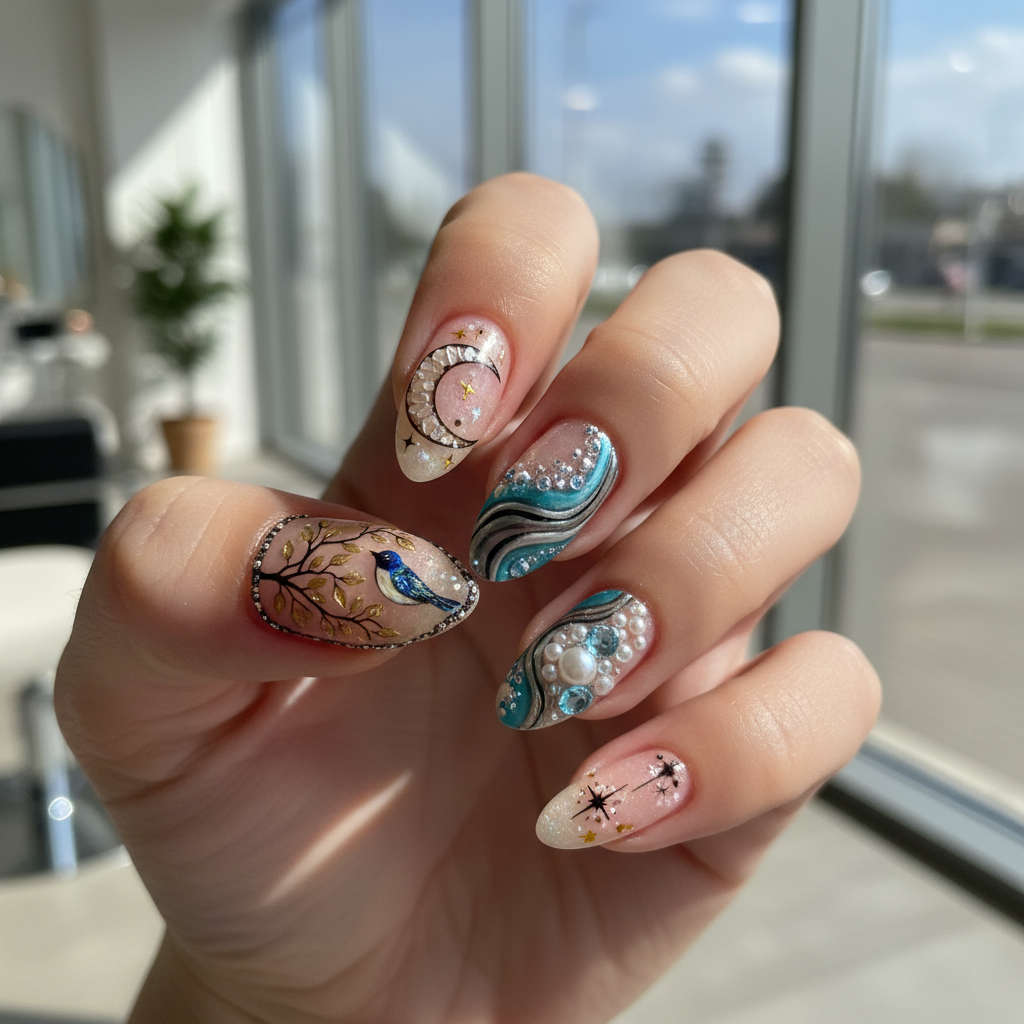
Seasonal Styling
Opt for lighter, brighter scenes in spring/summer, and richer, warmer scenes in fall/winter.
Color Variations
Perfect For
Why People Love It
Nail art enthusiasts are sharing their stunning photo-real creations on social media, inspiring others to try this intricate design.
Daily Maintenance
- 💅Avoid harsh chemicals and excessive water exposure.
- 💅Wear gloves when doing housework.
- 💅Apply cuticle oil daily to keep nails healthy.
- 💅Consider a gel top coat for extended wear.
Common Issues & Fixes
- ⚠Paint is bleeding or smudging.Ensure each layer is completely dry before applying the next. Use thin coats of paint.
- ⚠Details are not crisp.Use a finer brush and ensure you have enough light. Practice your brush control.
- ⚠Top coat is smearing the design.Use a quick-drying top coat or allow the design to dry for an extended period before applying the top coat.
- ⚠Design is chipping quicklyMake sure the nail surface is prepped adequately (clean, dry, slightly rough). Apply multiple layers of top coat.
Design Inspiration
Inspired by hyperrealism art movements and the desire to replicate stunning visuals onto a miniature canvas.
Explore Similar Designs
Colors in this Design
Techniques Used
Perfect For
Nail Shapes
More Categories to Explore
Popular Colors
Popular Techniques
Perfect Occasions
FAQs
What type of paint is best for detailing?
Highly pigmented acrylic paints or specialized nail art paints are ideal for achieving fine details.
How do I prevent the paint from drying on the brush?
Keep your brush clean and use a brush cleaner specifically designed for acrylic paints. Work quickly.
Can I use gel polish for this design?
Yes, gel polish can be used, but it requires curing under a UV/LED lamp between each layer.
How long will this design last?
With proper care, this design can last up to 2 weeks, especially with a gel top coat.
What is the best way to clean up mistakes?
Use a small brush dipped in acetone to carefully remove any unwanted paint or polish.
Can I use stencils or stamping plates to aid in detailing?
While freehand painting is preferred for a true 'photo-real' effect, stencils and plates can be used as a base for further detailing.