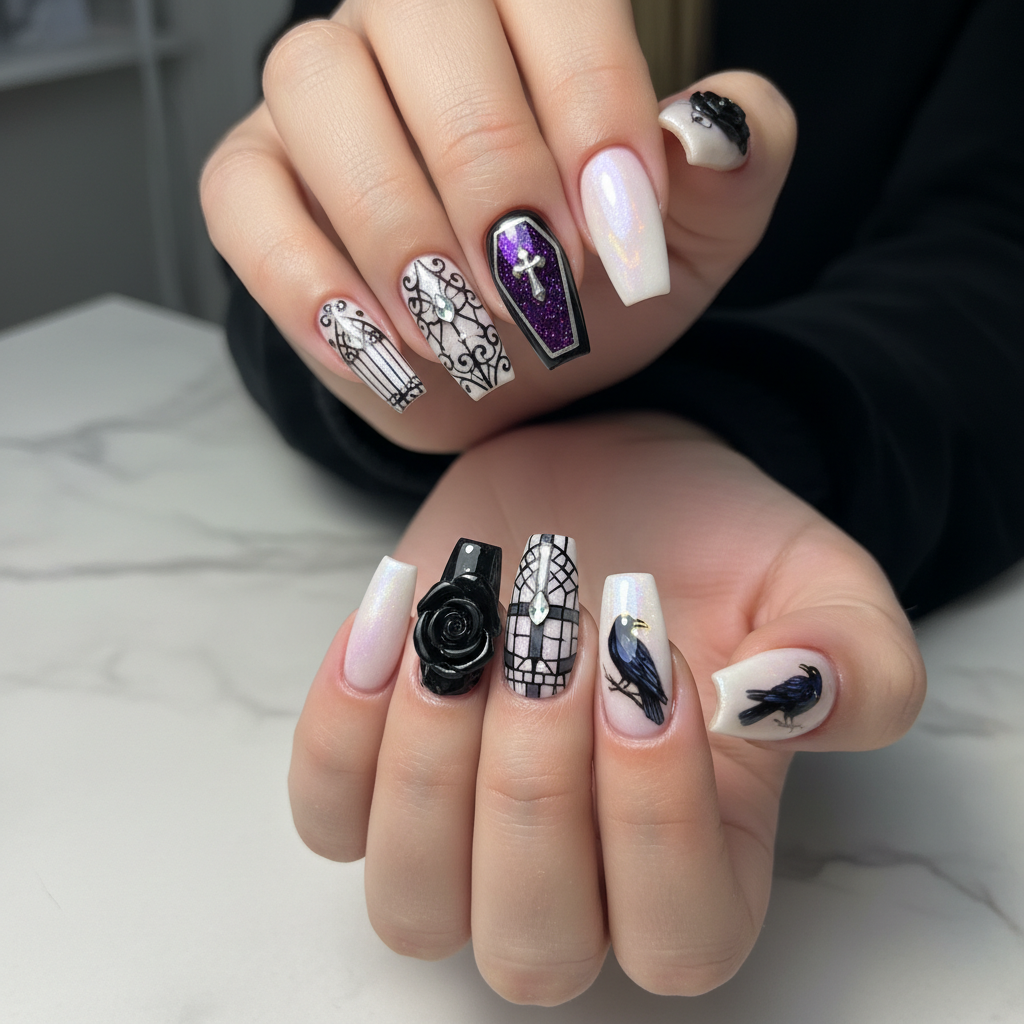
Photo-real Salon Coffin Nails
Coffin inspired nail art with clean, photo-real finish and professional salon quality
Created: October 5, 2025 at 01:07 PM
More Coffin Designs
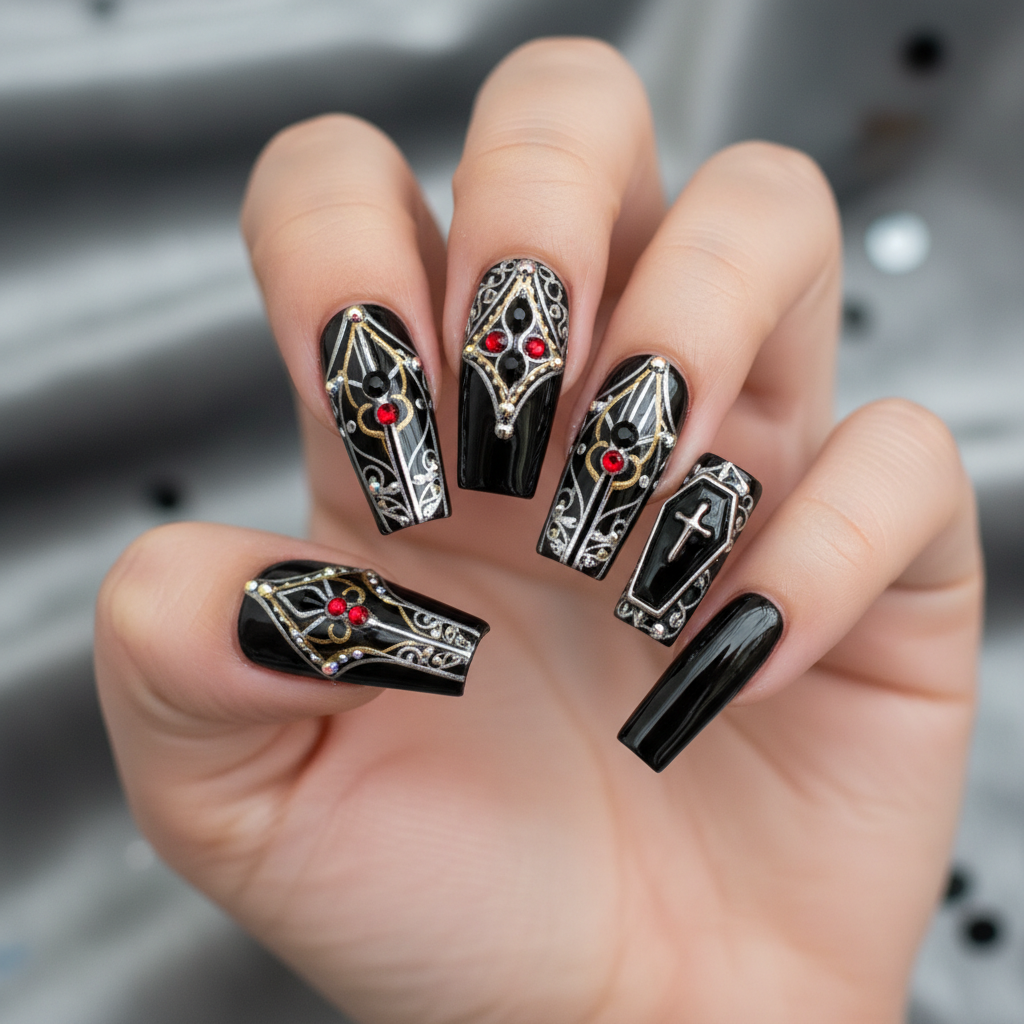
More Designs
Salon-Quality Coffin Nails: Photo-Real Nail Art Design
Achieve flawless, photo-real coffin nails with this salon-inspired design. This technique focuses on creating a smooth, seamless finish for a professional and polished look.
Supplies You'll Need
- Acrylic powder and liquid (or gel extensions)
- Nail primer
- High-quality gel polish (nude, pastel pink, or white)
- Top coat (high shine)
- Nail buffer and file
- Cuticle oil
How To Recreate It
- Prepare the nails: Push back cuticles, file into a coffin shape, and buff the surface for adhesion.
- Apply acrylic or gel extensions to achieve desired length and shape. Ensure smooth blending at the cuticle area.
- Apply a thin coat of nail primer, allowing it to dry completely.
- Apply 2-3 thin coats of gel polish, curing each layer under a UV/LED lamp.
- Apply a generous coat of high-shine top coat and cure.
- Cleanse the nails with alcohol and apply cuticle oil for hydration.
Expert Tip
Focus on creating a smooth, even base before applying color. Proper buffing and blending are key to achieving the 'photo-real' effect.
Try These Variations
- →Ombre Coffin Nails: Blend two or three colors seamlessly for a gradient effect.
- →French Tip Coffin Nails: Classic French tip with a modern coffin shape.
- →Minimalist Line Art: Add delicate lines or geometric shapes for a subtle accent.
Aftercare Tips
- ✓Moisturize hands regularly to prevent dryness.
- ✓Avoid prolonged exposure to water.
- ✓Schedule regular fill appointments to maintain the shape and structure of the coffin nails.
Safe Removal
- 1.File down the top coat to break the seal.
- 2.Soak nails in acetone for 15-20 minutes, or use an e-file with caution.
Quick Facts
Why It's Trending
The desire for flawlessly executed, professional-looking nails is driving the popularity of photo-real nail designs.
Seasonal Styling
Perfect for any season, adjust the color palette to suit the time of year – pastels for spring, vibrant neons for summer, rich jewel tones for autumn, and classic neutrals for winter.
Color Variations
Perfect For
Why People Love It
Instagram and TikTok are flooded with photo-real nail art, showcasing the trend's popularity and inspiring users to recreate the look.
Daily Maintenance
- 💅Apply cuticle oil daily to keep nails hydrated.
- 💅Wear gloves when doing housework to protect the nails.
- 💅Avoid using your nails as tools to prevent breakage.
Common Issues & Fixes
- ⚠Uneven acrylic applicationPractice your acrylic application technique and use a fine-grit file to smooth out imperfections before applying polish.
- ⚠Streaky gel polishApply thin, even coats of gel polish, curing each layer thoroughly. Avoid applying the polish too thickly.
- ⚠Lifting at the cuticleEnsure proper nail prep and avoid getting product on the cuticle area. Use a quality nail primer to enhance adhesion.
Design Inspiration
Inspired by professional nail technicians and the desire to achieve flawless, airbrushed-looking nails at home.
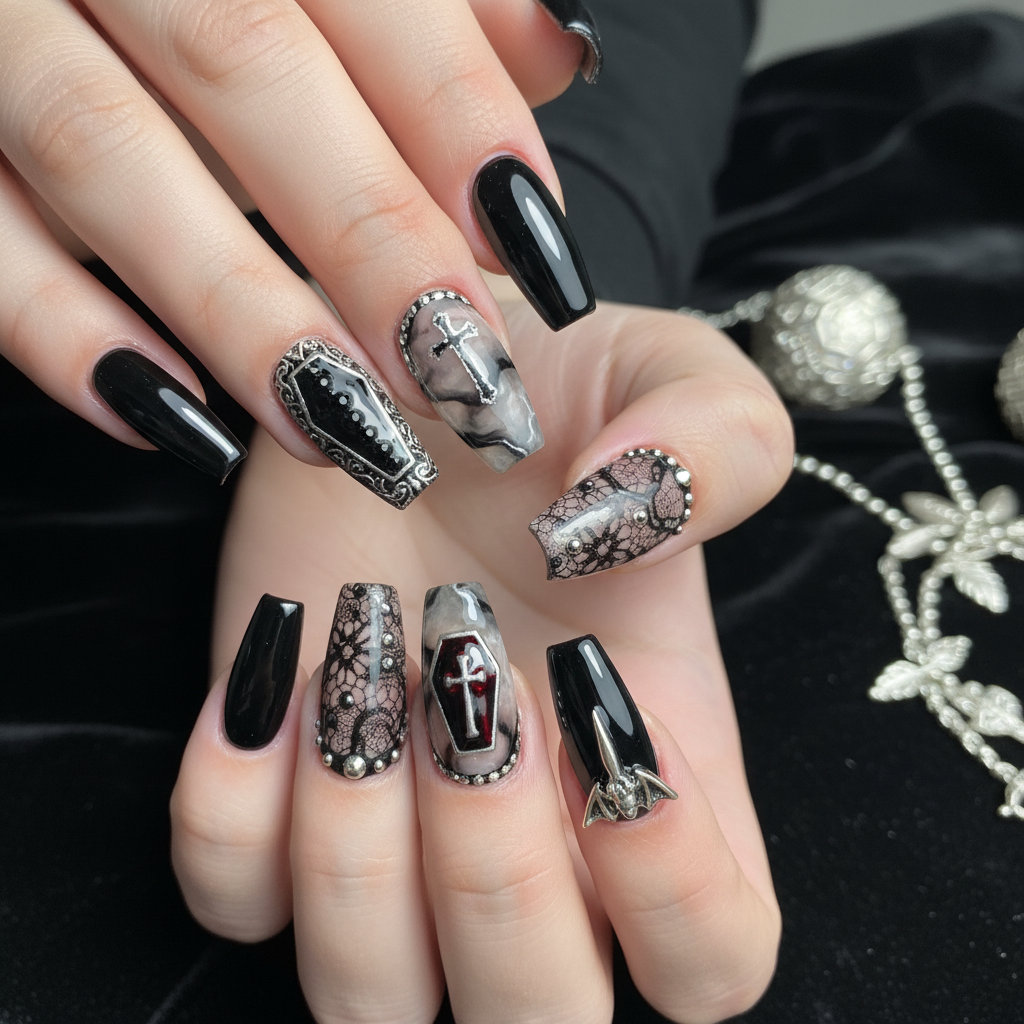
Explore Similar Designs
Colors in this Design
Techniques Used
Perfect For
Nail Shapes
More Categories to Explore
Popular Colors
Popular Techniques
Perfect Occasions
FAQs
How long do coffin nails typically last?
With proper application and maintenance, coffin nails can last up to 2-3 weeks before needing a fill.
Can I achieve this look with natural nails?
While possible, it's more challenging to achieve the desired length and structure with natural nails alone. Acrylic or gel extensions are recommended.
What is the best top coat for a 'photo-real' finish?
A high-shine, non-wipe gel top coat is ideal for creating a smooth, glossy, photo-real finish.
Are coffin nails difficult to maintain?
Coffin nails require regular maintenance to prevent breakage and lifting. Applying cuticle oil daily is essential.
What is the best way to shape coffin nails?
Start by creating a tapered shape, then file the tip straight across to create the coffin effect. Precision is key!
Can I do this design with dip powder?
Yes! Dip powder can be used to create a strong base and then finished with gel polish for the photo-real look.