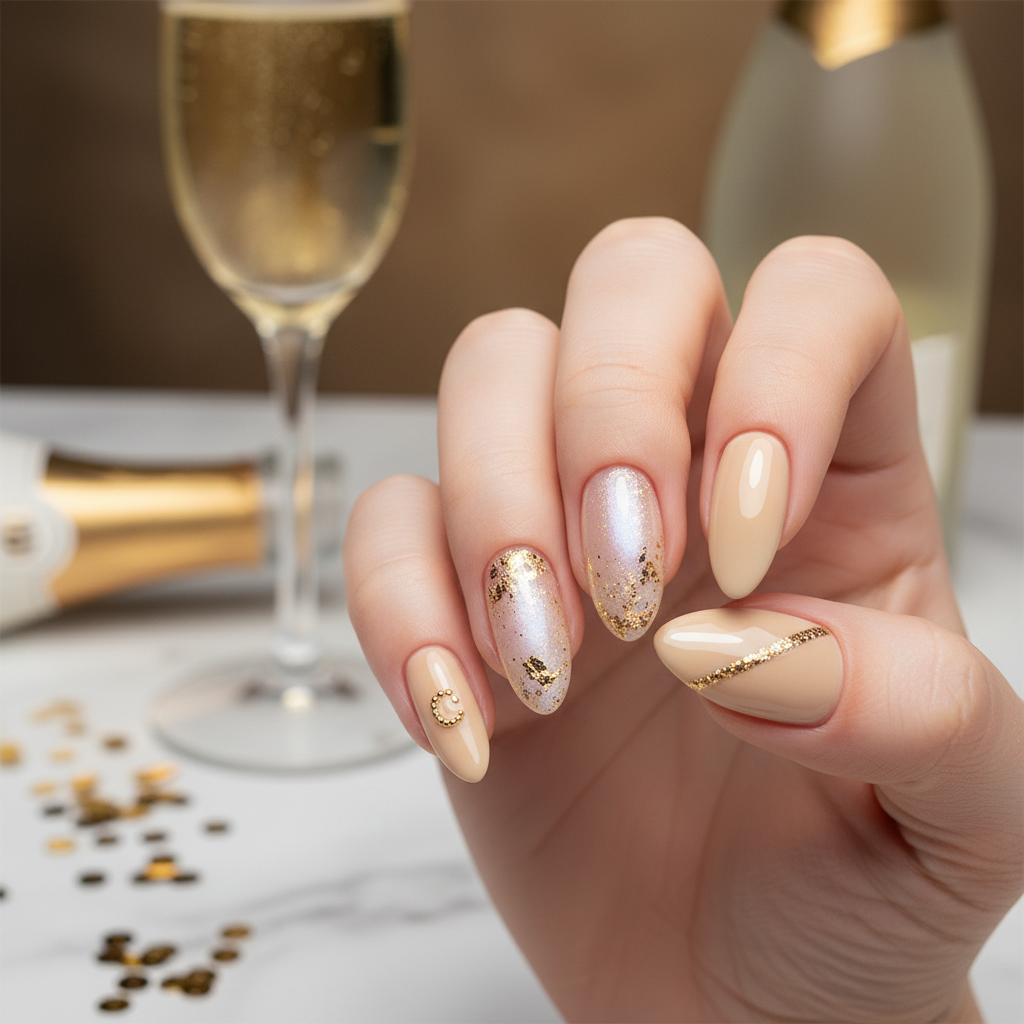
Photo-real Salon Champagne Nails
Champagne inspired nail art with clean, photo-real finish and professional salon quality
Created: October 5, 2025 at 12:43 PM
More Champagne Designs
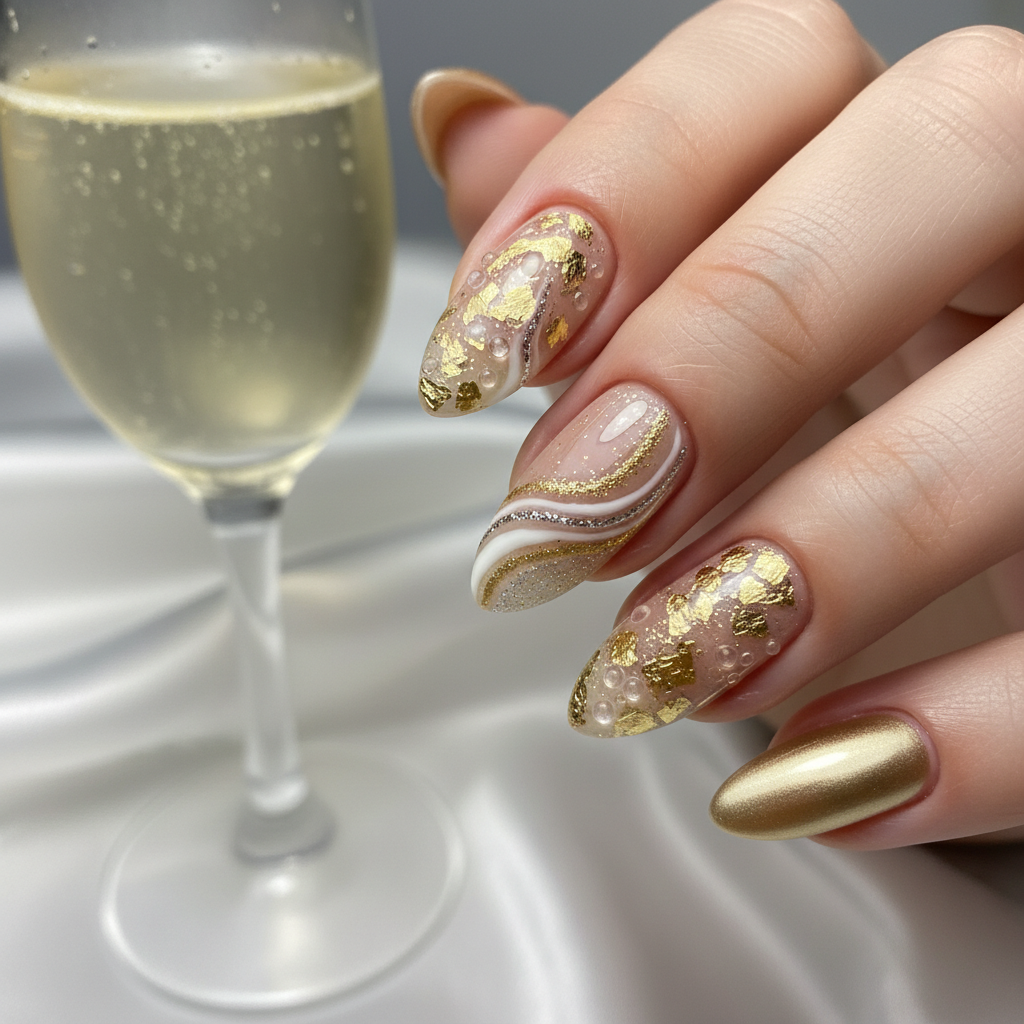
Photo-real Salon Champagne Nails
Champagne inspired nail art with clean, photo-real finish and professional salon quality
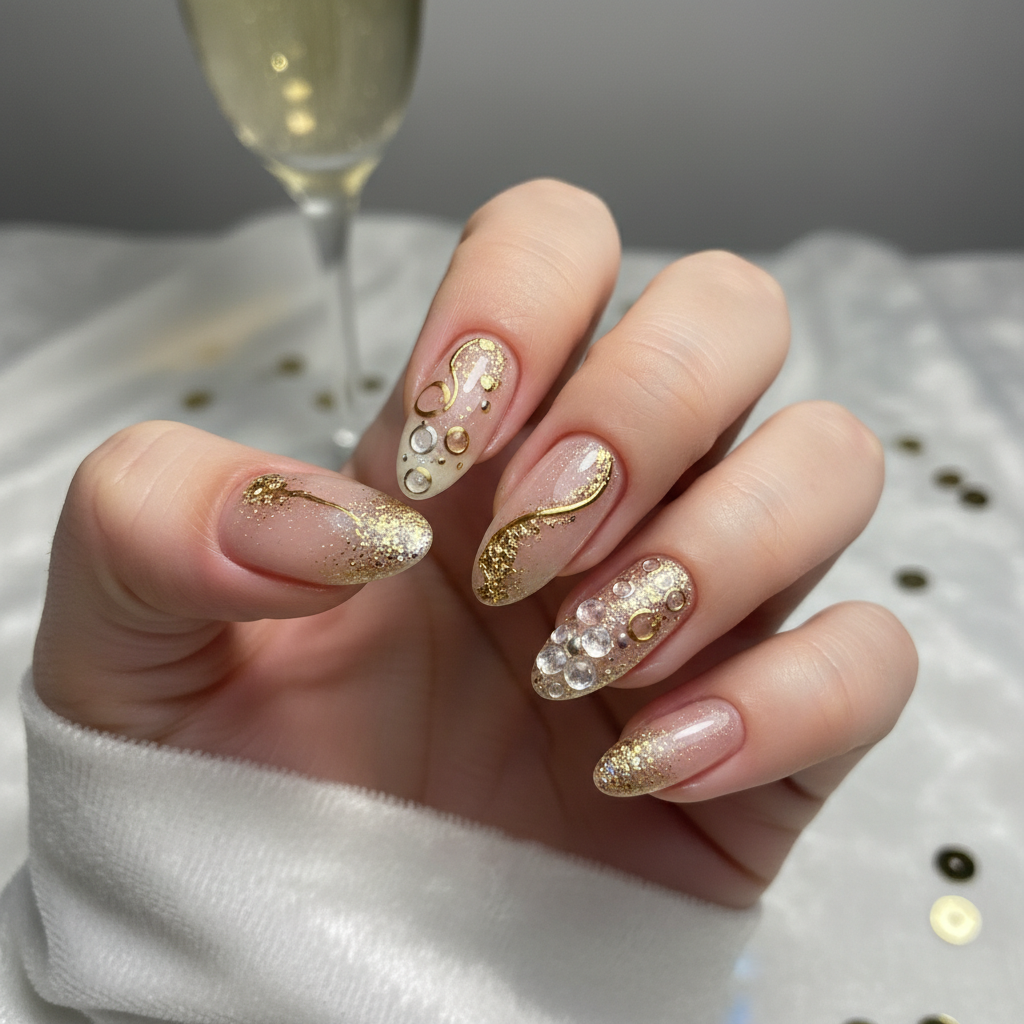
Photo-real Salon Champagne Nails
Champagne inspired nail art with clean, photo-real finish and professional salon quality
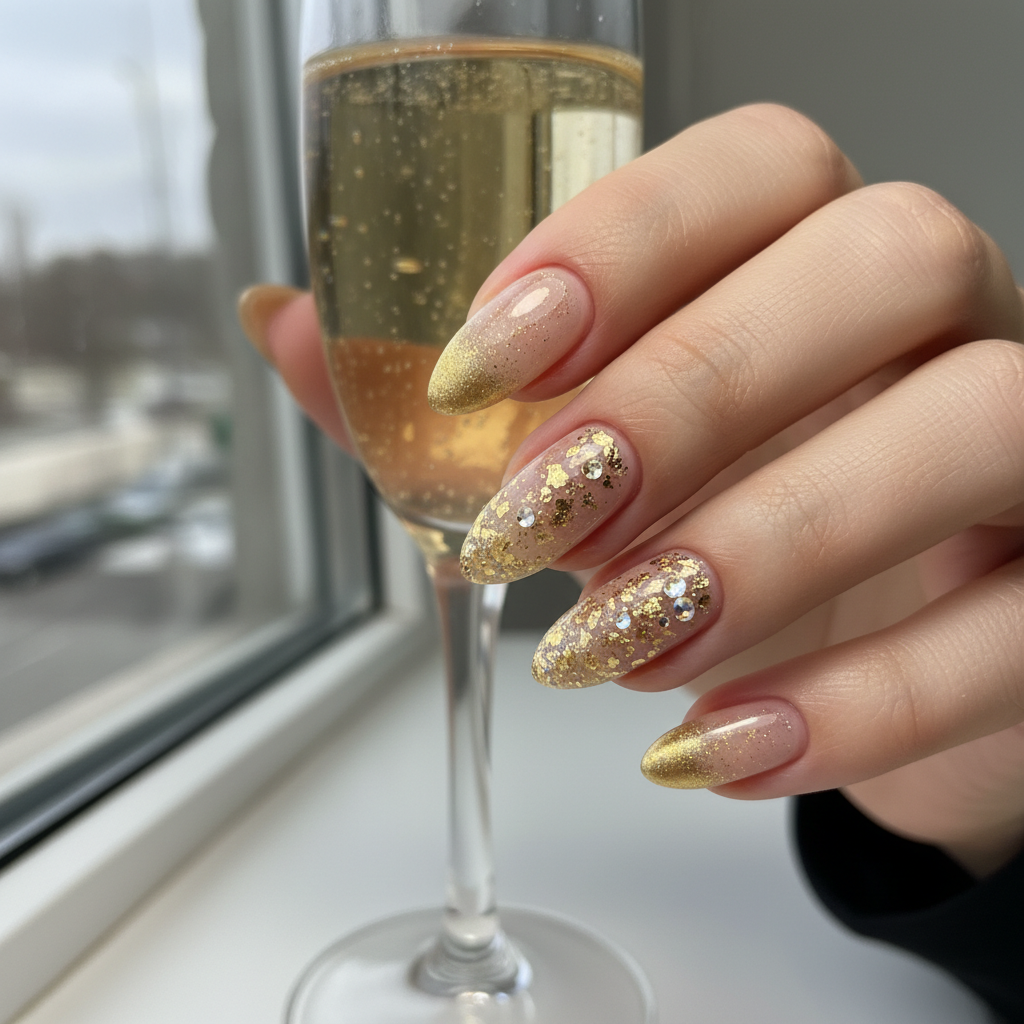
Photo-real Salon Champagne Nails
Champagne inspired nail art with clean, photo-real finish and professional salon quality
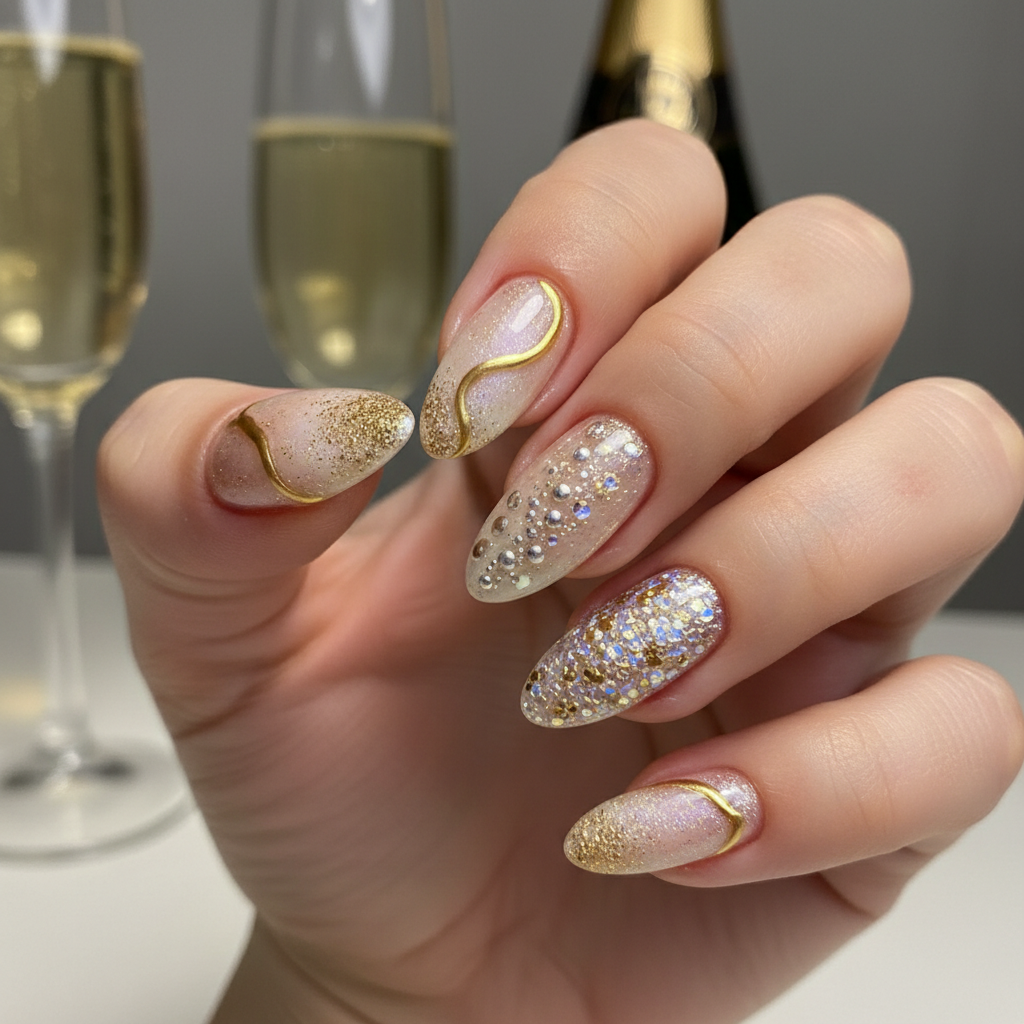
Photo-real Salon Champagne Nails
Champagne inspired nail art with clean, photo-real finish and professional salon quality
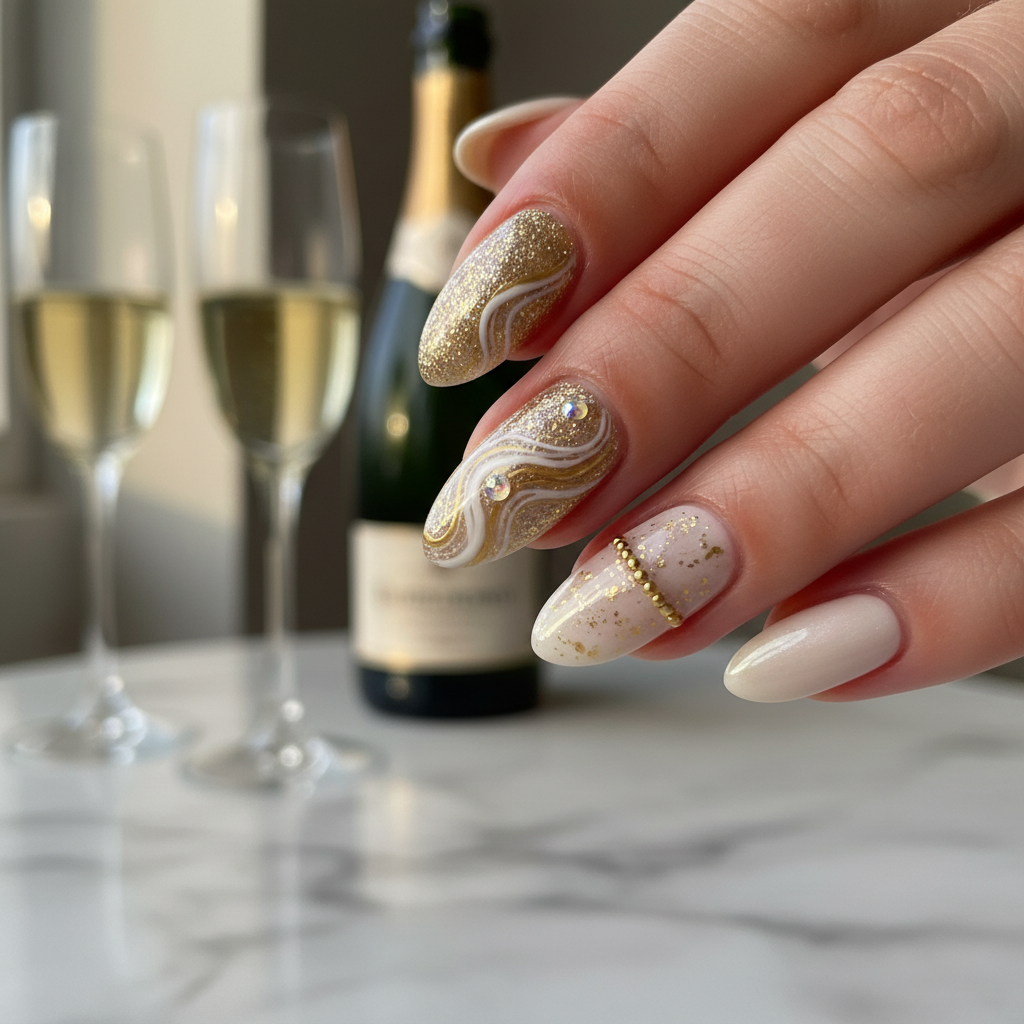
Photo-real Salon Champagne Nails
Champagne inspired nail art with clean, photo-real finish and professional salon quality
More Designs
Salon Champagne Nails: Elegant & Bubbly Nail Design
Indulge in the luxury of Salon Champagne Nails! This design perfectly captures the effervescence and elegance of champagne with a photo-real finish, bringing salon-quality style to your fingertips.
Supplies You'll Need
- Champagne gold nail polish
- Ivory or pale pink nail polish
- Fine detail brush
- Sponge or airbrush (optional)
- Glossy top coat
- Base coat
How To Recreate It
- Apply a base coat to protect your nails.
- Apply a base color of ivory or pale pink.
- Using a sponge or airbrush, gently blend champagne gold polish towards the tips, creating a subtle gradient.
- With a fine detail brush, add tiny dots of lighter gold to mimic champagne bubbles.
- Allow to dry completely and seal with a glossy top coat.
Expert Tip
For a truly photo-real effect, use an airbrush to create the gradient. Practice your blending technique on a nail wheel before applying to your nails.
Try These Variations
- →Add subtle glitter accents for extra sparkle.
- →Incorporate a French manicure with a champagne gold tip.
- →Try a matte finish for a more understated look.
Aftercare Tips
- ✓Keep your hands moisturized with a rich hand cream.
- ✓Avoid harsh chemicals that can damage the polish.
- ✓Gently file any snags or rough edges.
Safe Removal
- 1.Soak cotton pads in acetone-based nail polish remover.
- 2.Place the pads on your nails and wrap with foil.
- 3.After 10-15 minutes, gently scrape off the polish.
Quick Facts
Why It's Trending
Champagne-inspired designs are trending due to their association with celebration and luxury, offering a sophisticated and timeless appeal.
Seasonal Styling
Ideal for holiday parties, New Year's Eve, and summer celebrations, as champagne is often associated with festive occasions. Works well year round!
Color Variations
Perfect For
Why People Love It
Salon Champagne Nails are gaining popularity on Instagram and Pinterest, with users showcasing their glamorous and sophisticated looks.
Daily Maintenance
- 💅Apply cuticle oil daily to keep your nails hydrated.
- 💅Wear gloves when doing housework to protect your manicure.
- 💅Avoid using your nails as tools.
Common Issues & Fixes
- ⚠Uneven gradient?Use a makeup sponge to dab the color on gradually for a smoother transition.
- ⚠Bubbles in the top coat?Apply a thin layer of top coat and allow it to dry completely before applying another layer.
- ⚠Polish chipping easily?Ensure you are wrapping the free edge of your nail with each coat of polish.
Design Inspiration
Inspired by the effervescent beauty and luxurious feel of champagne, this design aims to capture the essence of celebration and elegance.
Explore Similar Designs
Colors in this Design
Techniques Used
Perfect For
Nail Shapes
More Categories to Explore
Popular Colors
Popular Techniques
Perfect Occasions
FAQs
How do I achieve the 'bubble' effect?
Use a fine detail brush to add small dots of a slightly lighter shade of champagne gold.
Can I use regular polish instead of gel?
Yes, regular polish can be used, but gel polish will provide a longer-lasting and more durable finish.
What shape of nails works best with this design?
Almond or oval shaped nails tend to enhance the elegance of the design.
How long will this manicure last?
With proper care, this manicure can last up to two weeks with gel polish, or up to a week with regular polish.
Is an airbrush absolutely necessary?
No, a sponge can be used as an alternative, but an airbrush will provide a smoother and more seamless gradient.
Can I add nail art on top of this?
Yes! Subtle glitter or tiny rhinestones would complement this design beautifully.