Photo-real Salon Birthday Nails
Birthday inspired nail art with clean, photo-real finish and professional salon quality
Created: October 5, 2025 at 12:12 PM
More Birthday Designs
More Designs
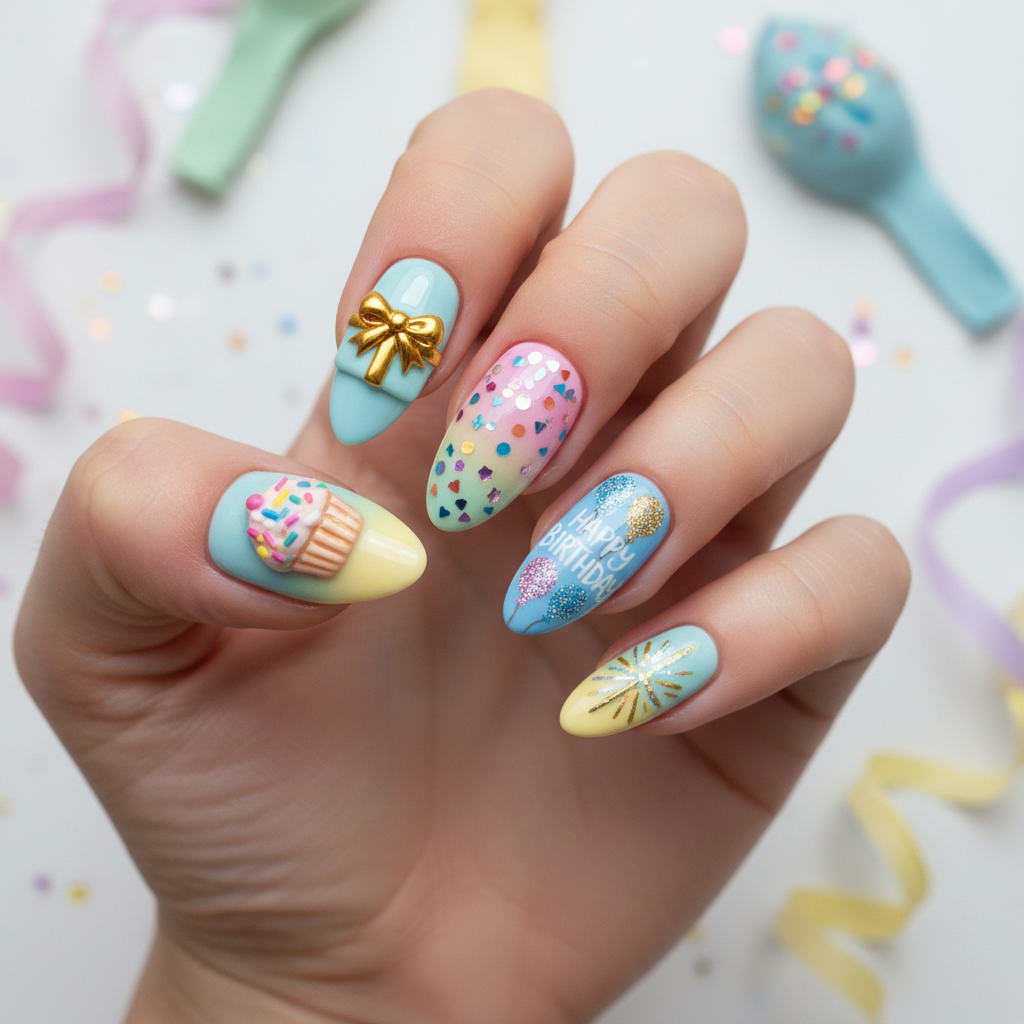
Salon-Perfect Birthday Nails: Photo-Real Celebration!
Celebrate your special day with these stunning, photo-realistic birthday nails! This design features crisp, clean lines and vibrant colors for a salon-quality finish, perfect for making a statement.
Supplies You'll Need
- Gel base coat
- Gel top coat
- High-quality gel polishes in various colors
- Ultra-fine detail brush
- LED/UV lamp
- Nail art dotting tools
How To Recreate It
- Apply a gel base coat and cure under the LED/UV lamp.
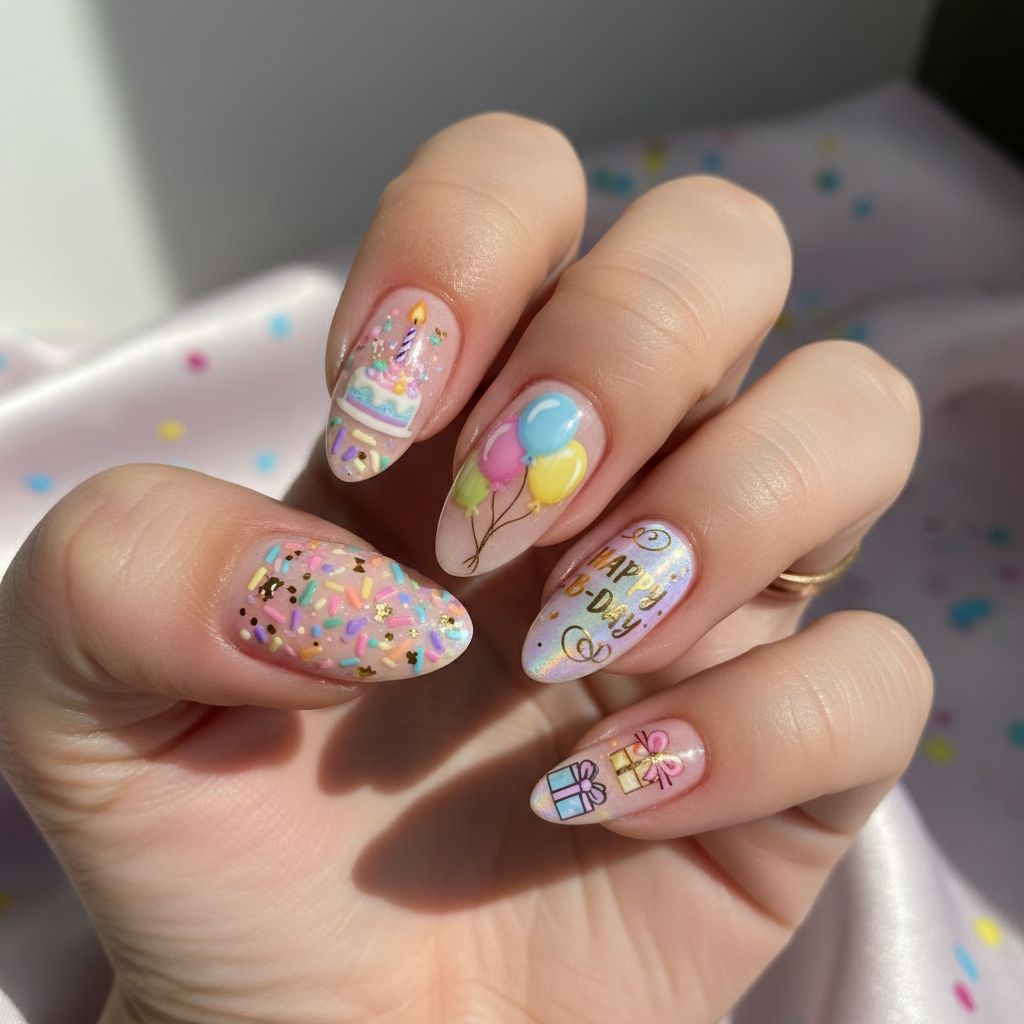
- Apply 2-3 coats of pastel pink as the base color, curing after each layer.
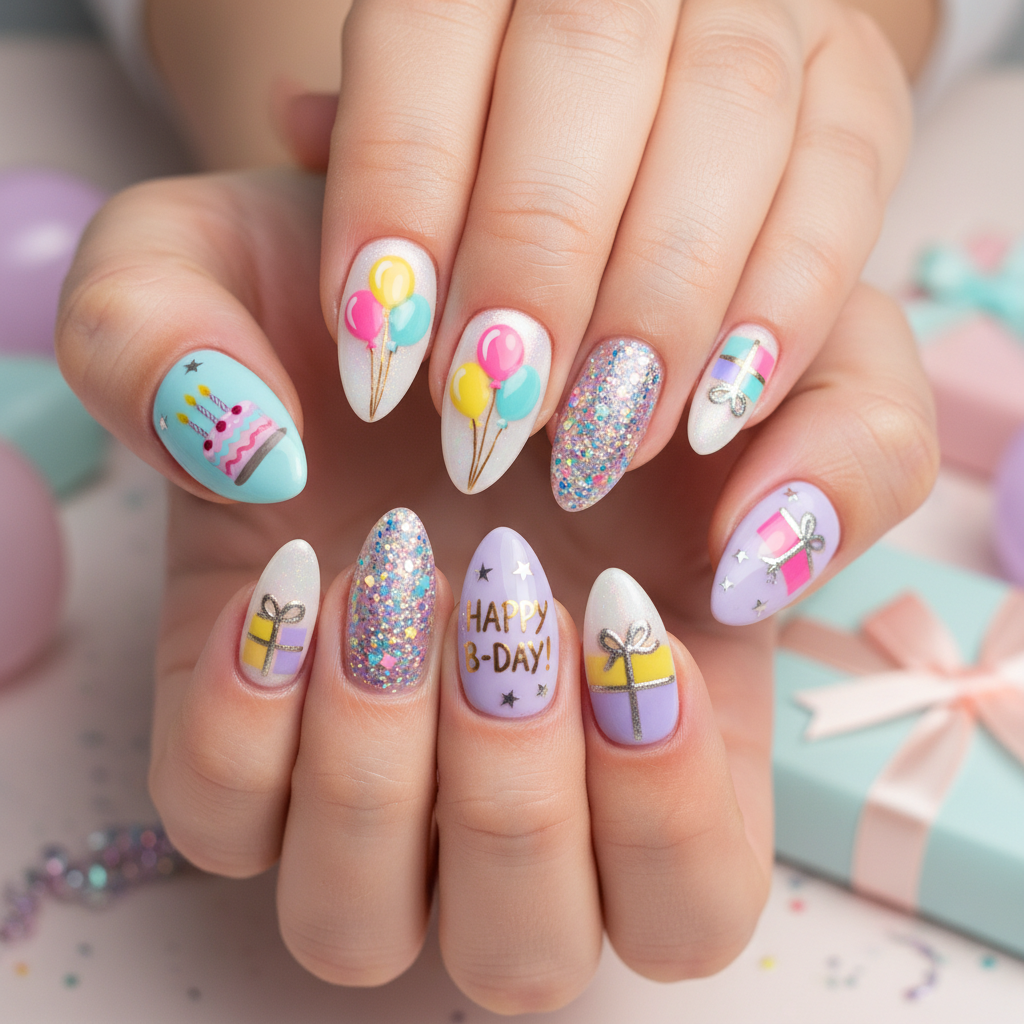
- Using the fine detail brush and various colors, create photo-realistic birthday elements (e.g., cakes, balloons, confetti) on each nail.
- Carefully add fine line details with black gel polish for outlines and definition.
- Apply a gel top coat for a glossy finish and cure under the lamp.
- Cleanse the nail surface with alcohol to remove any sticky residue.
Expert Tip
Practice your fine line skills on paper first to get comfortable with the detail brush. Using a light hand is key to achieving realistic results.
Try These Variations
- →Ombre Birthday Nails: Blend birthday colors for a gradient effect.
- →3D Birthday Embellishments: Add small 3D decorations like miniature cakes or candles.
- →Matte Birthday Nails: Use a matte top coat for a modern, sophisticated look.
Aftercare Tips
- ✓Keep hands moisturized with a good quality hand cream.
- ✓Avoid picking or peeling the gel polish.
- ✓Schedule a professional removal to prevent damage to the natural nails.
Safe Removal
- 1.File the top coat to break the seal.
- 2.Soak cotton balls in acetone, place them on the nails, and wrap with foil for 10-15 minutes.
- 3.Gently push off the softened gel polish with a cuticle pusher.
Quick Facts
Why It's Trending
Photo-realistic nail art is gaining popularity for its intricate details and realistic effects, making birthday nails an exciting and personalized trend.
Seasonal Styling
Ideal for all seasons! Adjust the color palette to match the seasonal vibes—pastels for spring, vibrant hues for summer, warm tones for autumn, and metallics for winter.
Color Variations
Perfect For
Why People Love It
This intricate birthday nail design is highly sought after for its unique and personalized touch, making it a favorite on social media platforms and salon request lists.
Daily Maintenance
- 💅Apply cuticle oil daily to keep nails hydrated.
- 💅Avoid harsh chemicals that can damage the gel polish.
- 💅Wear gloves when doing housework to protect the manicure.
- 💅File any snags or rough edges immediately.
Common Issues & Fixes
- ⚠Bleeding colors: Ensure each layer is fully cured before adding more details. Use thin, controlled layers.
- ⚠Uneven lines: Use a very fine brush and steady hand. Practice on a nail art practice pad.
- ⚠Gel polish not curing: Check your lamp's wattage and bulb condition. Apply thinner layers of polish.
- ⚠Bubbles in the gel: Avoid shaking the polish vigorously. Roll the bottle gently to mix.
Design Inspiration
Inspired by the joy and vibrancy of birthdays, aiming to capture the essence of celebration in a sophisticated, salon-worthy nail design.
Explore Similar Designs
Colors in this Design
Techniques Used
Perfect For
Nail Shapes
More Categories to Explore
Popular Colors
Popular Techniques
Perfect Occasions
FAQs
How long does this birthday nail design last?
With proper application and aftercare, this gel polish design can last up to 2-3 weeks.
Can I do this birthday nail design at home?
While possible, this design requires advanced skills and tools. It's best suited for experienced nail artists or salon professionals.
What if I don’t have a steady hand for the detail work?
Practice on a nail art practice pad first, and use a detail brush with a very fine tip. Take breaks to rest your hand.
Can I use regular nail polish instead of gel polish?
While you can, gel polish is recommended for its durability and glossy finish, crucial for achieving the photo-realistic effect. Regular polish may chip more easily.
How do I protect my birthday nail art from chipping?
Wear gloves when doing housework, avoid picking at the polish, and apply cuticle oil daily to keep the nails hydrated.
Are there any shortcuts to achieving a similar design?
Using nail stickers or decals as a base and then adding fine details can be a quicker alternative, though it won't achieve the same level of photo-realism.