Photo-real Salon American Nails
American inspired nail art with clean, photo-real finish and professional salon quality
Created: October 5, 2025 at 01:06 PM
More American Designs
More Designs
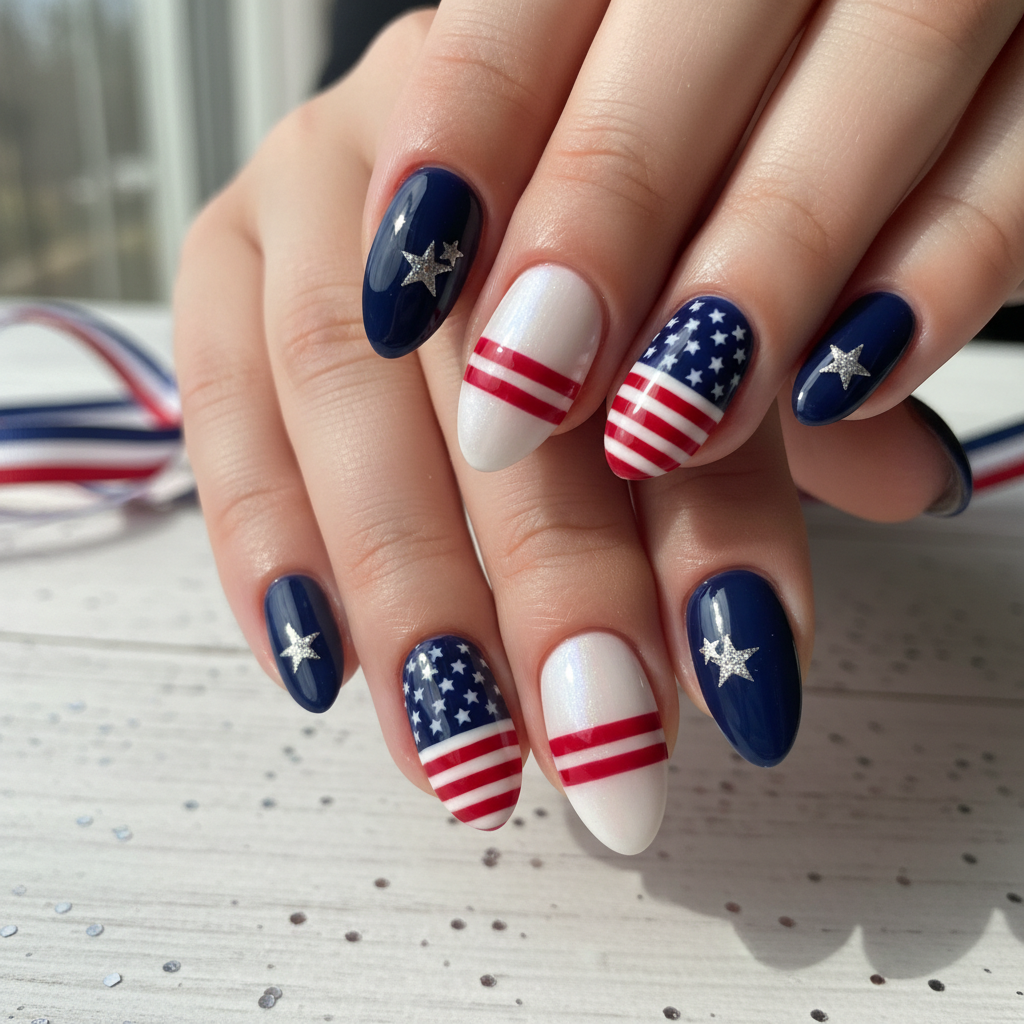
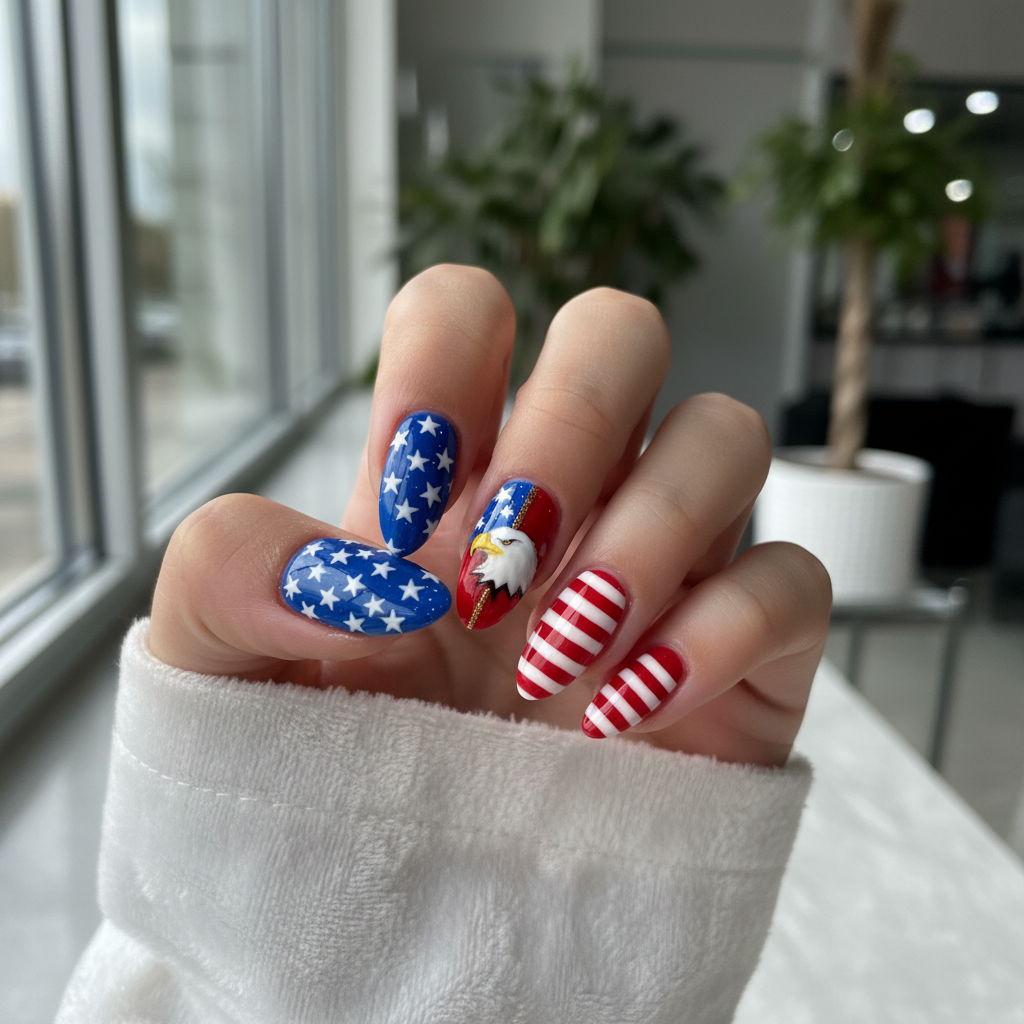
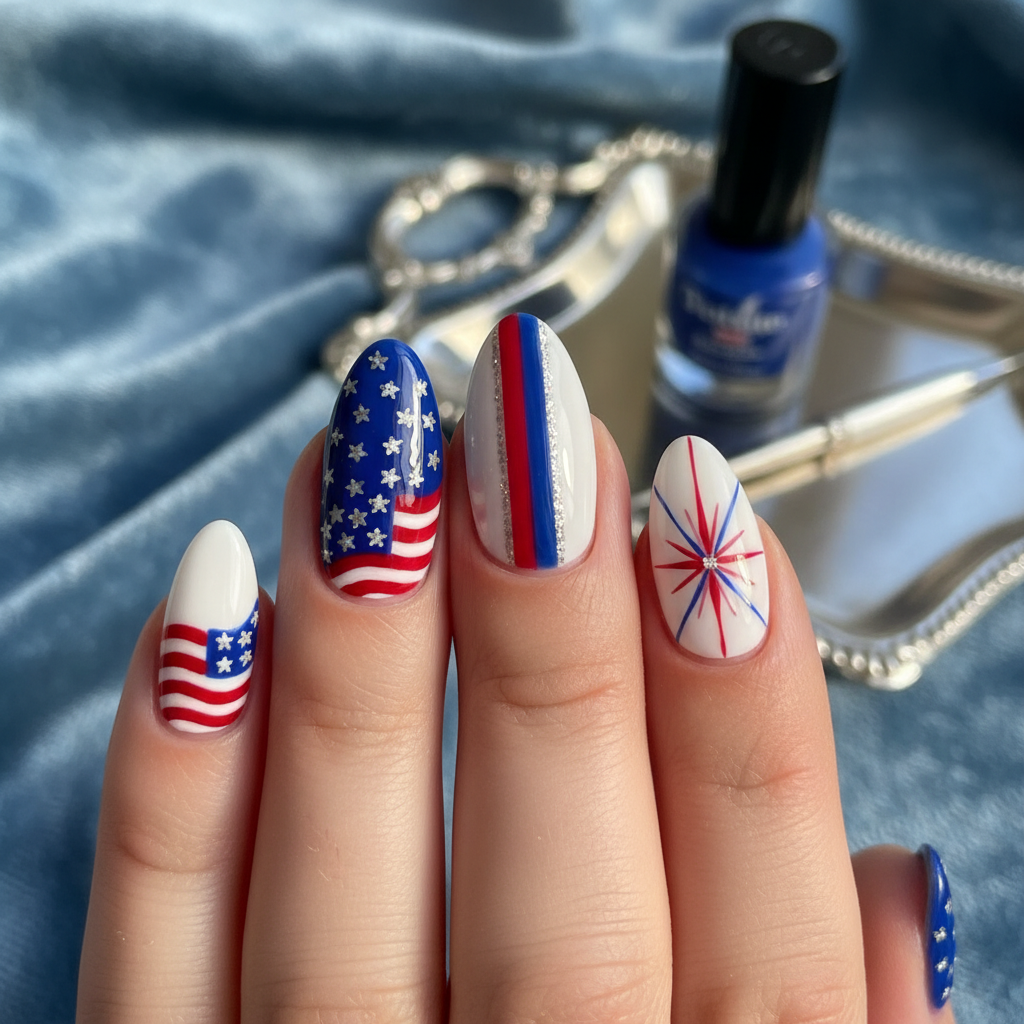
Patriotic Photo-Real American Flag Nail Design
Show your American pride with these stunning, photo-realistic American flag nails. This design features crisp lines and vibrant colors, mimicking a flawless salon-quality finish. Perfect for patriotic holidays or expressing your love for the USA.
Supplies You'll Need
- Base coat
- Red nail polish
- White nail polish
- Blue nail polish
- Ultra-fine detail brush
- Top coat
How To Recreate It
- Apply a base coat and let it dry completely.
- Paint the nails with a base color (white is recommended).
- Using an ultra-fine detail brush, carefully paint the red stripes of the American flag.
- Paint the blue square in the upper left corner and add the white stars using a dotting tool or fine brush.
- Outline the flag with a thin line of black polish for definition, if desired.
- Seal the design with a glossy top coat to protect it and enhance the photo-real effect.
Expert Tip
Use high-quality, highly pigmented nail polish and allow each layer to dry completely to prevent smudging and ensure crisp lines. Practice your flag design on paper first to perfect your technique.
Try These Variations
- →Add glitter to the blue field for a sparkling effect.
- →Incorporate a matte finish for a modern twist.
- →Create a distressed flag effect with a sponge and darker shades of red, white, and blue.
Aftercare Tips
- ✓Use cuticle oil daily to keep your nails and cuticles hydrated.
- ✓Moisturize your hands regularly to maintain healthy skin.
- ✓Avoid picking or biting your nails.
Safe Removal
- 1.Soak cotton balls in acetone-based nail polish remover.
- 2.Place the cotton balls on your nails and wrap them with foil.
- 3.Let it sit for 10-15 minutes, then gently remove the polish.
Quick Facts
Why It's Trending
The resurgence of patriotism and demand for detailed, high-quality nail art are making this design incredibly popular on social media.
Seasonal Styling
Perfect for summer celebrations and patriotic holidays like Memorial Day, 4th of July, and Labor Day.
Color Variations
Perfect For
Why People Love It
Instagram and Pinterest are filled with stunning examples of this design, showcasing its popularity and versatility. Many nail artists are recreating and selling this look.
Daily Maintenance
- 💅Apply a top coat every 2-3 days to prevent chipping.
- 💅Avoid harsh chemicals and prolonged exposure to water.
- 💅Wear gloves when doing household chores to protect your nails.
Common Issues & Fixes
- ⚠Smudging while paintingEnsure each layer is completely dry before applying the next. Use thin coats and a quick-drying top coat.
- ⚠Uneven linesPractice your technique on paper first. Use an ultra-fine detail brush and a steady hand.
- ⚠Stars not appearing crispUse a dotting tool or a very fine brush with a small amount of white polish for precision.
- ⚠ChippingApply a thick layer of top coat every other day. Avoid activities that might damage your nails.
Design Inspiration
Inspired by classic American symbolism and the desire to create a salon-quality, photo-real nail art design that expresses national pride. This design represents the quintessential American.design, realized with professional skill for flawless salon American nails.
Explore Similar Designs
Colors in this Design
Techniques Used
Perfect For
Nail Shapes
More Categories to Explore
Popular Colors
Popular Techniques
Perfect Occasions
FAQs
How long will this design last?
With proper care and maintenance, this design can last up to 2 weeks.
Can I do this design on short nails?
While it's best suited for medium to long nails, you can adapt the design for shorter nails by simplifying the flag details.
What type of brush should I use for the fine lines?
An ultra-fine detail brush with a very thin tip is essential for creating the precise lines needed for this design.
Is it necessary to use gel polish?
No, you can use regular nail polish, but gel polish will generally last longer and provide a smoother finish.
How do I make the stars look perfect?
Using a small dotting tool or a very fine brush dipped in white polish is the key. Practice on paper first to get the hang of it.
What if I mess up a stripe?
Carefully clean up any mistakes with a small brush dipped in nail polish remover. Let the area dry completely before continuing.