
Negative Space Geometric Lines Nail Style Nails - Nail Style nail art - featuring geometric - nail art inspiration and design ideas
Negative Space Geometric Lines Nail Style Nails
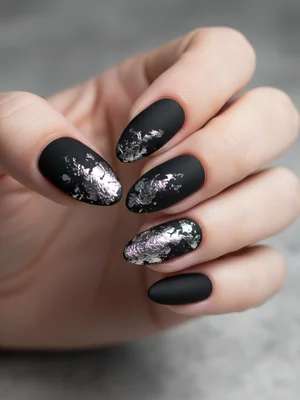
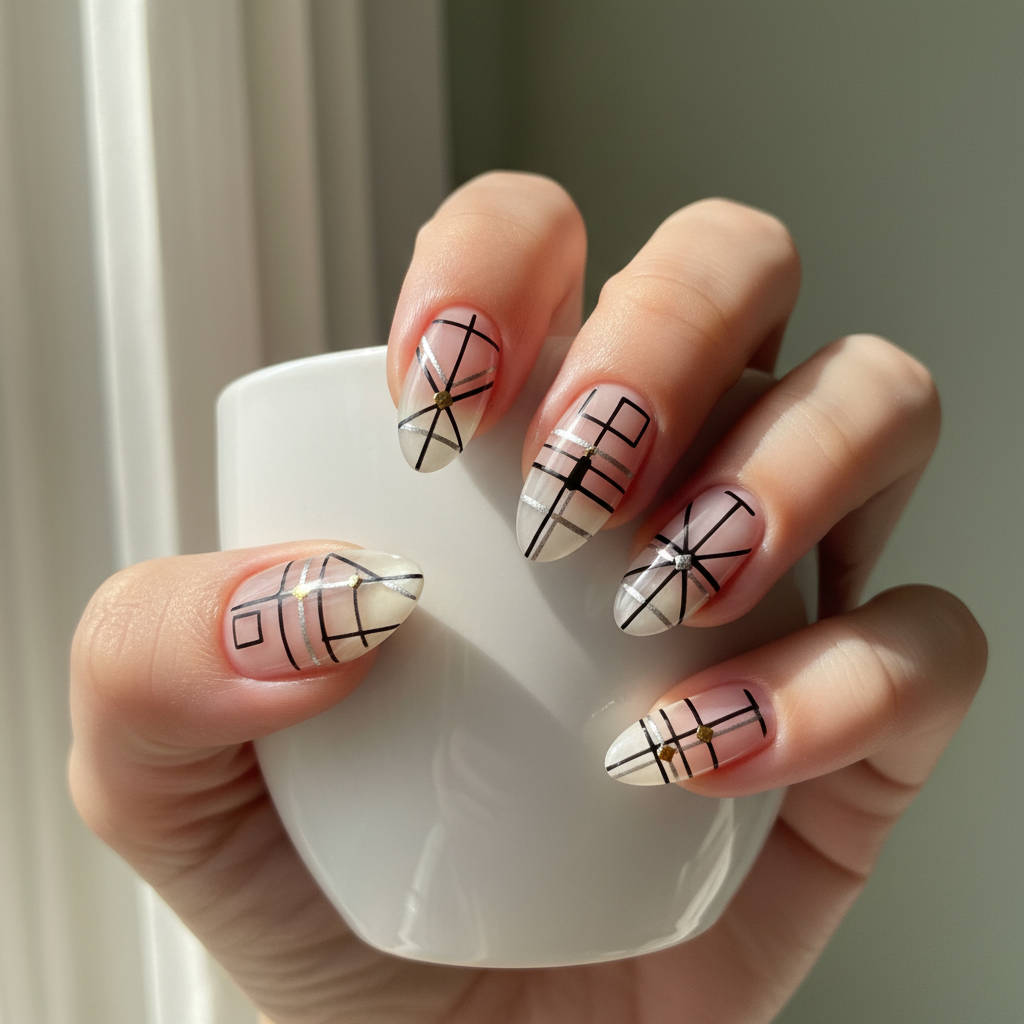
Chic Geometric Negative Space Nail Style: Line Art
Embrace modern minimalism with geometric negative space nails. This design features clean lines and bare sections, creating a striking and sophisticated Nail Style.
Chic Geometric Negative Space Nail Style: Line Art
Embrace modern minimalism with geometric negative space nails. This design features clean lines and bare sections, creating a striking and sophisticated Nail Style.
- Base Coat
- Nude Nail Polish
- Black Nail Polish
- Striping Tape or Fine Nail Art Brush
- Top Coat
- Nail Art Brush Set
- Apply a base coat and allow it to dry completely.
- Paint the entire nail with a nude or neutral base color and let it dry.
- Apply striping tape to create geometric lines, or carefully paint lines with a fine brush using black polish.
- Allow the black polish to dry slightly, then carefully remove the striping tape.
- Clean up any imperfections with a cleanup brush and acetone.
- Finish with a glossy or matte top coat.
Techniques
Expert Tip
Use thin coats of polish to prevent bleeding under the striping tape and ensure crisp lines. Practice your linework on paper first to get comfortable with the brush.
Similar Styles


Explore Similar Designs
Techniques Used
Nail Shapes
Frequently Asked Questions
Can I use regular tape instead of striping tape?
Striping tape is preferred as it's thinner and creates cleaner lines. Regular tape can work, but the edges may not be as sharp.
What if I don't have a fine nail art brush?
You can use a toothpick or a sharpened orange wood stick, but a fine nail art brush will give you the best results.
How do I make sure the lines are straight?
Use a ruler or guide for perfectly straight lines. Practice on a piece of paper first.
What kind of top coat should I use?
A quick-drying top coat is ideal to prevent smudging. Choose a glossy or matte finish depending on your preference.
How long will this design last?
With proper care and maintenance, this design can last up to a week or more.
Is this design suitable for short nails?
Yes, this design can work on shorter nails, but the lines may need to be thinner and simpler.
Aftercare Tips
- ✓Use cuticle oil daily to keep your nails healthy.
- ✓Wear gloves when doing housework or gardening.
- ✓Avoid picking or biting your nails.
Safe Removal
- 1.Soak cotton pads in acetone nail polish remover.
- 2.Place the cotton pads on your nails and wrap them in foil for 10-15 minutes.
- 3.Remove the foil and cotton pads, and gently scrape off any remaining polish.