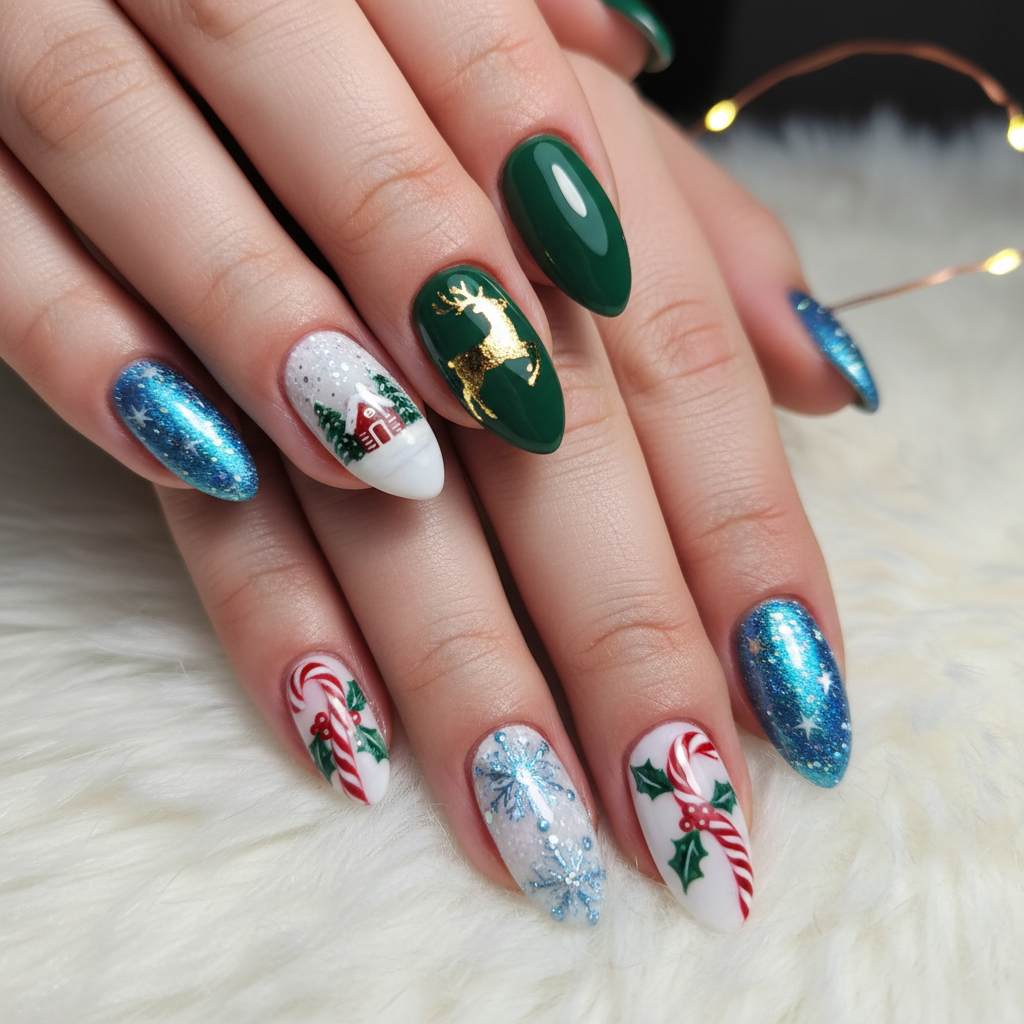
Photo-real Salon Winter Holidays Nails - Winter Holidays nail art - featuring nail art, red, winter - nail art inspiration and design ideas
Photo-real Salon Winter Holidays Nails
Photo-Real Holiday Nails: Salon-Quality Winter Design
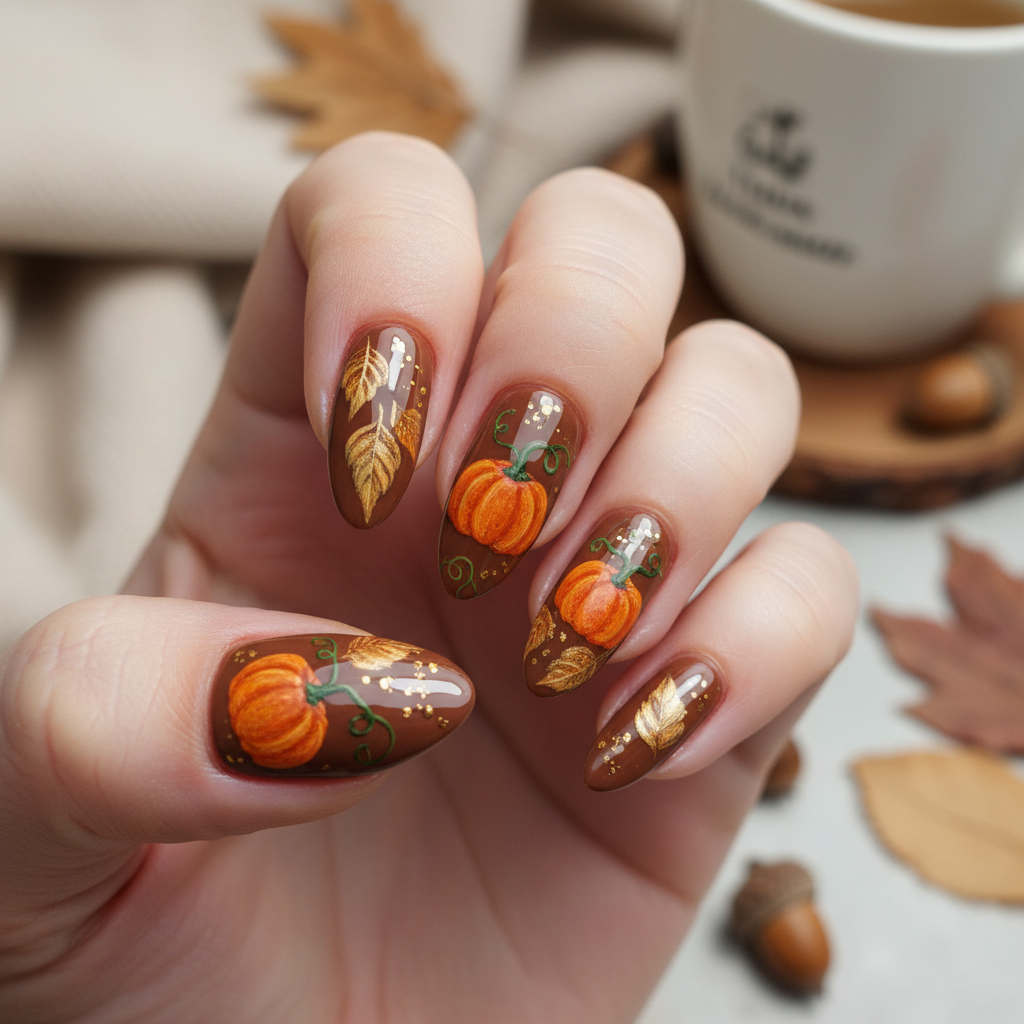
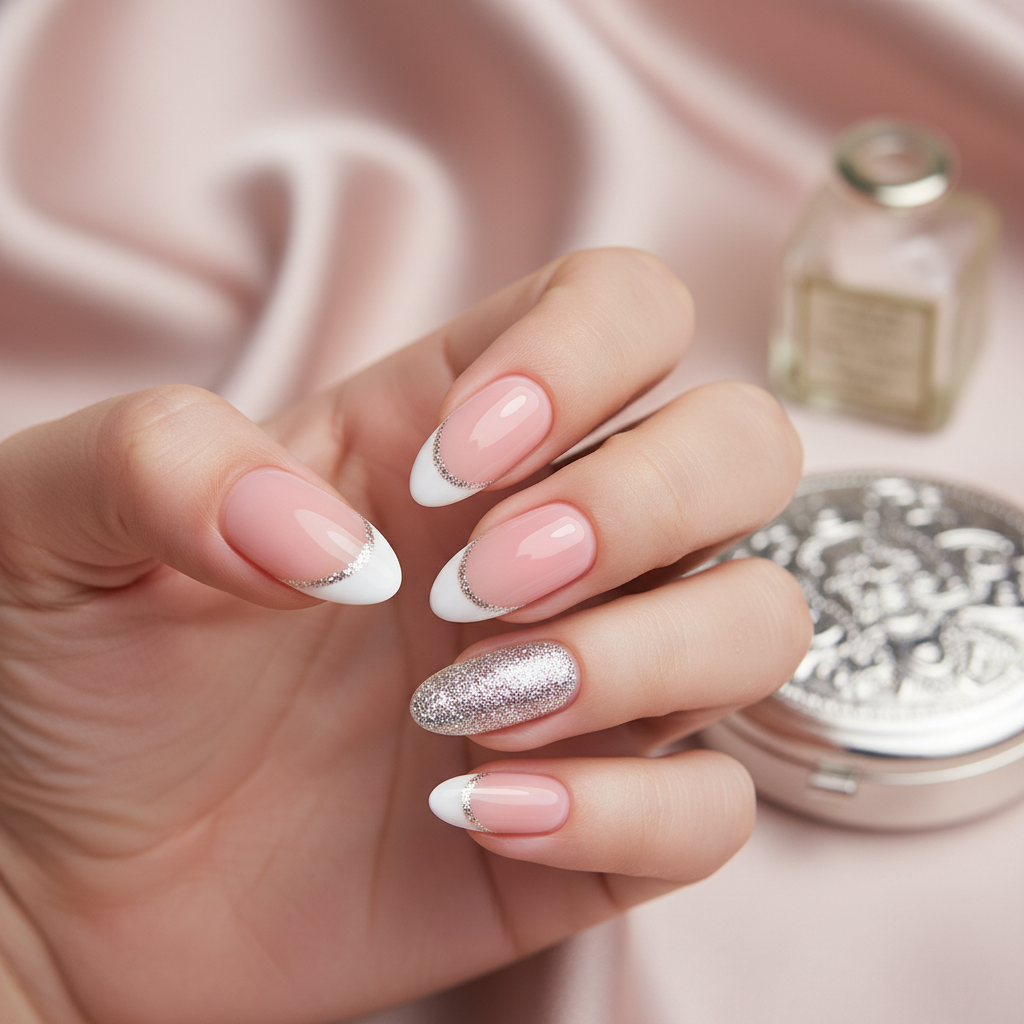
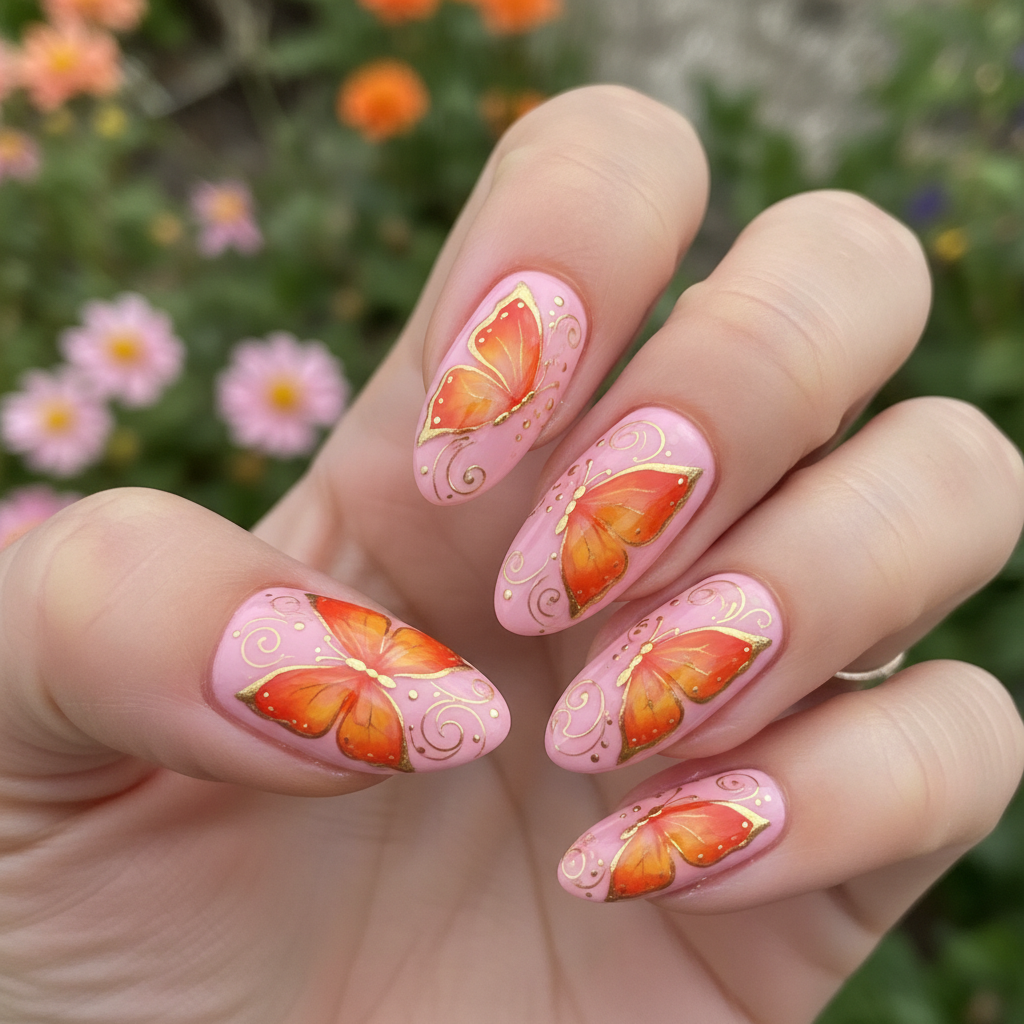
Embrace the magic of the Winter Holidays with these stunning, photo-real nails. This salon-quality design features intricate details and a flawless finish, perfect for celebrating the season in style.
Nail Art AI picks
Shop this look


As an Amazon Associate, Nail Art AI earns from qualifying purchases. This comes at no additional cost to you.
Photo-Real Holiday Nails: Salon-Quality Winter Design
Embrace the magic of the Winter Holidays with these stunning, photo-real nails. This salon-quality design features intricate details and a flawless finish, perfect for celebrating the season in style.
- Nail polish in red, green, gold, white, and silver
- Fine-tipped nail art brushes
- Detailing tools (dotting tools, toothpicks)
- Airbrush (optional)
- Top coat
- Stamping plates with holiday designs (optional)
- Apply a base coat to protect your natural nails.
- Paint each nail with a base color (e.g., red, green, or white).
- Use fine-tipped brushes or an airbrush to create realistic holiday details, such as ornaments, snowflakes, or trees.
- Add gold or silver accents for sparkle and dimension.
- Apply a thick layer of top coat to seal the design and add shine.
- Clean up any excess polish around the edges with a cleanup brush.
Perfect For
Expert Tip
Use thin layers of polish and allow each layer to dry completely before adding more details to prevent smudging and ensure a smooth, photo-real finish. Invest in high-quality, fine-tipped brushes for intricate detailing.
Similar Styles


Explore Similar Designs
Techniques Used
Perfect For
Frequently Asked Questions
How long will this design last?
With proper care, this design can last up to two weeks.
Can I do this design at home?
While challenging, it's possible with patience, practice, and the right tools. Consider starting with simpler elements.
What if I don't have an airbrush?
You can achieve a similar effect with fine-tipped nail art brushes and careful shading.
How do I protect my nails from damage during removal?
Use an acetone-based remover sparingly and moisturize your nails and cuticles thoroughly afterward.
What's the best top coat to use?
A high-quality, glossy top coat will protect the design and enhance its shine. Gel top coat is also a great option for longevity.
Can I use gel polish for this design?
Yes, gel polish can be used. Cure each layer properly under a UV/LED lamp.
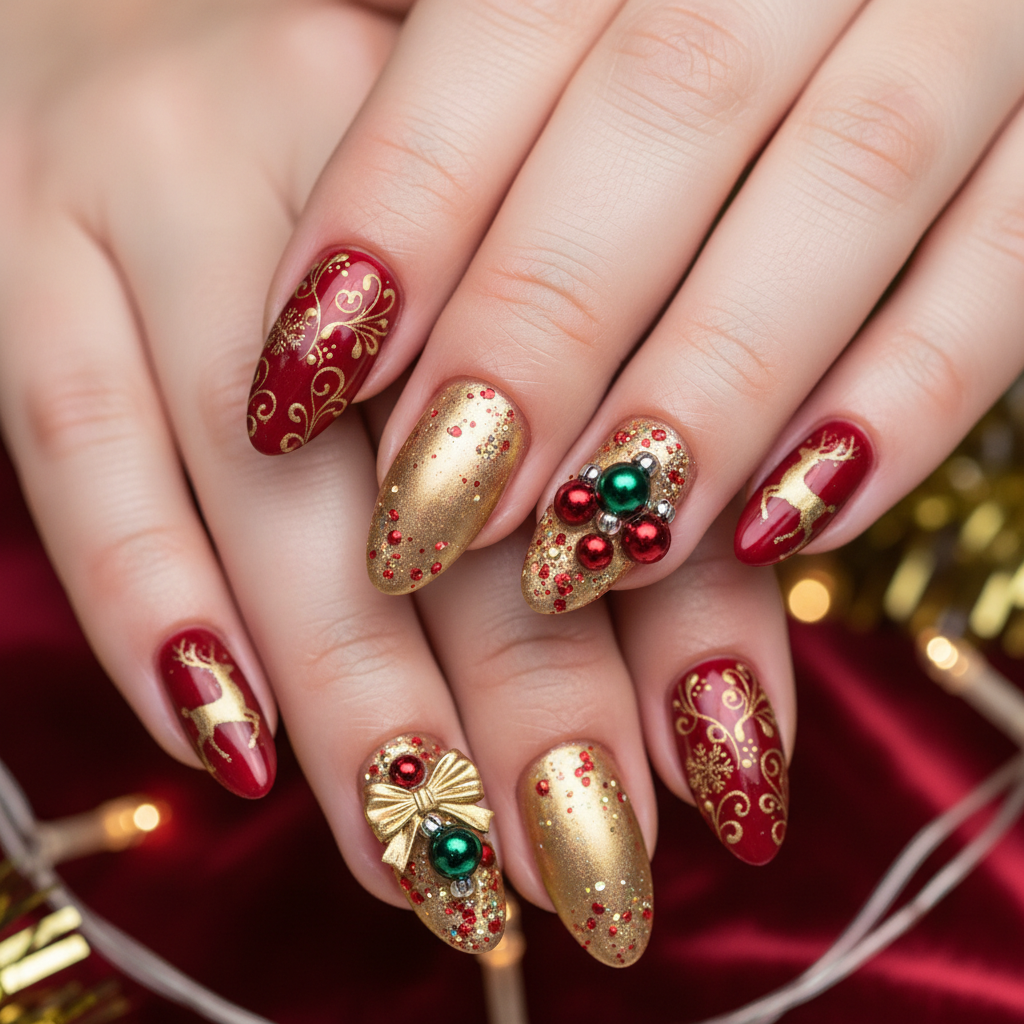
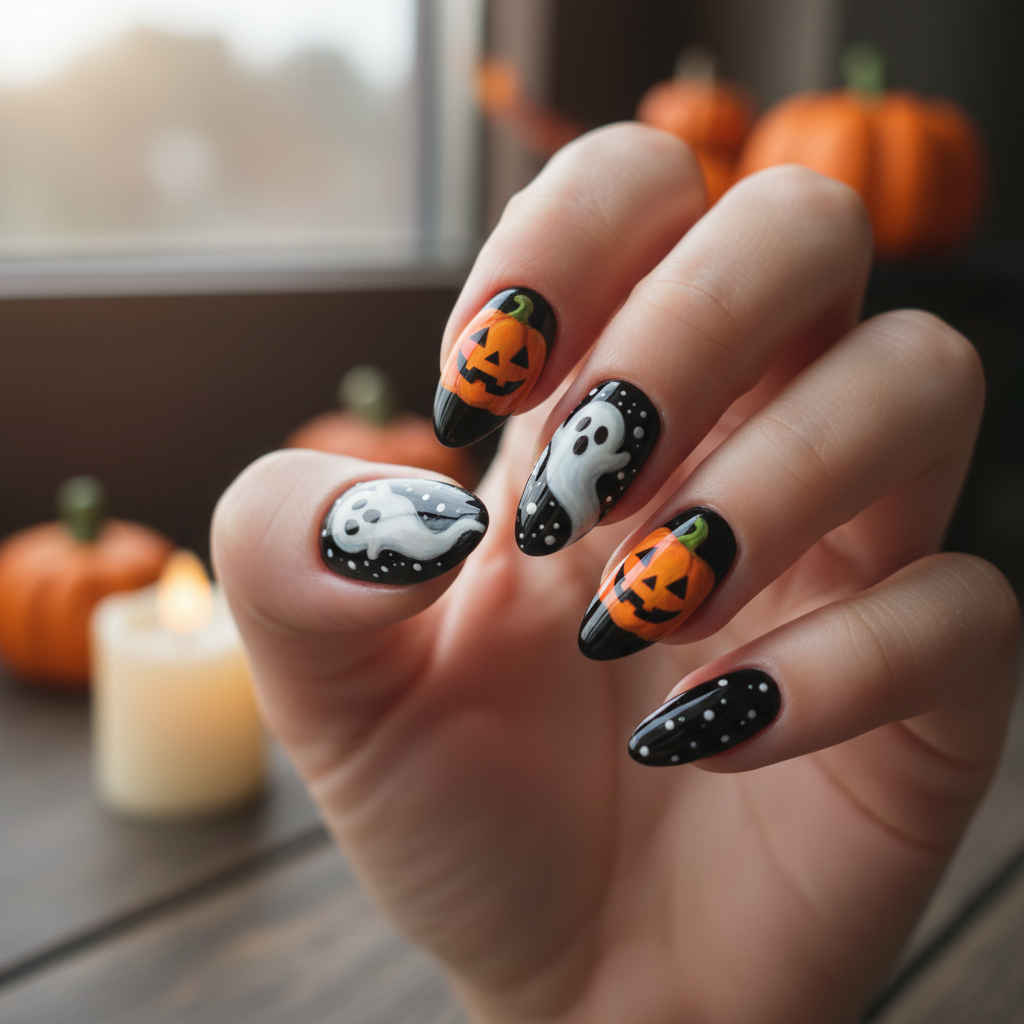
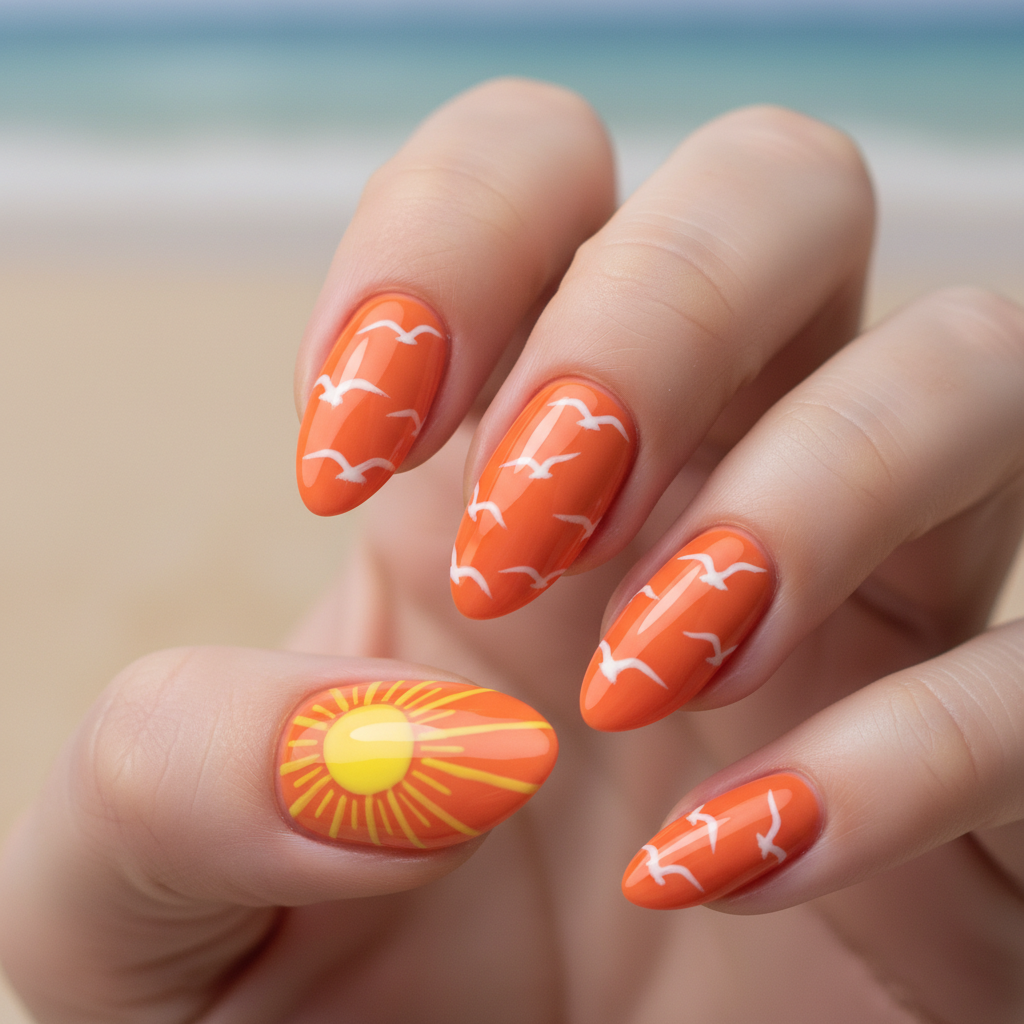
Aftercare Tips
- ✓Moisturize hands regularly to prevent dryness.
- ✓Avoid picking or biting your nails.
- ✓Use a gentle nail polish remover when removing the design.
Safe Removal
- 1.Soak cotton balls in acetone-based nail polish remover.
- 2.Place the cotton balls on each nail and wrap with foil.
- 3.Wait 10-15 minutes, then gently remove the polish.