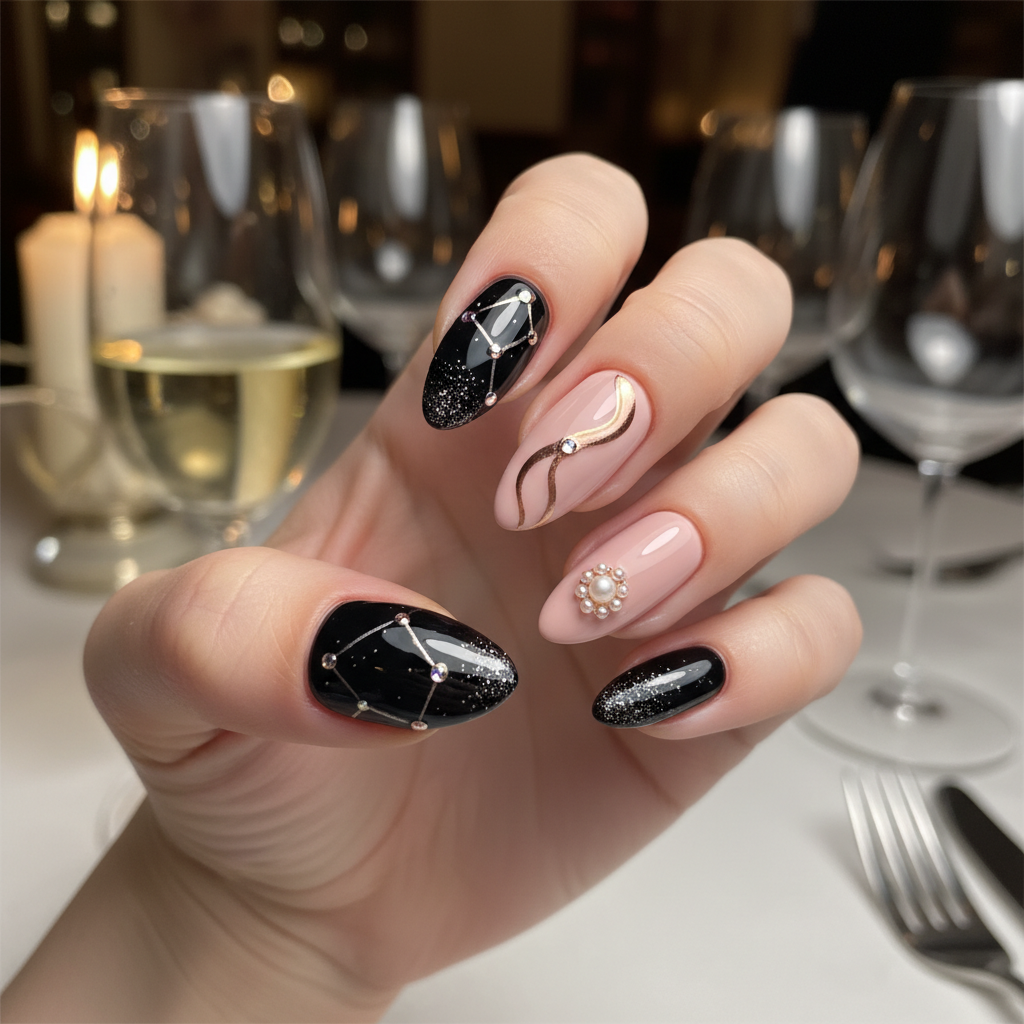
Gorgeous Photo-real Salon Date Night Nails - Date Night nail art - featuring nail art, red, date night - nail art inspiration and design ideas
Gorgeous Photo-real Salon Date Night Nails
Photo-Real Date Night Nails: Salon Quality Romantic Glamour
Elevate your evening with our 'Photo-Real Date Night Nails,' designed for an unforgettable impression. This sophisticated look combines deep, rich hues with a high-gloss finish, delivering a salon-quality aesthetic that's both captivating and subtly romantic. Perfect for making every gesture feel truly special on your next date.
Nail Art AI picks
Shop this look


As an Amazon Associate, Nail Art AI earns from qualifying purchases. This comes at no additional cost to you.
Photo-Real Date Night Nails: Salon Quality Romantic Glamour
Elevate your evening with our 'Photo-Real Date Night Nails,' designed for an unforgettable impression. This sophisticated look combines deep, rich hues with a high-gloss finish, delivering a salon-quality aesthetic that's both captivating and subtly romantic. Perfect for making every gesture feel truly special on your next date.
- UV/LED Curing Lamp
- Gel Base Coat
- Deep Plum Gel Polish
- Rich Bordeaux Gel Polish
- High-Gloss No-Wipe Gel Top Coat
- Lint-Free Wipes & Isopropyl Alcohol
- Prep nails by filing to an oval shape, gently pushing back cuticles, and buffing the surface for optimal adhesion.
- Apply a thin, even layer of gel base coat, ensuring to cap the free edge, then cure under UV/LED lamp for 30-60 seconds.
- Apply 1-2 thin, opaque coats of Deep Plum gel polish, curing each layer completely for 60 seconds to build color depth.
- For subtle dimension, apply a very thin, translucent layer of Rich Bordeaux gel polish over the plum, curing for 30 seconds.
- Finish with a generous, perfectly smooth layer of high-gloss no-wipe top coat, ensuring full coverage, then cure thoroughly for 60-90 seconds for a mirror-like shine.
- Cleanse nails with a lint-free wipe soaked in isopropyl alcohol (if not a no-wipe top coat) for a final dazzling, photo-real finish.
Perfect For
Expert Tip
Achieving a true 'photo-real' finish is all about meticulous, thin layers and a perfectly cured, high-gloss top coat. Ensure each layer is fully cured to prevent dullness and enhance durability for that camera-ready shine.
Similar Styles
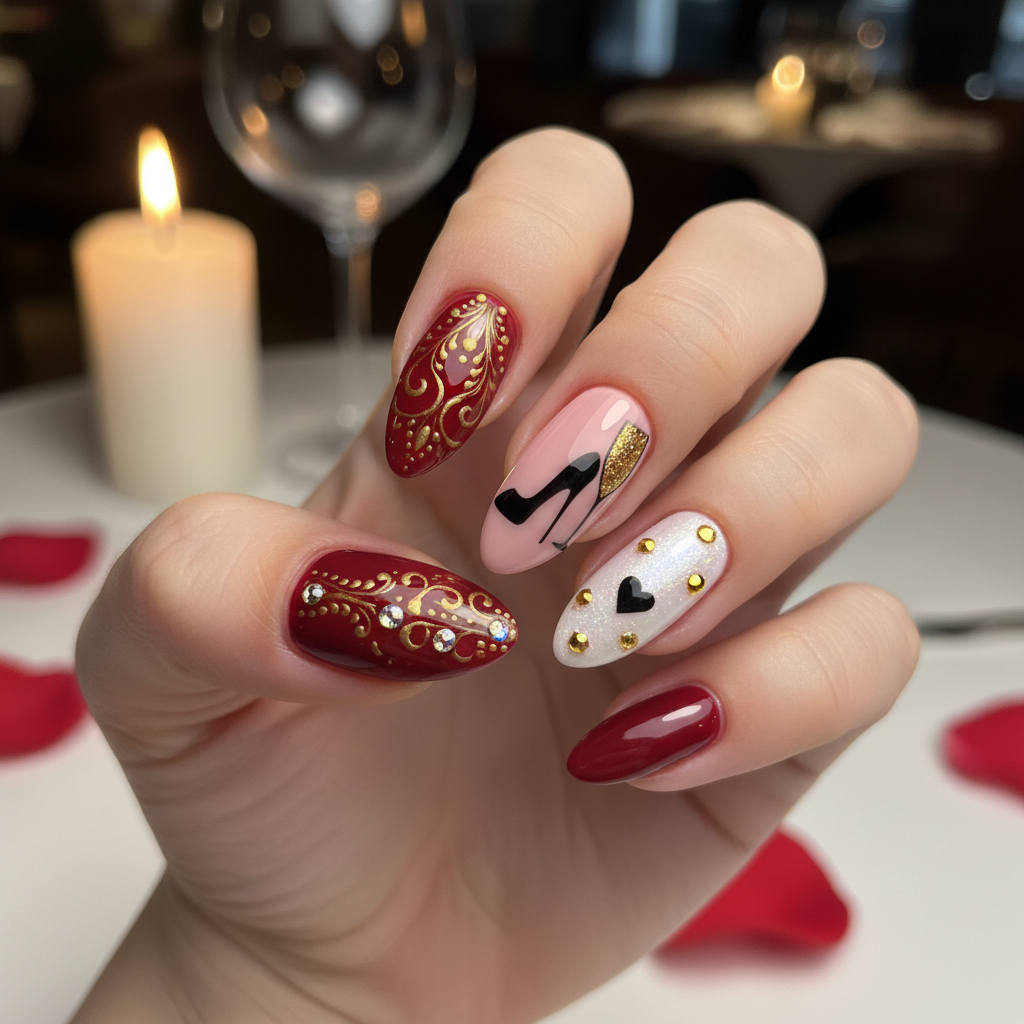
Beautiful Photo-real Salon Date Night Nails
Date Night inspired nail art with beautiful, photo-real finish and professional salon quality
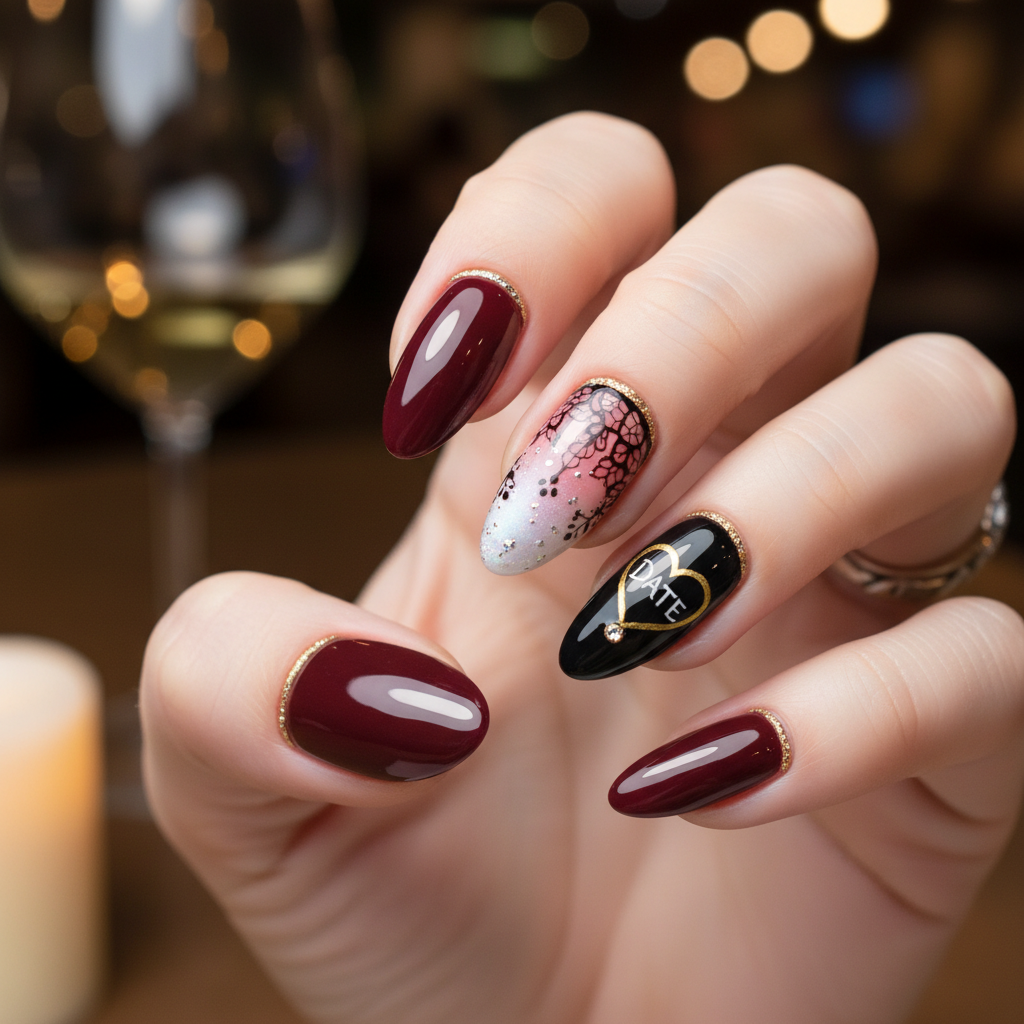
Beautiful Photo-real Salon Date Night Nails
Date Night inspired nail art with beautiful, photo-real finish and professional salon quality
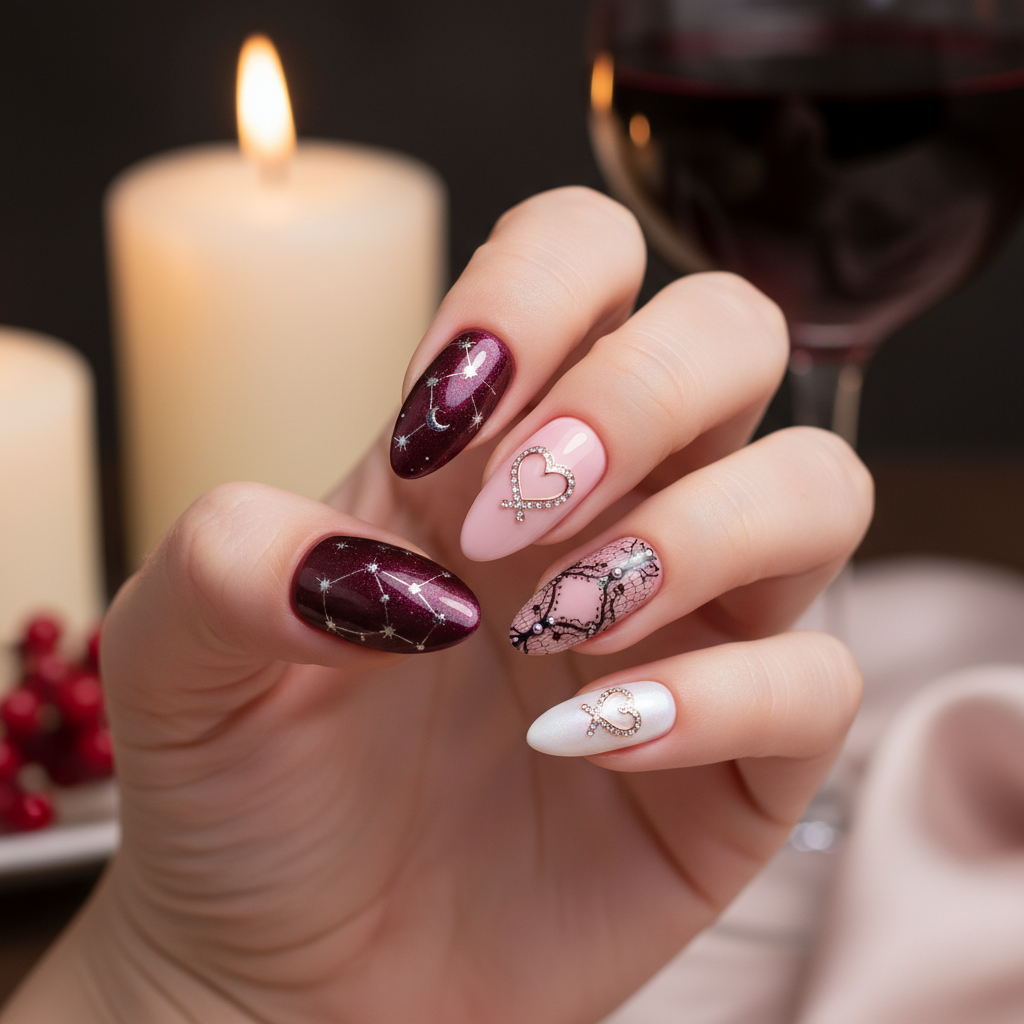
Gorgeous Photo-real Salon Date Night Nails
Date Night inspired nail art with gorgeous, photo-real finish and professional salon quality
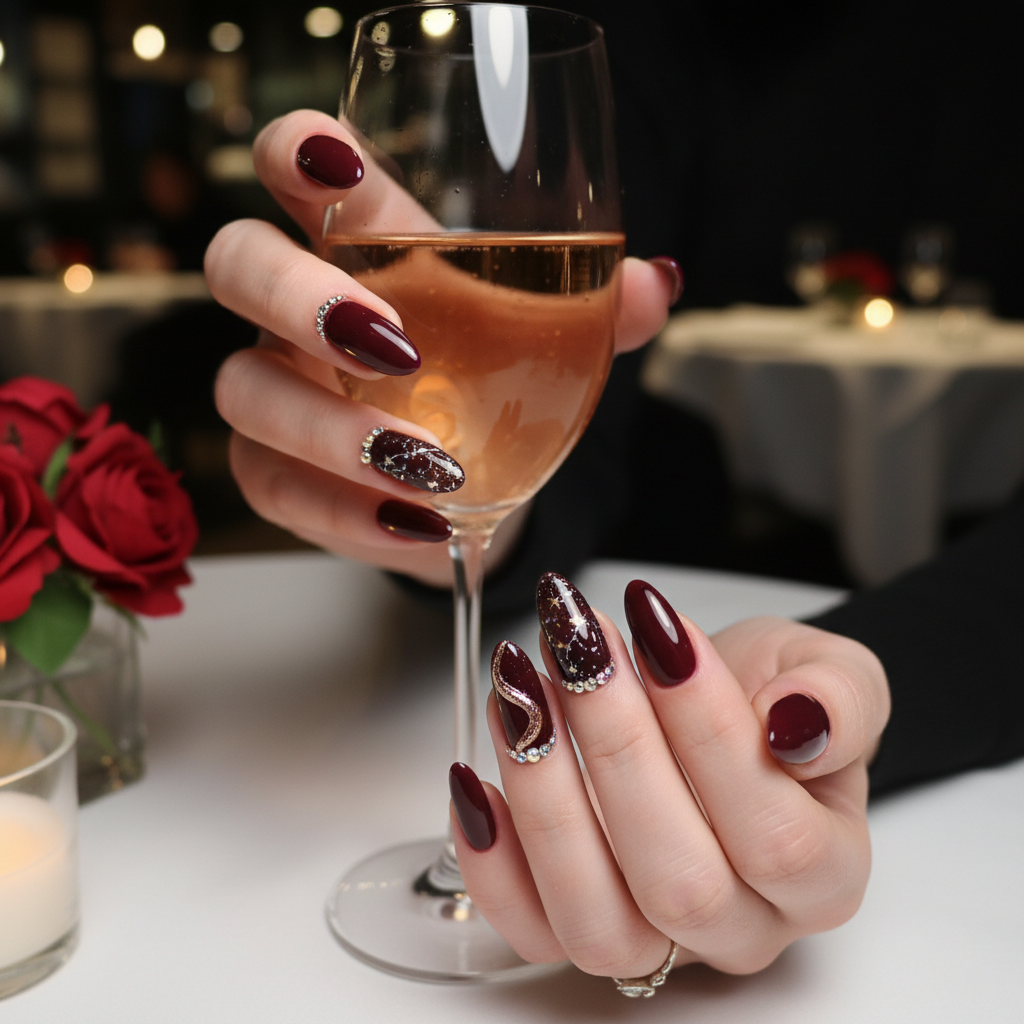
Stunning Photo-real Salon Date Night Nails
Date Night inspired nail art with stunning, photo-real finish and professional salon quality
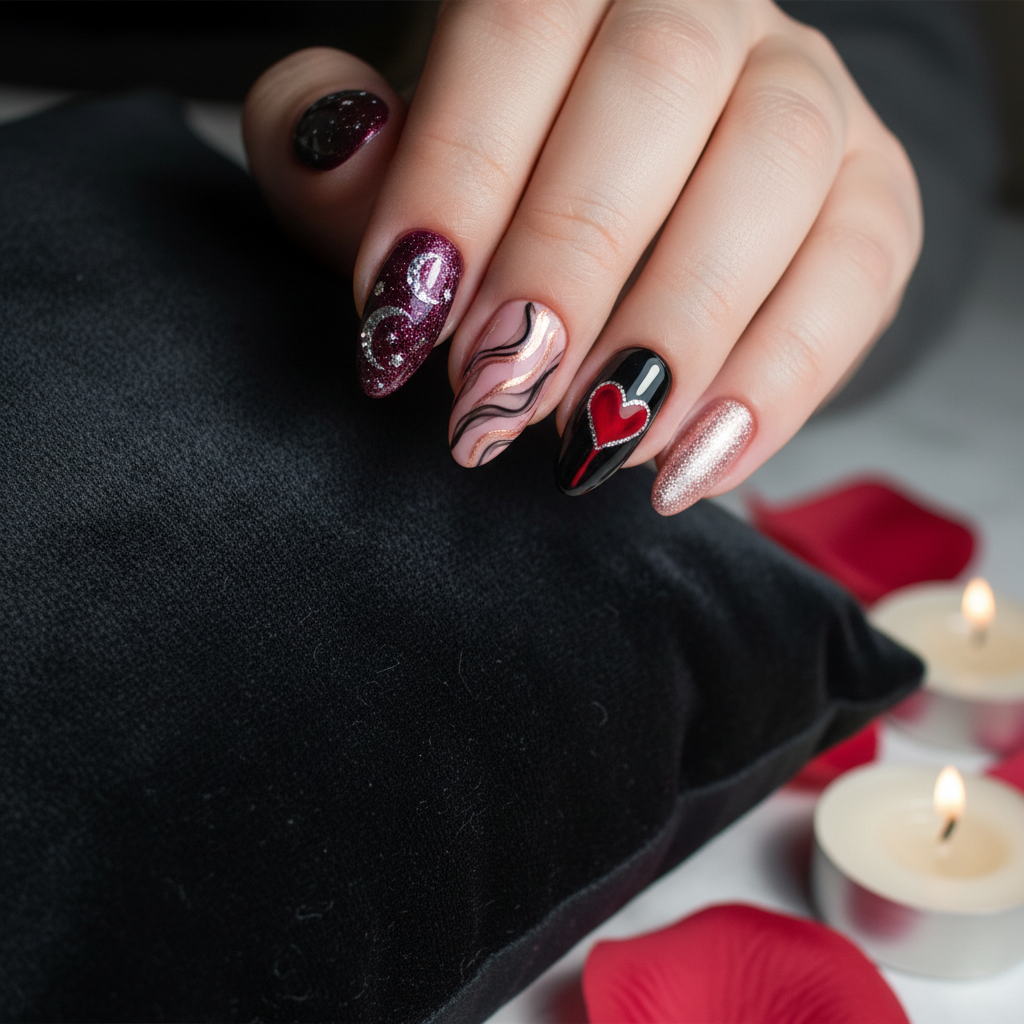
Stunning Photo-real Salon Date Night Nails
Date Night inspired nail art with stunning, photo-real finish and professional salon quality
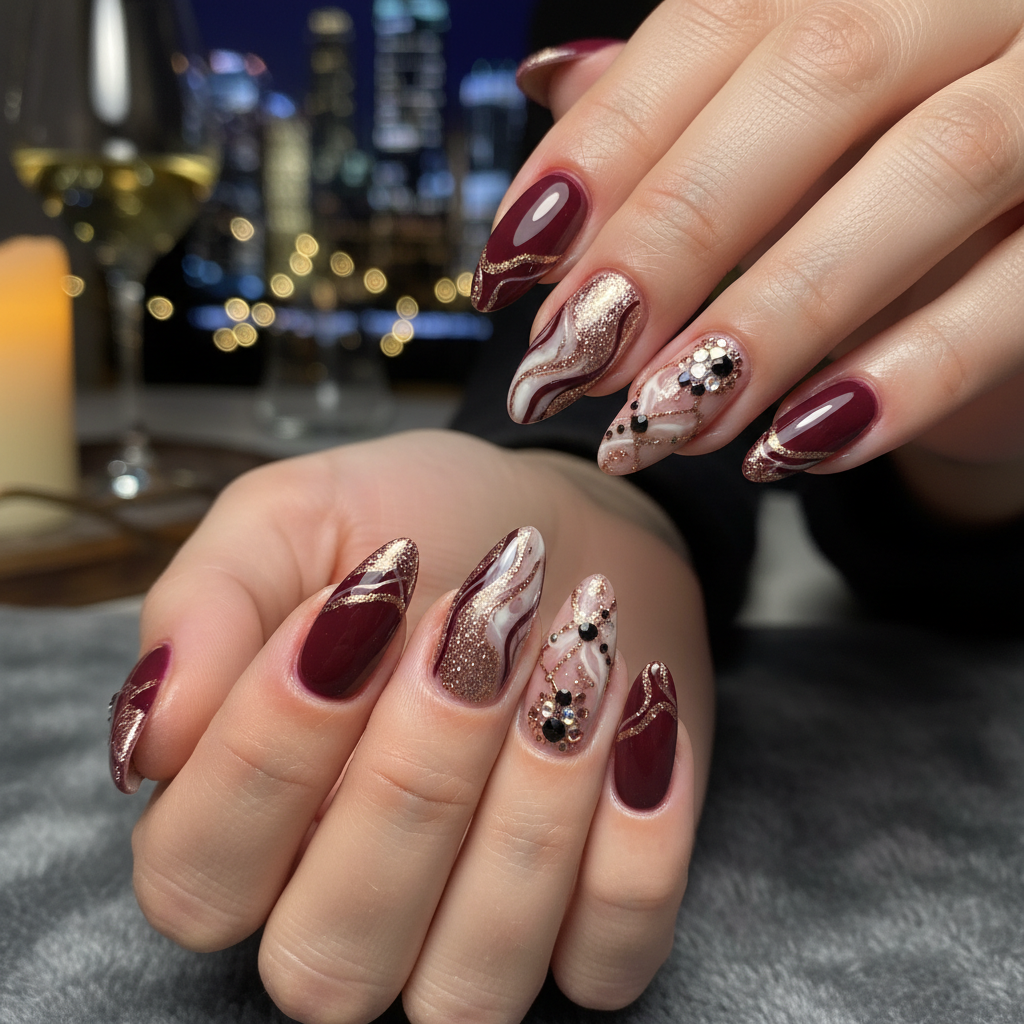
Sophisticated Photo-real Salon Date Night Nails
Date Night inspired nail art with sophisticated, photo-real finish and professional salon quality
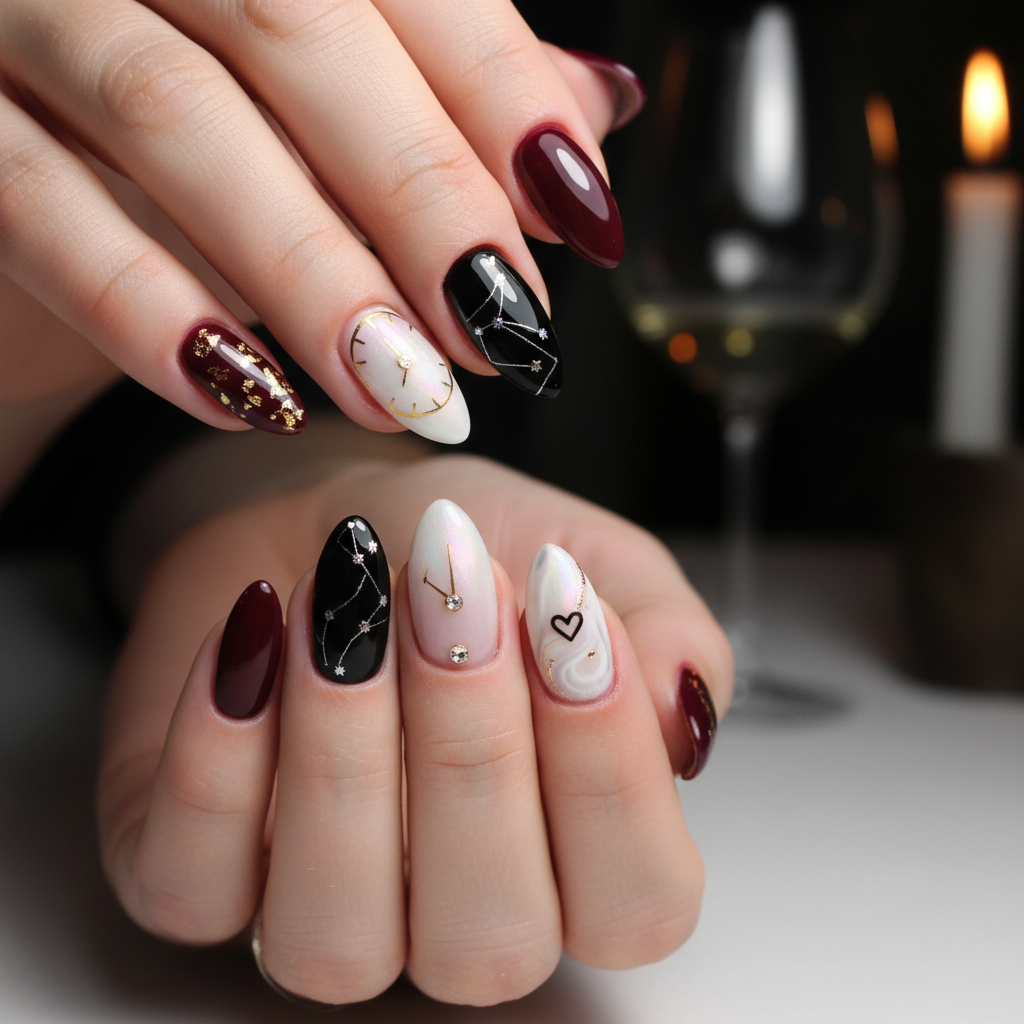
Sophisticated Photo-real Salon Date Night Nails
Date Night inspired nail art with sophisticated, photo-real finish and professional salon quality
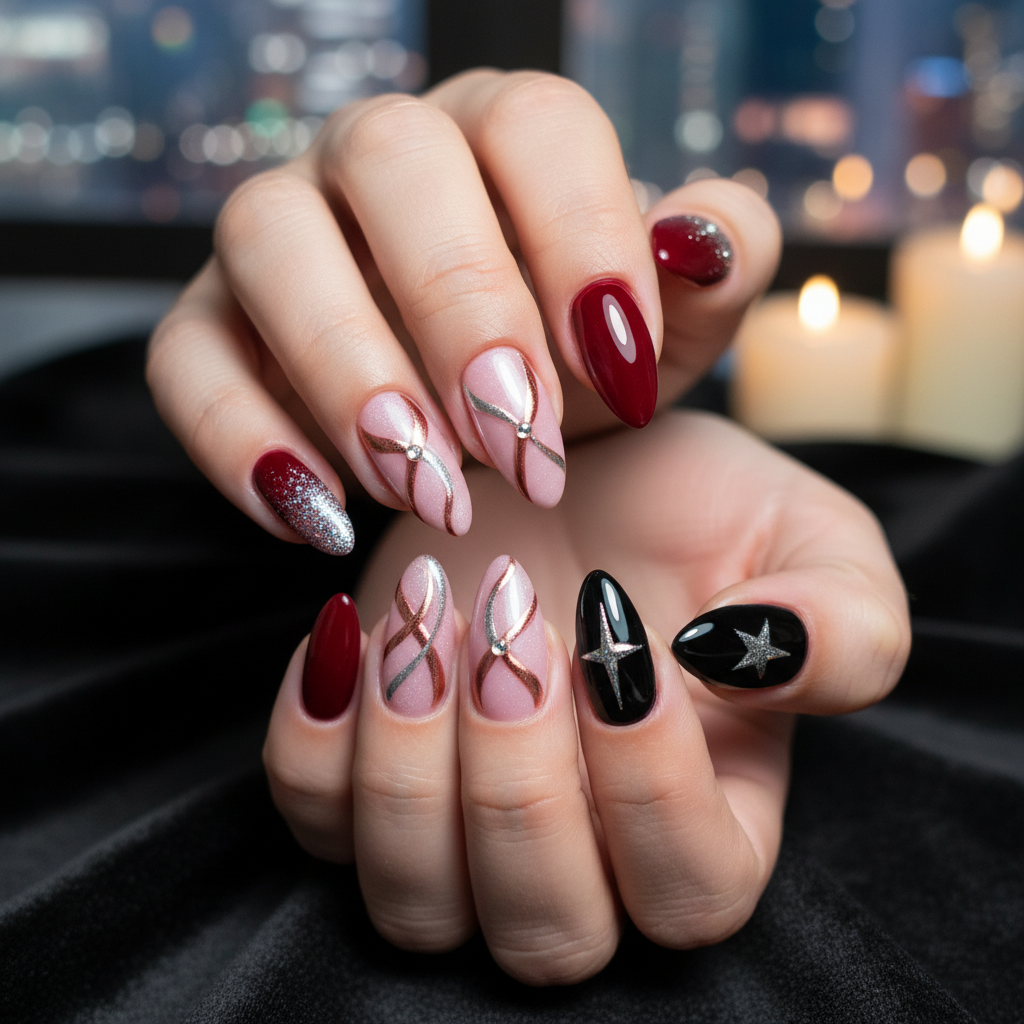
Photo-real Salon Date Night Nails
Date Night inspired nail art with elegant, photo-real finish and professional salon quality
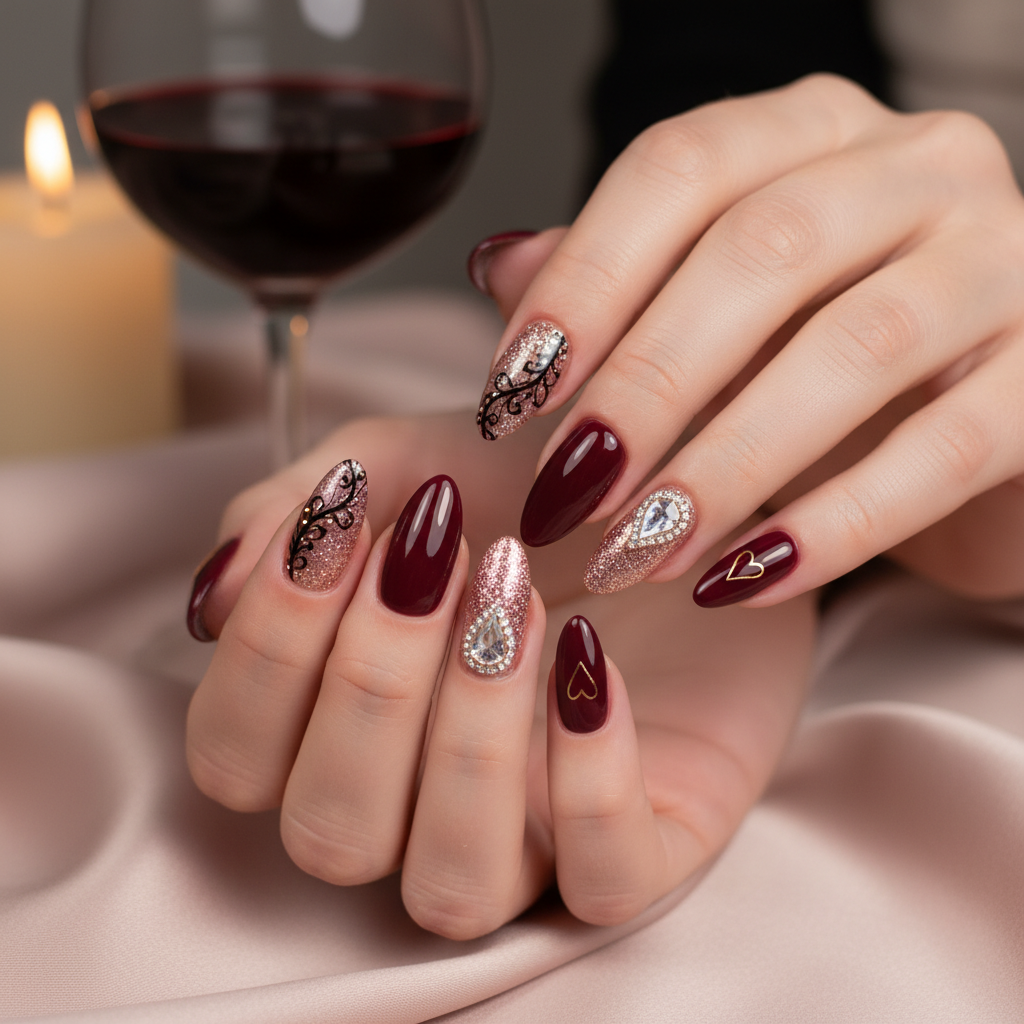
Photo-real Salon Date Night Nails
Date Night inspired nail art with elegant, photo-real finish and professional salon quality
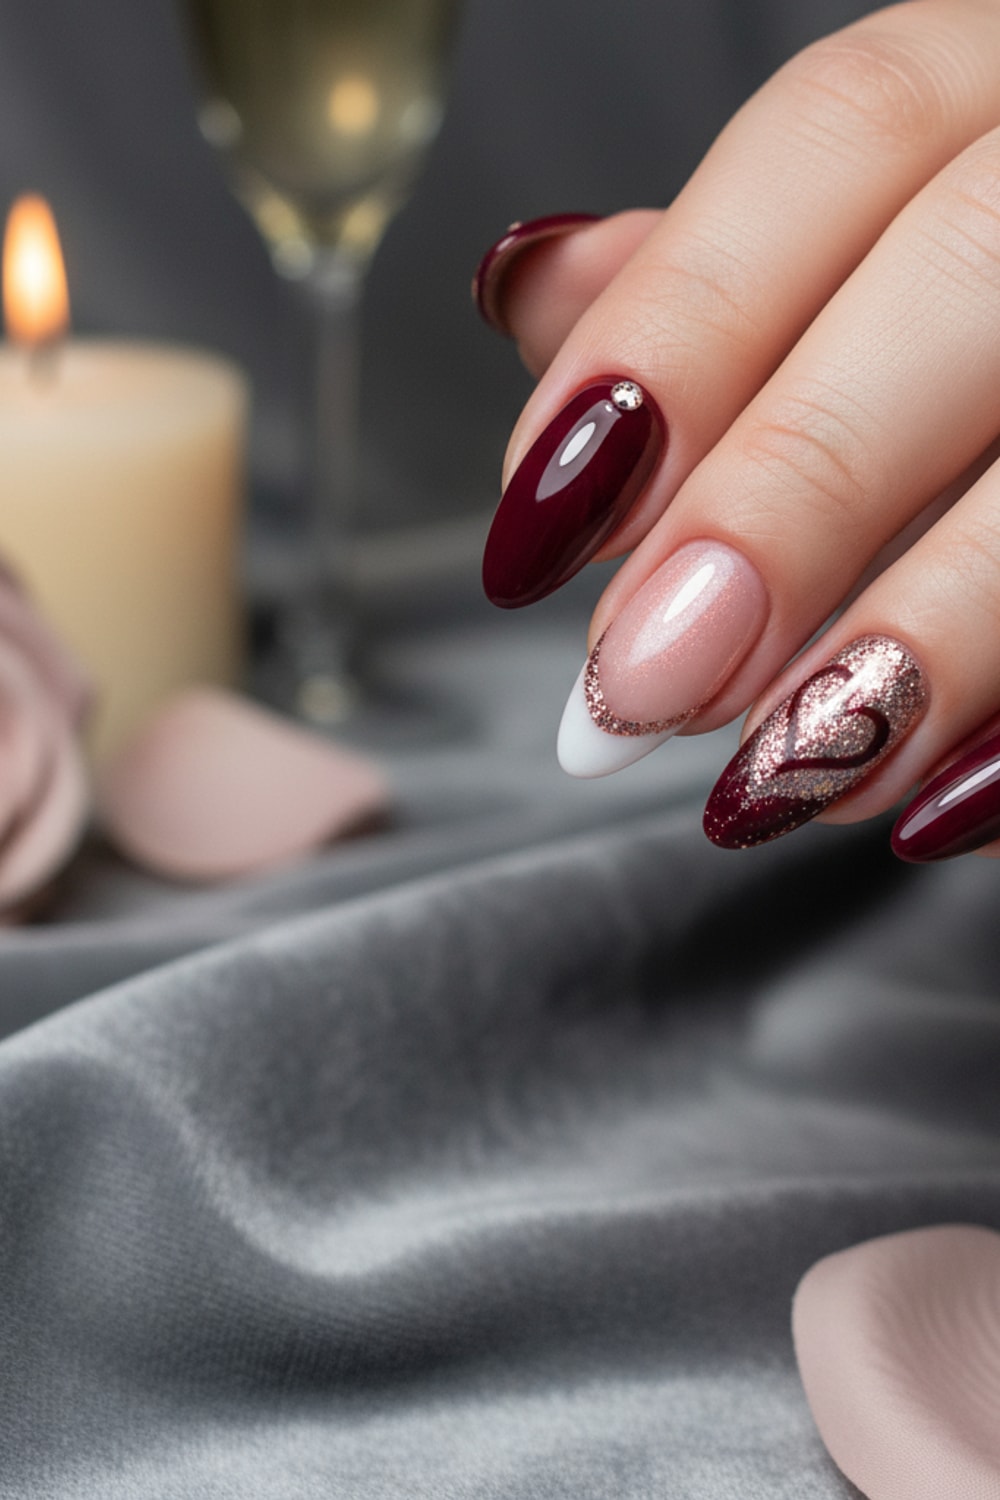
Photo-real Salon Date Night Nails
Date Night inspired nail art with clean, photo-real finish and professional salon quality
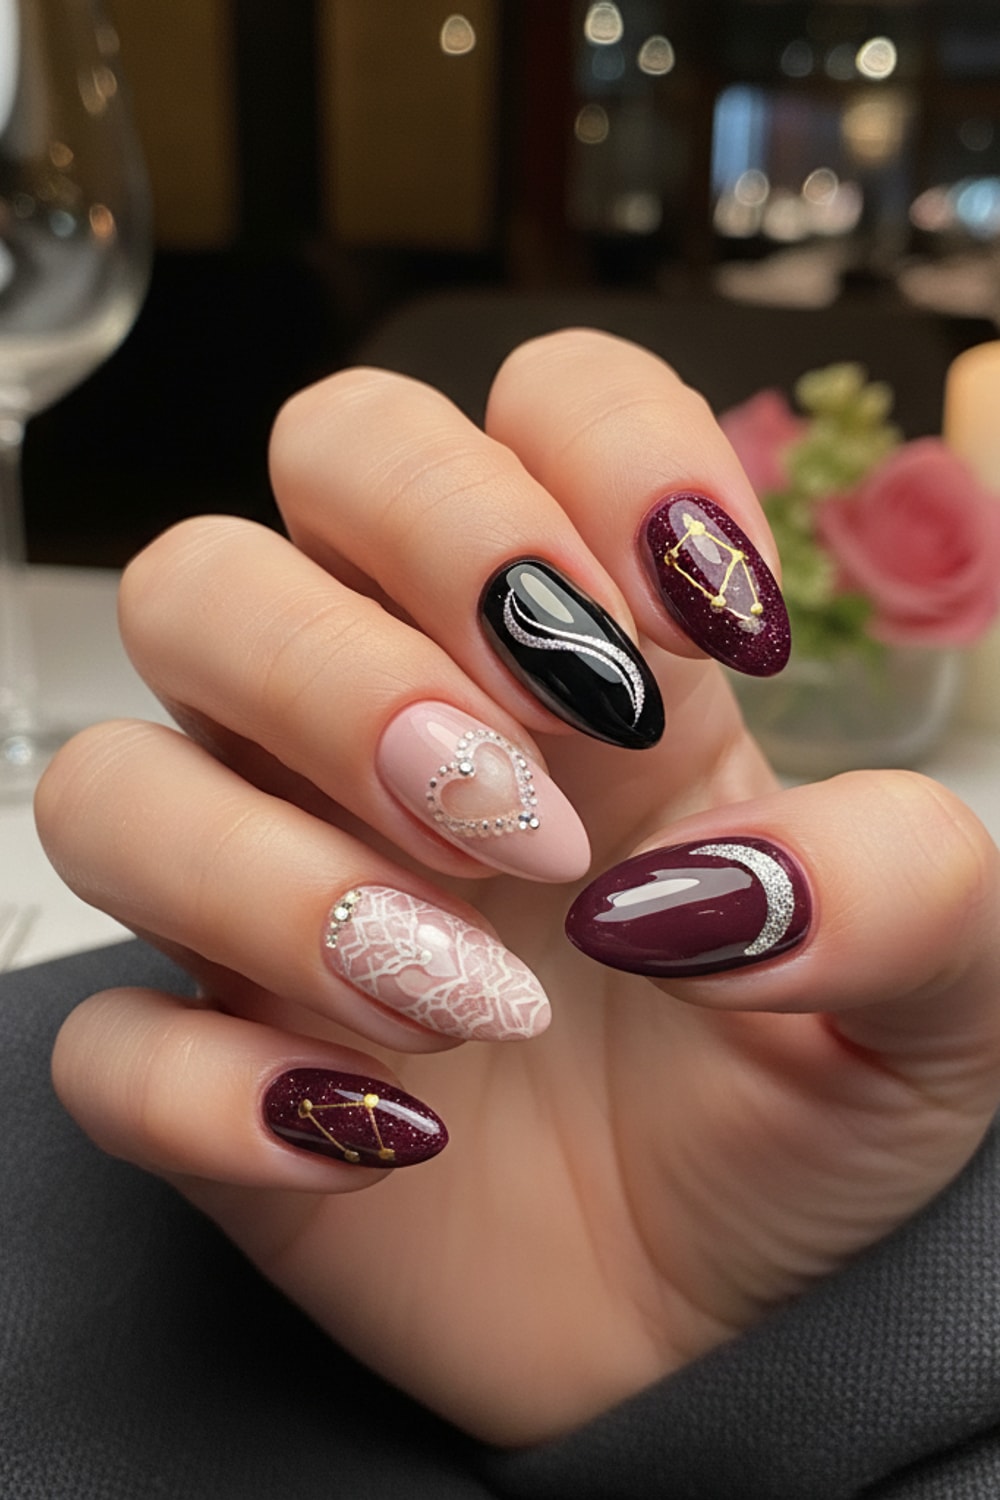
Photo-real Salon Date Night Nails
Date Night inspired nail art with clean, photo-real finish and professional salon quality
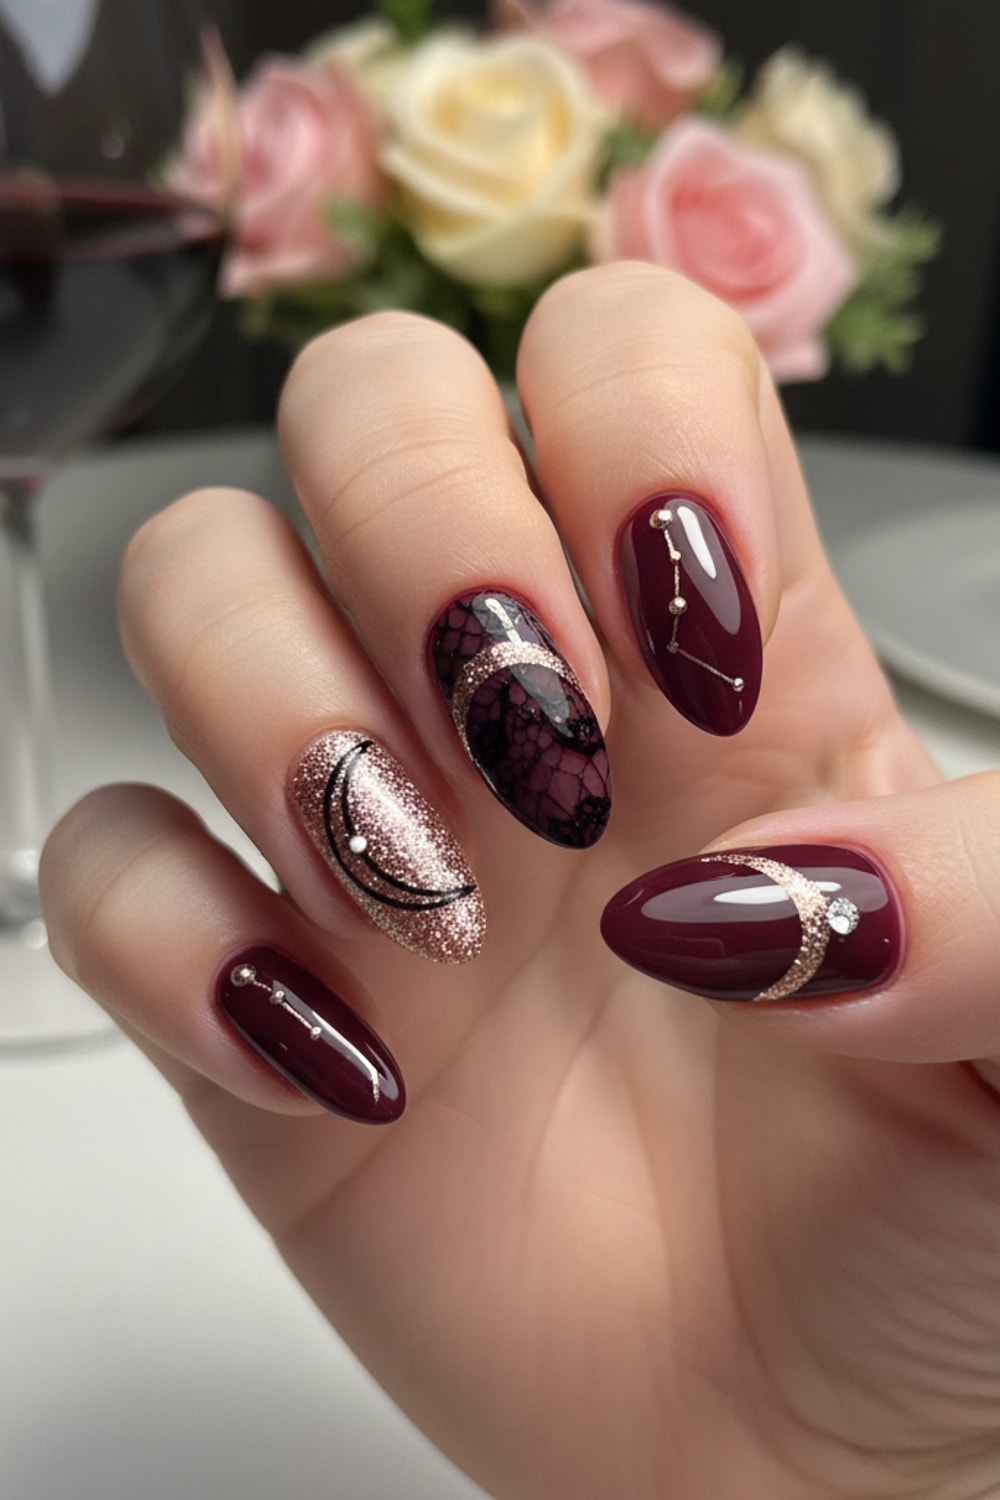
Photo-real Salon Date Night Nails
Date Night inspired nail art with clean, photo-real finish and professional salon quality
Explore Similar Designs
Colors in this Design
Techniques Used
Perfect For
Nail Shapes
Frequently Asked Questions
What makes these nails 'photo-real'?
The 'photo-real' effect comes from the flawless, high-gloss finish combined with rich, opaque color application, creating depth and a perfectly polished look that's camera-ready and visually striking.
Can I achieve this look at home?
Achieving true salon-quality, photo-real nails at home requires advanced gel polish application skills, including meticulous prep, thin layering, and proper curing with a UV/LED lamp.
How long will this manicure last?
With proper application and aftercare, your 'Photo-Real Date Night Nails' can last up to 2-3 weeks without chipping or losing their magnificent shine.
Is this design suitable for shorter nails?
Absolutely! While often showcased on medium oval nails, the rich colors and high-gloss finish look equally stunning and sophisticated on shorter, neatly filed nails, maintaining their elegant appeal.
What if I want a more subtle look?
For a more subtle approach, you can opt for a lighter, sheerer version of the plum or bordeaux, or choose a neutral base with just a hint of the deep color on an accent nail for a delicate touch.
Are there any specific products you recommend for the 'photo-real' finish?
Using high-quality, professional-grade gel polishes known for their pigmentation and a top-tier, super high-gloss no-wipe top coat is essential for achieving that truly photo-real effect.
Aftercare Tips
- ✓Keep hands moisturized with a non-greasy lotion to complement the high-gloss finish and nourish skin.
- ✓Avoid prolonged hot water exposure or saunas for the first 24 hours to ensure full adhesion and prevent lifting.
- ✓Gently push back cuticles after showering to keep the nail bed looking clean and neat, extending the fresh look.
- ✓Inspect for any lifting; if found, contact your nail technician immediately to prevent further damage or premature removal.
Safe Removal
- 1.Gently buff off the top layer of the gel polish with a fine-grit file to break the seal.
- 2.Soak cotton pads in 100% acetone, place them directly on each nail, and wrap tightly with foil for 10-15 minutes.
- 3.Gently scrape off softened gel with a wooden stick, then lightly buff any remaining residue, avoiding excessive filing.