
Photo-real Salon Bohemian Nails - Bohemian nail art - featuring nail art, red - nail art inspiration and design ideas
Photo-real Salon Bohemian Nails
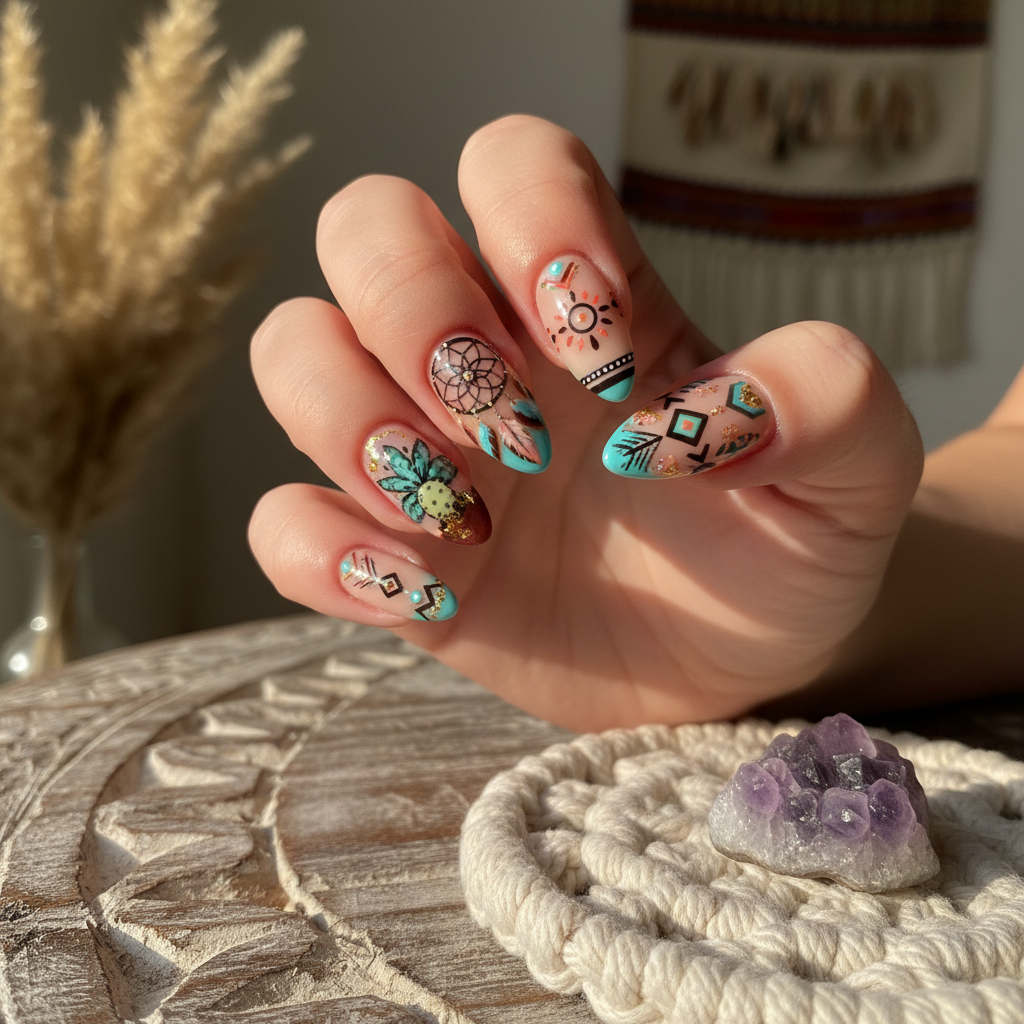
Salon Bohemian Nails: Photo-Real Nail Art Design
Elevate your style with these salon-quality Bohemian nails! This design combines intricate Bohemian patterns with a clean, photo-real finish, perfect for adding a touch of artistic flair to your look.
Salon Bohemian Nails: Photo-Real Nail Art Design
Elevate your style with these salon-quality Bohemian nails! This design combines intricate Bohemian patterns with a clean, photo-real finish, perfect for adding a touch of artistic flair to your look.
- Gel polish (Turquoise, Cream, Burnt Orange, Gold, White)
- Fine-tip nail art brushes
- Stamping plates with Bohemian patterns
- Stamper and scraper
- Base coat and top coat
- UV/LED lamp
- Apply a base coat to protect your nails and cure under a UV/LED lamp.
- Apply two coats of cream gel polish as the base color on all nails, curing after each coat.
- Using fine-tip brushes and gel polishes, create intricate Bohemian patterns such as feathers, mandalas, and geometric shapes.
- Alternatively, use stamping plates to transfer the Bohemian patterns onto the nails with the appropriate gel polishes.
- Add gold accents using a fine brush or stamping for a luxurious touch.
- Apply a glossy or matte top coat and cure under the UV/LED lamp to seal the design.
Expert Tip
Practice your fine-line detailing on a practice nail or paper before applying it to your nails. Using a dotting tool can help achieve precise dots and patterns.
Similar Styles


Explore Similar Designs
Colors in this Design
Nail Shapes
Frequently Asked Questions
Can I use regular nail polish instead of gel polish?
Yes, but gel polish is recommended for its durability and long-lasting shine. Regular polish may require more coats and a longer drying time.
How long will this design last?
With proper application and aftercare, gel polish designs can last up to 2-3 weeks.
What if I don't have stamping plates?
You can create similar patterns using freehand painting with fine-tip nail art brushes.
Is it difficult to create the fine-line details?
It requires practice and a steady hand, but with patience, anyone can achieve beautiful results. Start with simpler patterns and gradually work your way up to more complex designs.
Can I customize the colors?
Absolutely! Feel free to experiment with different color combinations to match your personal style.
How do I clean my nail art brushes?
Use a lint-free wipe dampened with acetone to gently clean your brushes after each use.
Aftercare Tips
- ✓Moisturize your hands and nails regularly.
- ✓Avoid harsh chemicals and prolonged exposure to water.
- ✓Use a gentle nail polish remover when it's time to remove the design.
Safe Removal
- 1.Gently file the top coat to break the seal.
- 2.Soak cotton pads in acetone and apply them to your nails, wrapping with foil. Let it sit for 10-15 minutes.